Digital Camera World Verdict
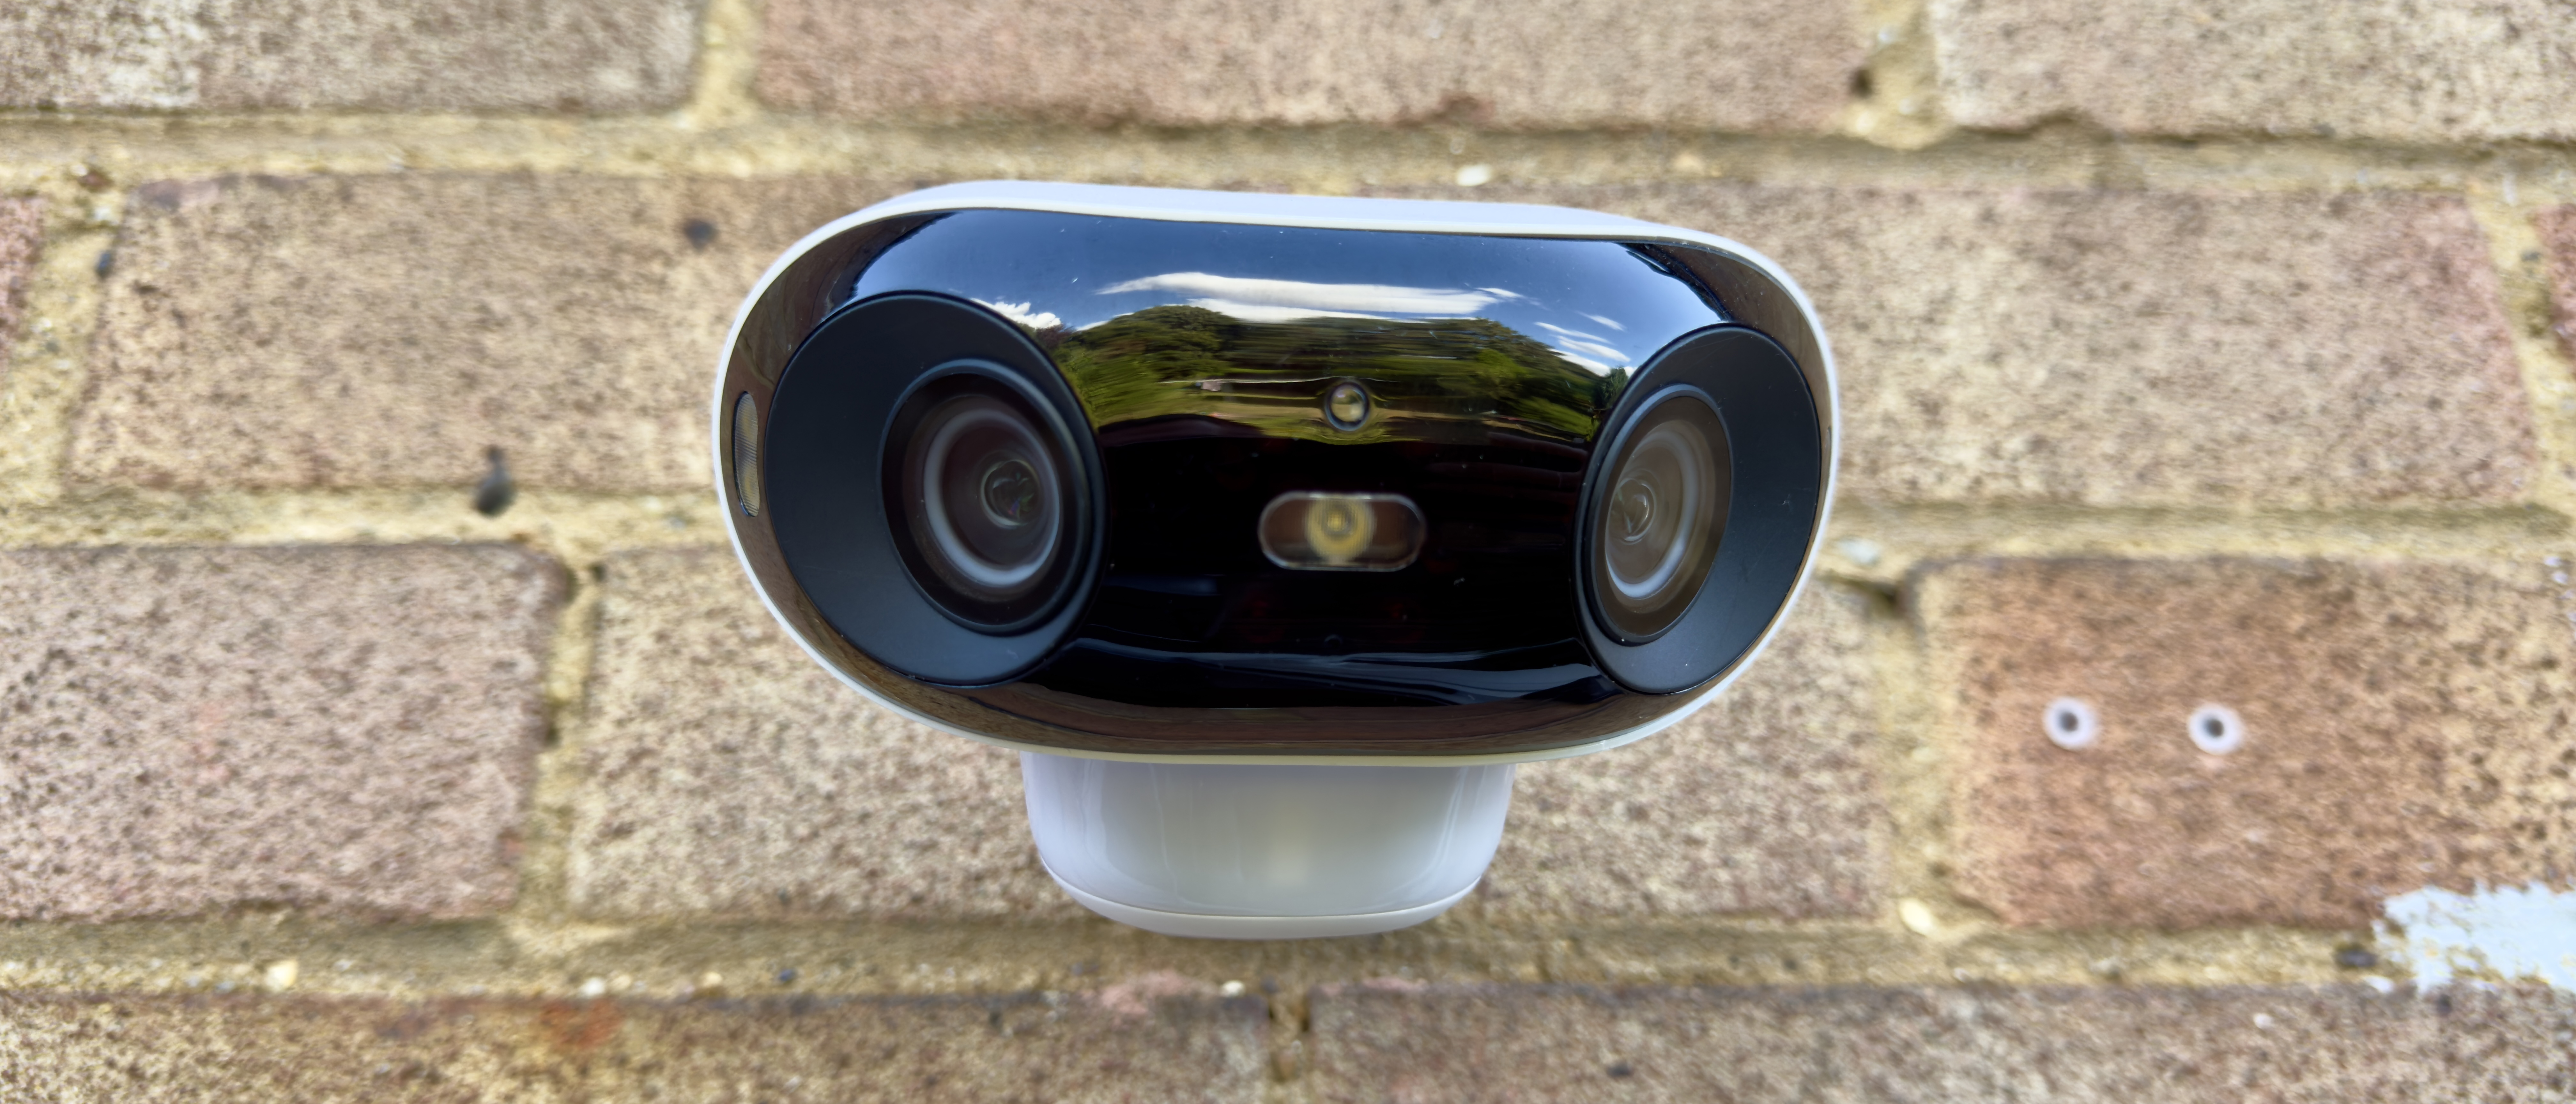
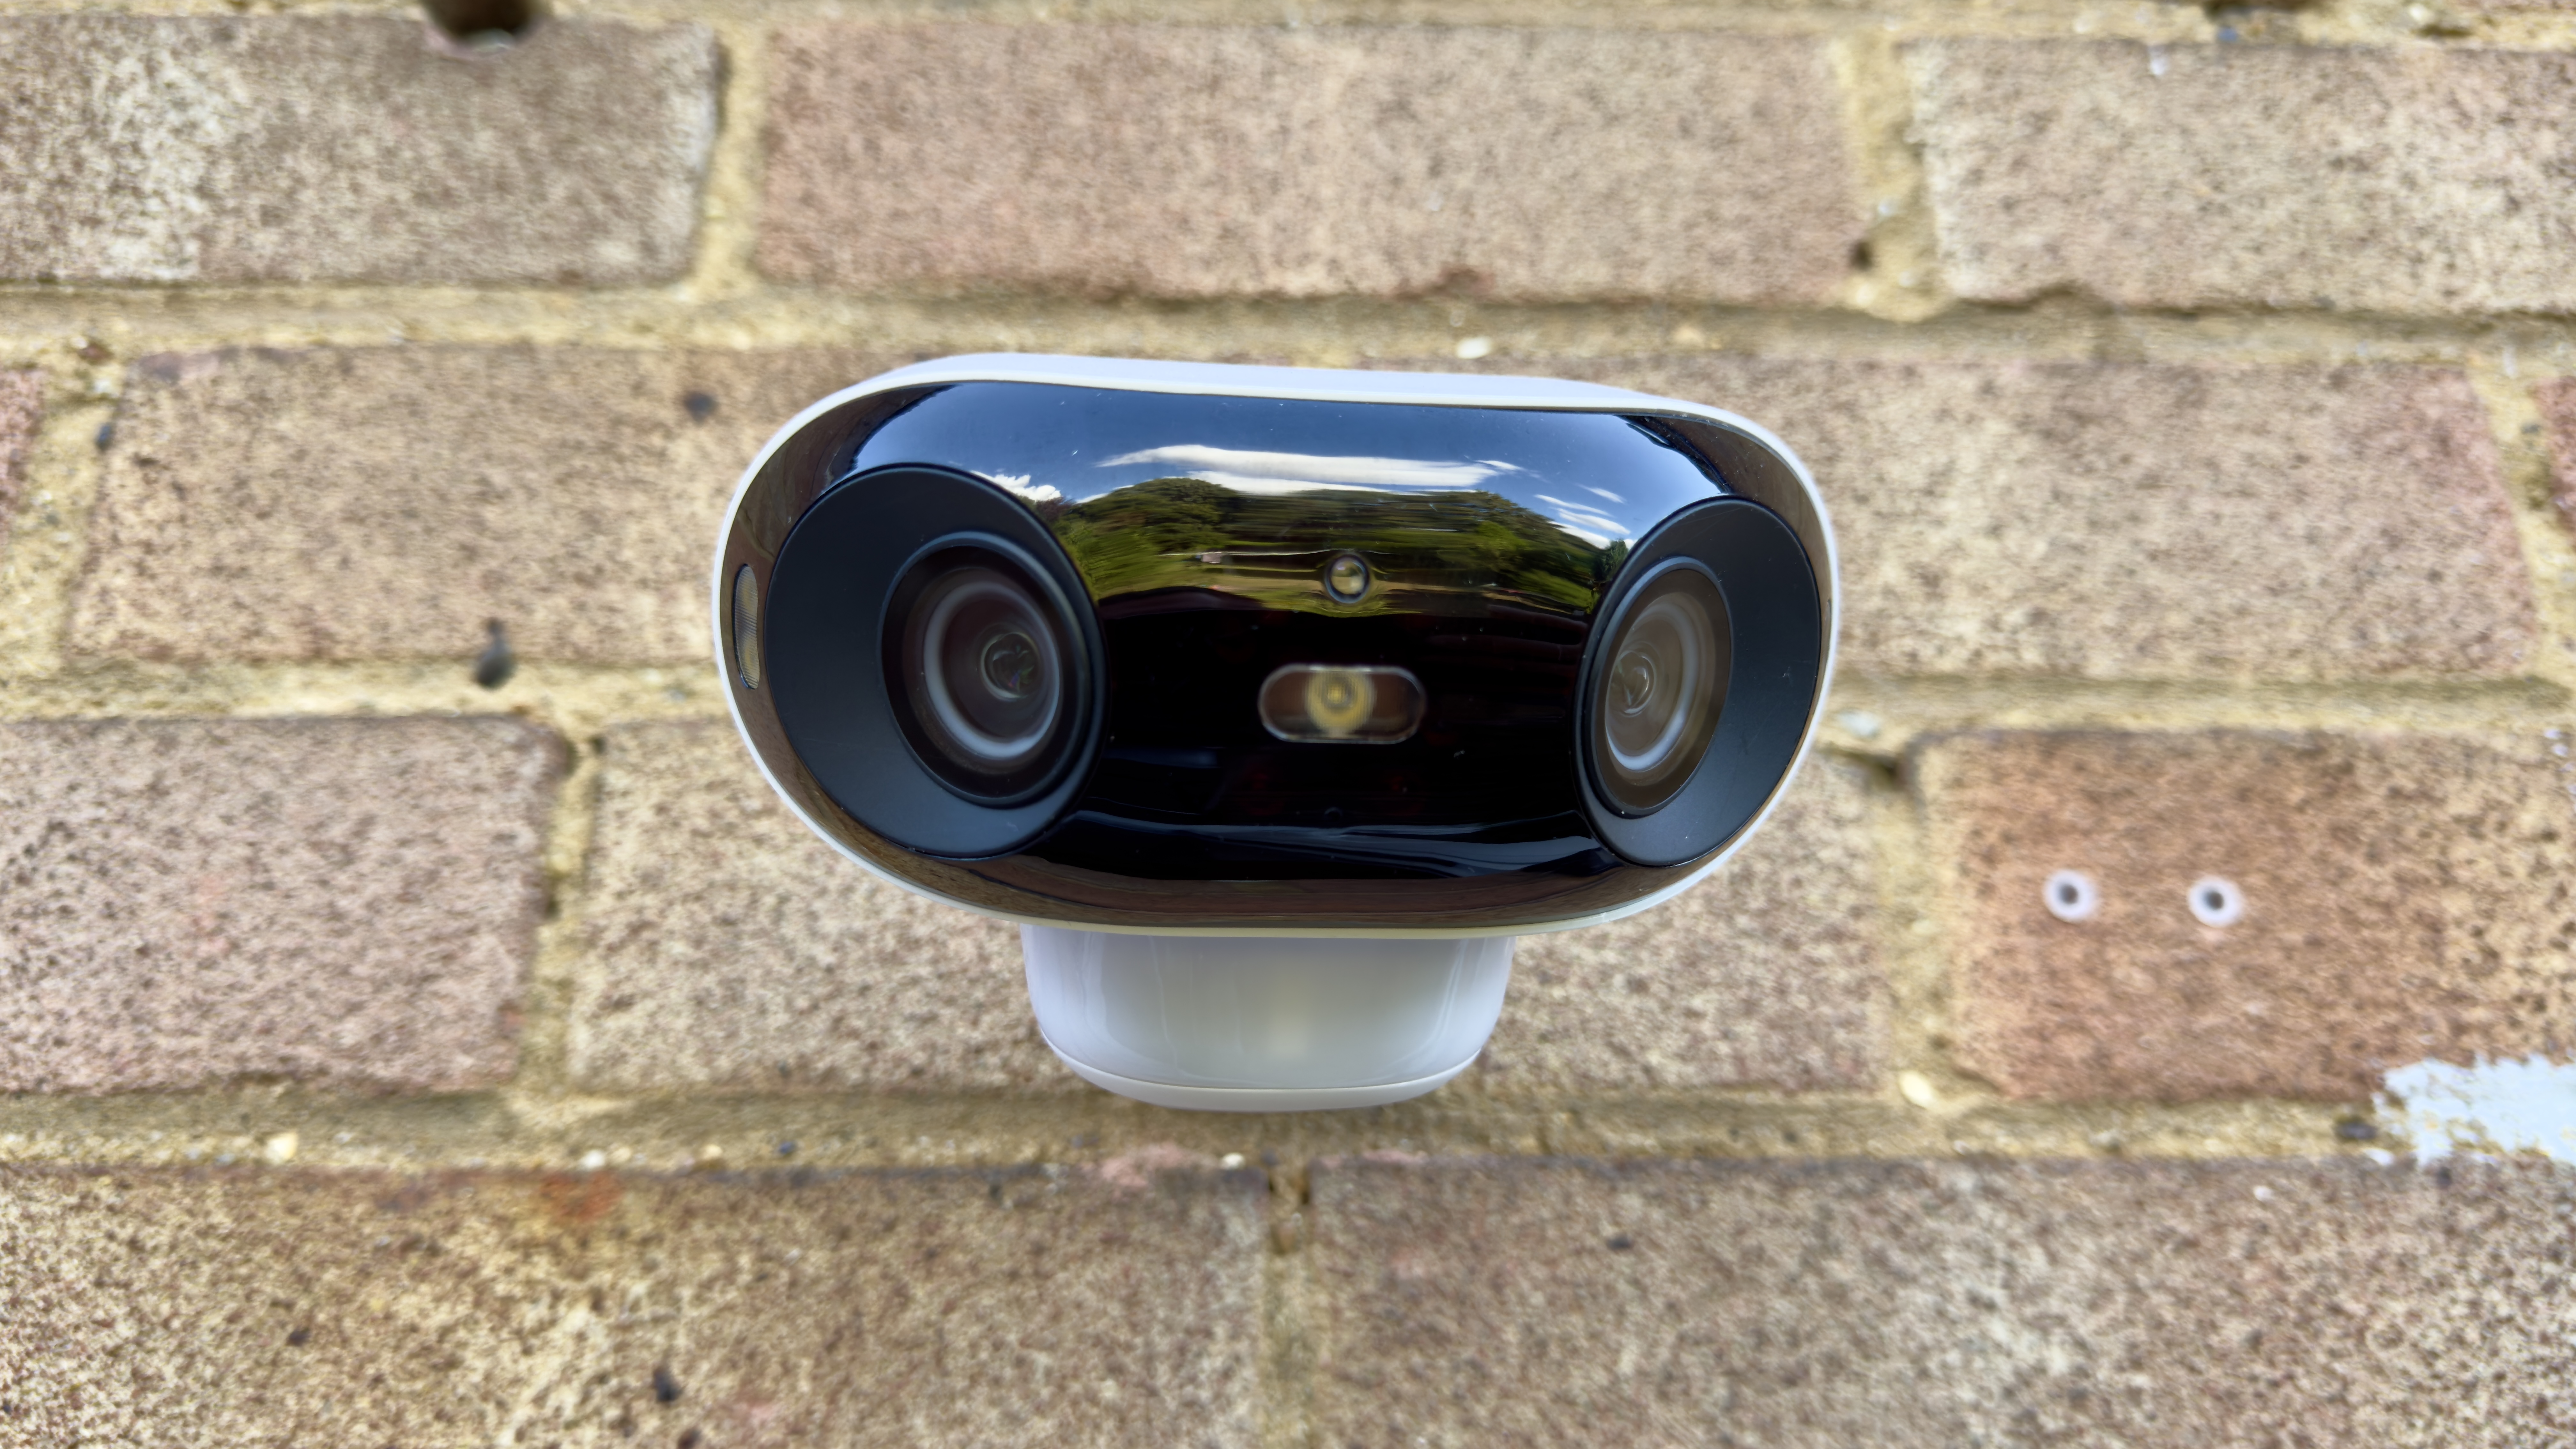
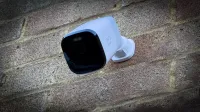
The Argus 4 Pro’s smooth curved white body and widely-spaced lenses evoke the look of a robotic owl, which is appropriate as this camera has excellent night vision and can detect animals or people with precision. It’ll even let out a warning ‘hoot’ (an electric siren) to warn you of intruders and send an alert straight to your smartphone (even if you’re not at home) so that you can stream a recorded incident live (or peruse earlier recordings stored on its micro SD card). And it’s very easy to set up!
Pros
- +
Wide field of view
- +
Easy to install
- +
Save recorded incidents to card or cloud
Cons
- -
Extra cost for cloud storage
- -
Quiet built-in speaker
- -
Super wide (but vertically narrow) image
Why you can trust Digital Camera World
Reolink produces a wide range of wireless Wi-Fi connected security cameras and the Argus 4 Pro (and the slightly cheaper but almost identically specced Argus 4) are the latest cameras in the Argus range. Unlike older Argus cameras the Argus 4 models are dual-lensed. Much more on that later.
When setting up a security camera you face the challenge of where to point it. If you point it at the back gate on the left, you may miss an intruder climbing over your garden wall on the right. The Reolink Argus 4 Pro is a dual-lensed security camera that covers a panoramic 180º field of view, so more of your property will fit into its motion detection window. If it detects an intruder you’ll receive a notification on your smartphone so you can view the camera’s feed in real time. Alternatively, you can watch the recordings of incidents if you pop a microSD card into the camera.
The Argus 4 Pro has a similar spec to the slightly cheaper Argus 4, but the Pro captures better-looking full-color footage at night thanks to ColorX's true full-color night vision (compared to the Argus 4’s standard night color vision). The price difference is so small that it makes sense to go for the Pro version.
Reolink Argus 4 Pro: Specifications
| Image Sensor | 1/1.8” CMOS sensor |
| Resolution | 5120x1440 (8 megapixels) @15fps |
| Lens | f=4mm, fixed |
| Video Compression | H.264/H.265 |
| Field of View | Horizontal: 180°, Vertical: 50° |
| Infrared Night Vision | No |
| Color Night Vision with spotlights | 3pcs/2W/6500K |
| Frame rate | 10fps - 15fps (default: 15fps) |
| Audio | Two-way audio |
| Battery | 5000mAh rechargeable battery |
Reolink Argus 4 Pro: Design & Handling
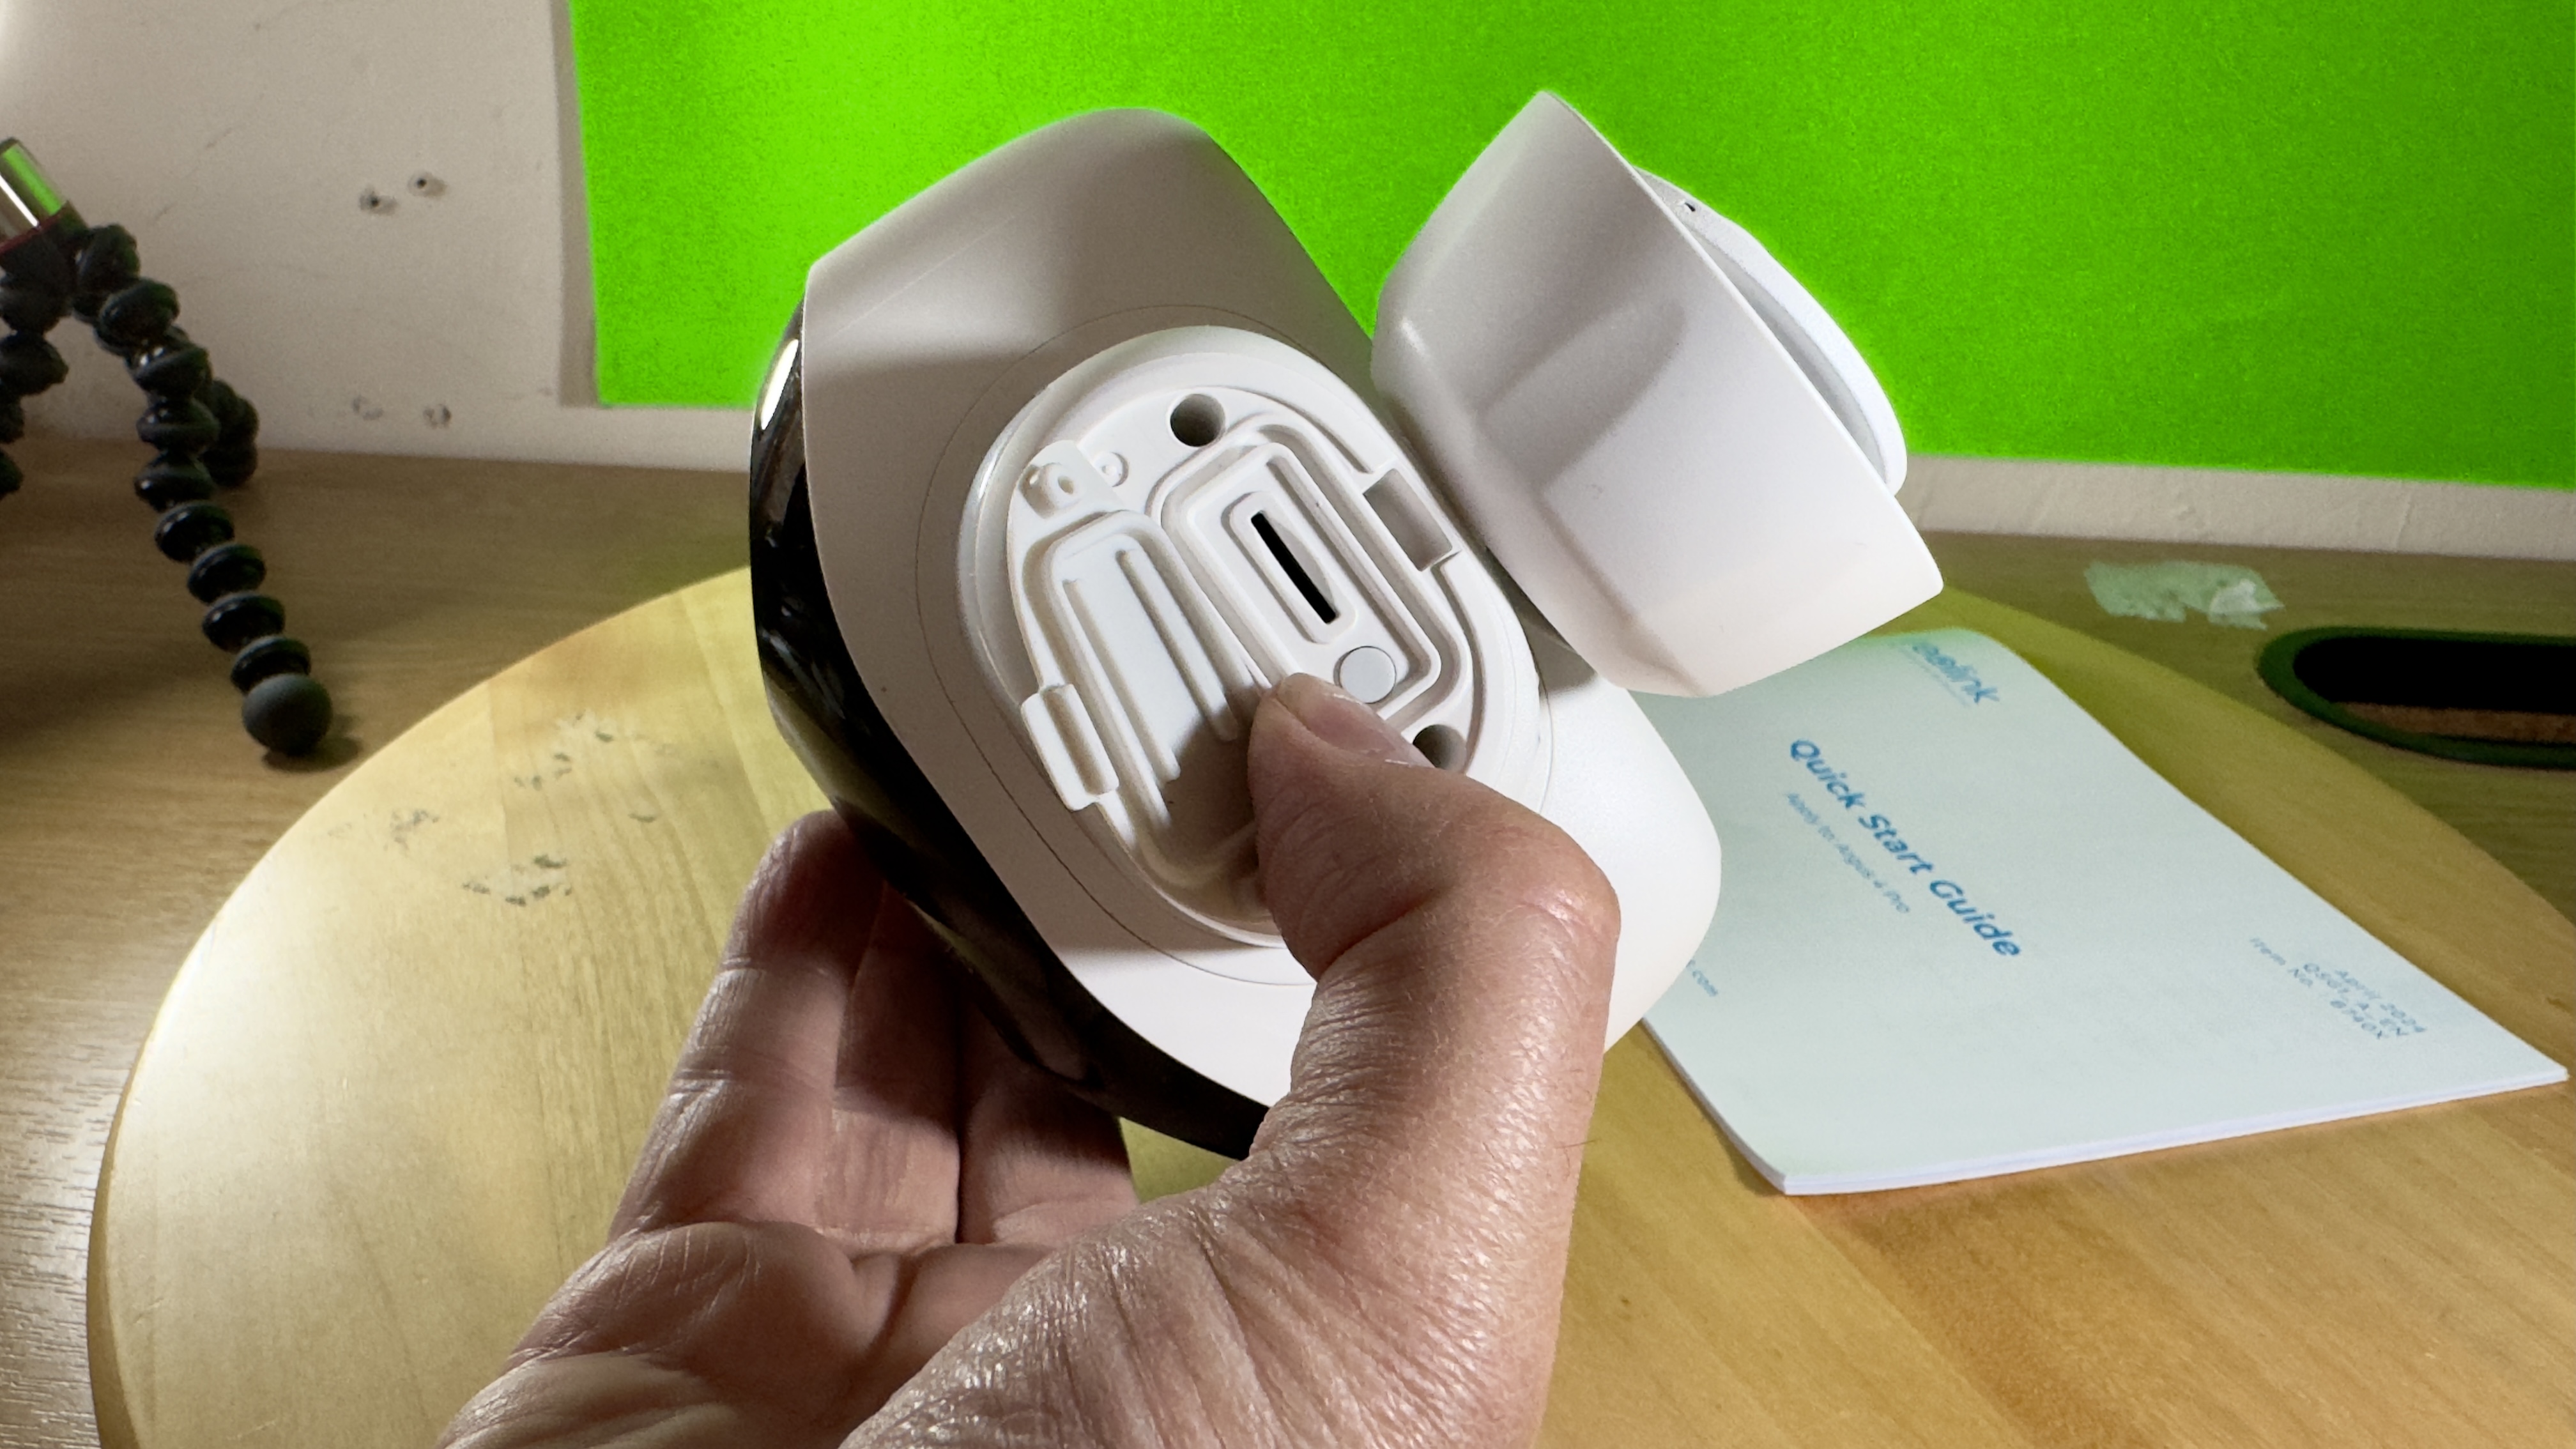
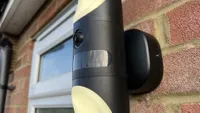
I must confess that although I’ve been commissioned to review the Reolink Argus 4 Pro for quite a while, I’ve found myself putting it aside in favor of mics, camera backpacks, and gimbals which are easier to set up than security cameras. The last security camera I tested - the Eufy S100 Wall Light Cam involved wiring up the camera to my home’s mains supply, which took over an hour of drilling and fiddling with wire cutters and screws. Thanks to the patient persistence of Reolink’s PR people (sorry again for the delay!) I unboxed the Argus 4 Pro and to my relief, it was a much quicker and easier process to get it up and running. I don’t do much DIY, but the Argus 4 Pro ships with a little paper template that enables you to drill two accurately placed holes in the exterior of your home. You can then screw in the mounting plate (with the supplied screws and plugs) and attach the plastic camera to the plastic plate via a screw thread.
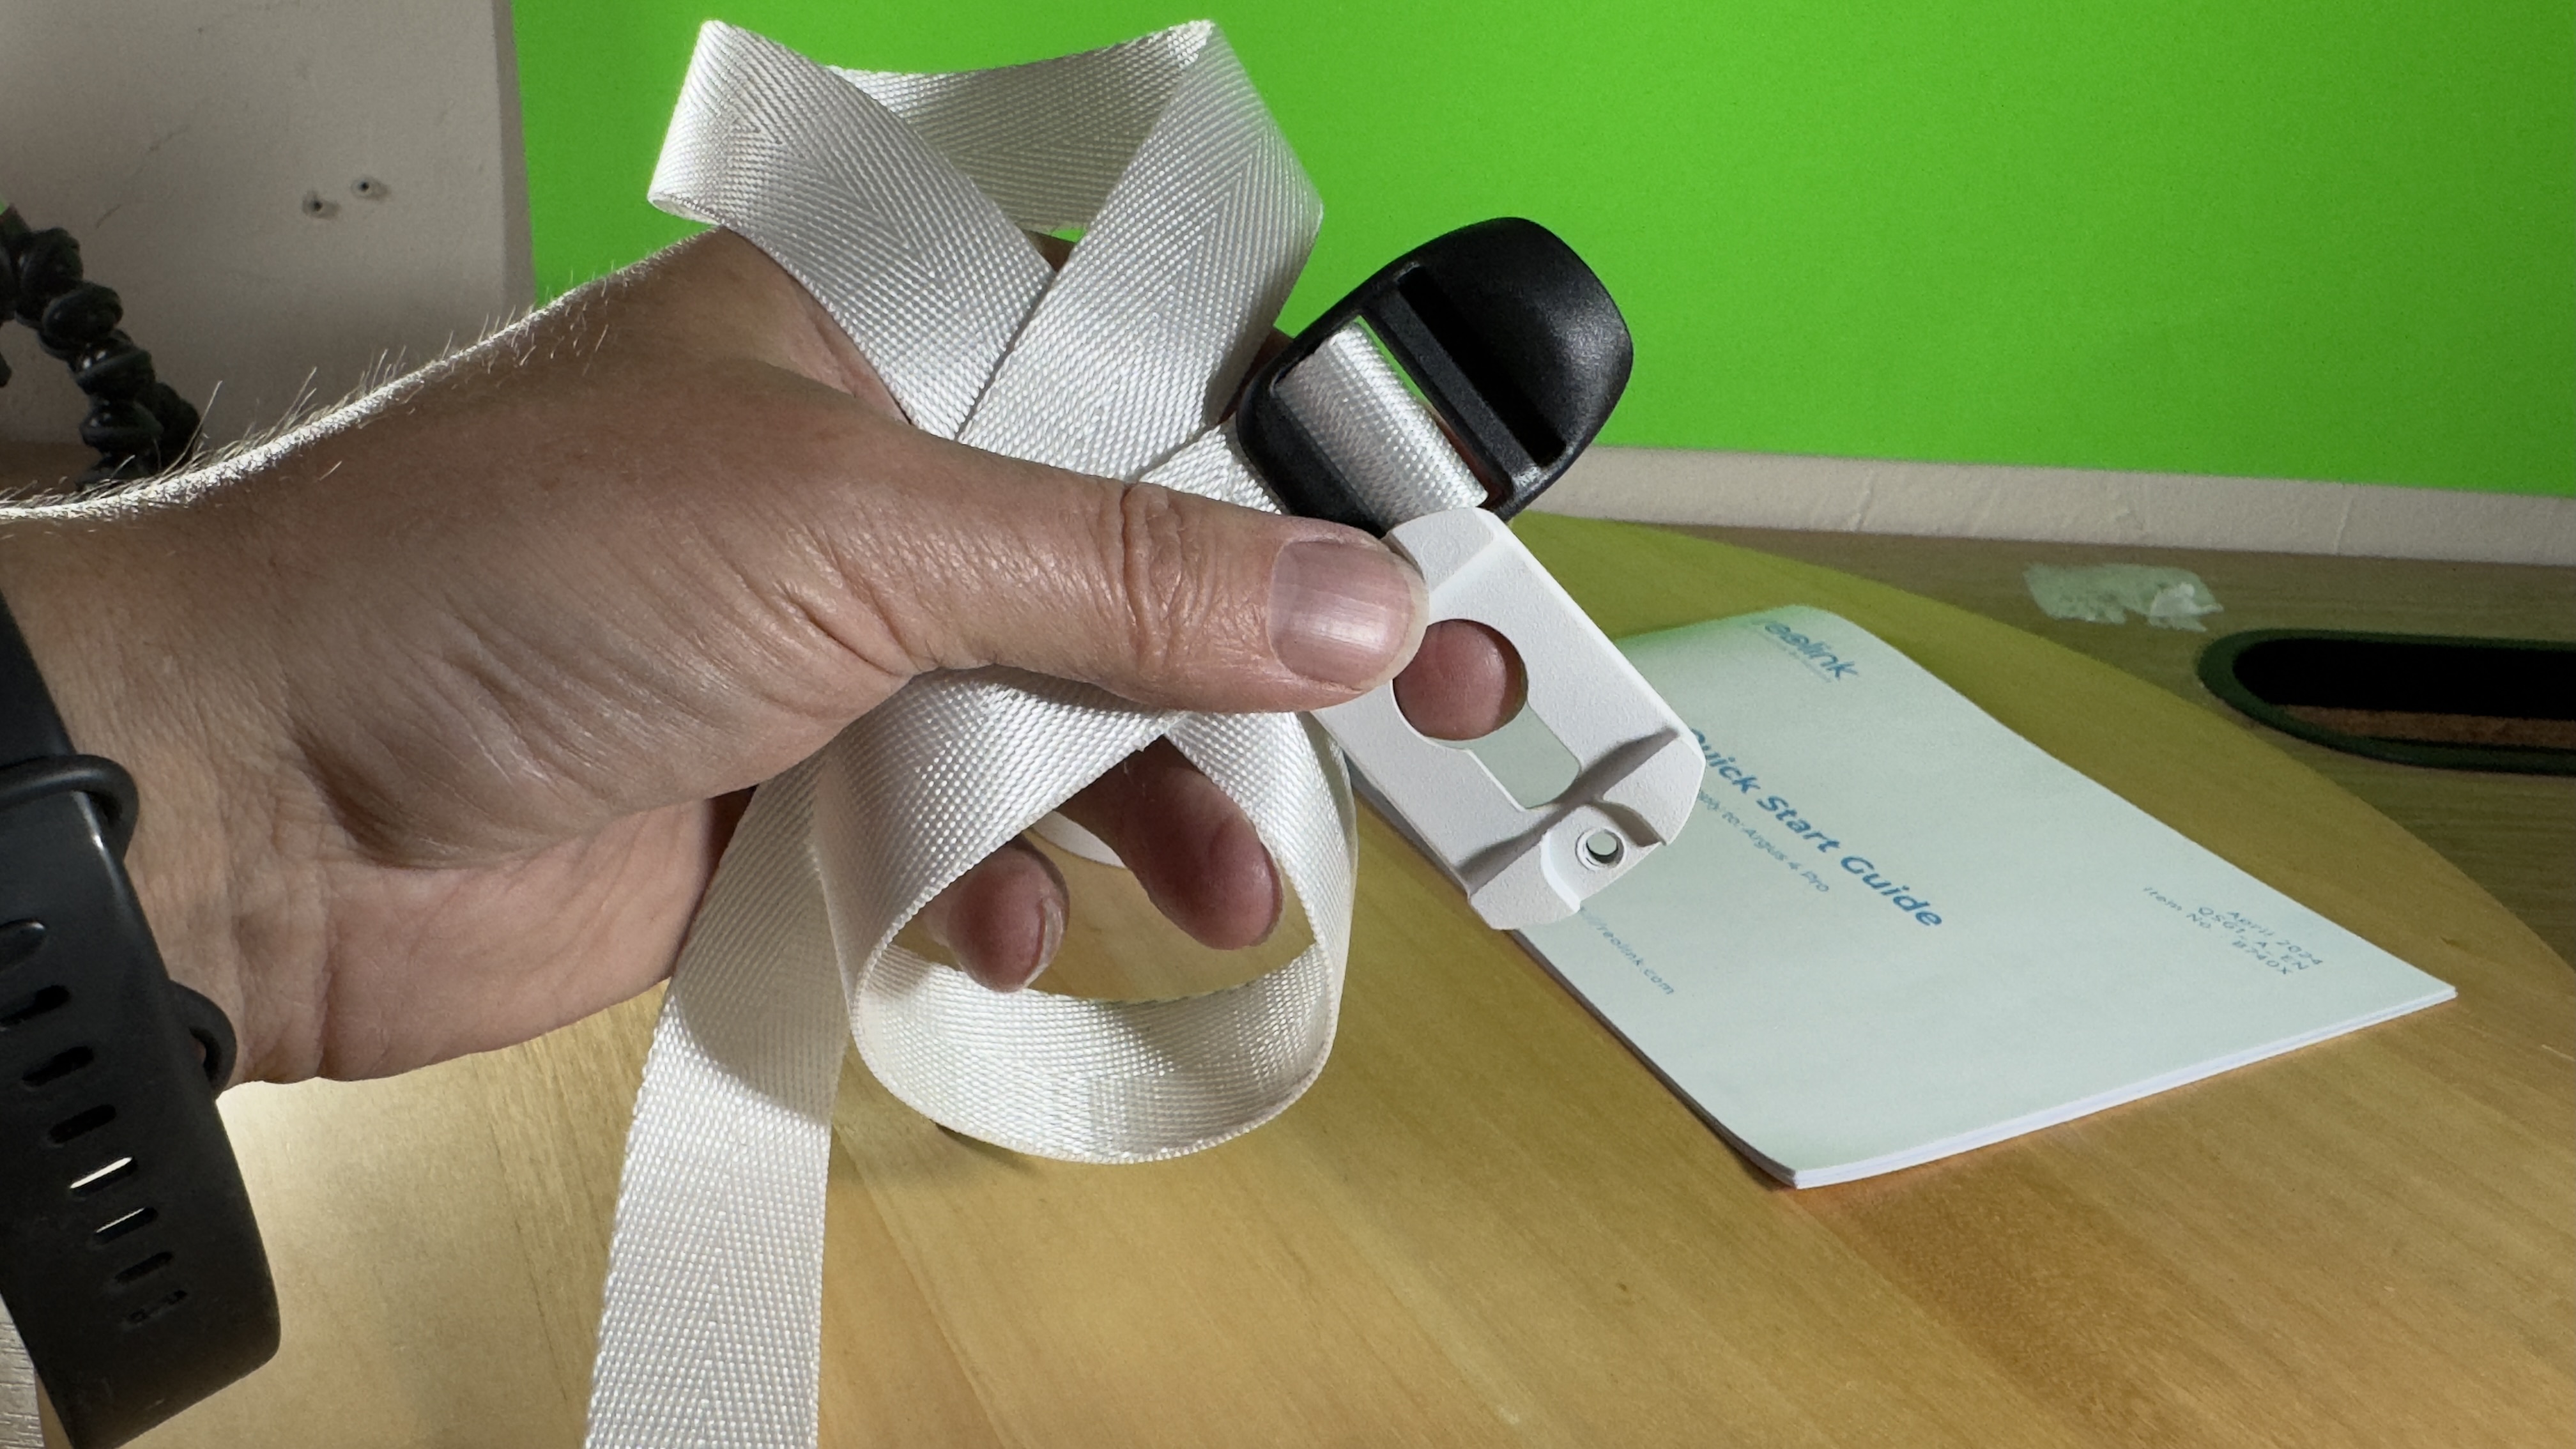
If you don’t fancy doing any DIY then the Reolink Argus 4 Pro ships with an alternative metal mount and a white strap that you can use to fit it securely to a tree or drain pipe. Just make sure you fit it within range of your WiFi router so that you can monitor the camera via the Reolink smartphone app.
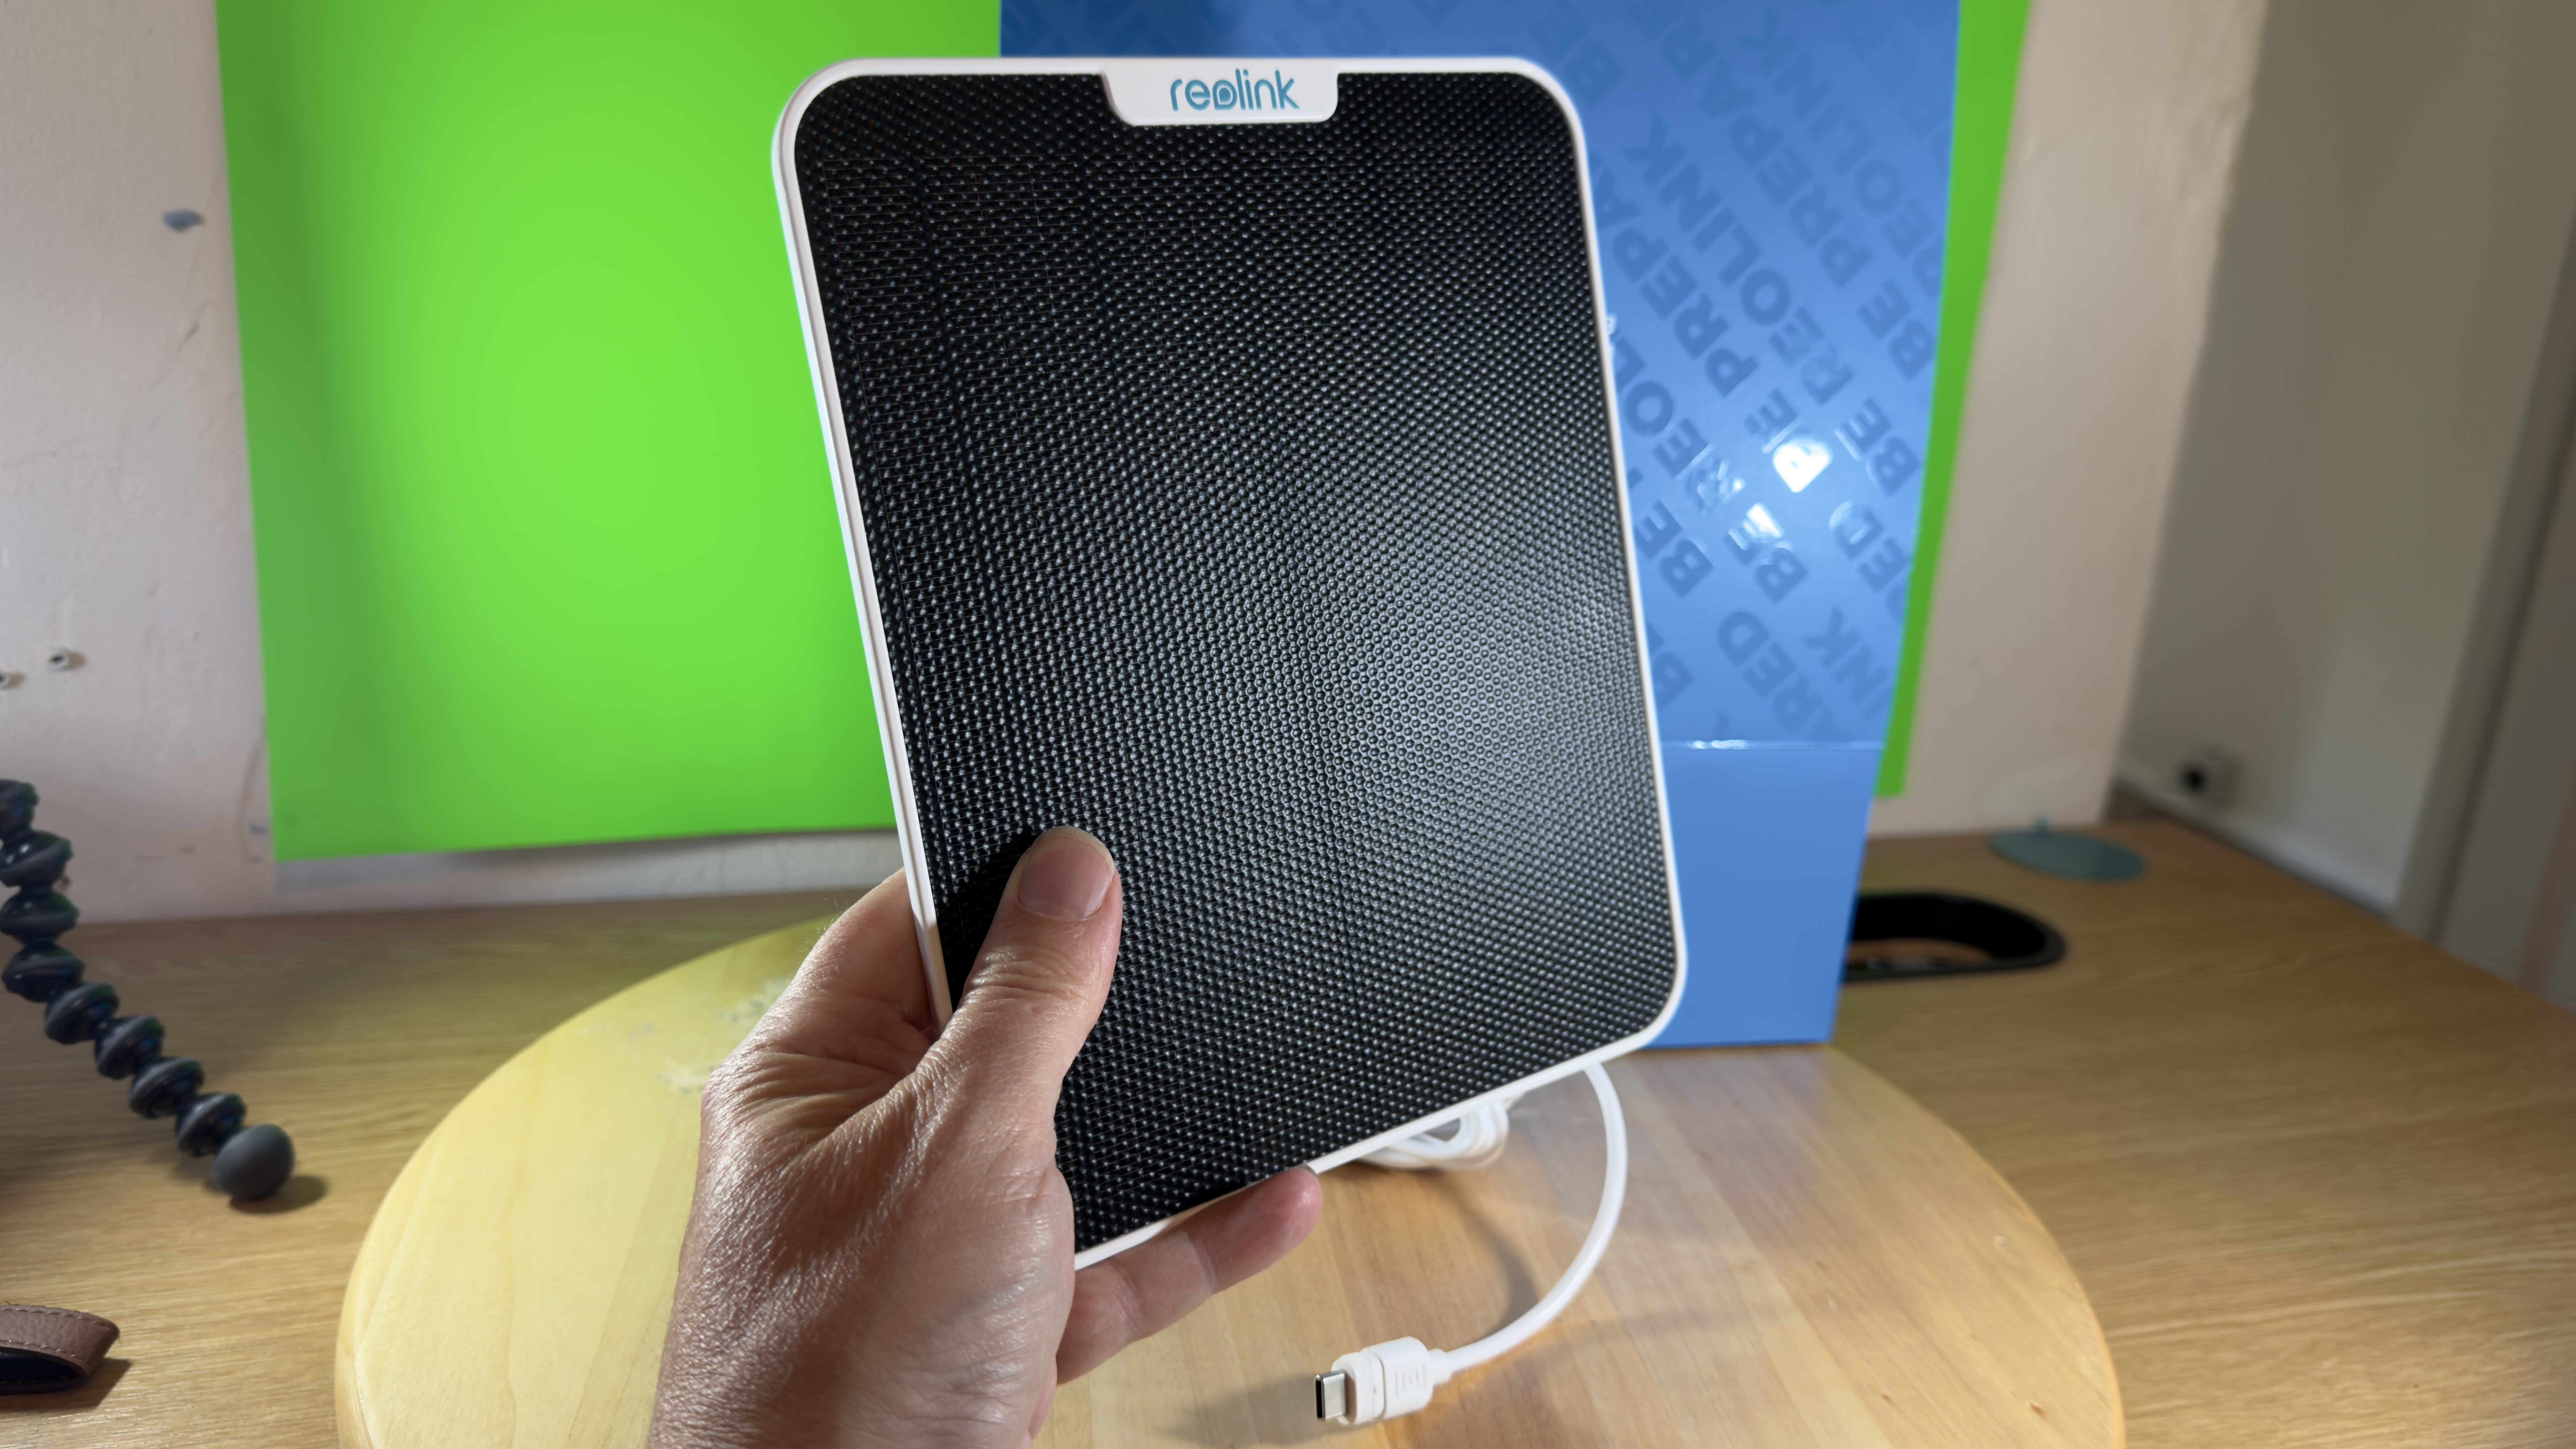
Once the camera has been charged via its USB-C socket and mounted to the wall you can easily unscrew it to remove it and then top up its battery charge. Alternatively, you can purchase a solar panel that you can plug into the Argus 4 Pro to keep its charge topped up by Mother Nature (though of course, it will be best if the camera and solar panel are on a sun-facing wall.)
The Argus 4 Pro has an eye-catching design. Instead of the usual single lens as typified by the Eufy Security 4G Starlight Camera, the Argus 4 Pro boasts two lenses. They are further apart than a human’s eyes would be but this enables the camera to capture a 180º field of view that covers the width of your front or back yard. This gives the camera the appearance of a robot owl, watching over your property day and night.
The best camera deals, reviews, product advice, and unmissable photography news, direct to your inbox!
Before I mounted the camera on the wall I followed the instructions in the Quick Setup Guide leaflet to connect it to my WiFi router. The guide told me to scan the QR code on the rear of the camera. I did so using my iPhone’s Camera app but this didn’t take me to a set-up page. I then realized that I needed to scan the code from within the Reolink app and from then on it was plane sailing to get the Argus 4 Pro to send footage to the Reolink app.
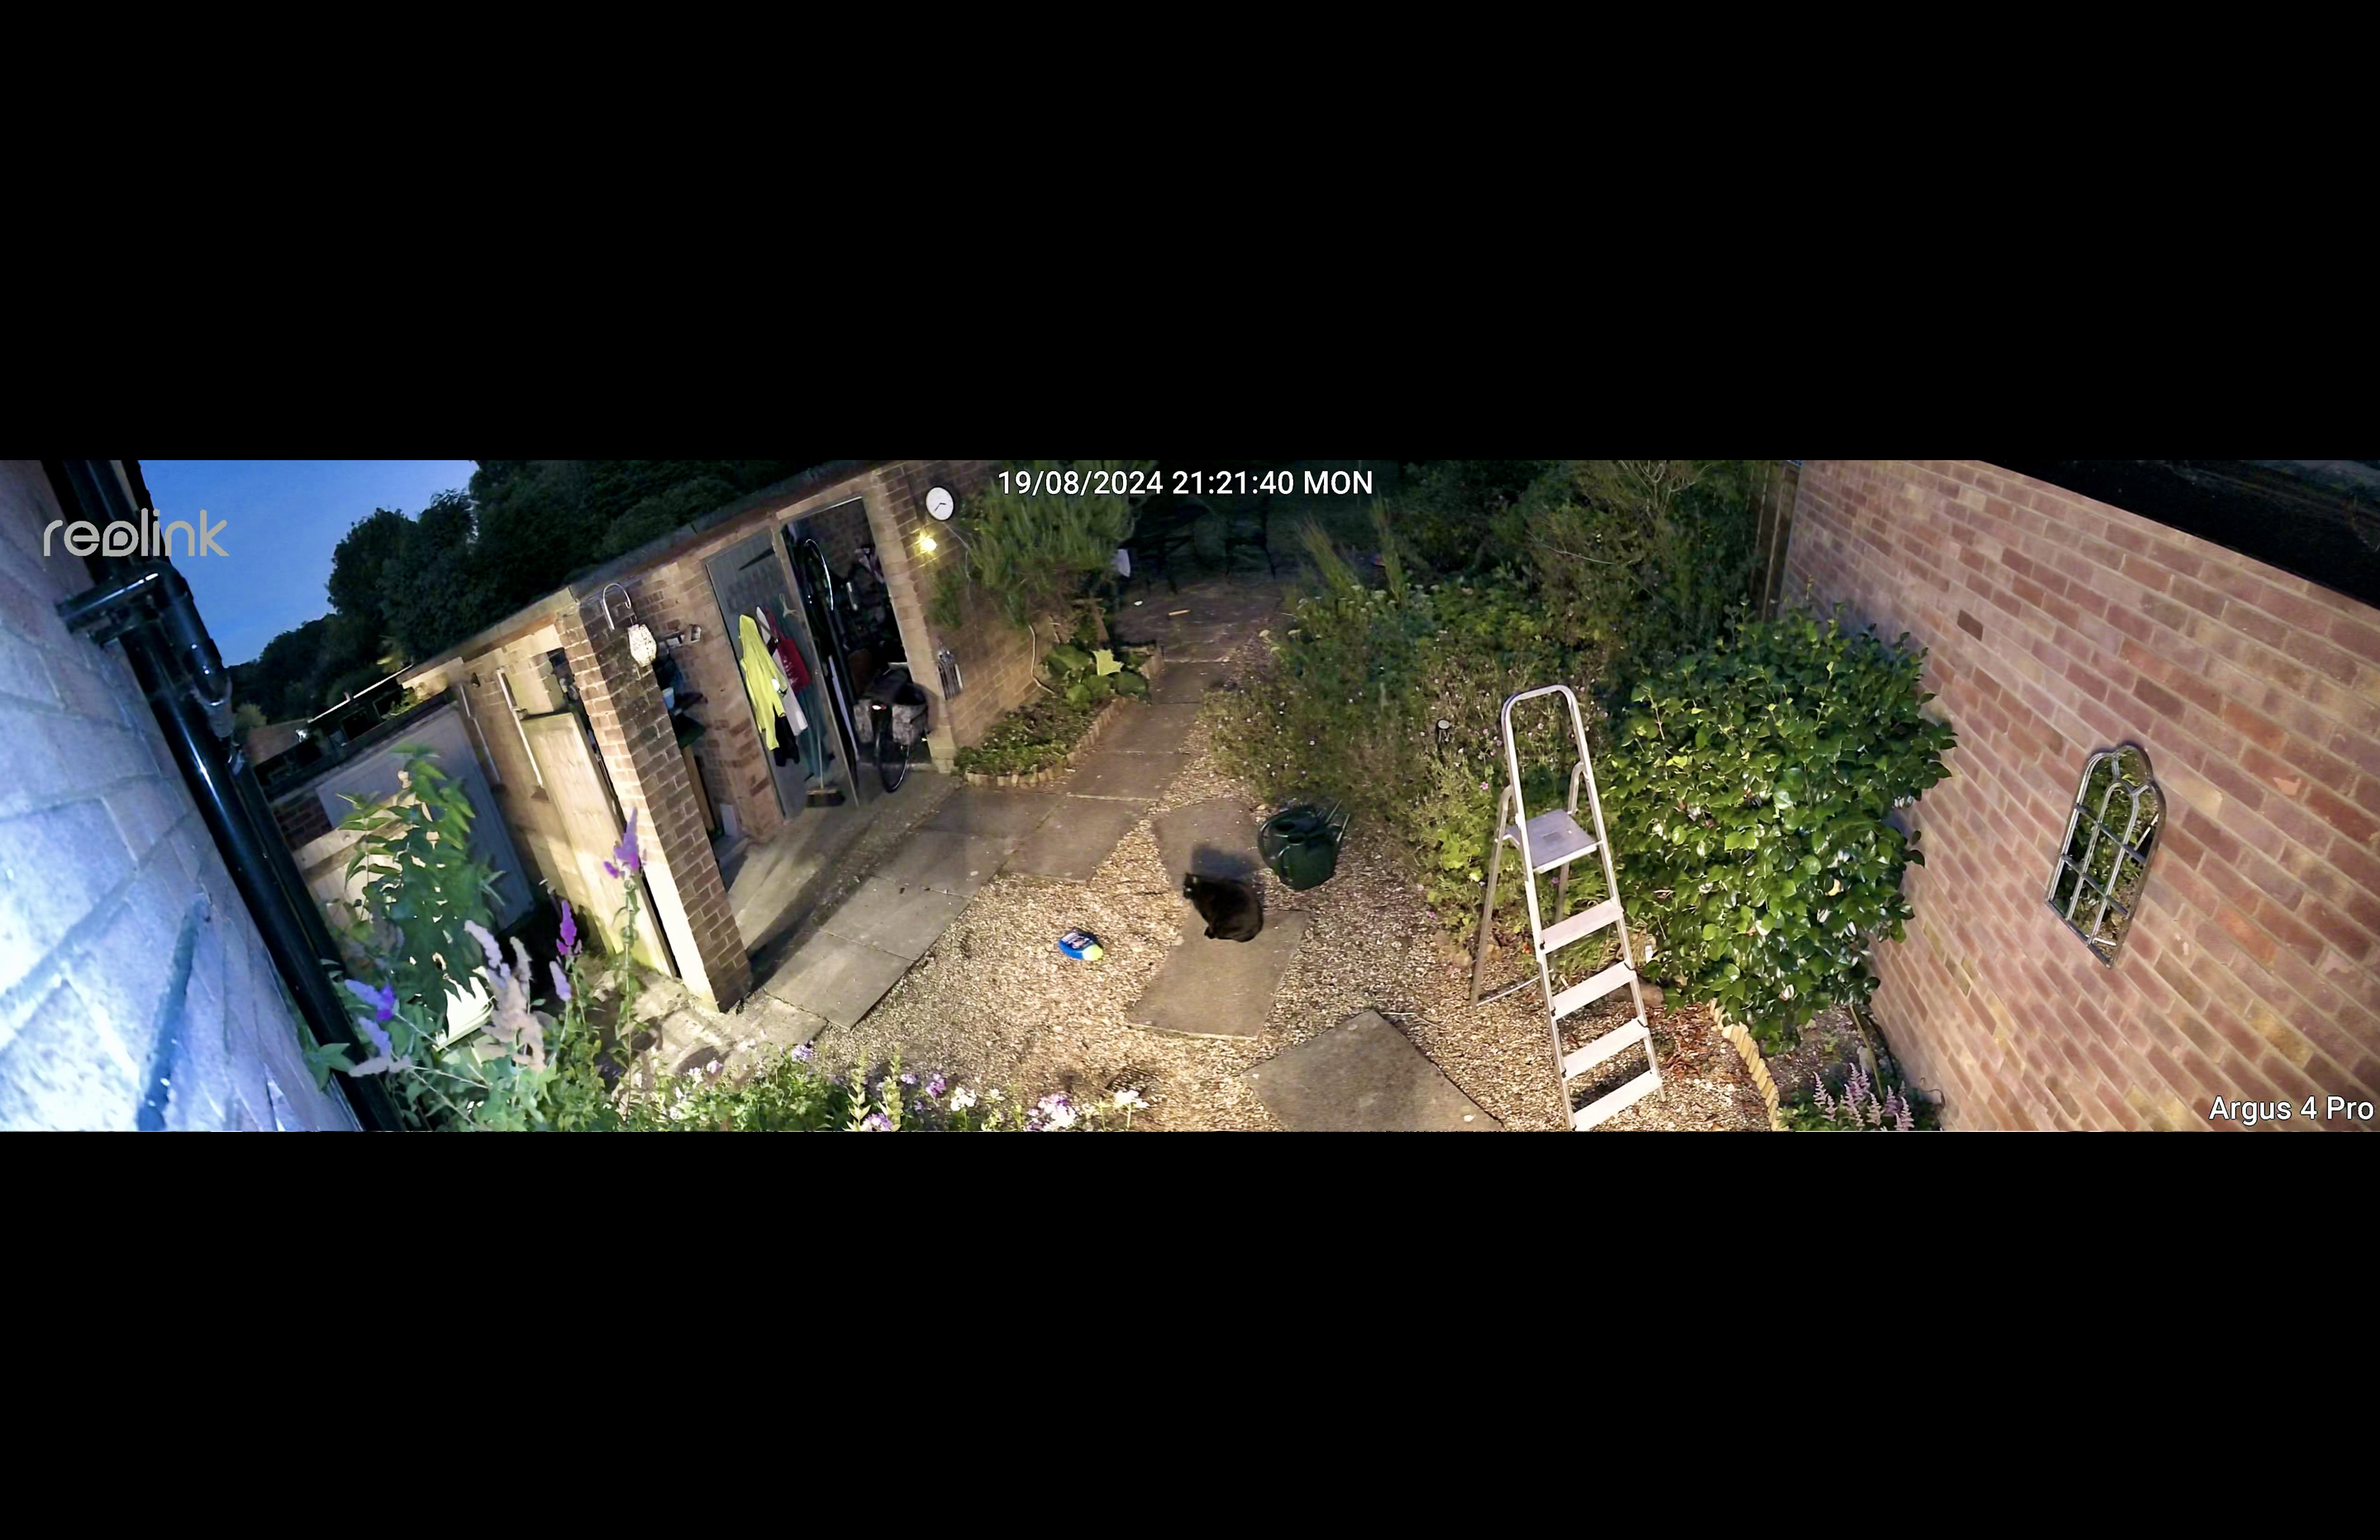
The footage does look good though (as you’ll see from our supporting video) and unlike some other cameras, the nocturnal footage is in full color as the camera uses ColorX true full-color night vision rather than infrared. You can also summon extra illumination from the Argus 4 Pro’s built-in spotlight by tapping the light icon in the app if you need to light someone in the foreground.
Reolink Argus 4 Pro: Performance
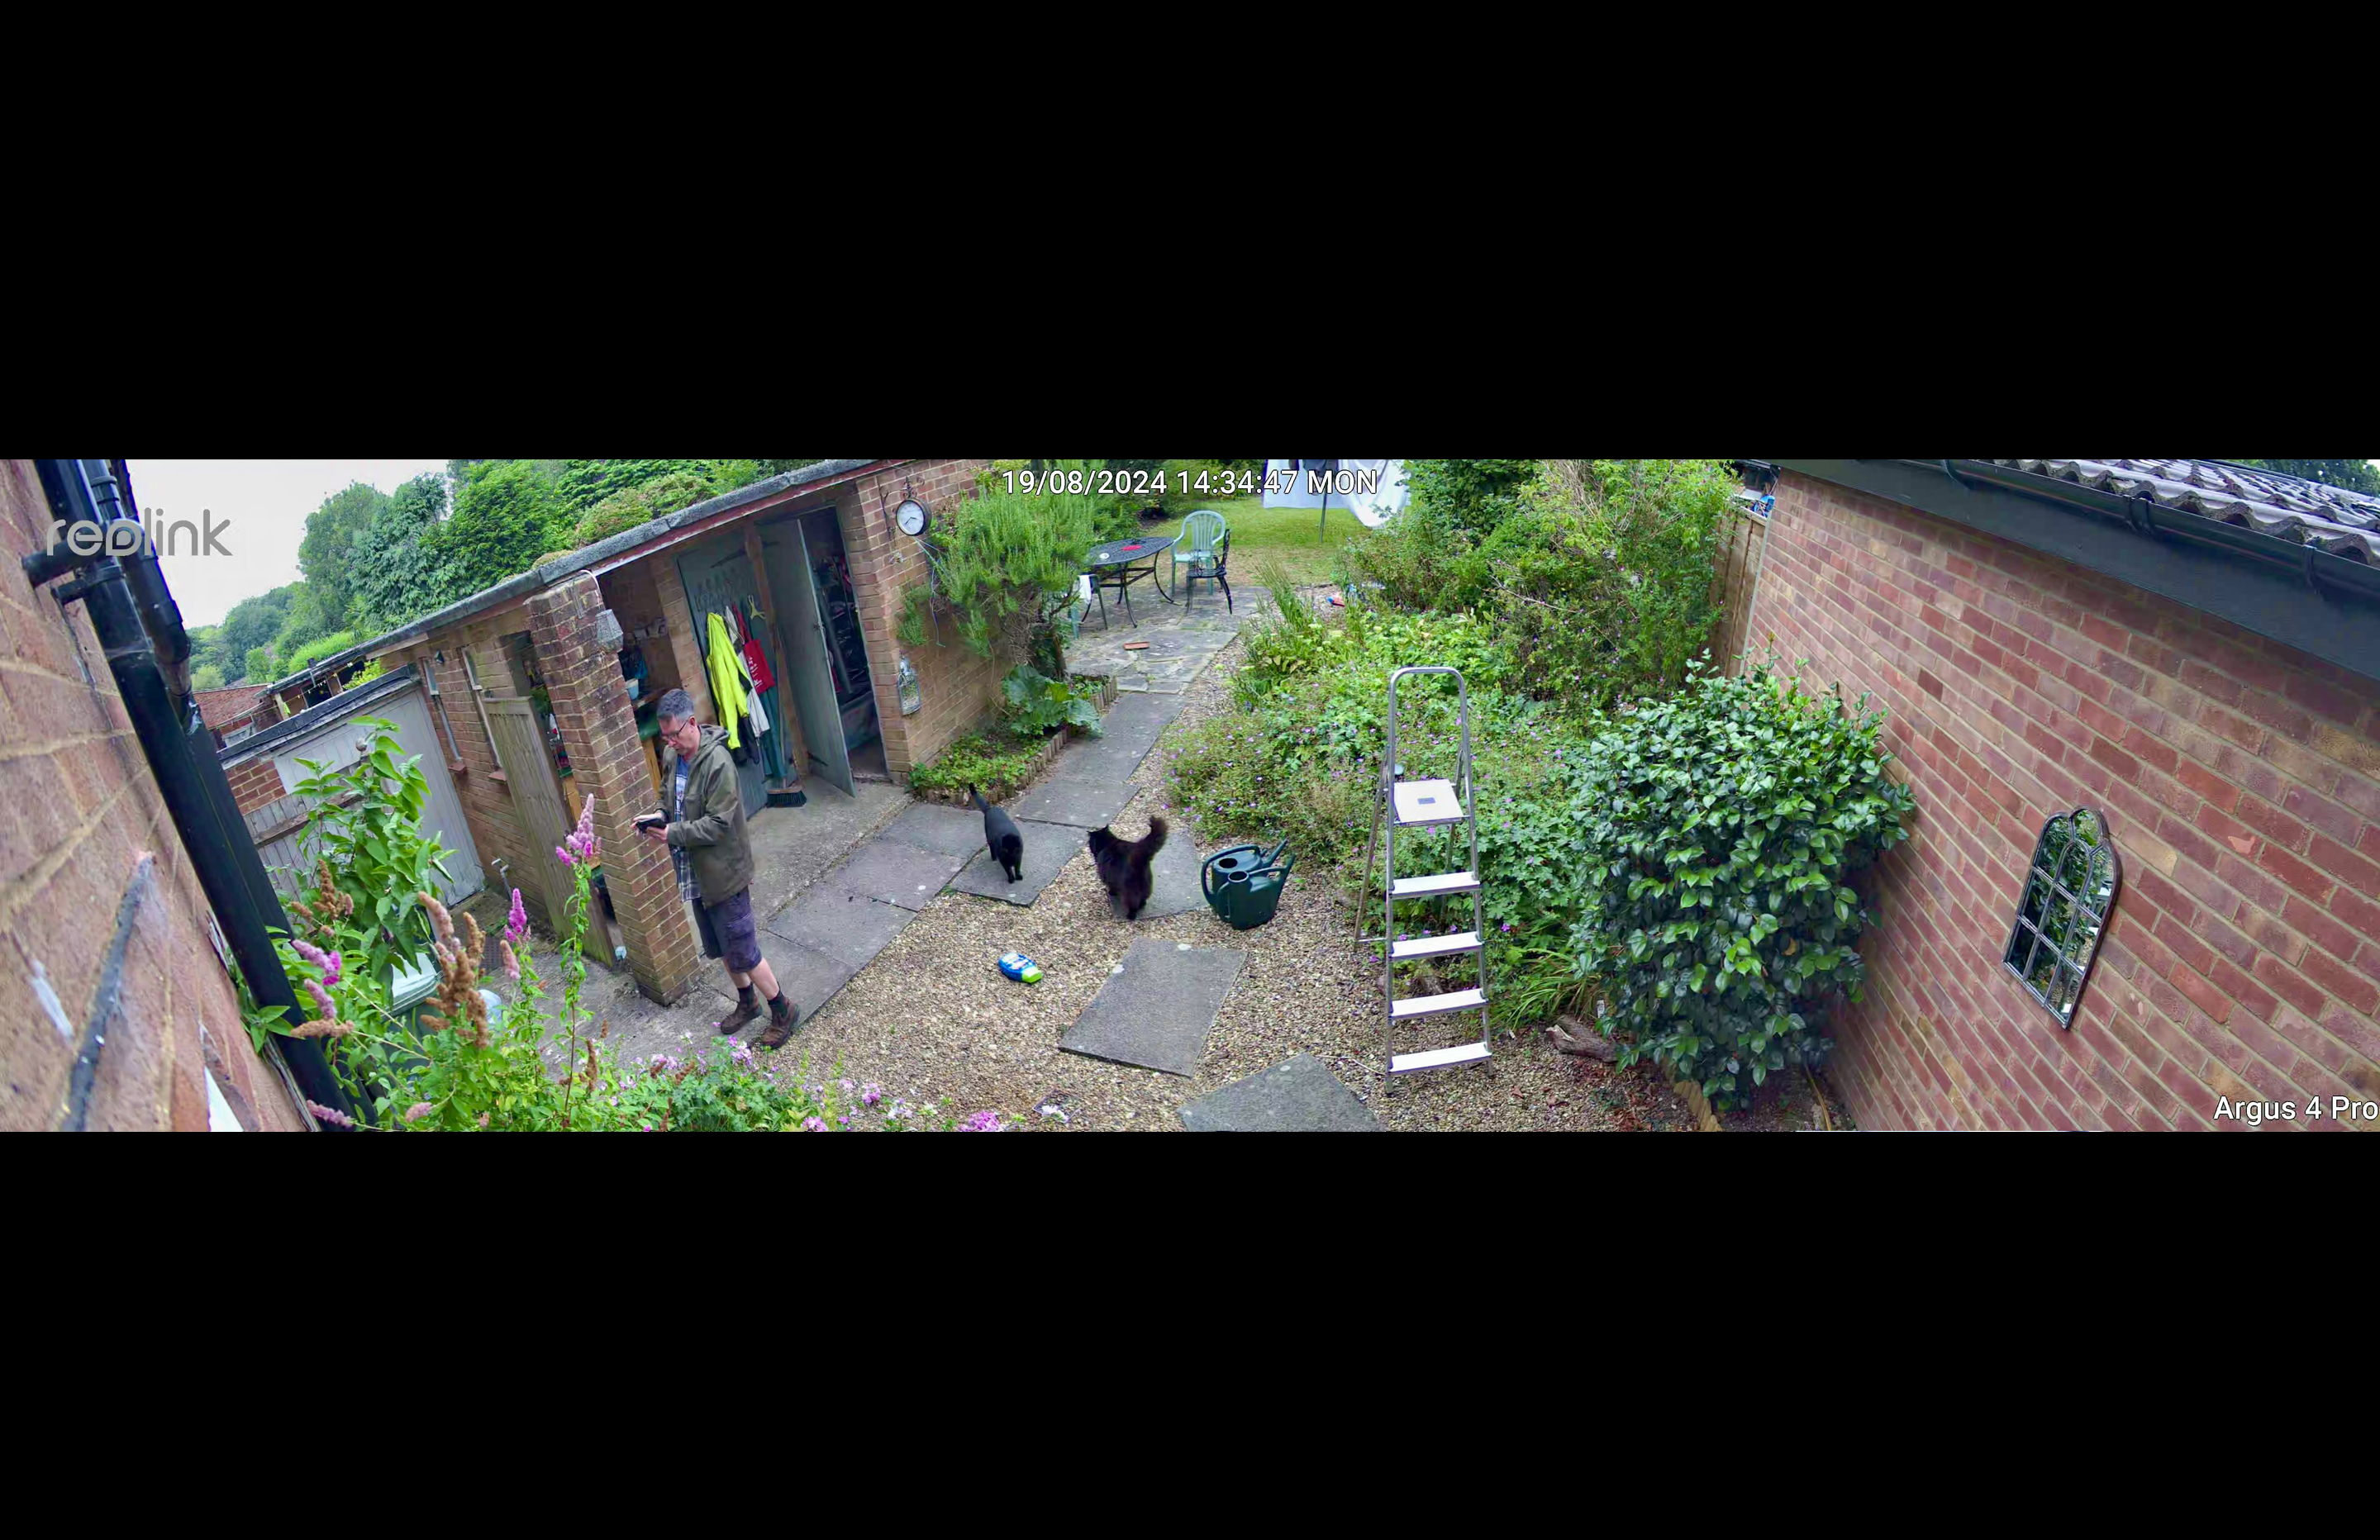
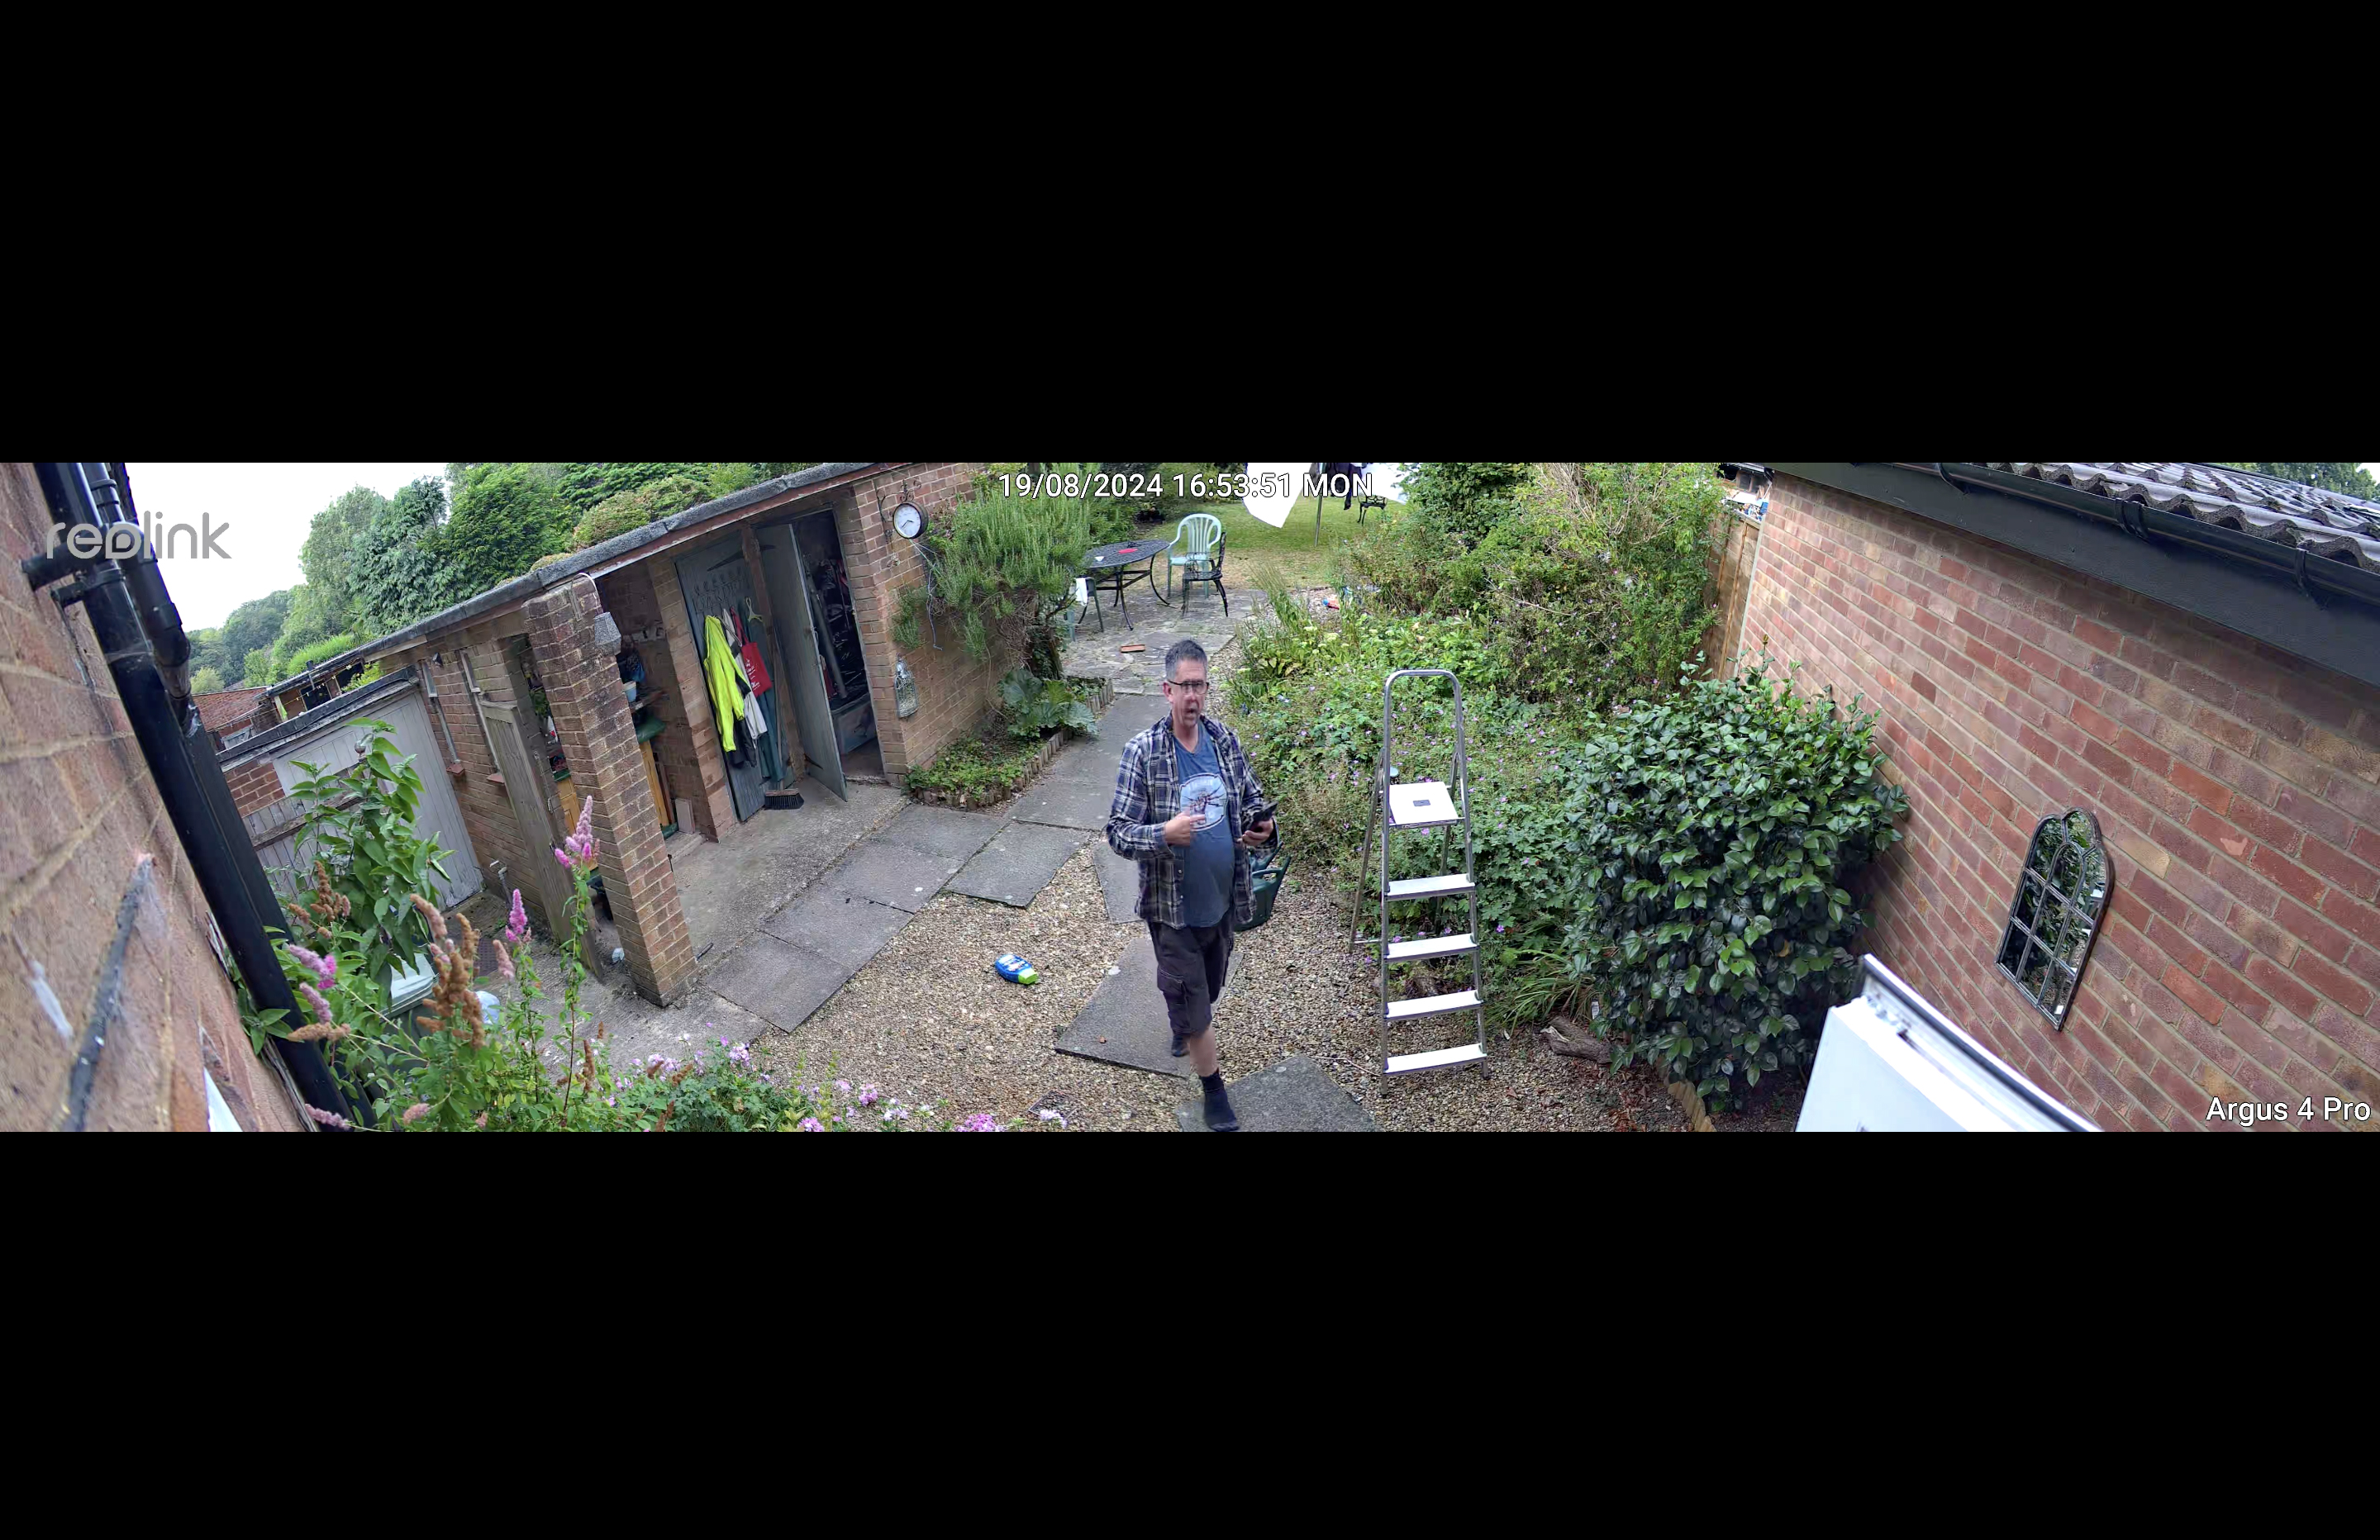
Once I had attached the Argus 4 Pro to its wall-mount I enjoyed seeing the camera’s 180º feed from within the Reolink app. Reolink describes the footage as being 4K but this isn’t strictly accurate. 4K footage measures 3840 x 2160. The 180º field-of-view footage from the Argus 4 Pro is much wider than 4K at 5120 pixels, but at 1440 pixels it’s not as tall. When viewed on a smartphone this creates a narrow band of footage letterboxed by large black bars above and below the clip. In effect this makes the Argus 4 Pro’s feed look very narrow on a smartphone but you can pinch to zoom in on the feed in the Reolink app to get a closer look at a visitor who has triggered the alert. As well as being panoramic (with only a 50º of vertical field of view) the footage runs at between 10 and 15 frames per second, so it will look jerkier if you compare it to 30 fps 4K footage from other cameras.
The Argus 4 Pro creates its wide field of view by using two lenses. It therefore needs to stitch the footage together to create its panoramic clips. This stitching isn’t perfect, resulting in a slight mismatch when a person stands in the stitched area at the center of the frame. This is a bit of an Achille’s Heal for the Argus 4 Pro as it means that you can’t clearly identify someone who’s standing in the centre of the field of view. The camera is marketed as having no blind spot by covering a 180º field-of-view, but technically this blur in the stitching means that there is a small blind spot bang in the middle, and that loses it half a star rating.
The free Reolink smartphone app is very useful. When an alert pings into view you can tap on it to open the Reolink app and view your visitor in real time. By tapping the Camera icon you can record the footage onto your smartphone. You can also tap the Mic icon to hear the visitor speaking via the camera, and there’s a handy Talk icon that you can press to tell a postman to leave a parcel in a specific place, for example. On the downside, the little speaker on the camera isn’t very loud so you might have to shout to communicate with a visitor! The nice thing about the Argus 4 Pro is that you can receive alerts, view footage, and even talk to people live via the camera’s speaker - even if you’re miles away. The camera feed transfers via Wi-Fi to your router and then to your phone via your service provider’s data package.
If you don’t notice a pop-up alert on your smartphone the Reolink Argus 4 Pro can also capture incidents directly onto a card in its micro SD slot (though you need to supply the card). You can then stream these recordings via the Reolink app later. This is handy if you want to see what triggered the camera to start recording during the night. You can easily share these recordings (to the police for example) with a tap via the app so that an extra level of security might help keep your home insurance premium down a bit. It is possible that a burglar could unscrew the Argus 4 Pro from its wall mount and remove the evidence of their presence by stealing the camera. So for a small monthly fee (£3.49 in the UK), you can get the Argus 4 Pro to send recorded incidents safely to the cloud where they can be accessed via the Reolink smartphone app. The £3.49 fee includes 30GB of storage space.
Talking of unwanted visitors you can set the Argus 4 Pro to emit an audio alarm when it detects motion. You can also trigger this alarm manually when you’re watching the live feed from the camera on your phone to ward off intruders. It could be annoying if the audio alarm goes off when the cat wanders home. Nor do you want a passer-by (or a neighbor in the garden) to trigger an alert. Fortunately, you can use the Reolink app to make the Argus 4 Pro create non-detection zones. It can also be customized to be more or less sensitive to people and animals using a slider. You can also get it to draw a tracking box around a subject (such as a person or a cat) to make them easier to spot. Indeed the Argus 4 Pro can recognise people and animals and you’ll see a paw print icon in the app’s feed when a pet is detected. It will display a person-shaped icon for people that it spots.
Reolink Argus 4 Pro: Verdict
All in all the Reolink Argus 4 Pro is an affordable way to provide you with peace of mind when you’re at home or out and about, thanks to video notifications on your smartphone of any motion-detected activity. And as I tested it on a windy day it is clever enough to only detect people, not wind-blown trees (thanks to its Passive Infrared (PiR) sensor.) The stitching between the two lenses isn’t perfect with a blurred seam down the middle, but the 180º of wide-angle coverage is very welcome.
I’m not a big fan of the panoramic shape of the captured clips as key details look quite small on my iPhone’s screen (especially when bordered top and bottom by large black bars). The two-way mic works better when listening via the camera but your voice is very faint when emitted via the camera’s speaker (even when it’s turned to full volume).
So it’s not a perfect device, but it's affordable and should detect (and even deter) unwanted visitors without blowing your budget.
| Features | A spotlight, two-way mics and panoramic field of view. | ★★★★☆ |
| Design | A sleek body with two widely spaced lenses evoke an owl. | ★★★★☆ |
| Performance | The blur in the middle of the stitched panorama can make it hard to identify a person. | ★★★☆☆ |
| Value | It’s an affordable mic but to maximise performance you need to pay extra for an SD card and/or cloud storage. | ★★★☆☆ |
✅ Buy it...
- You need a wide field of view
- You want full-color footage at night
- You need to store recordings locally or on the cloud
- You need easy ways to mount it
🚫 Don't buy it...
- You need its panoramic camera footage to match standard 4K resolution
Alternatives
Eufy Security 4G Starlight Camera
If you want to survey and protect an area that is too far from your home router’s Wi-Fi signal then consider this more expensive alternative to the Reolink Argus 4 Pro. The Eufy Security 4G Starlight Camera contains a 4G LTE SIM card that enables to to transmit video footage from any location. Its battery should last for 3 months before a recharge, or you can plug in one of Eufy’s solar panel chargers for a lower maintenance power solution. Like the Argus 4 Pro, the Eufy 4G Starlight deters intruders with a flashing light and audio alarm.
The 2-in-1 Eufy Wall Light Cam provides a motion-detected light source when someone arrives at your front door. It also keeps a watchful eye on your property via its discrete lens. It automatically alerts you via smartphone when someone approaches and records clips to review later. Thanks to a built-in mic you can talk to people via the Wall Light Cam’s speaker, even when you’re miles from home. You don’t need an SD card either as footage is stored locally on the Wall Cam, so you can browse past incidents and download them to your smartphone.
George has been freelancing as a photo fixing and creative tutorial writer since 2002, working for award winning titles such as Digital Camera, PhotoPlus, N-Photo and Practical Photoshop. He's expert in communicating the ins and outs of Photoshop and Lightroom, as well as producing video production tutorials on Final Cut Pro and iMovie for magazines such as iCreate and Mac Format. He also produces regular and exclusive Photoshop CC tutorials for his YouTube channel.
