Take your editing to creative heights with Luminar AI
Many photographers have pre-defined workflows where they edit their images according to their own style and creative vision. While this is a great way of defining yourself as a photographer in a world bursting with photos, it remains beneficial to approach some images with a healthy dose of experimentation and discover new creative approaches.
Luminar AI takes all the hard work out of editing images, by focusing on results instead of complicated tools and processes that make many advanced editing techniques unachievable to the masses. Luminar AI makes light work of professional editing techniques, and this includes access to many creative effects that will help your images stand out from the crowd.
The creative tools and controls in Luminar AI range from simple one-click edits, using Templates to applying LUTs, to adding textures to create colour, haze and blur effects. Suffice to say, despite Luminar AI providing a friendly and helpful hand to guide you during editing, it’s still possible to create distinctive and creative results.
All editing in Luminar AI is non-destructive, which means the effects you apply are saved within the software, but the underlying image pixels are left untouched; it’s only when you export an image that your edits are permanently applied to that exported file, which means that you should dive deep into the software and experiment to your heart’s content. You’ll quickly see how Luminar AI can be both a hugely creative tool and easy to use.
Use Local Masking to apply textures to your shots
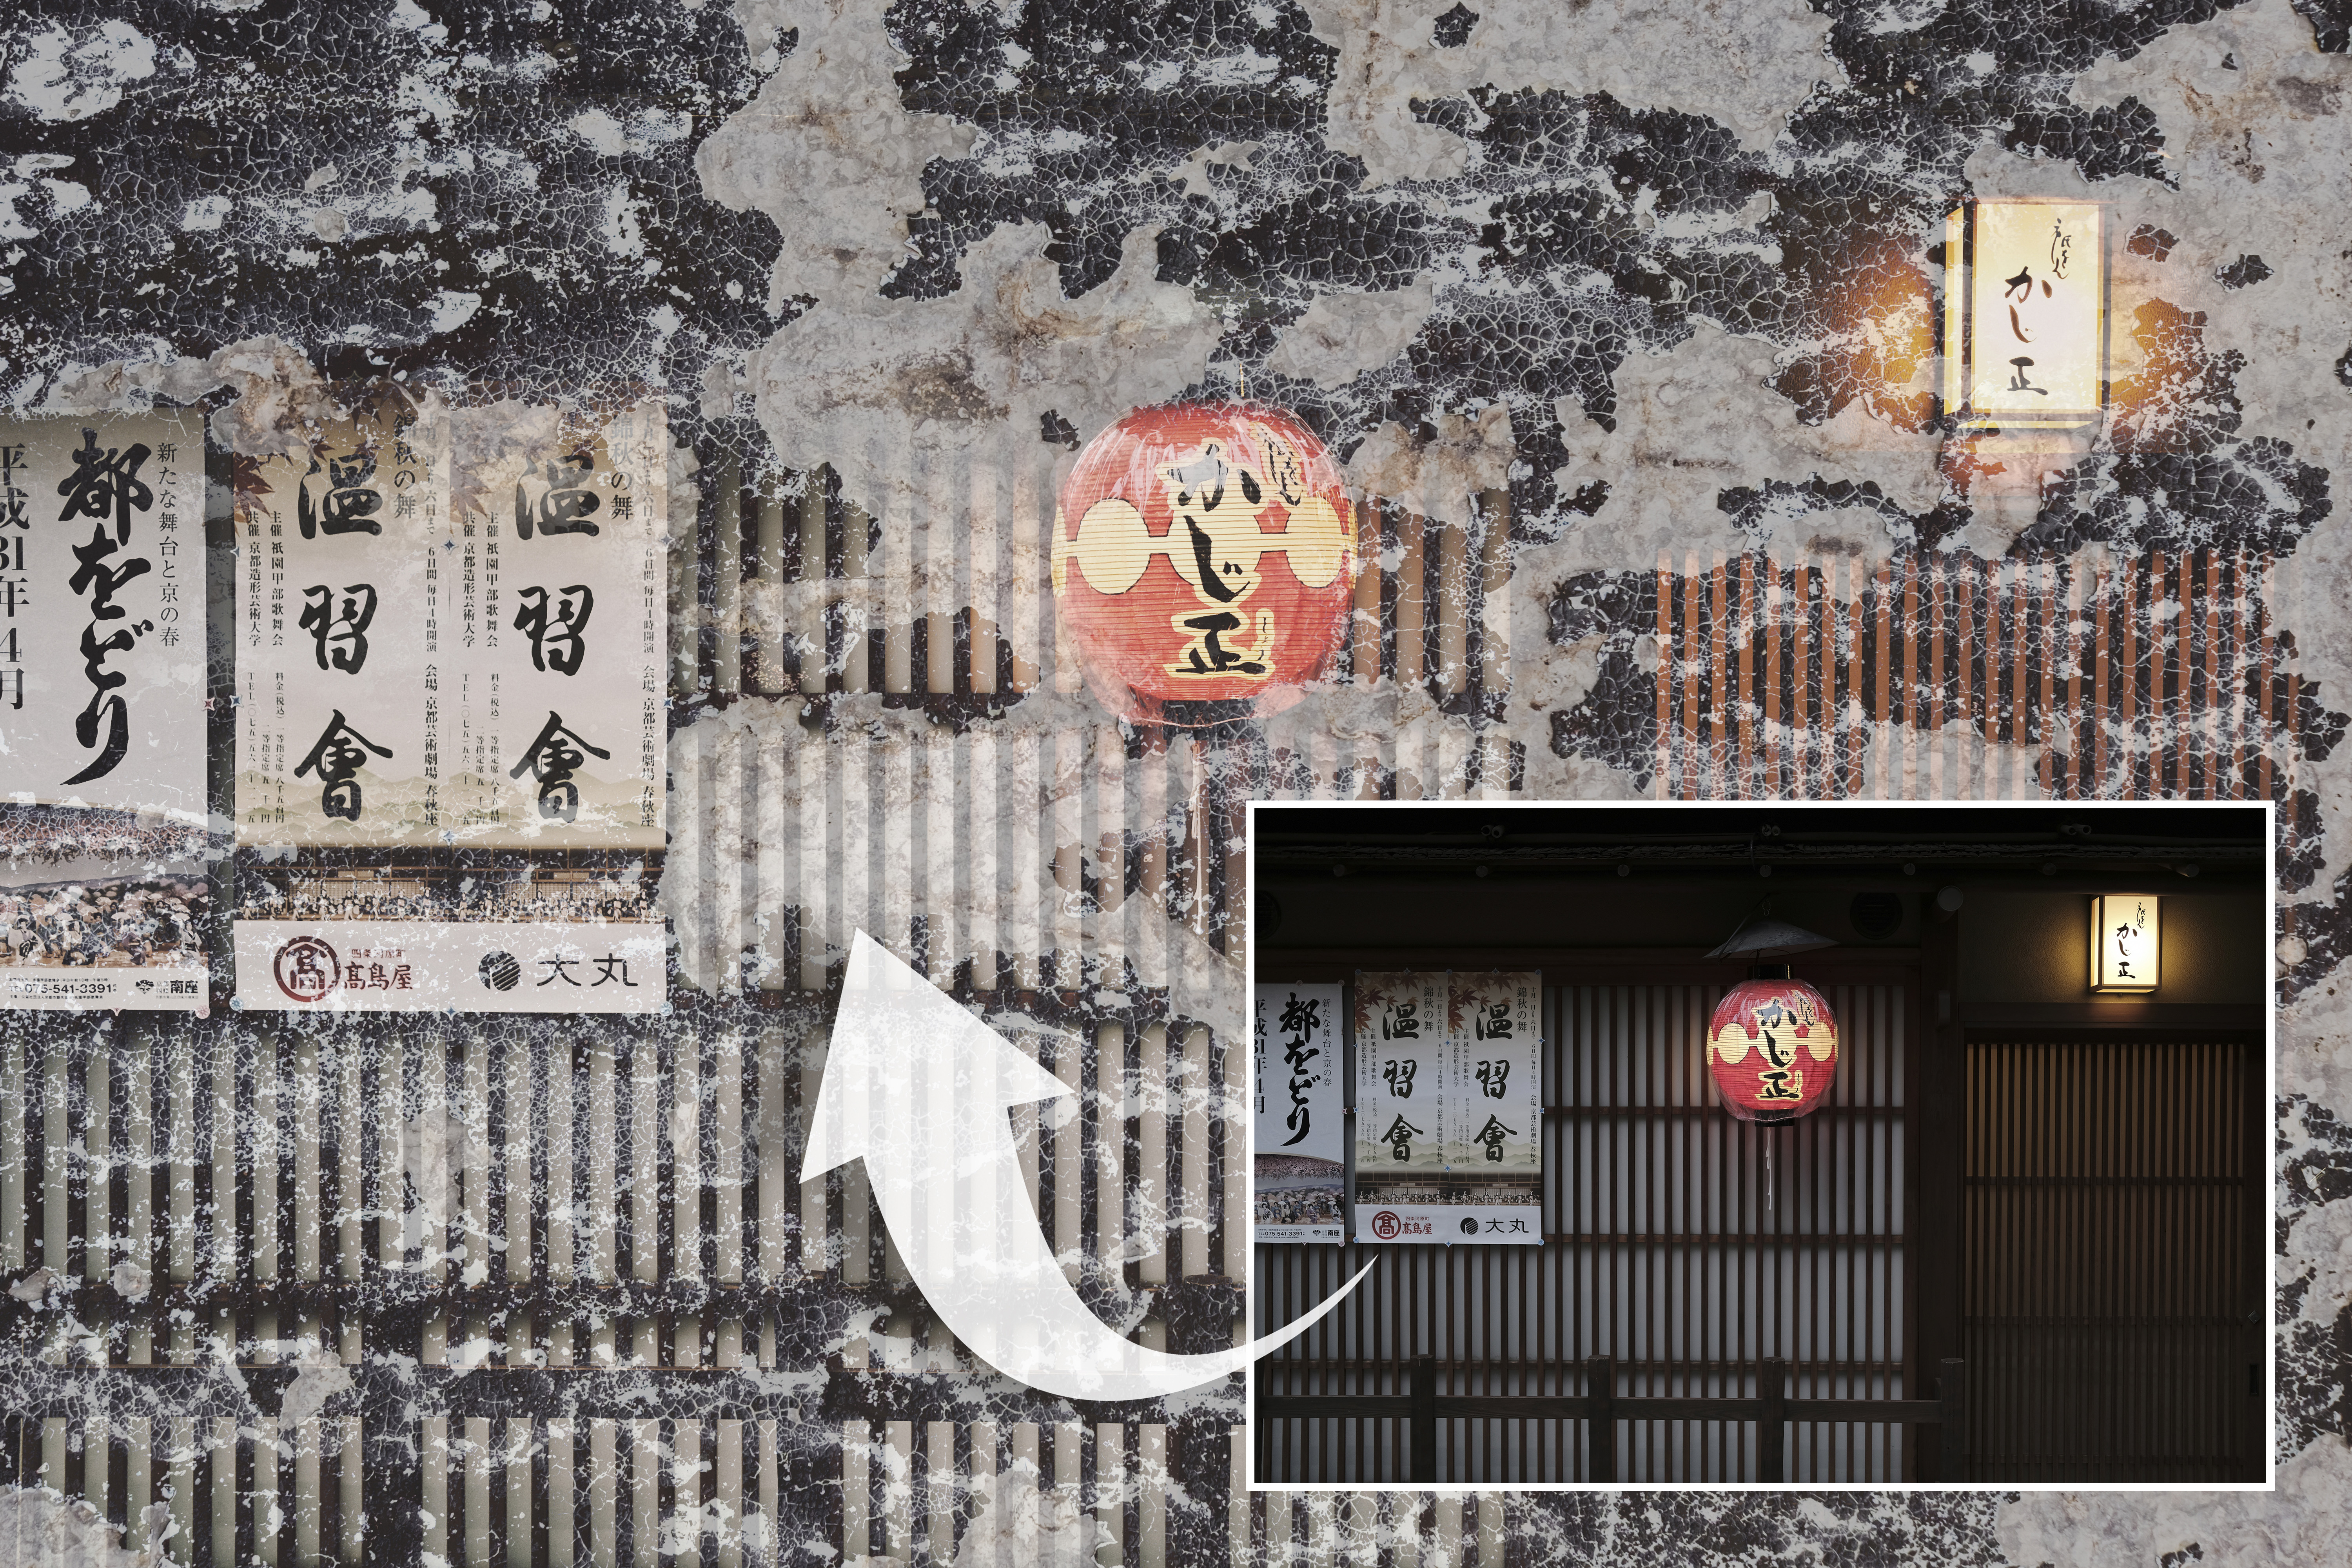
Add a sense of grittiness and depth using your own textures
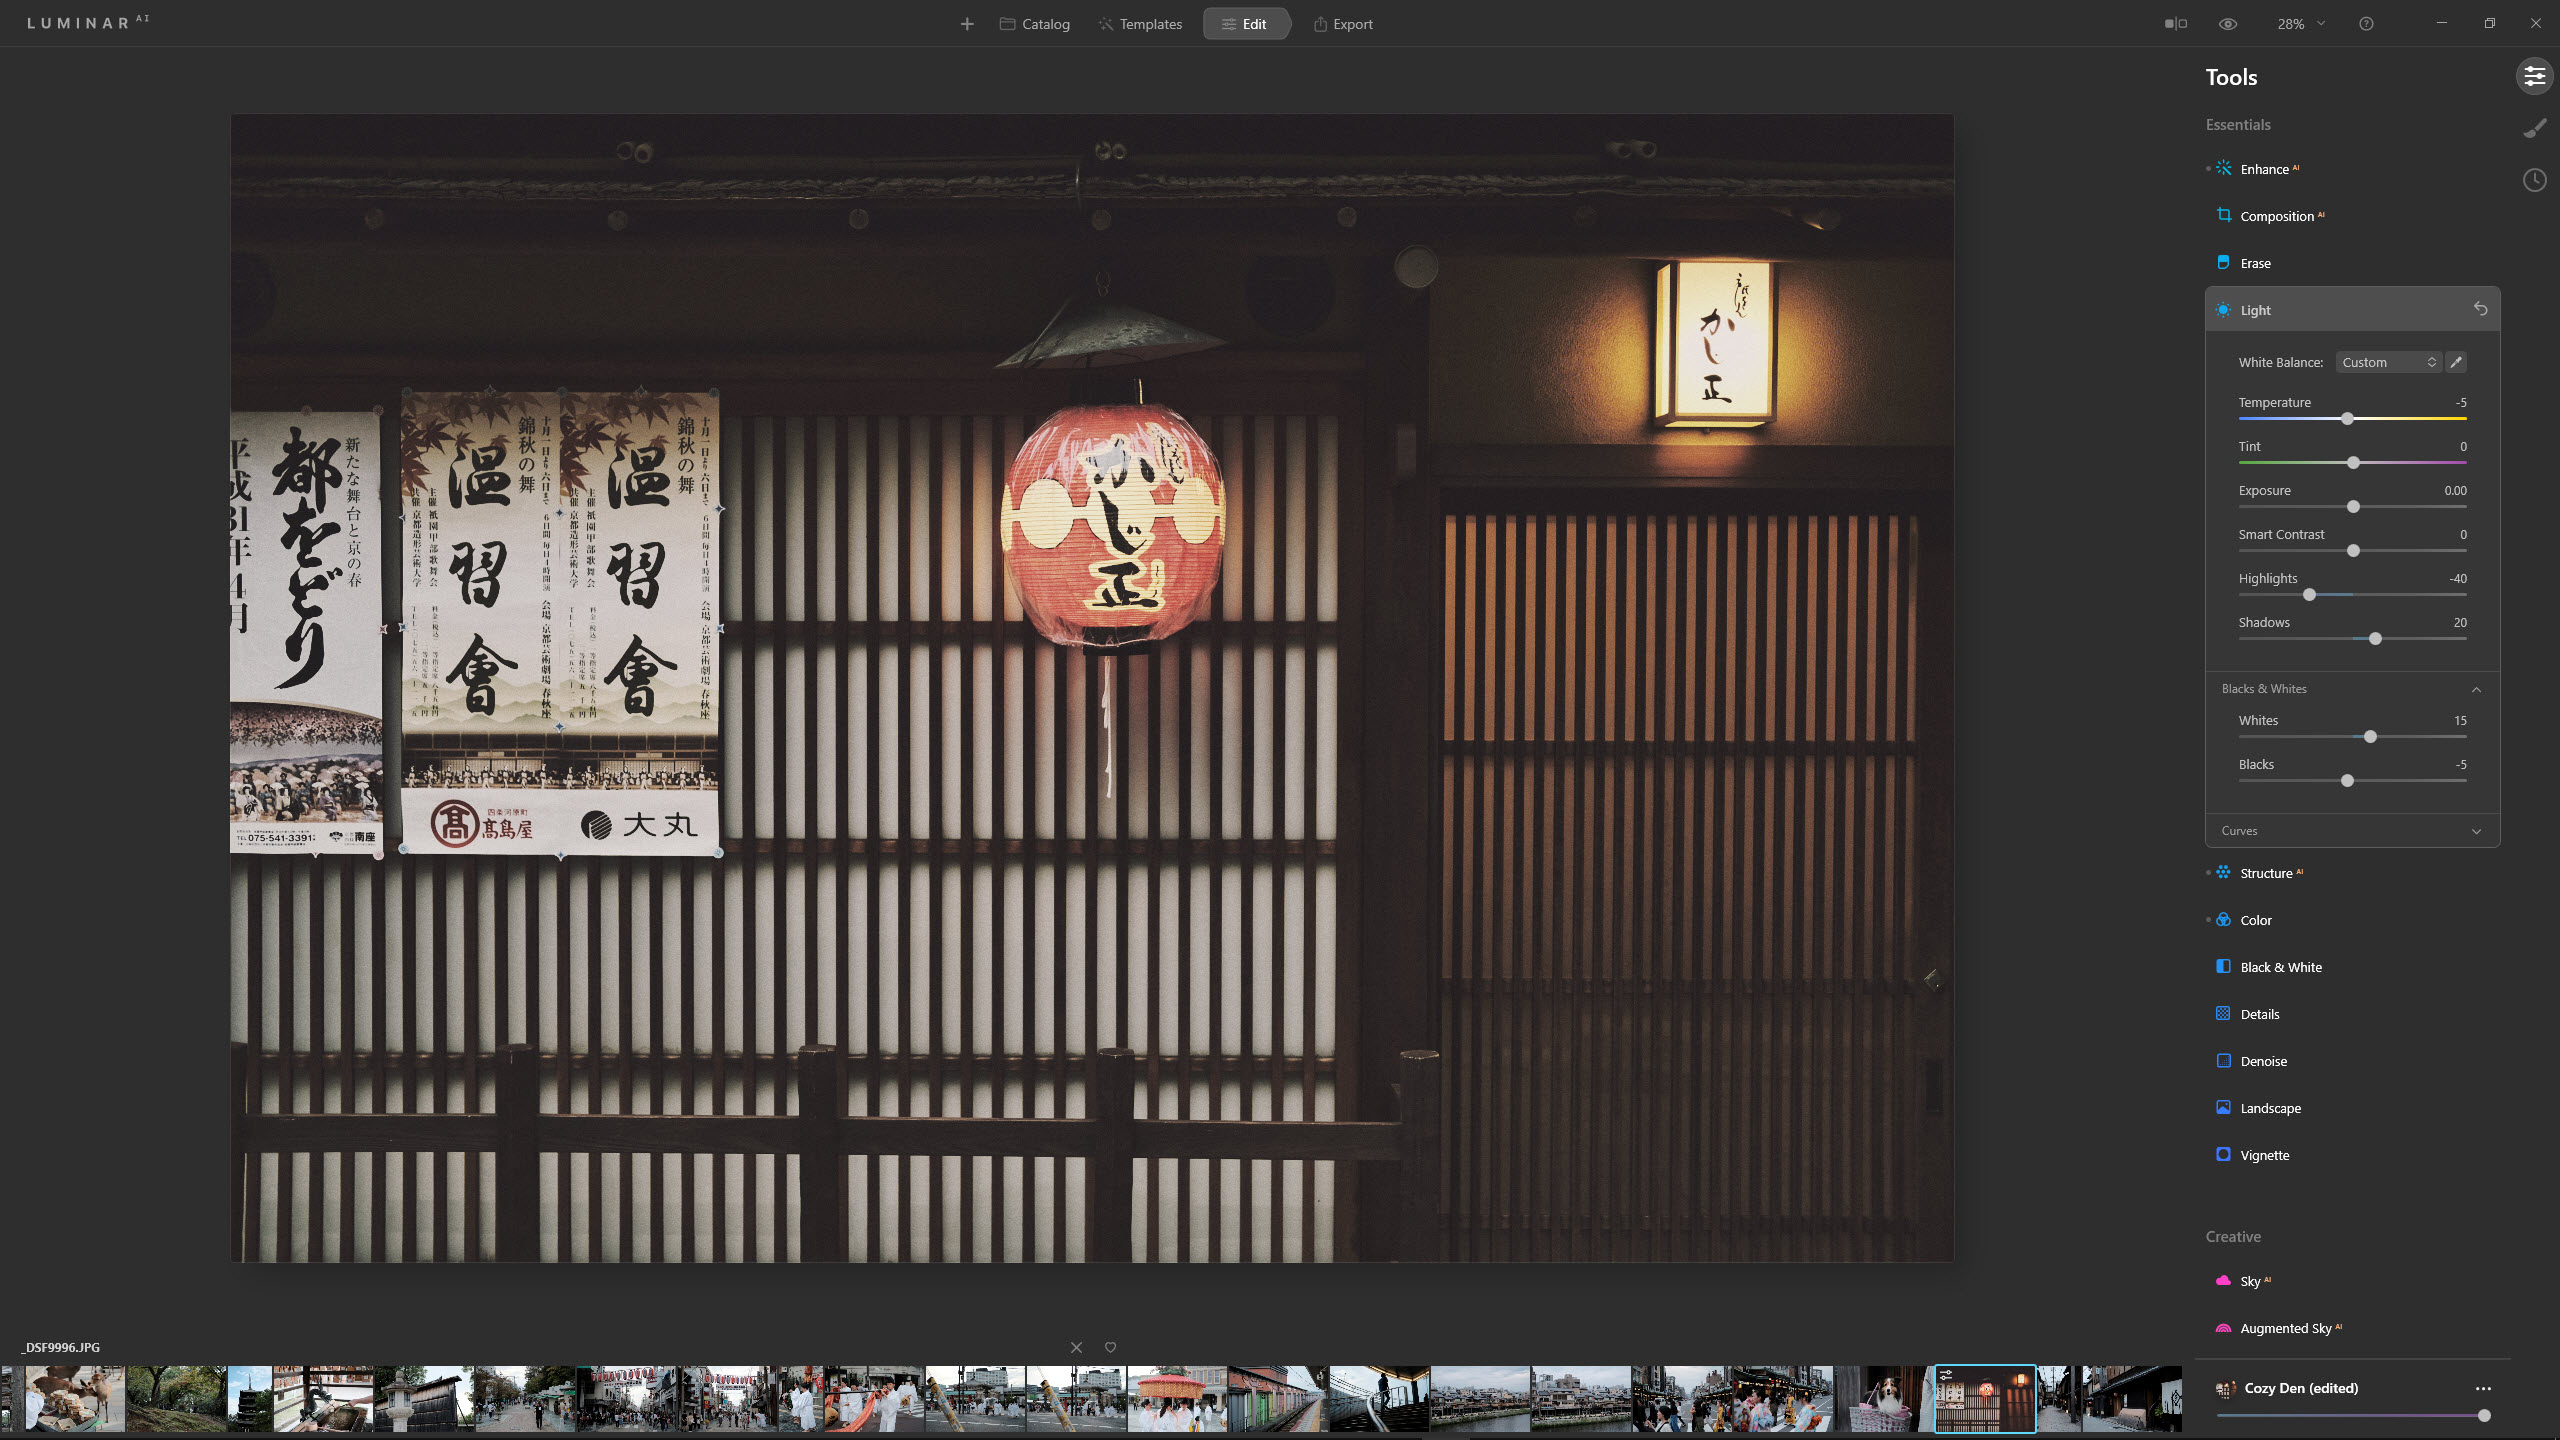
1) Apply a Template
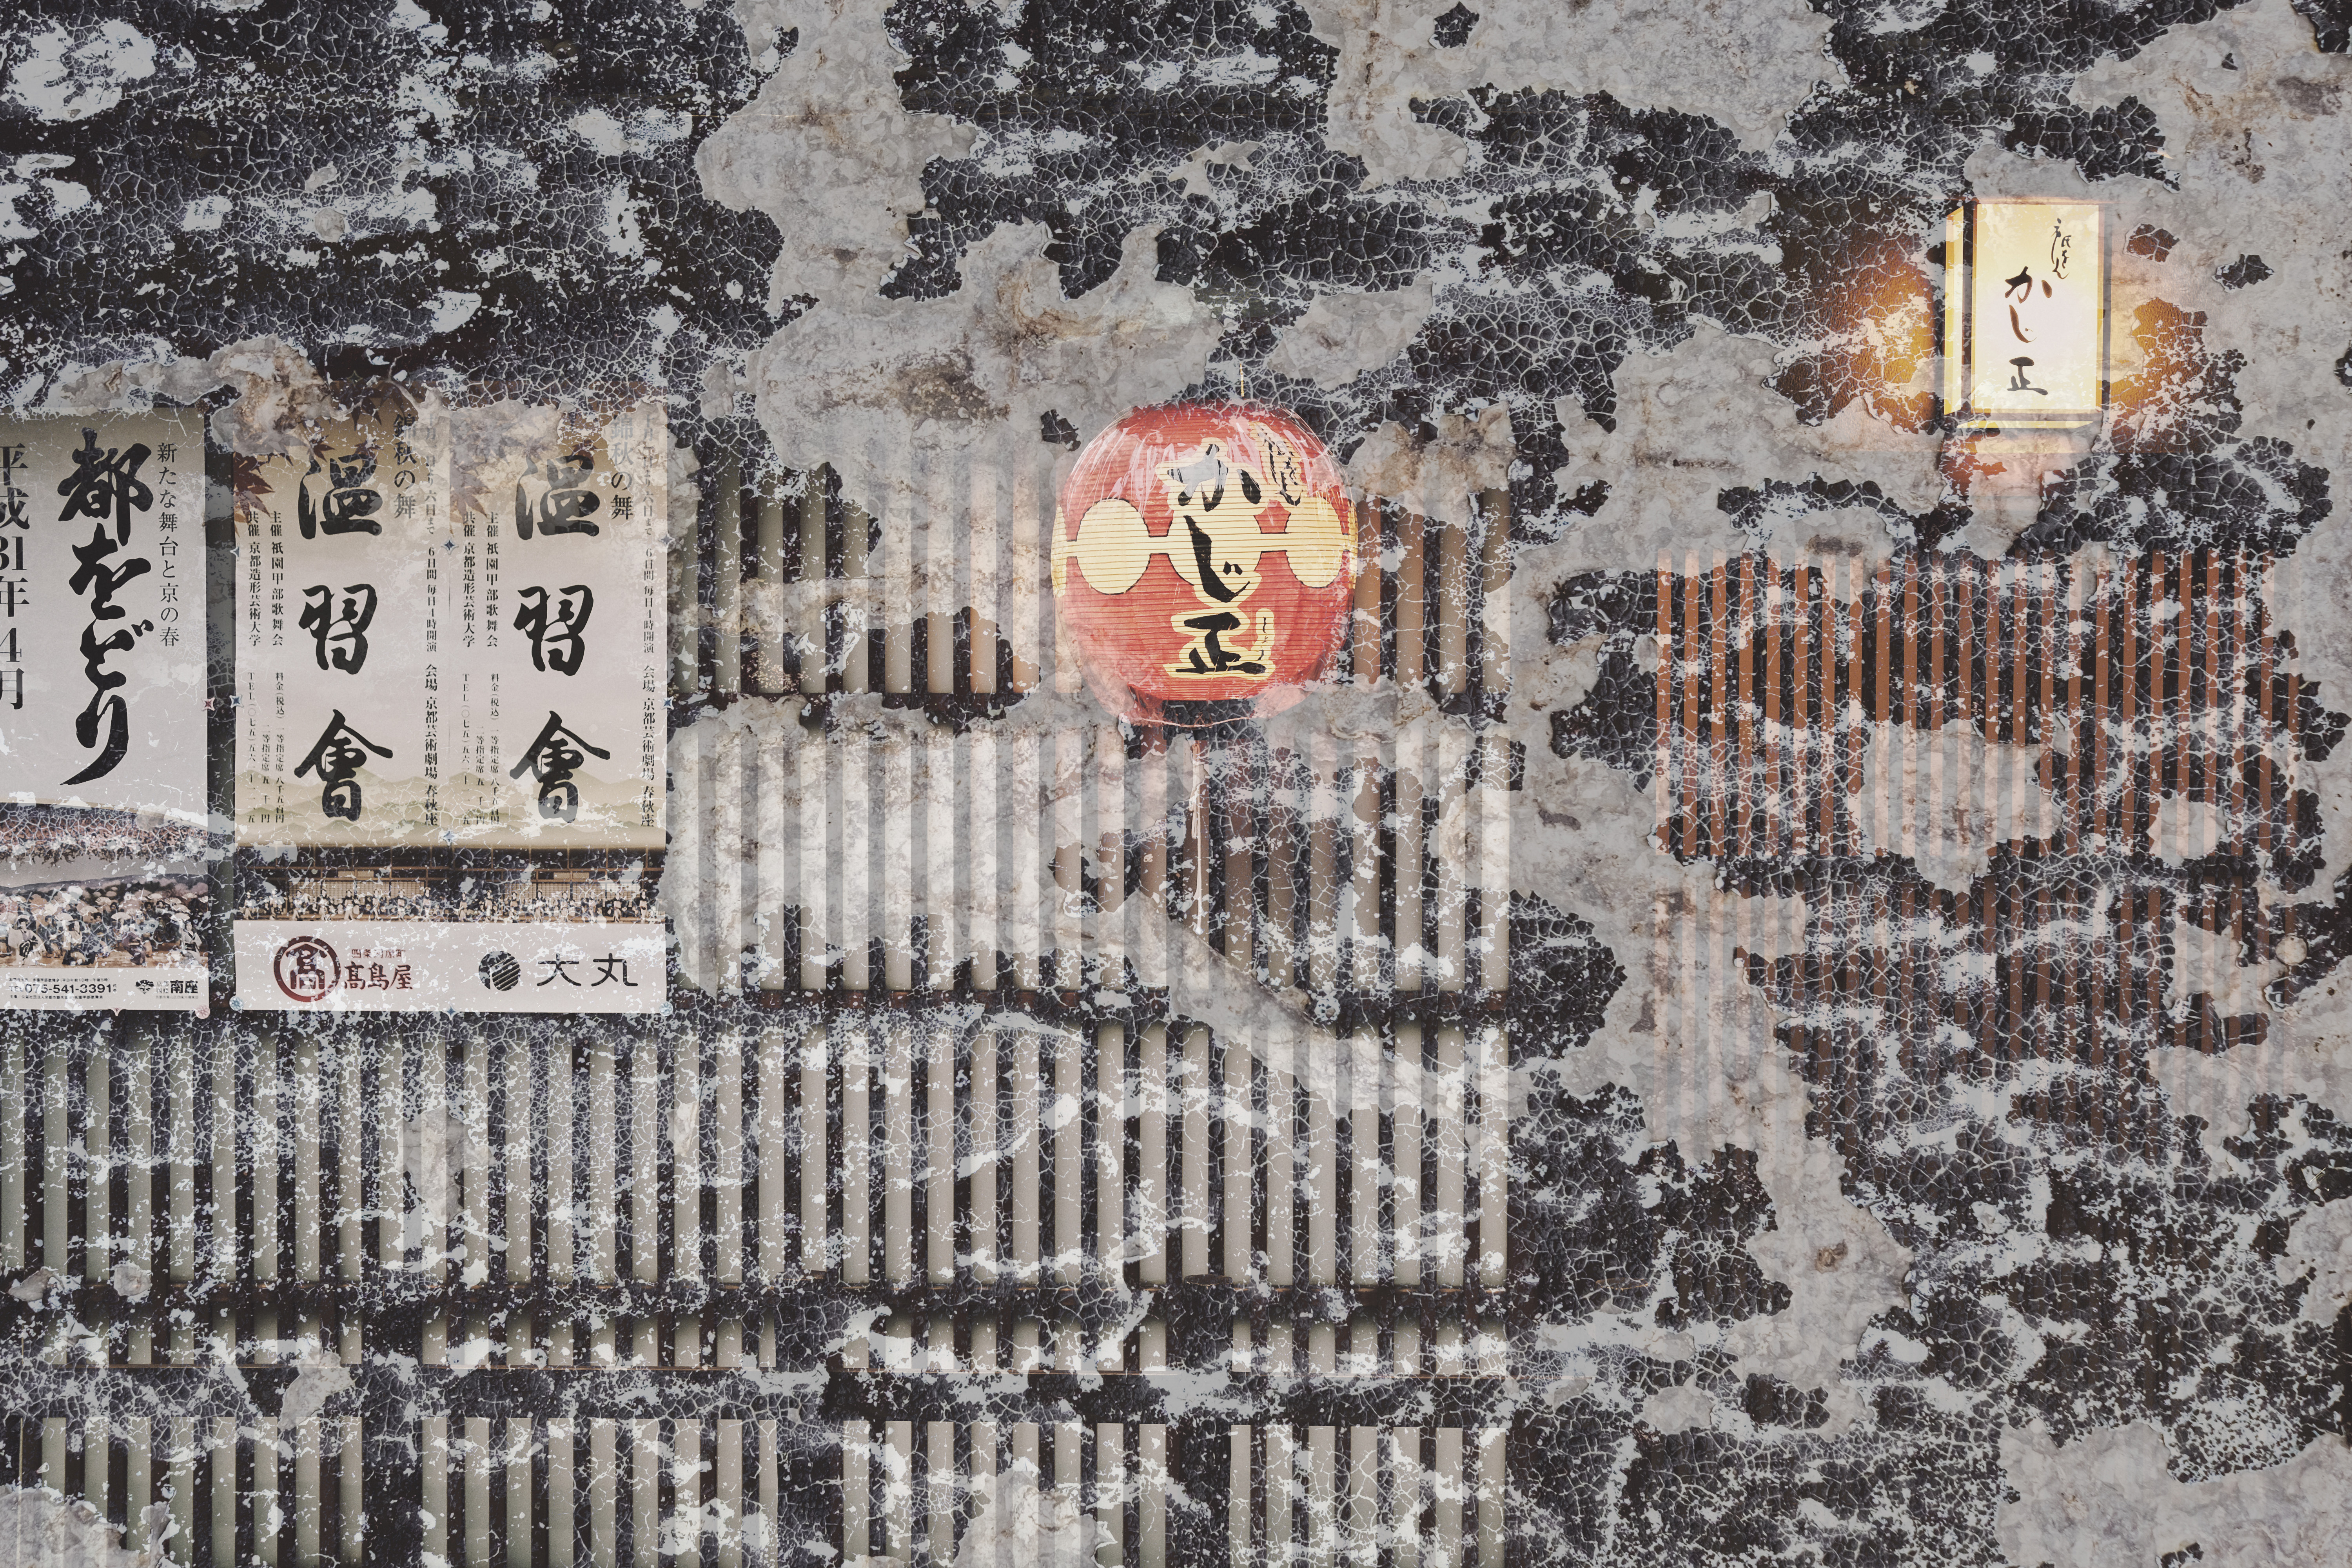
Select an image you would like to apply a texture to, then apply a Template to achieve an instant look. We used the Cozy Den Template from the Influencer Collection. Apply any further adjustments as required in the Edit tab, and process the underlying image until it looks just right. For this image, only the Light and Matte Tools were applied.
2) Add a Local Mask
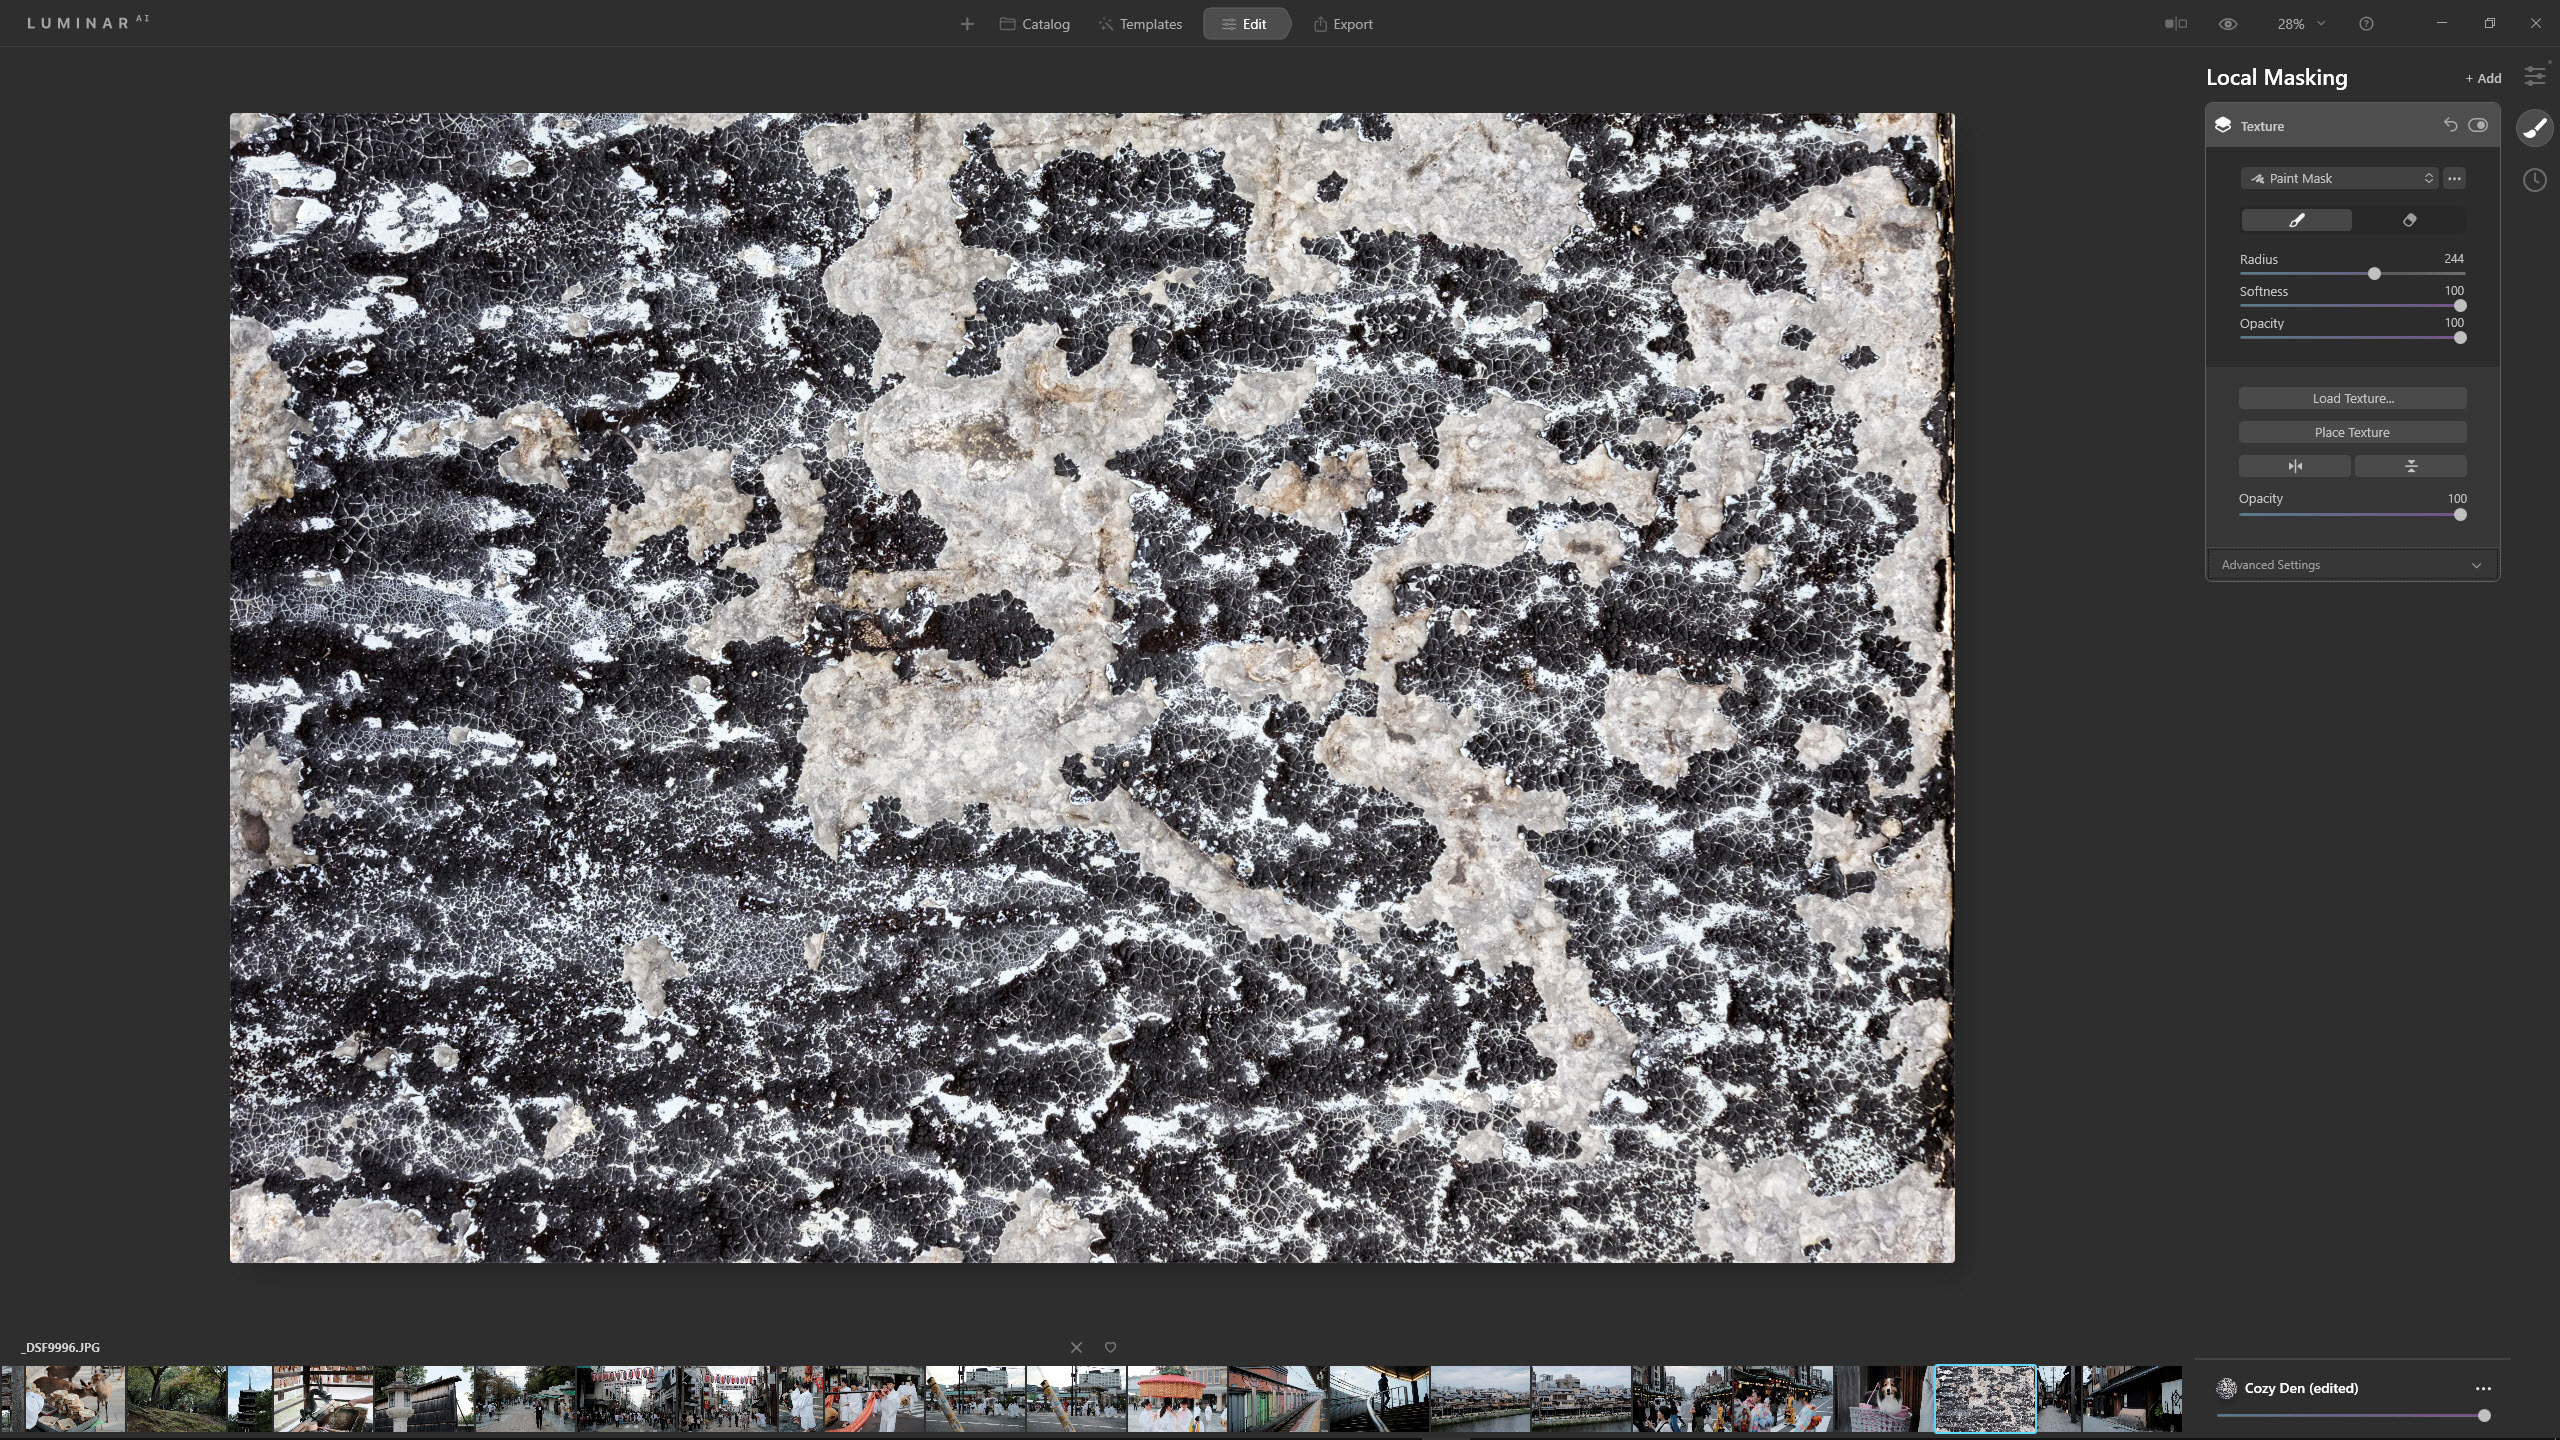
Click on the brush icon to the right; when the Edit Tools vanish, click Add and select Texture from the two options to open the Local Masking / Texture controls. Click the Load Texture button, locate a texture image you have saved on your computer (or download 31 textures free via www.digitalcameraworld.com/dc244), and increase Opacity to 100.
3) Set the blend, and position
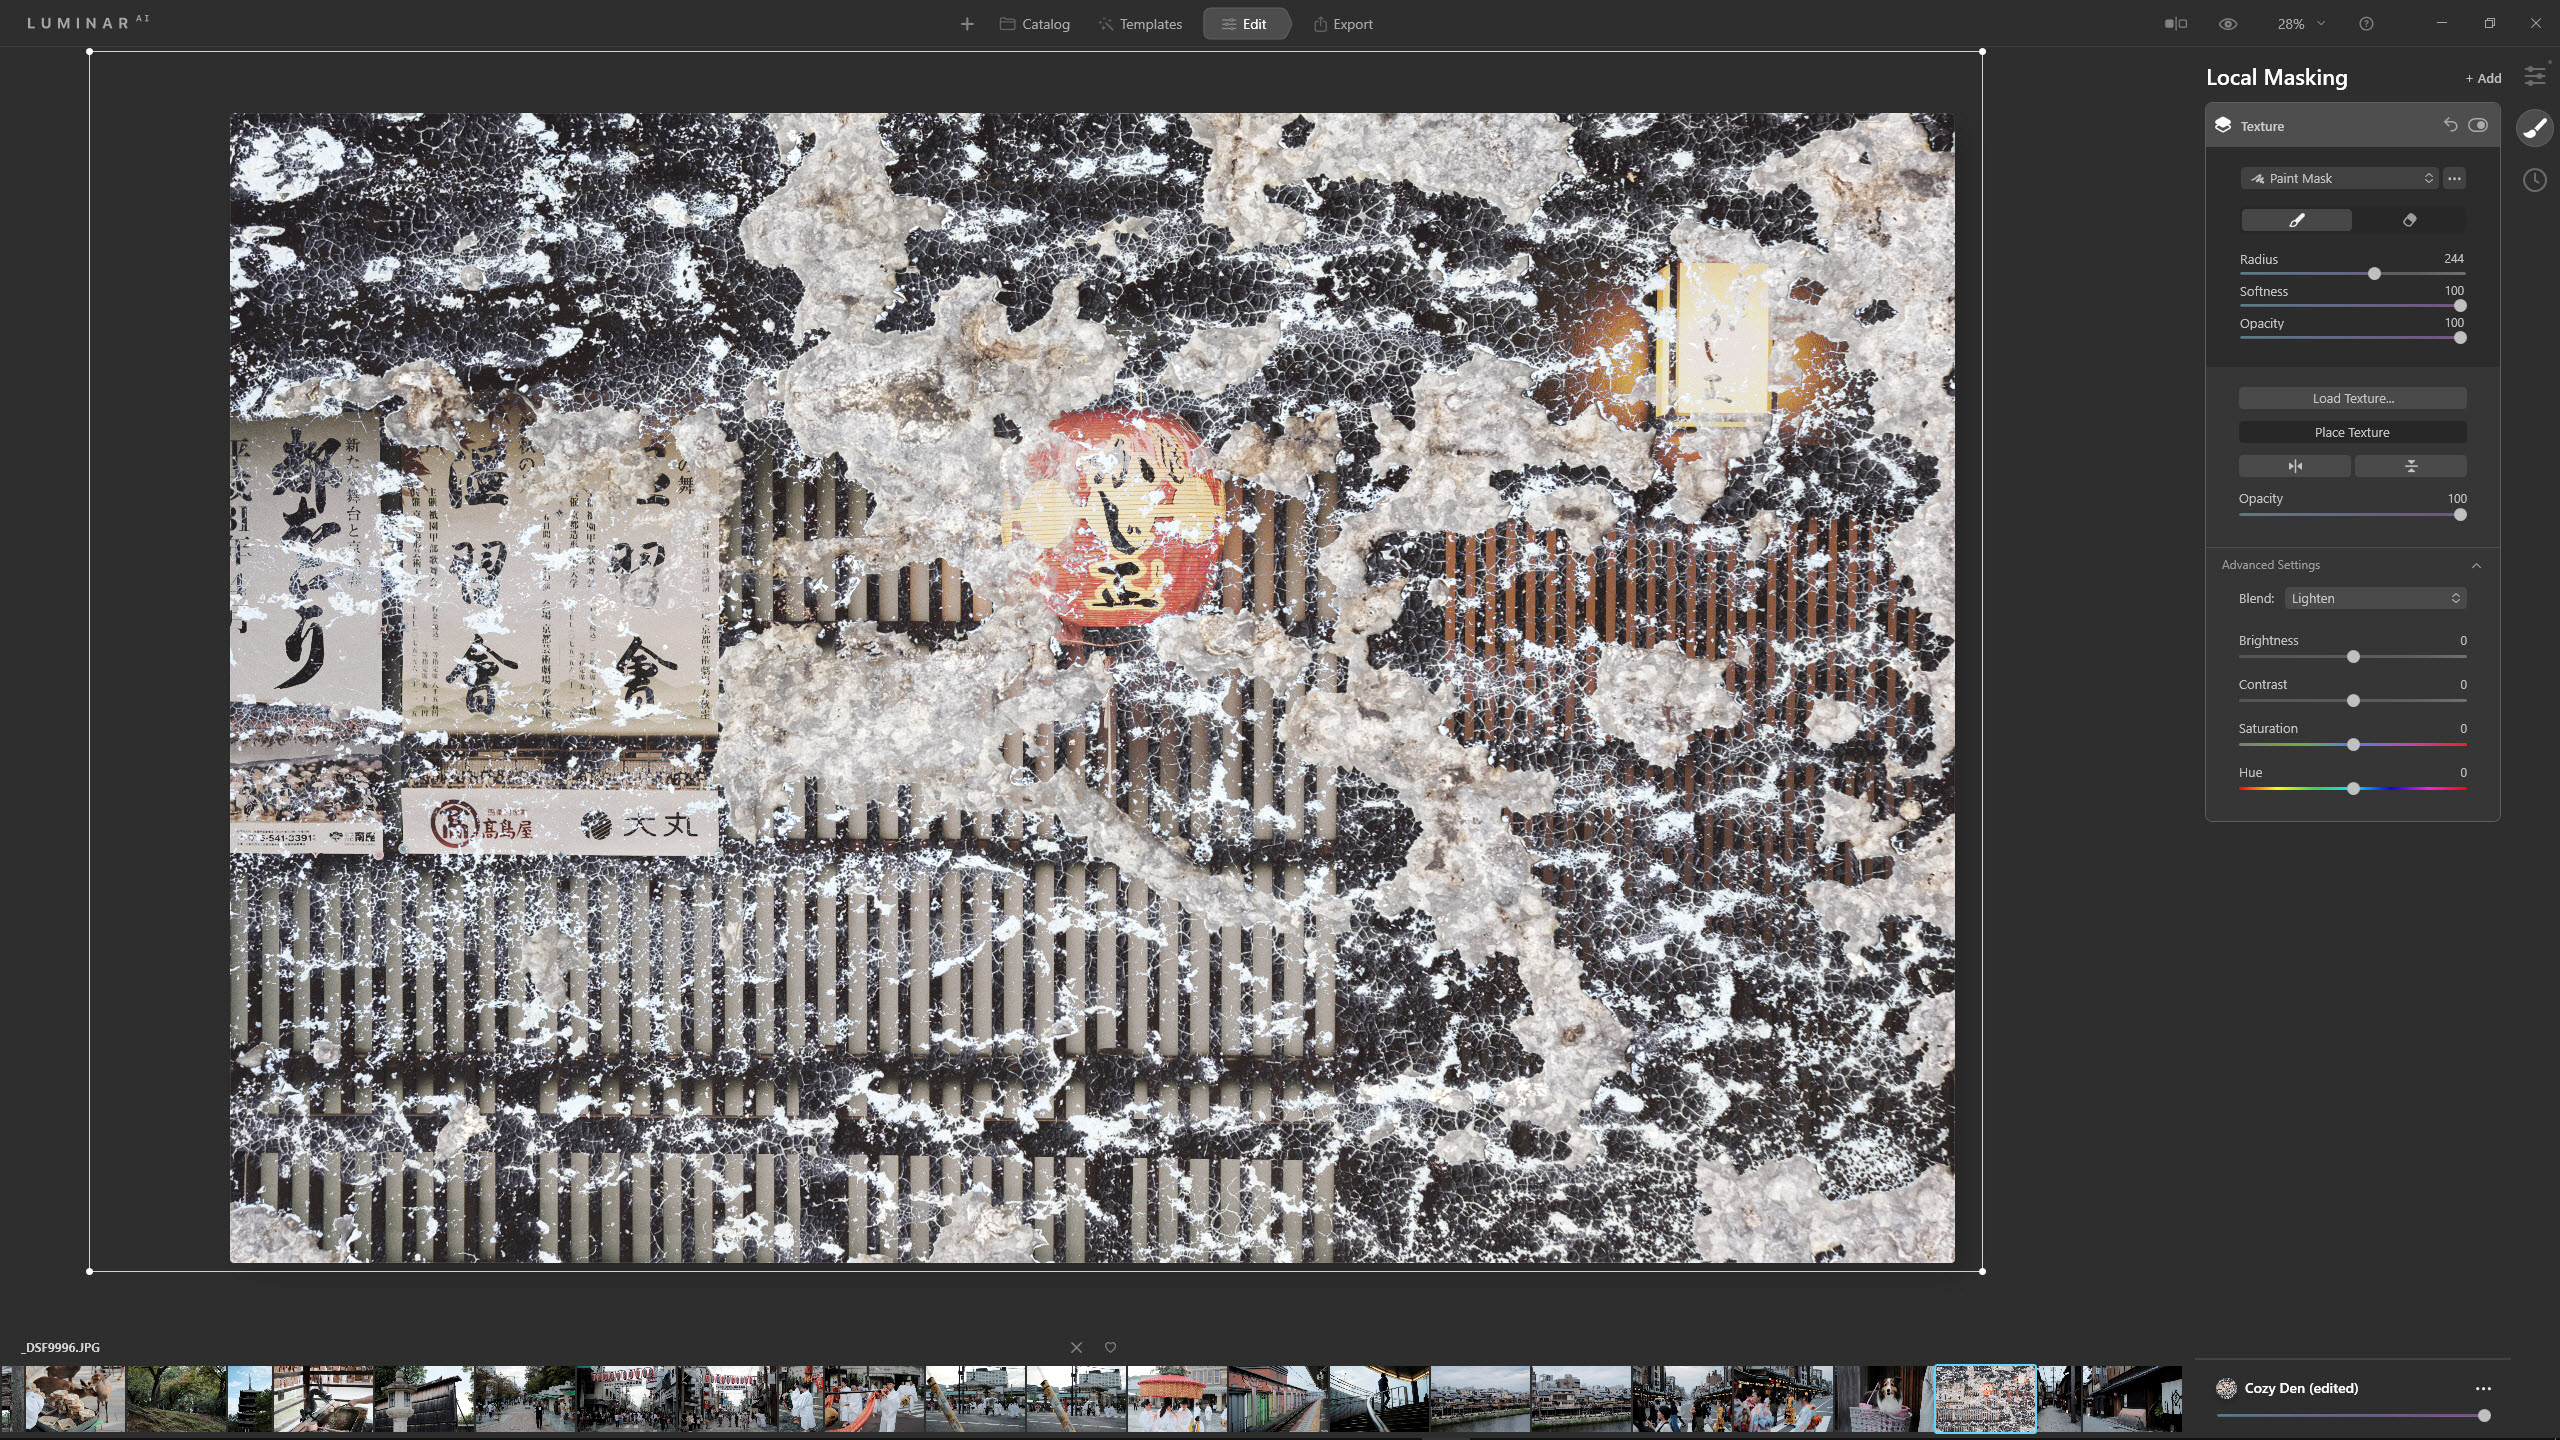
Click on the Blend dropdown menu that’s set to Normal, and select a Blending Mode to add transparency. Multiply, Screen, Lighten and Soft Light are great starting points. We used Lighten. Click the Place Texture button and you can reposition, rotate and resize the texture to make it fit better with the underlying image.
4) Refine the blend
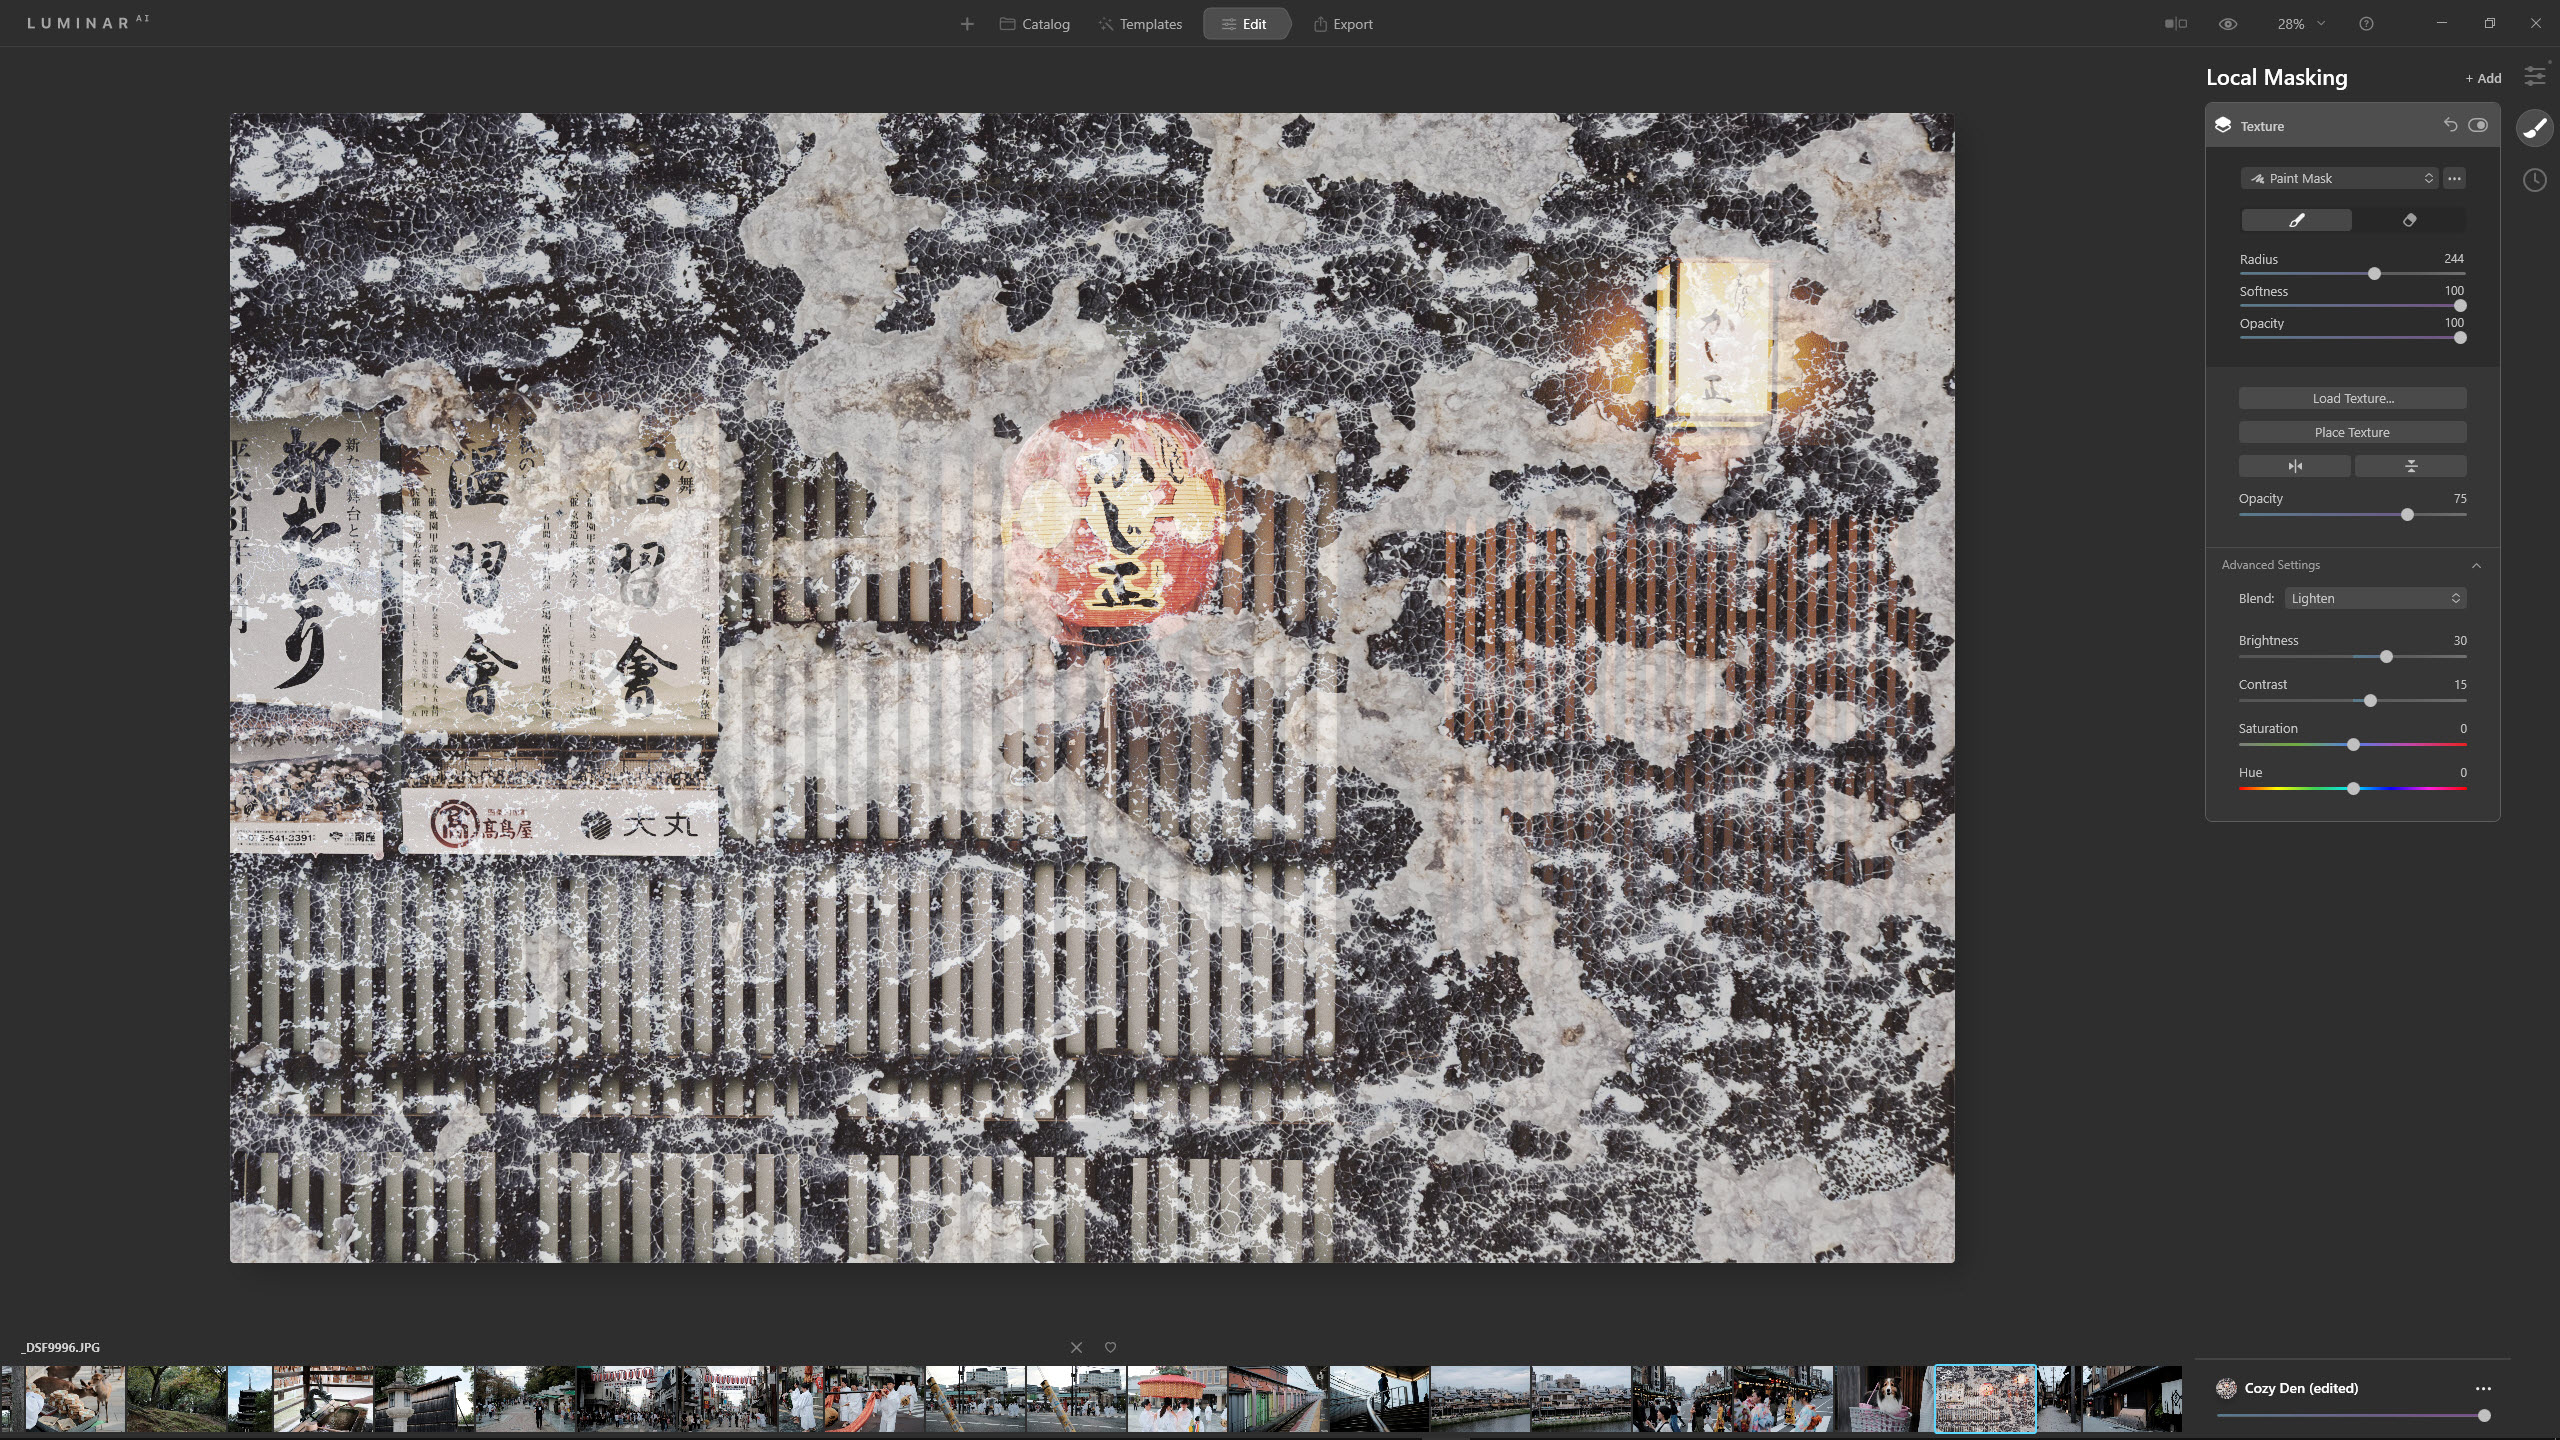
We can refine the blend of the texture. The first control is Opacity, which has been reduced to 75 here. In the Advanced Settings, Brightness was increased to 30 and Contrast to 15. There are also sliders to control Hue and Saturation, but these weren’t required here. Texture controls are only applied to the texture layer, so the underlying layer is untouched.
5) Control the mask
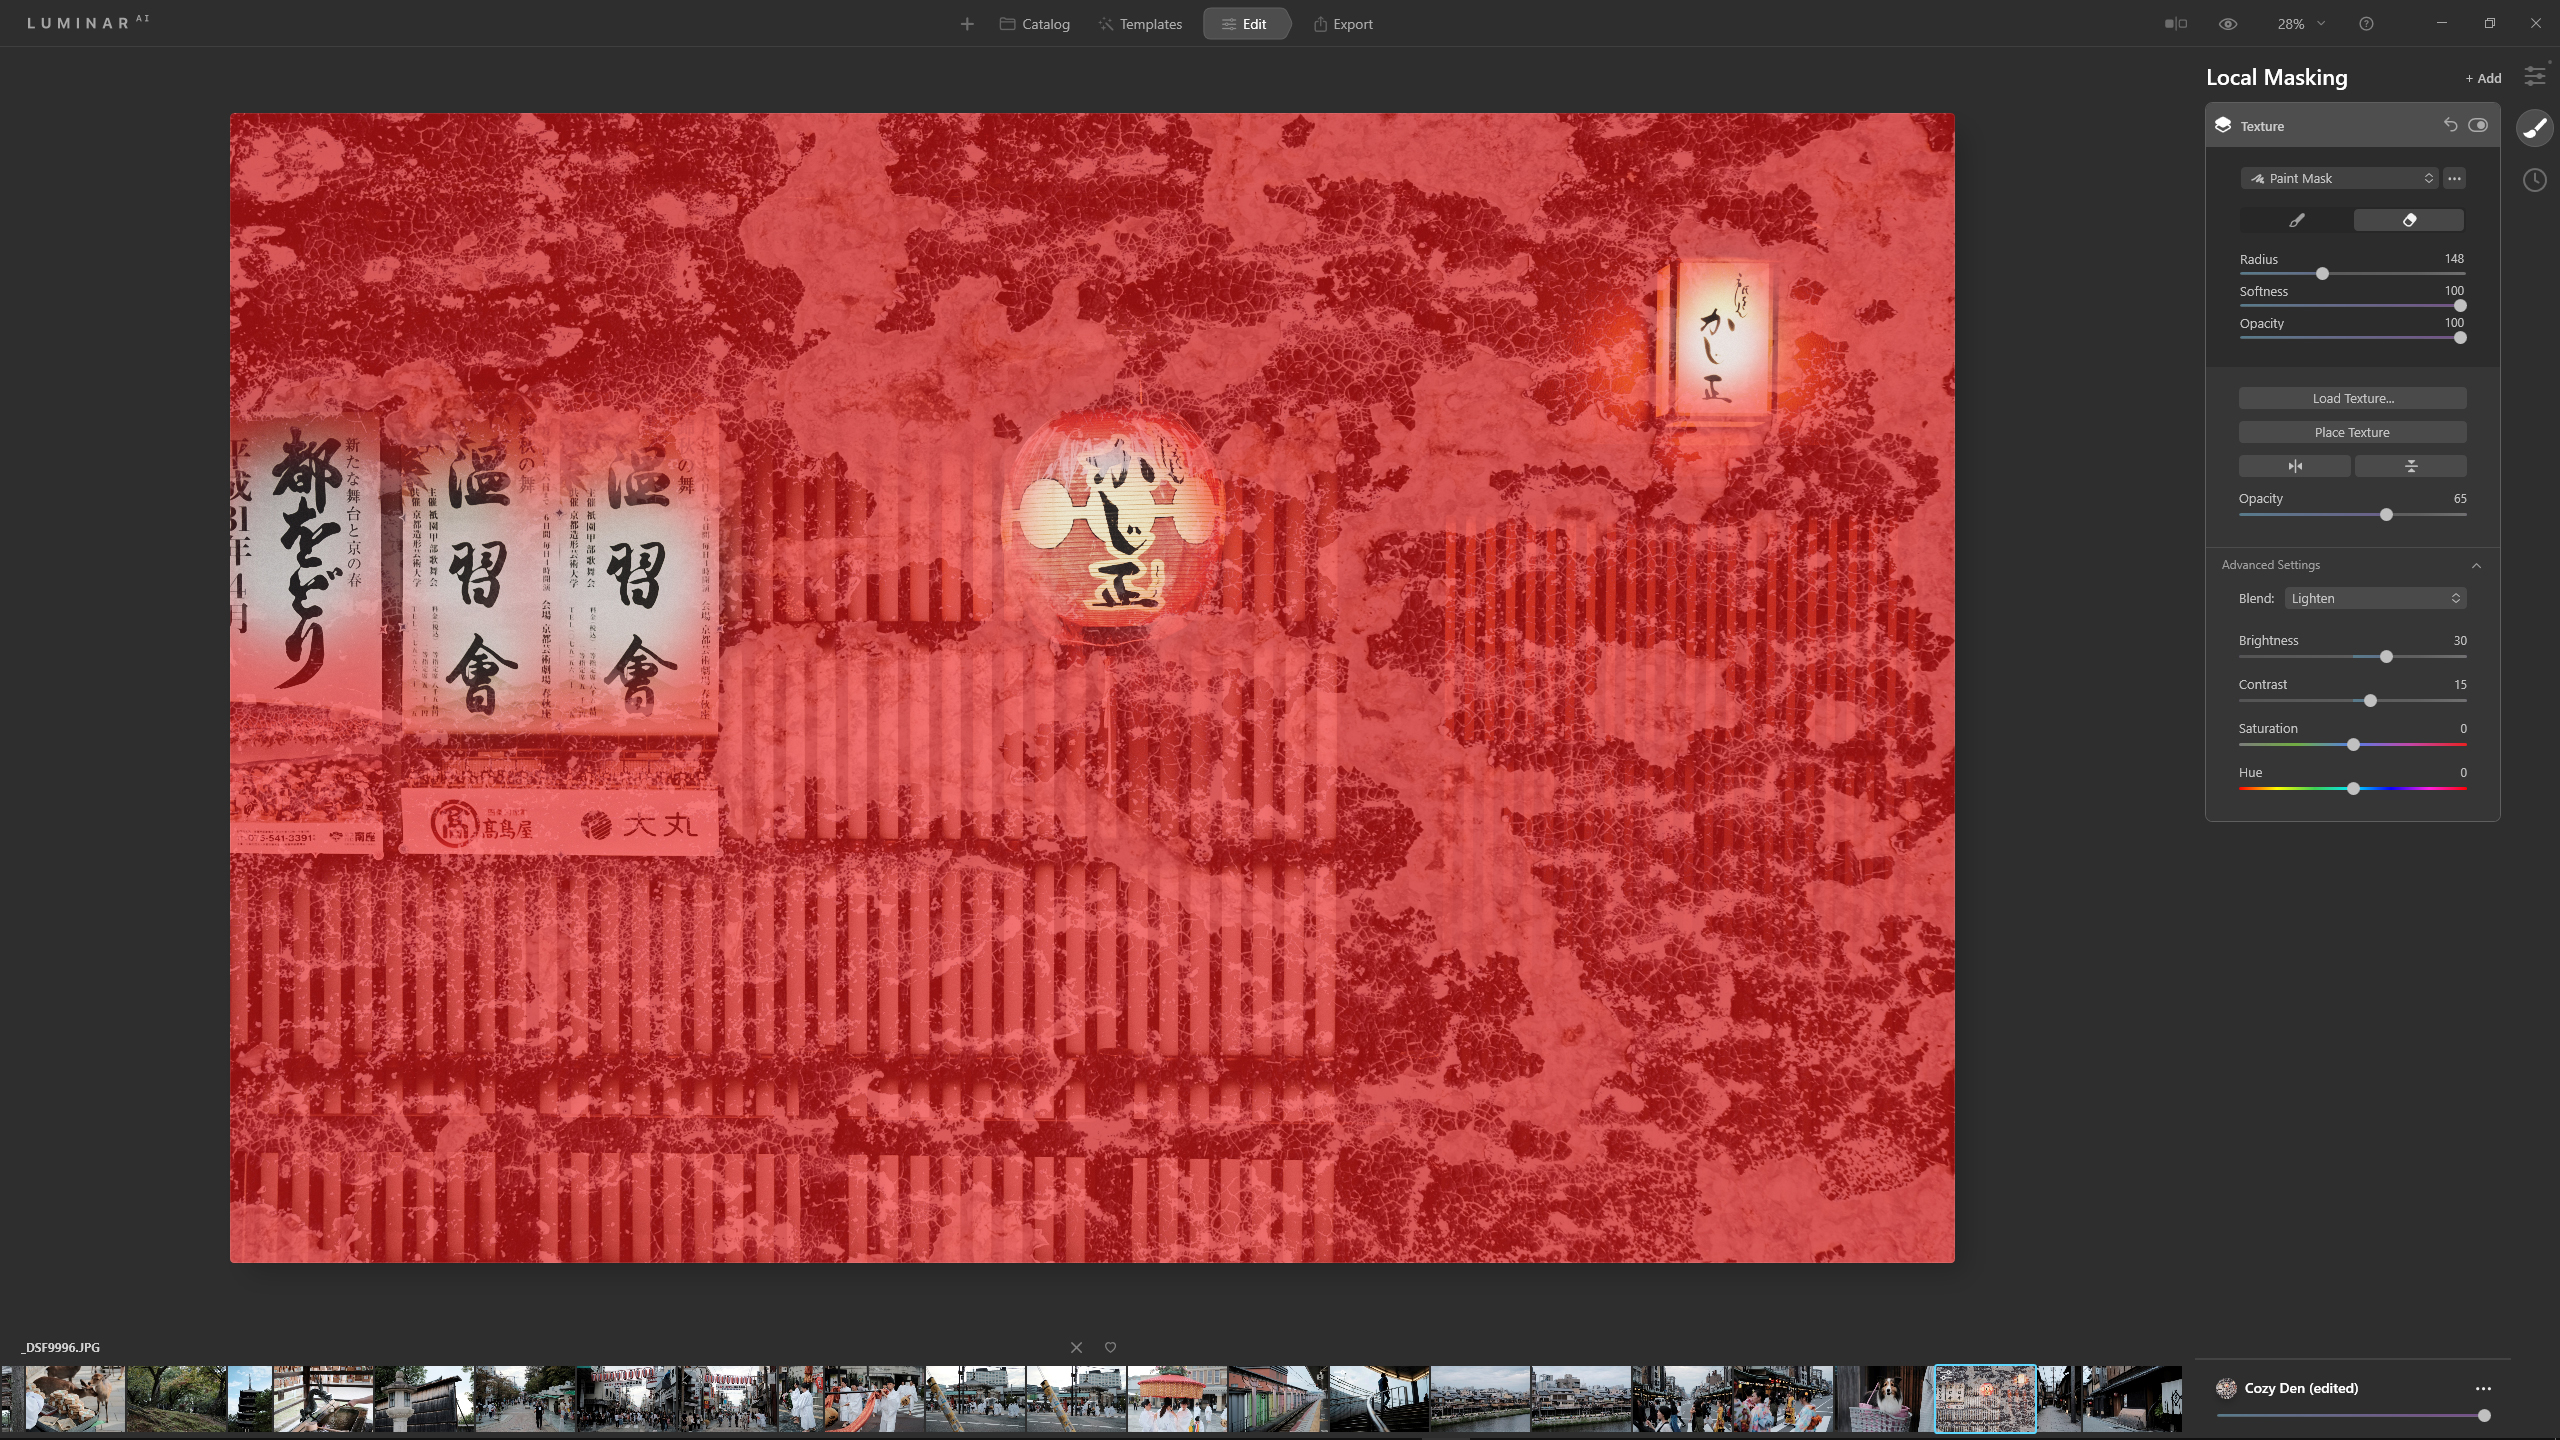
Click the Erase button showing an eraser symbol and set Brush Softness to 100 and Opacity to 100, or a lower setting if required. Use the Radius slider to change the brush size; when you click on the image to erase, a red mask will appear as a guide. You can now remove the texture in different parts of the image, or paint it back by clicking on the Paint button.
Augmented Sky
Make boring skies spectacular with AI-powered blending
Add interest and a sense of wonder to the skies on your shots using Luminar AI’s powerful Augmented Sky, which seamlessly blends visual elements
into the sky area of your photo.
Object Selection
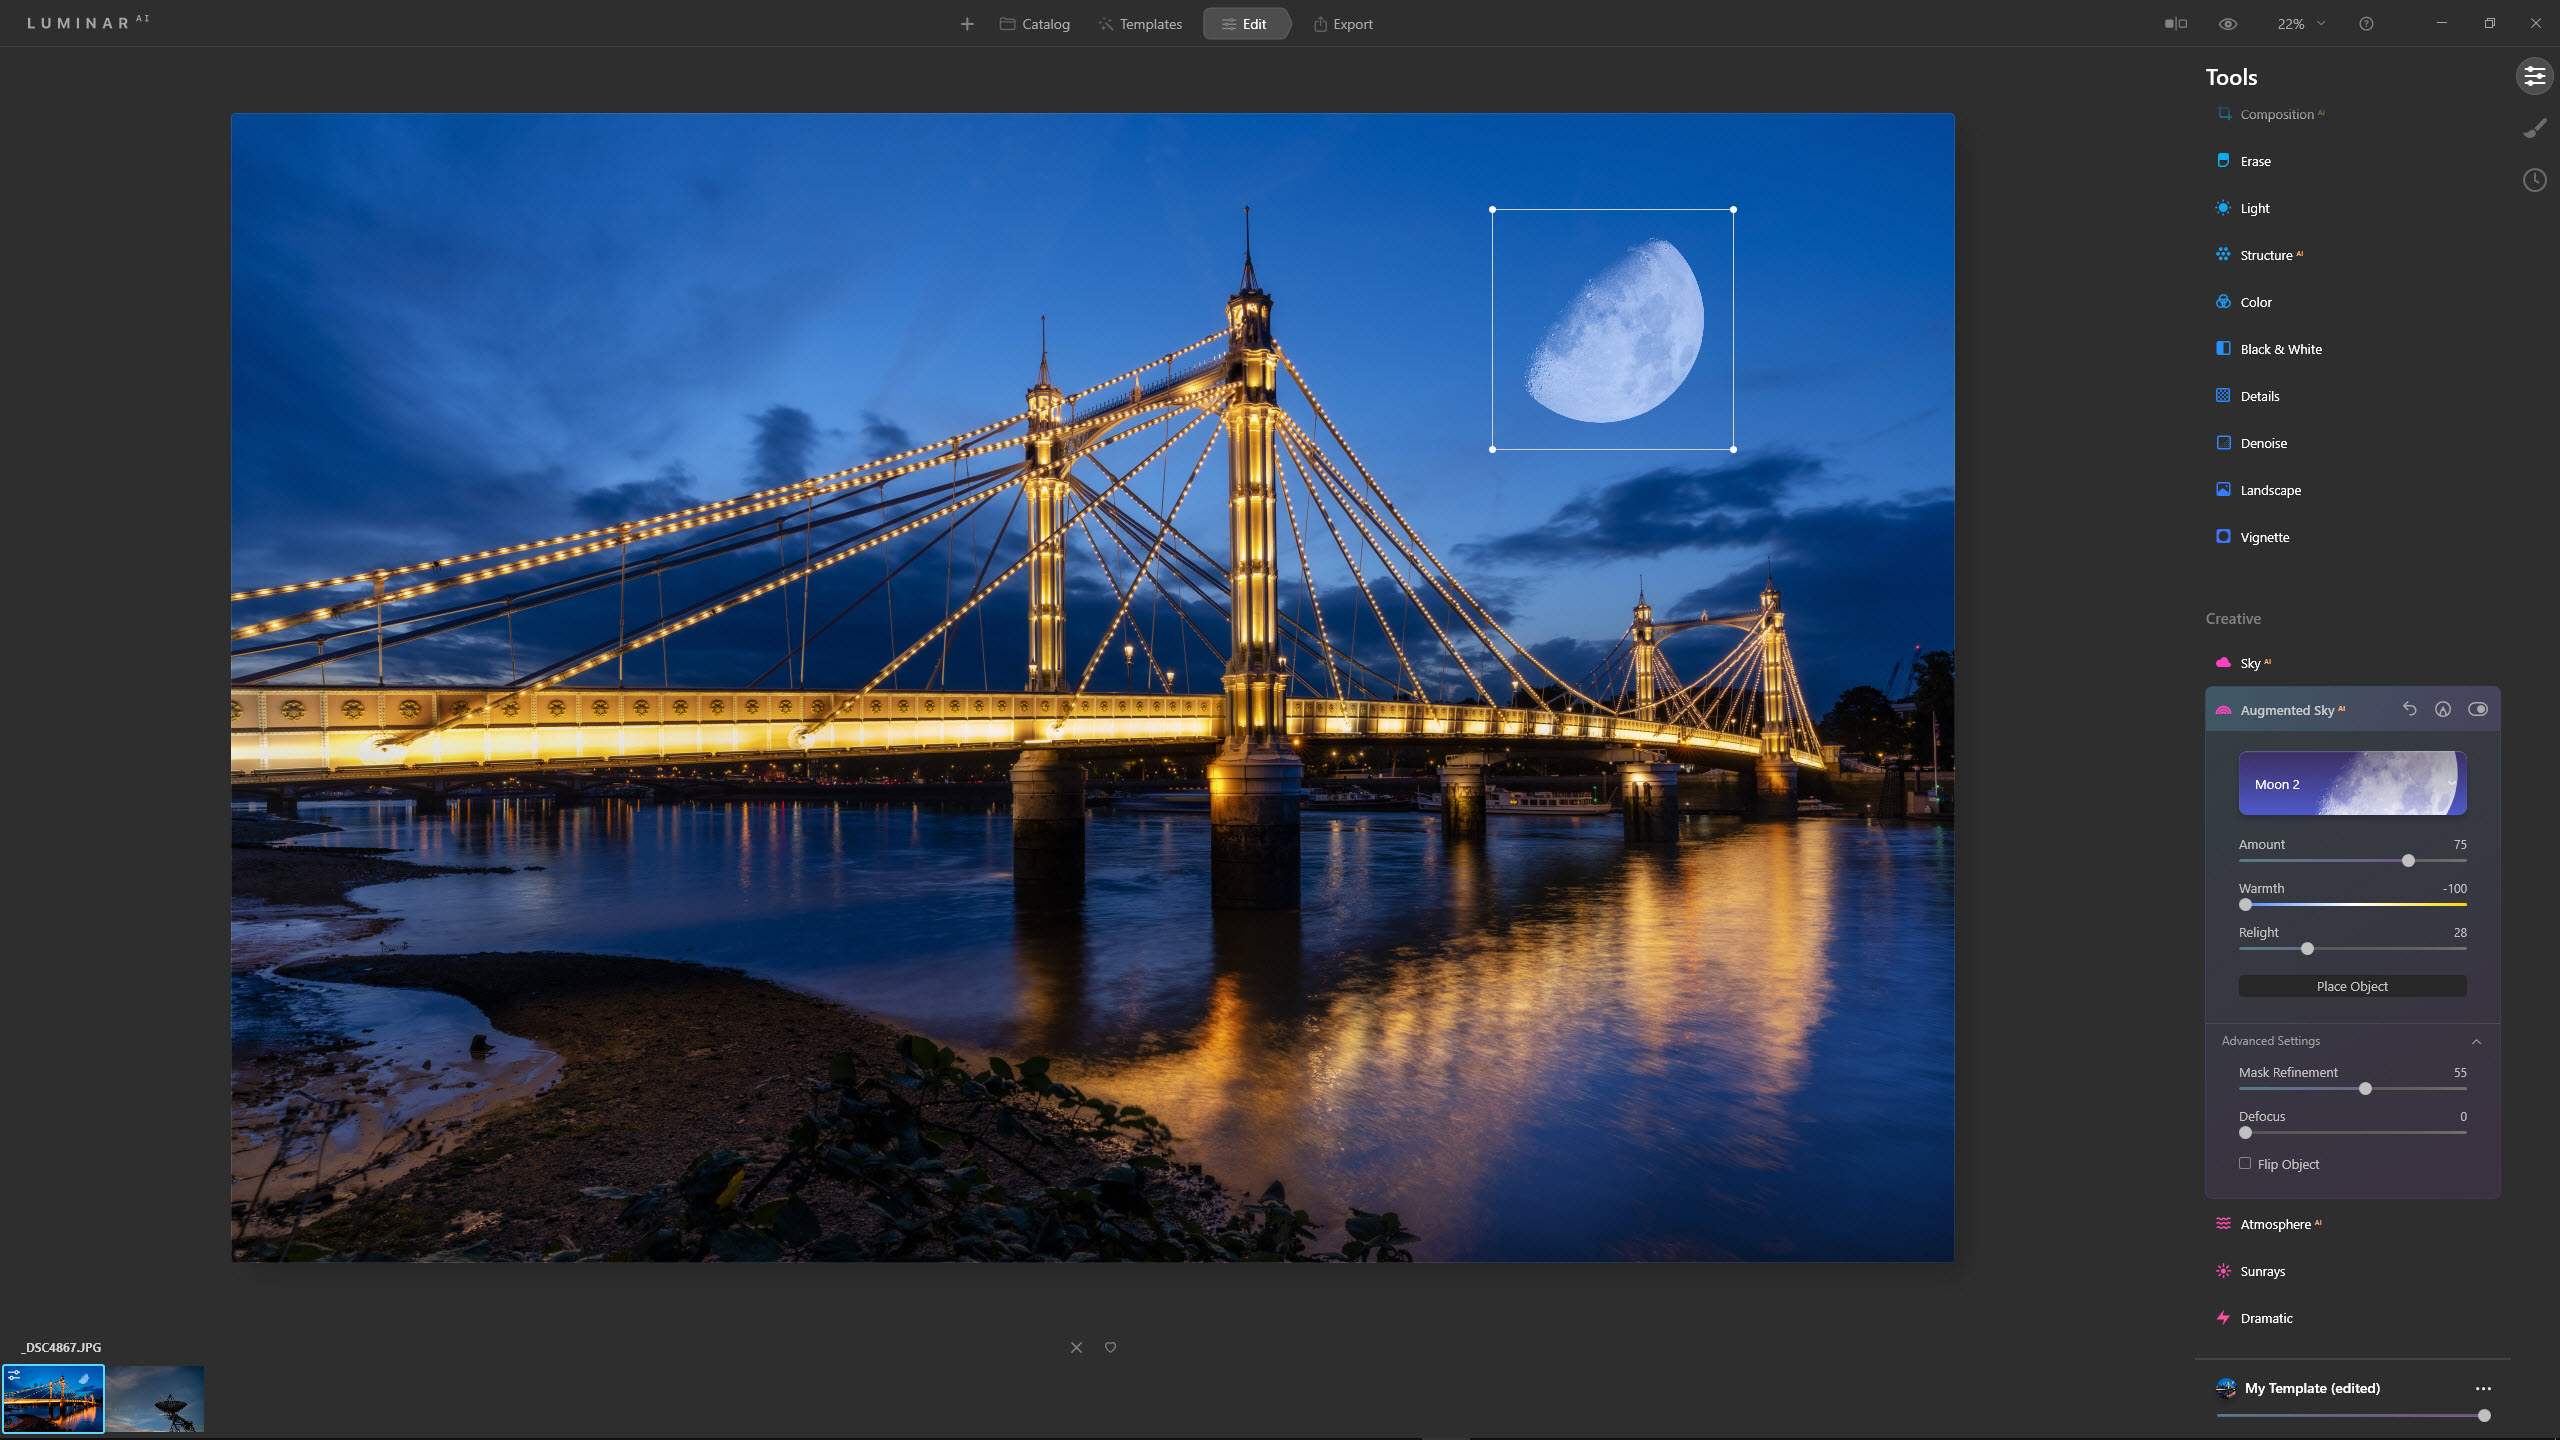
The Object Selection dropdown menu is where you can choose the visual element that will be seamlessly inserted into the sky area of the image.
Adjustments
The Amount slider controls the opacity / strength of the object. Warmth allows you to warm or cool the object colour, while the Relight slider matches the object to the lighting and colour of the sky.
Place Object
By clicking on the Place Object button, a bounding box appears. It allows you to move, rotate and resize the object to achieve a better fit within the scene.
Mask Refinement
Luminar AI does an excellent job of blending the object with other elements in the image that protrude into the sky, but it’s not always perfect. This slider refines the blend.
Defocus
If you’re working with an image that has a shallow depth of field and, as a result, a blurred sky, the Defocus slider allows you to match the object to the background blur.
The object
This is the object in the sky, showing a Place Object bounding box that allows the object to be resized to fit, moved or rotated. Click on the Place Object button when you’ve finished.
Three creative effects you can try in Luminar AI
Experiment with easy-to-apply effects for unexpected results
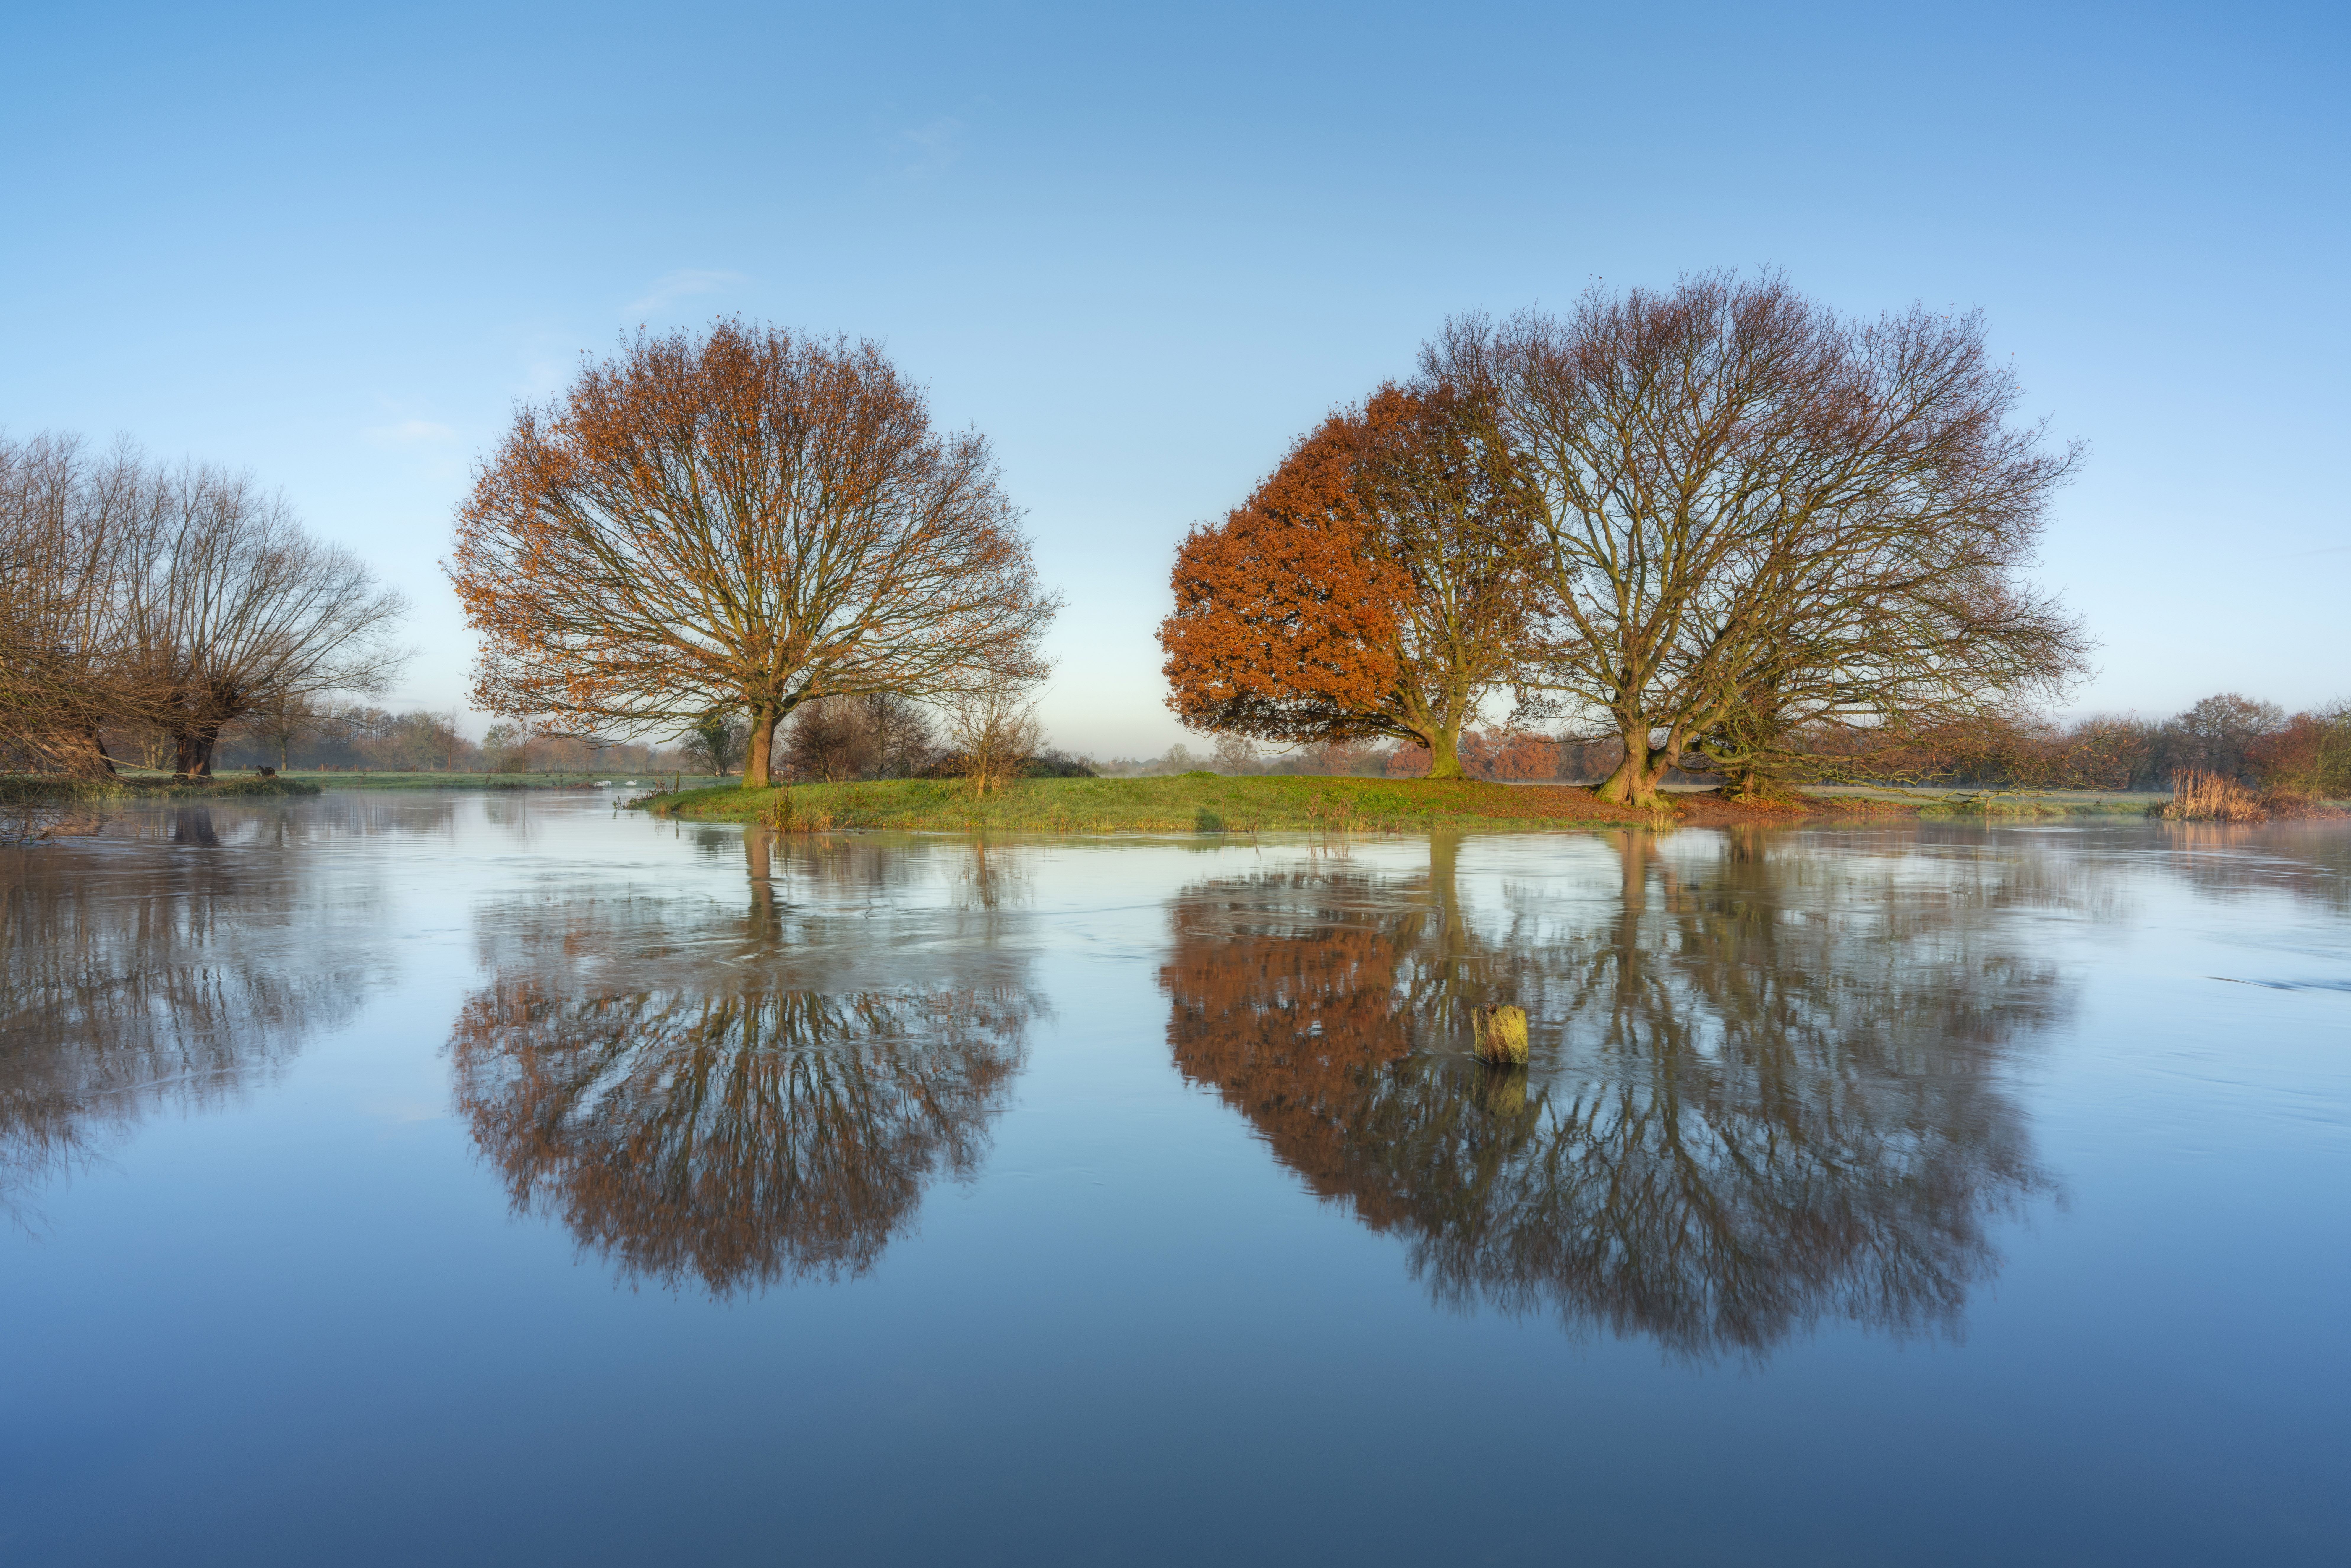
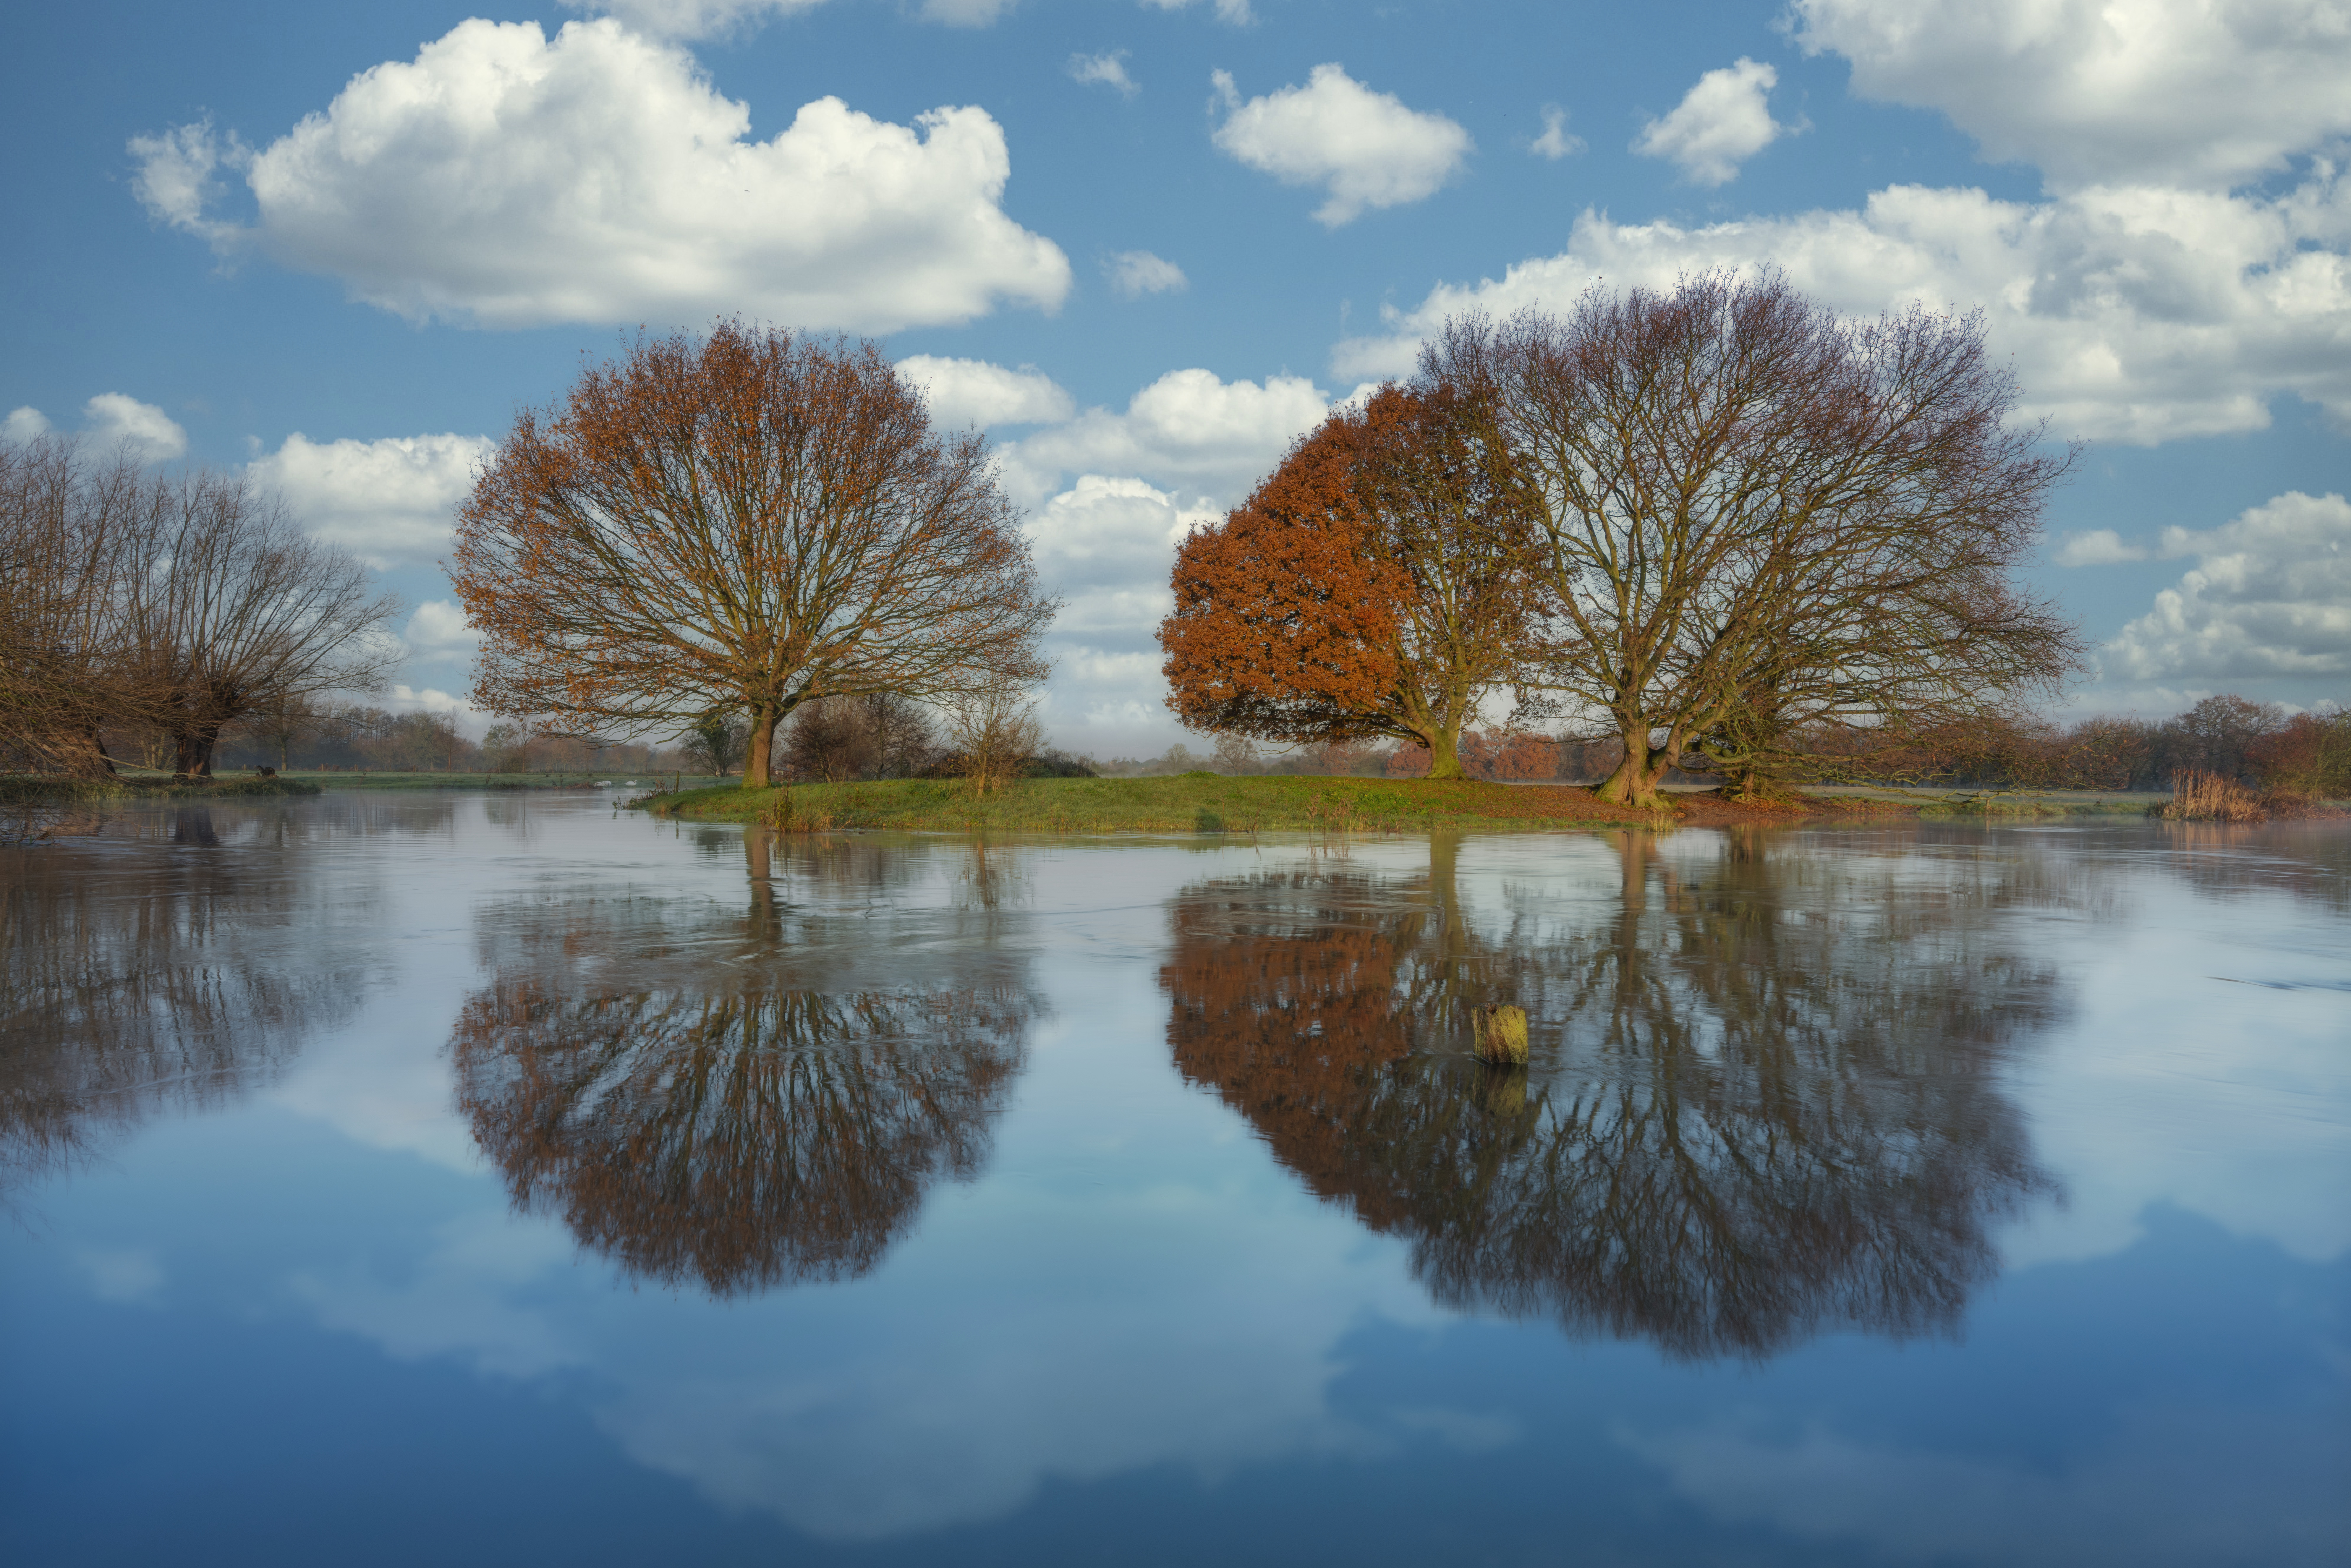
Change the sky
There’s no need to reject an image when it has a clear blue or a dull grey sky: Sky AI allows you to perform expert blends of new skies, where images with water will pick up the colours and even a reflection of the new sky. Sky AI will also relight the scene itself to help with the overall blending of two images. You can add your own sky images to the catalogue of available skies.


Split-toning
A split-tone is a colouring effect where one colour is targeted towards the shadows, while a second is targeted to the highlights. This can be applied using the Toning Tools within the Edit tab. While split-toning is traditionally a technique used with black-and-white images processed in a darkroom, it works perfectly with both colour and black-and-white digital images.


Manipulate colour
Pushing and pulling colours in images is a great way to achieve unique results, not to mention some colour effects that can enhance the overall mood of an image. In this shot, a strong cinematic Template has been applied, and then Vibrance has been increased while overall saturation has been decreased, to focus the desaturation on all but the skin tones to deliver a one-of-a-kind finish.
Five great tips for creative results
Despite offering simple control over what would traditionally be complicated editing techniques, Luminar AI provides a host of opportunities for creative and indeed unique results that help to make your photography stand out from the crowd. From simple black-and-white conversions, using Templates for an instant look or the Black & White controls for manual editing, to colour grading using LUTs in the Mood controls, to adding texture and much more, maximum creativity and professional editing results are just a few mouse clicks away with Luminar AI.
1) Mono conversion
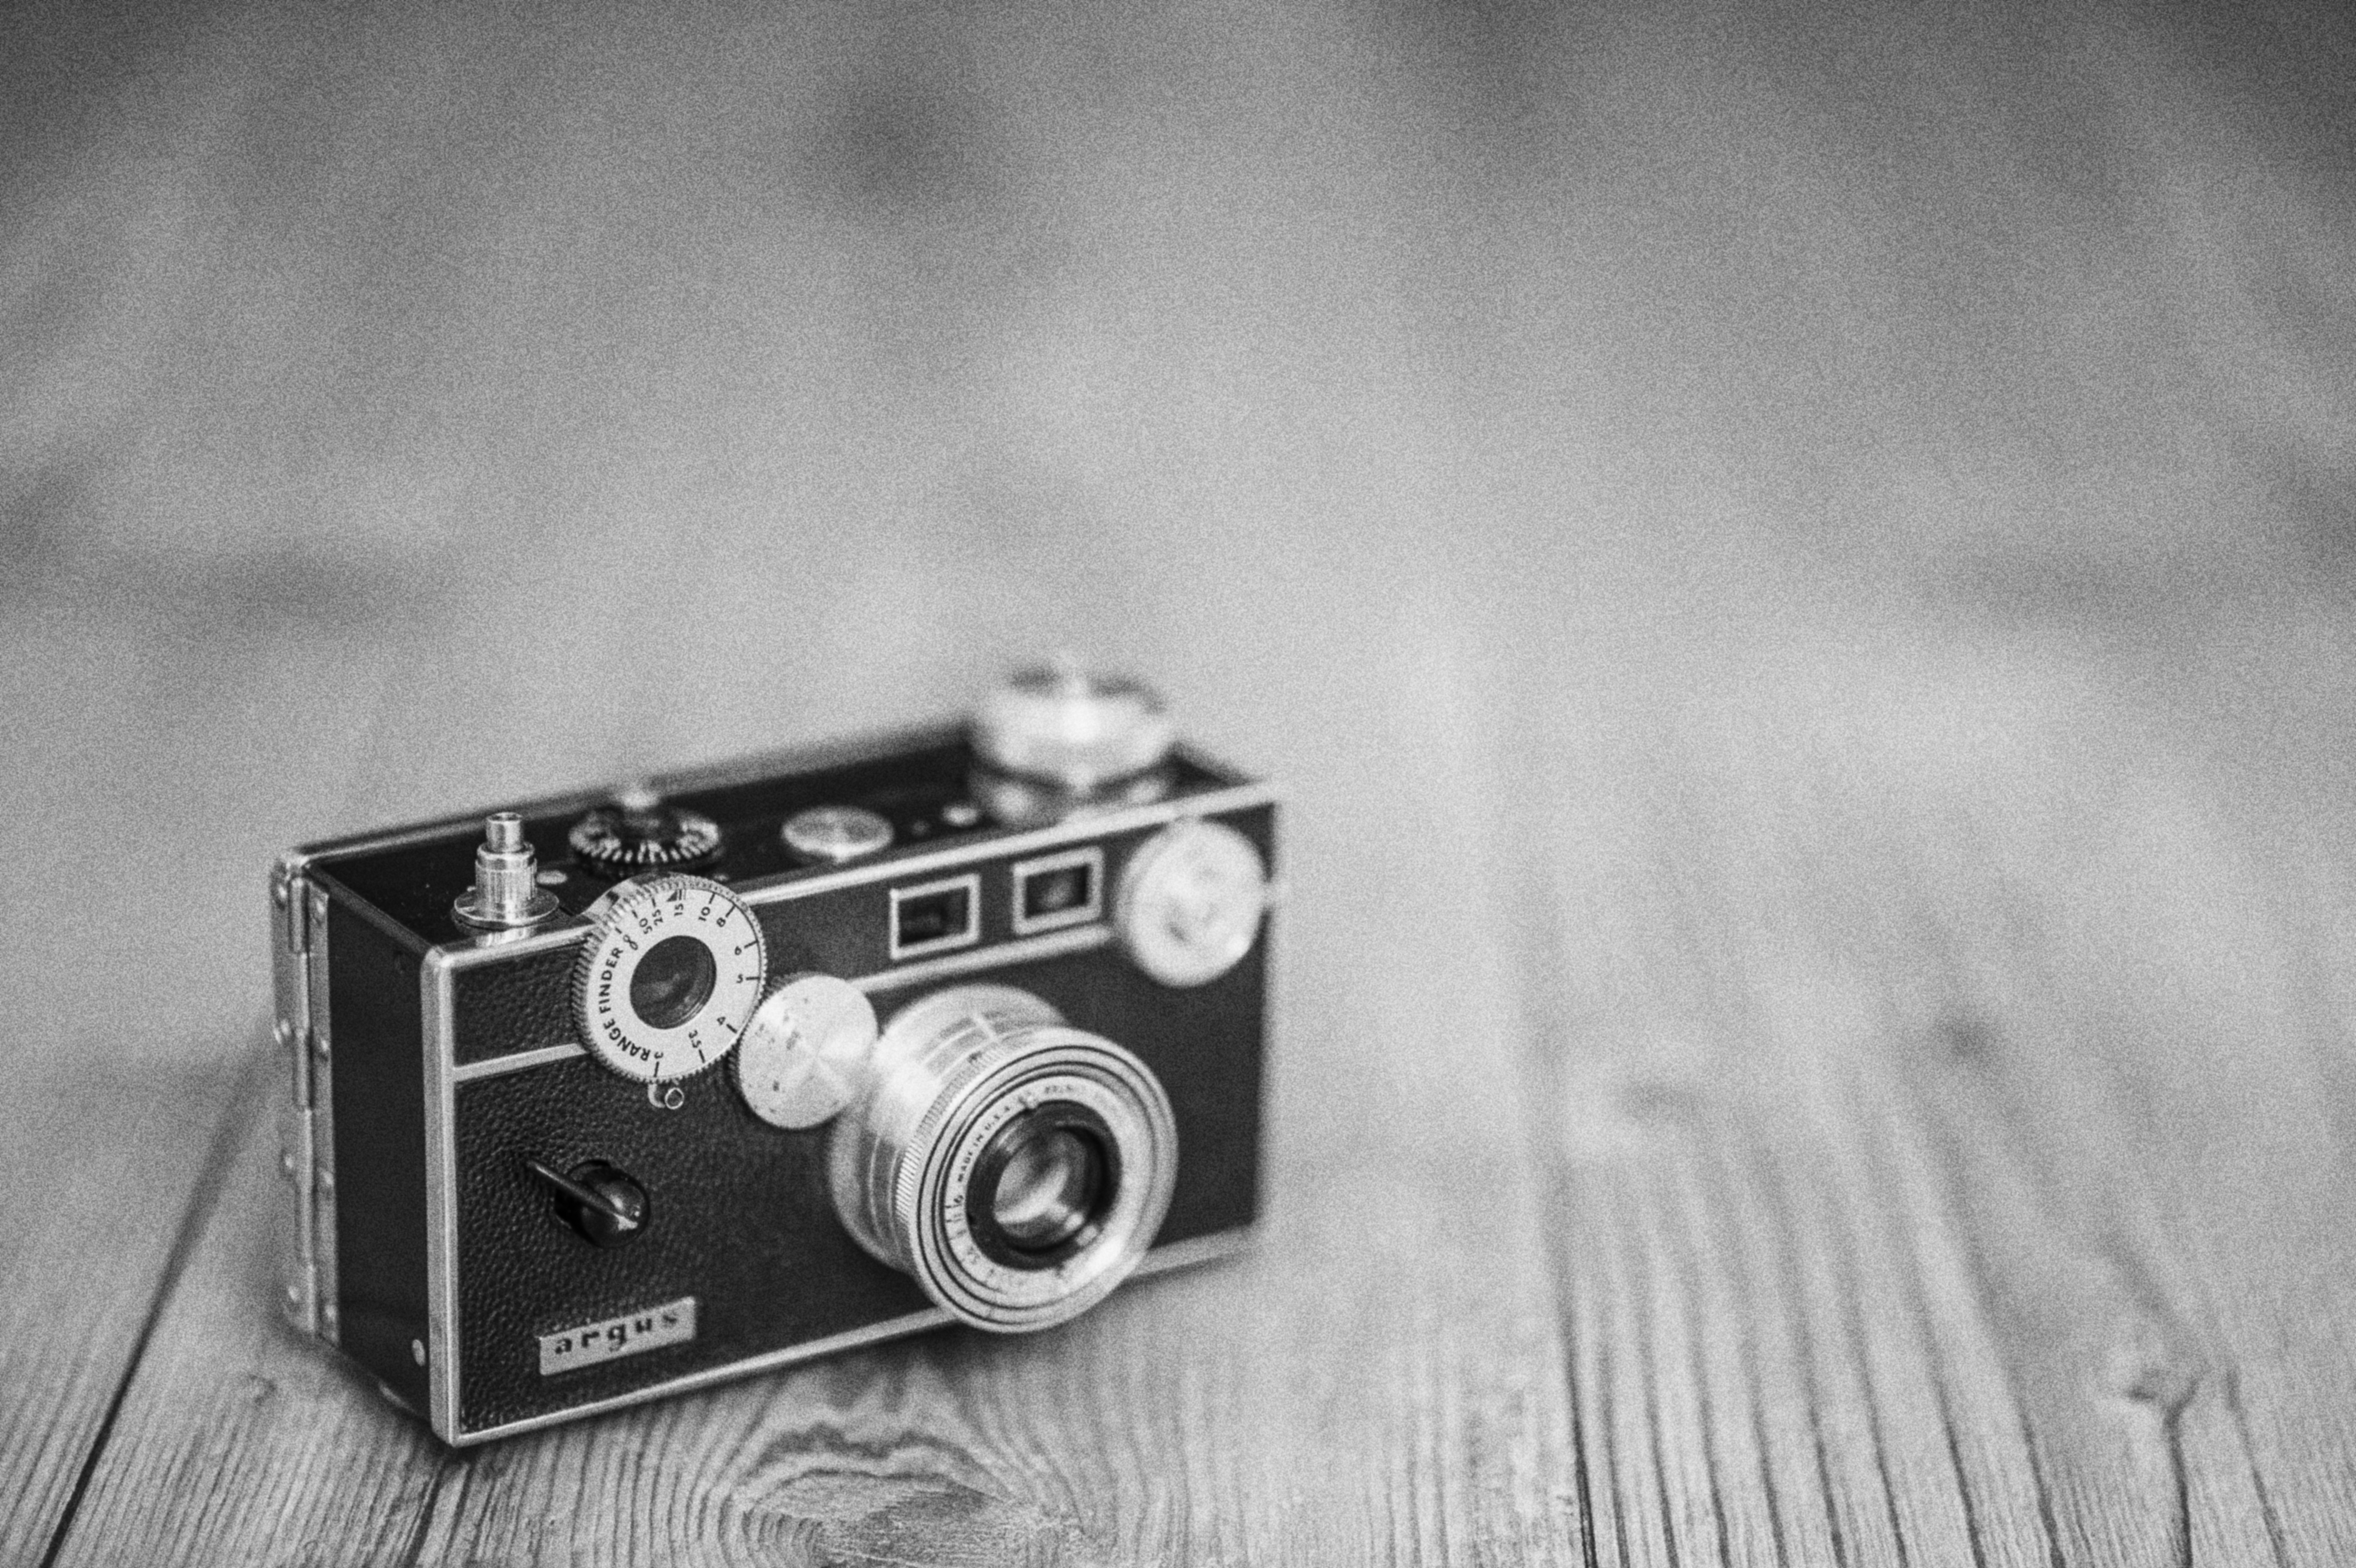
Black-and-white conversions are quick and easy to apply using Monochrome Templates, individual black-and-white Templates in other collections, or by using the Black & White controls in the Edit tab.
2) Add textures
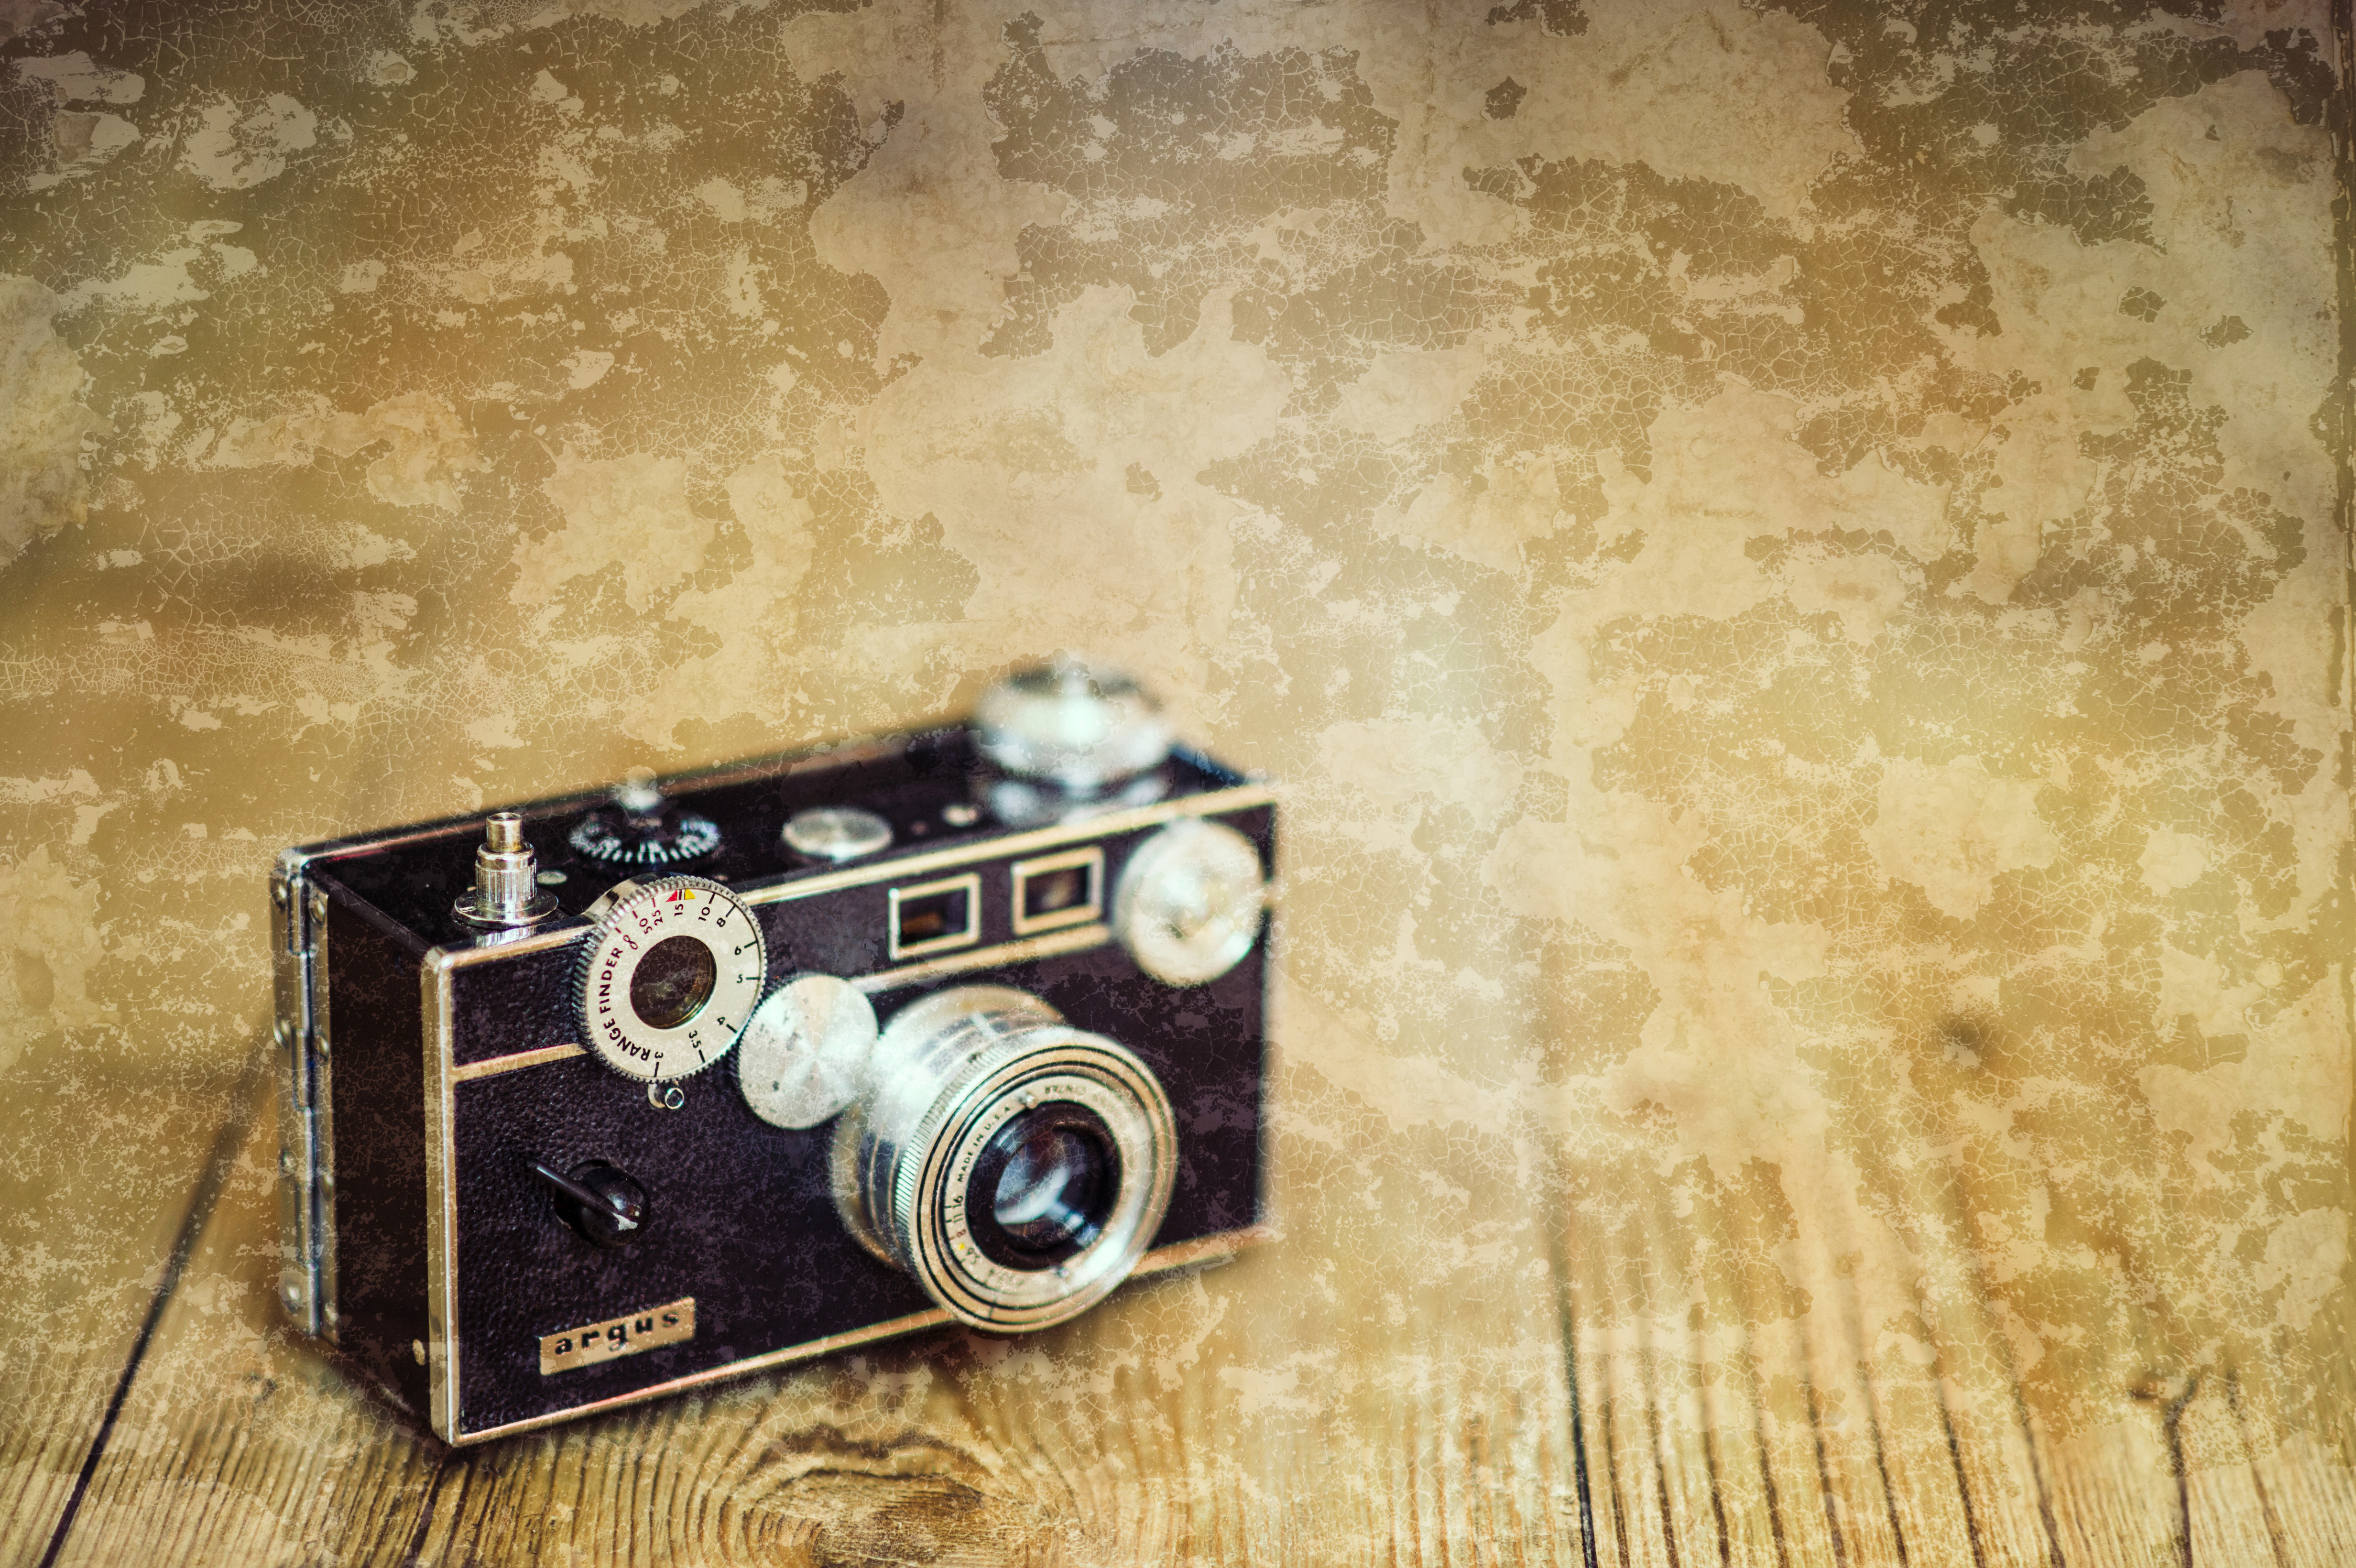
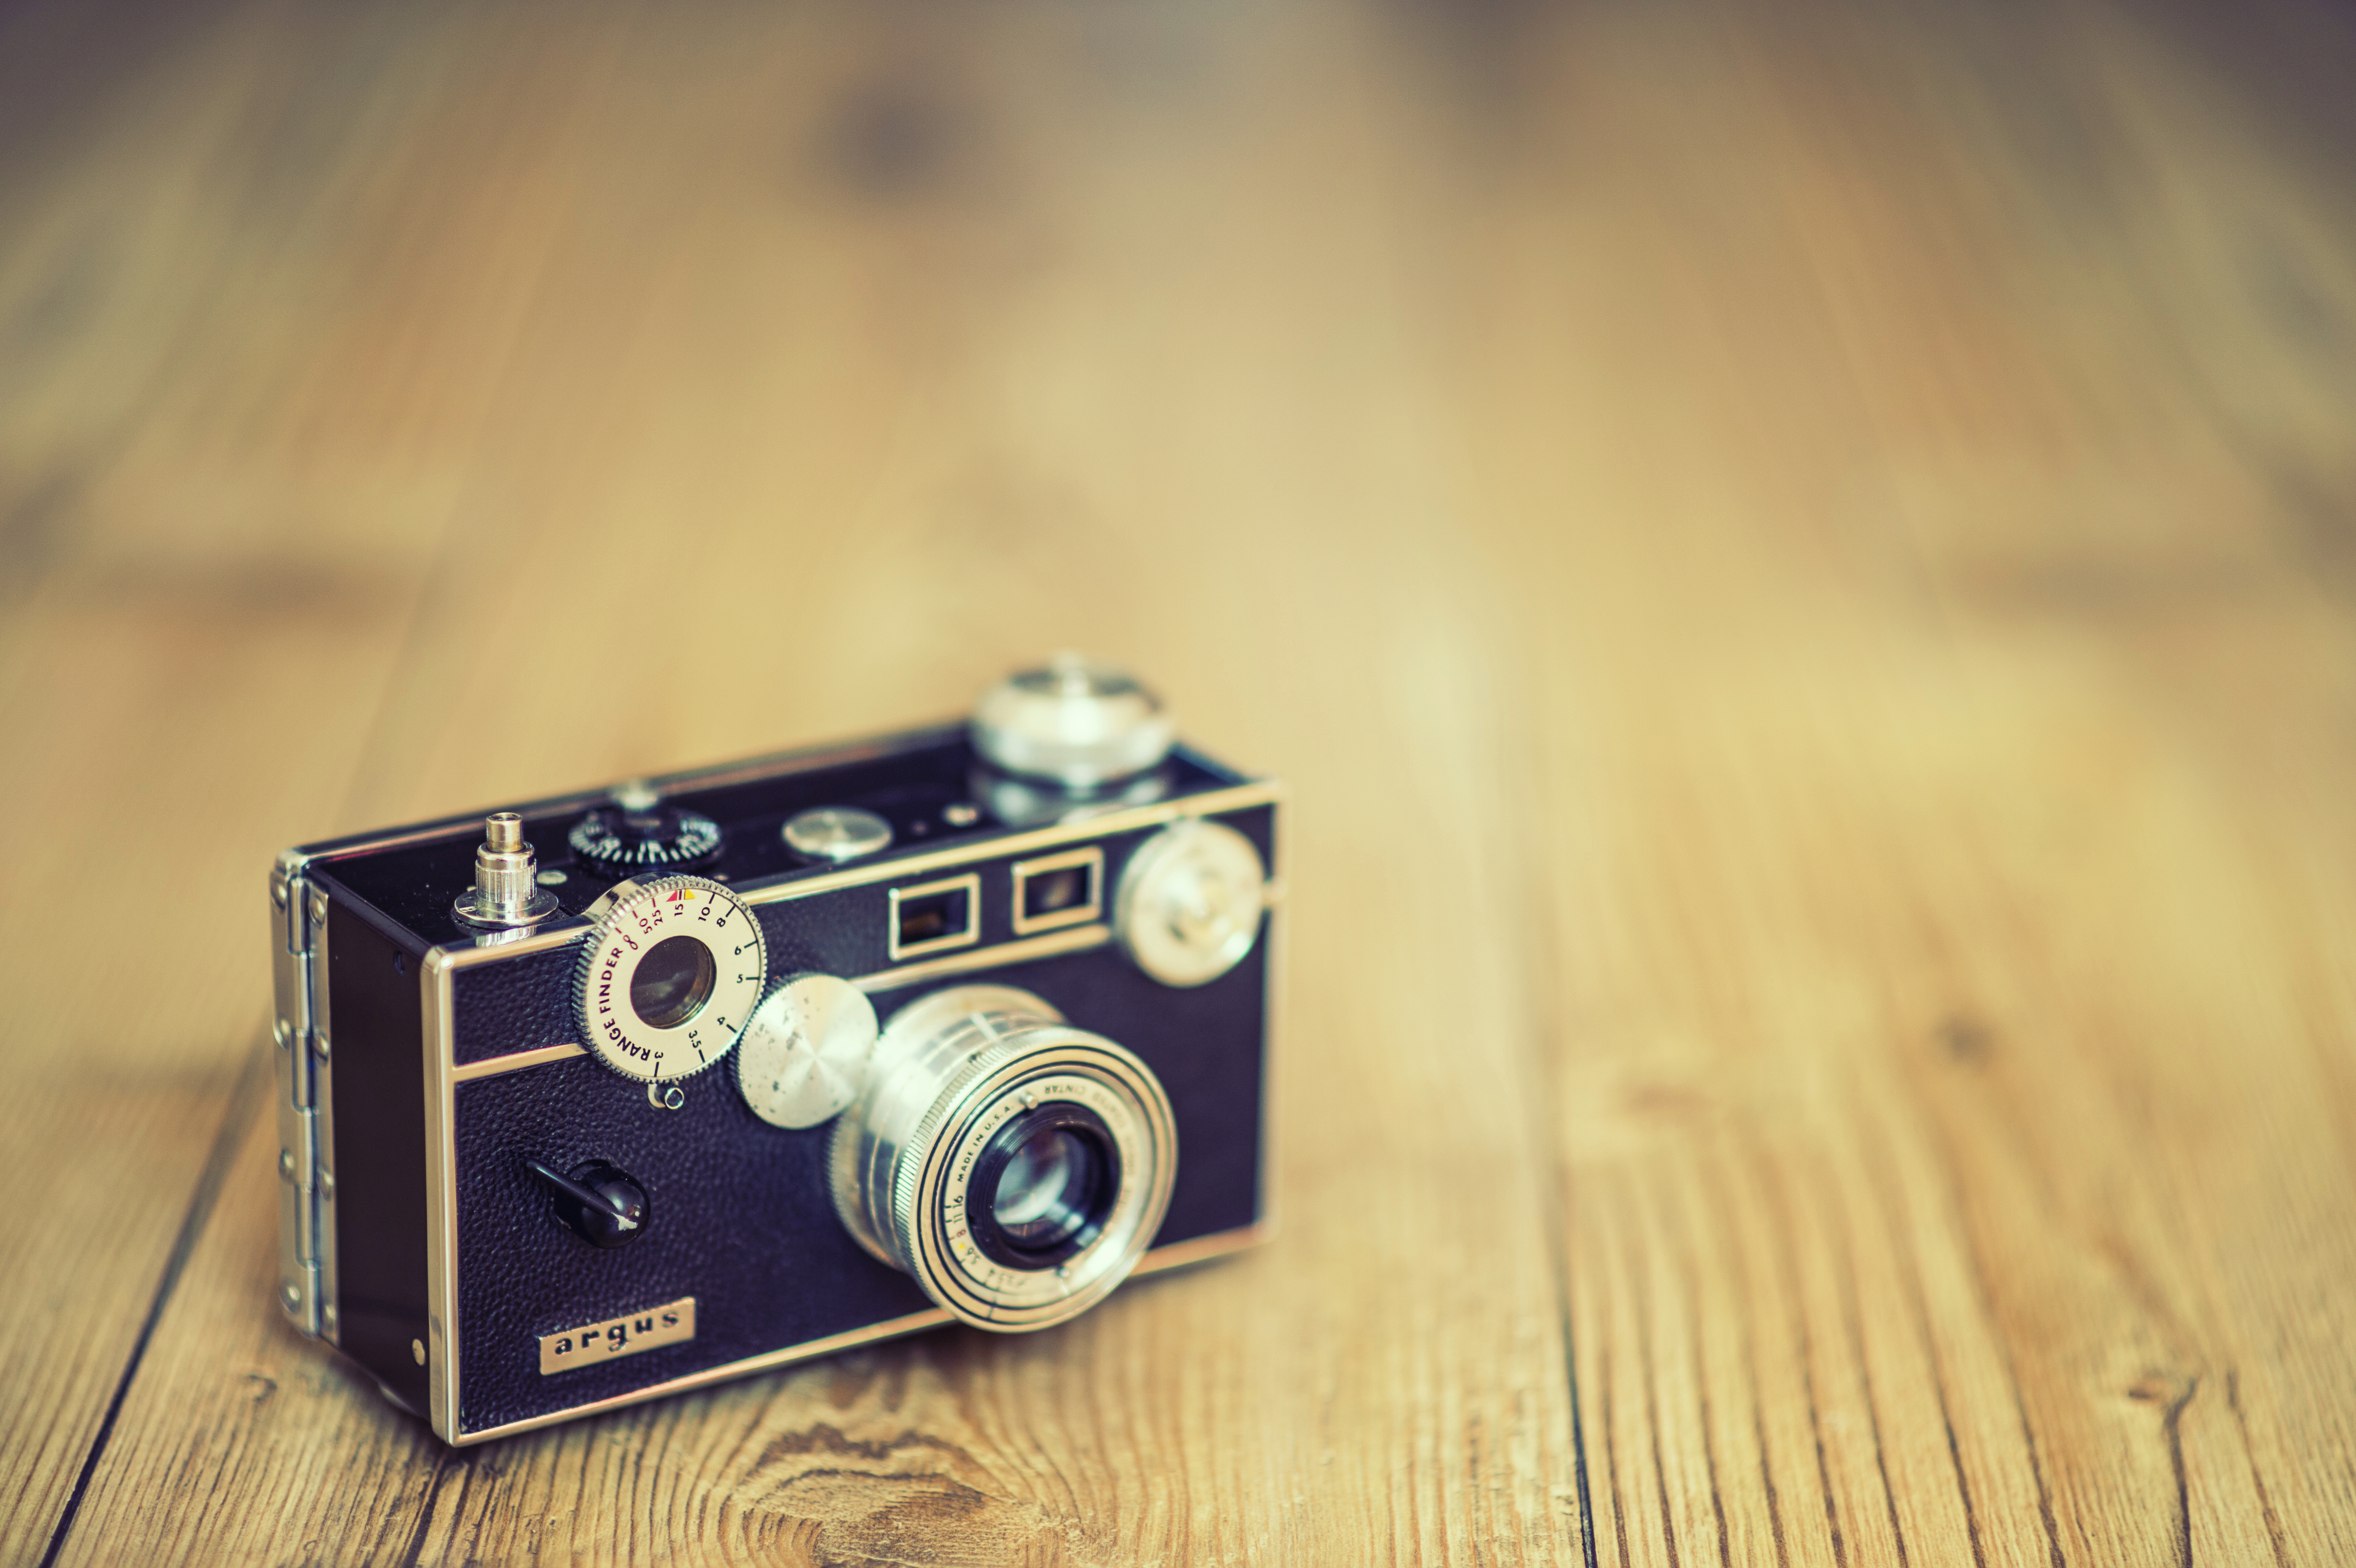
Adding textures to images is a creative technique that can produce multiple results using a single texture image. The Local Masking controls make light work of loading and blending textures.
3) Experiment with LUTs
LUTs, or lookup tables, are files that apply colour and tonal changes that add a cinematic quality to images. Luminar AI provides many LUTs to choose from in the Mood controls on the Edit tab.
4) Apply creative looks
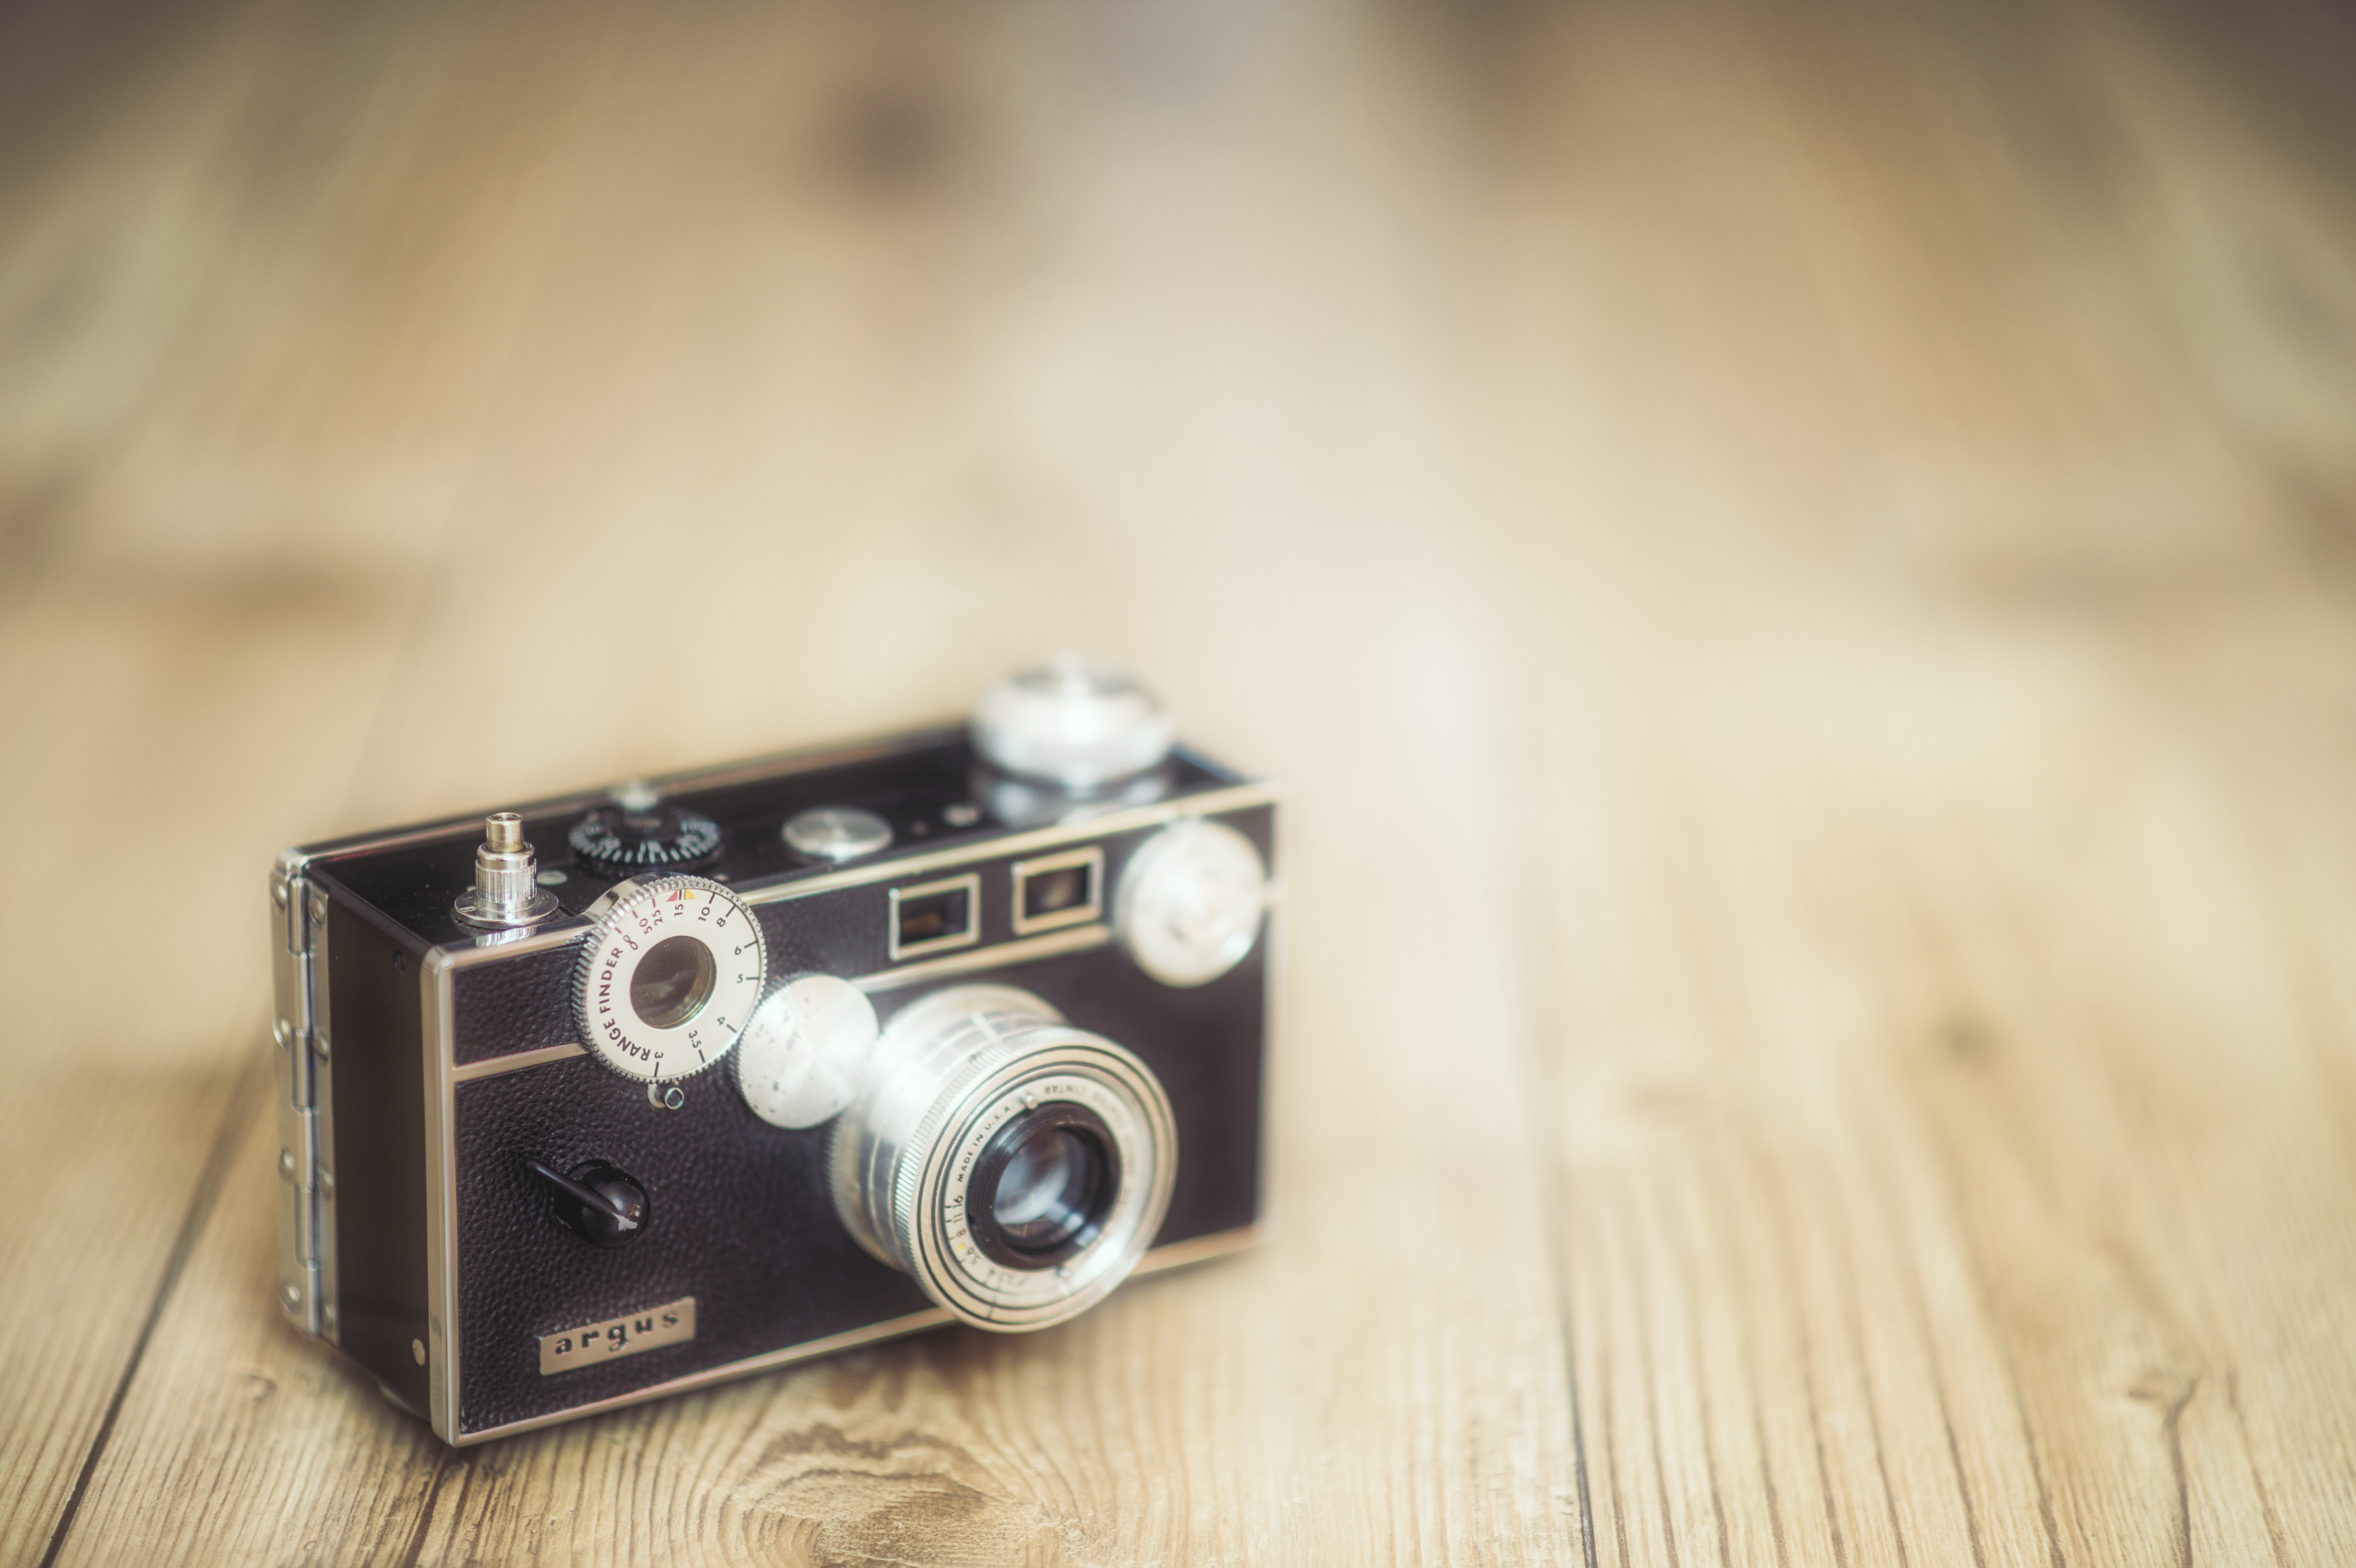
Toning allows you to split-tone images; Matte provides the ability to create a matte effect; Mystical adds a diffuse glow with colour options; and Glow allows you to add four blur effects, including the Orton effect. This image had Matte and Mystical applied.
5) Film Grain
Adding grain to images is a great way to create a sense of atmosphere in your photographs, and with the Film Grain controls you can create realistic grain
in a matter of seconds.
How to get your copy of Skylum Luminar AI
If you don’t have Luminar AI already, you can get it at www.skylum.com – it’s available for both macOS and Windows. Luminar AI will revolutionise your editing workflow by simplifying professional techniques and making complex tasks quick and fun. When you purchase Luminar AI, you can use the exclusive discount code DCW21* to save £10/$10 on the price of the software, which is available with single or dual computer licences.
*Cannot be used in conjunction with other sale offer
The best camera deals, reviews, product advice, and unmissable photography news, direct to your inbox!
Digital Camera World is one of the leading authorities on camera and photography news, reviews, techniques, tutorials, comparisons, deals and industry analysis. The site doesn't just specialize in cameras, but all aspects of photography, videography and imaging – including camera phones, gimbals, lenses, lighting, editing software, filters, tripods, laptops, printers, photo books, desks, binoculars and more.
Whether you're using, looking to buy or trying to get the most out of a compact camera, action camera, camera drone, cinema camera, beginner camera or professional camera, Digital Camera World has a roster of experts with combined experience of over 100 years when it comes to cameras, photography and imaging.
