10 steps to sharper images with your camera
Take the quality of your images up a notch with our quick, handy guide
The best camera deals, reviews, product advice, and unmissable photography news, direct to your inbox!
You are now subscribed
Your newsletter sign-up was successful
Image quality has proven a variable definition over the years, with a meaning that has evolved in parallel to the development of camera technology and people’s perception of a successful image. It has become a somewhat obscure and generic term that applies to several aspects of the image making process, made more complex by the fact that every photographer has their own definition. Furthermore, we seem to have become obsessed with the concept, with technique magazines, gear reviews and manufacturer advertising all fixating on the shifting idea of a ‘perfect’ image.
In its purest form however, ‘quality’ refers to the technical precision with which an image has been executed, both on the part of the photographer and the camera equipment itself. While aspects such as composition sometimes become drawn into the same category, we must think of the term as defining a photograph that correctly fulfills the parameters of exposure, sharpness, colour depth and noise impact.
Digital cameras have reached a point where they are exceeding the best film models for sharpness and resolution, but expensive, pro-grade equipment won’t guarantee the ultimate image quality. The photographer has to ensure they are using their kit correctly and to its full potential.
Here we provide a quick rundown of the best tips and tricks for sharper images time after time.
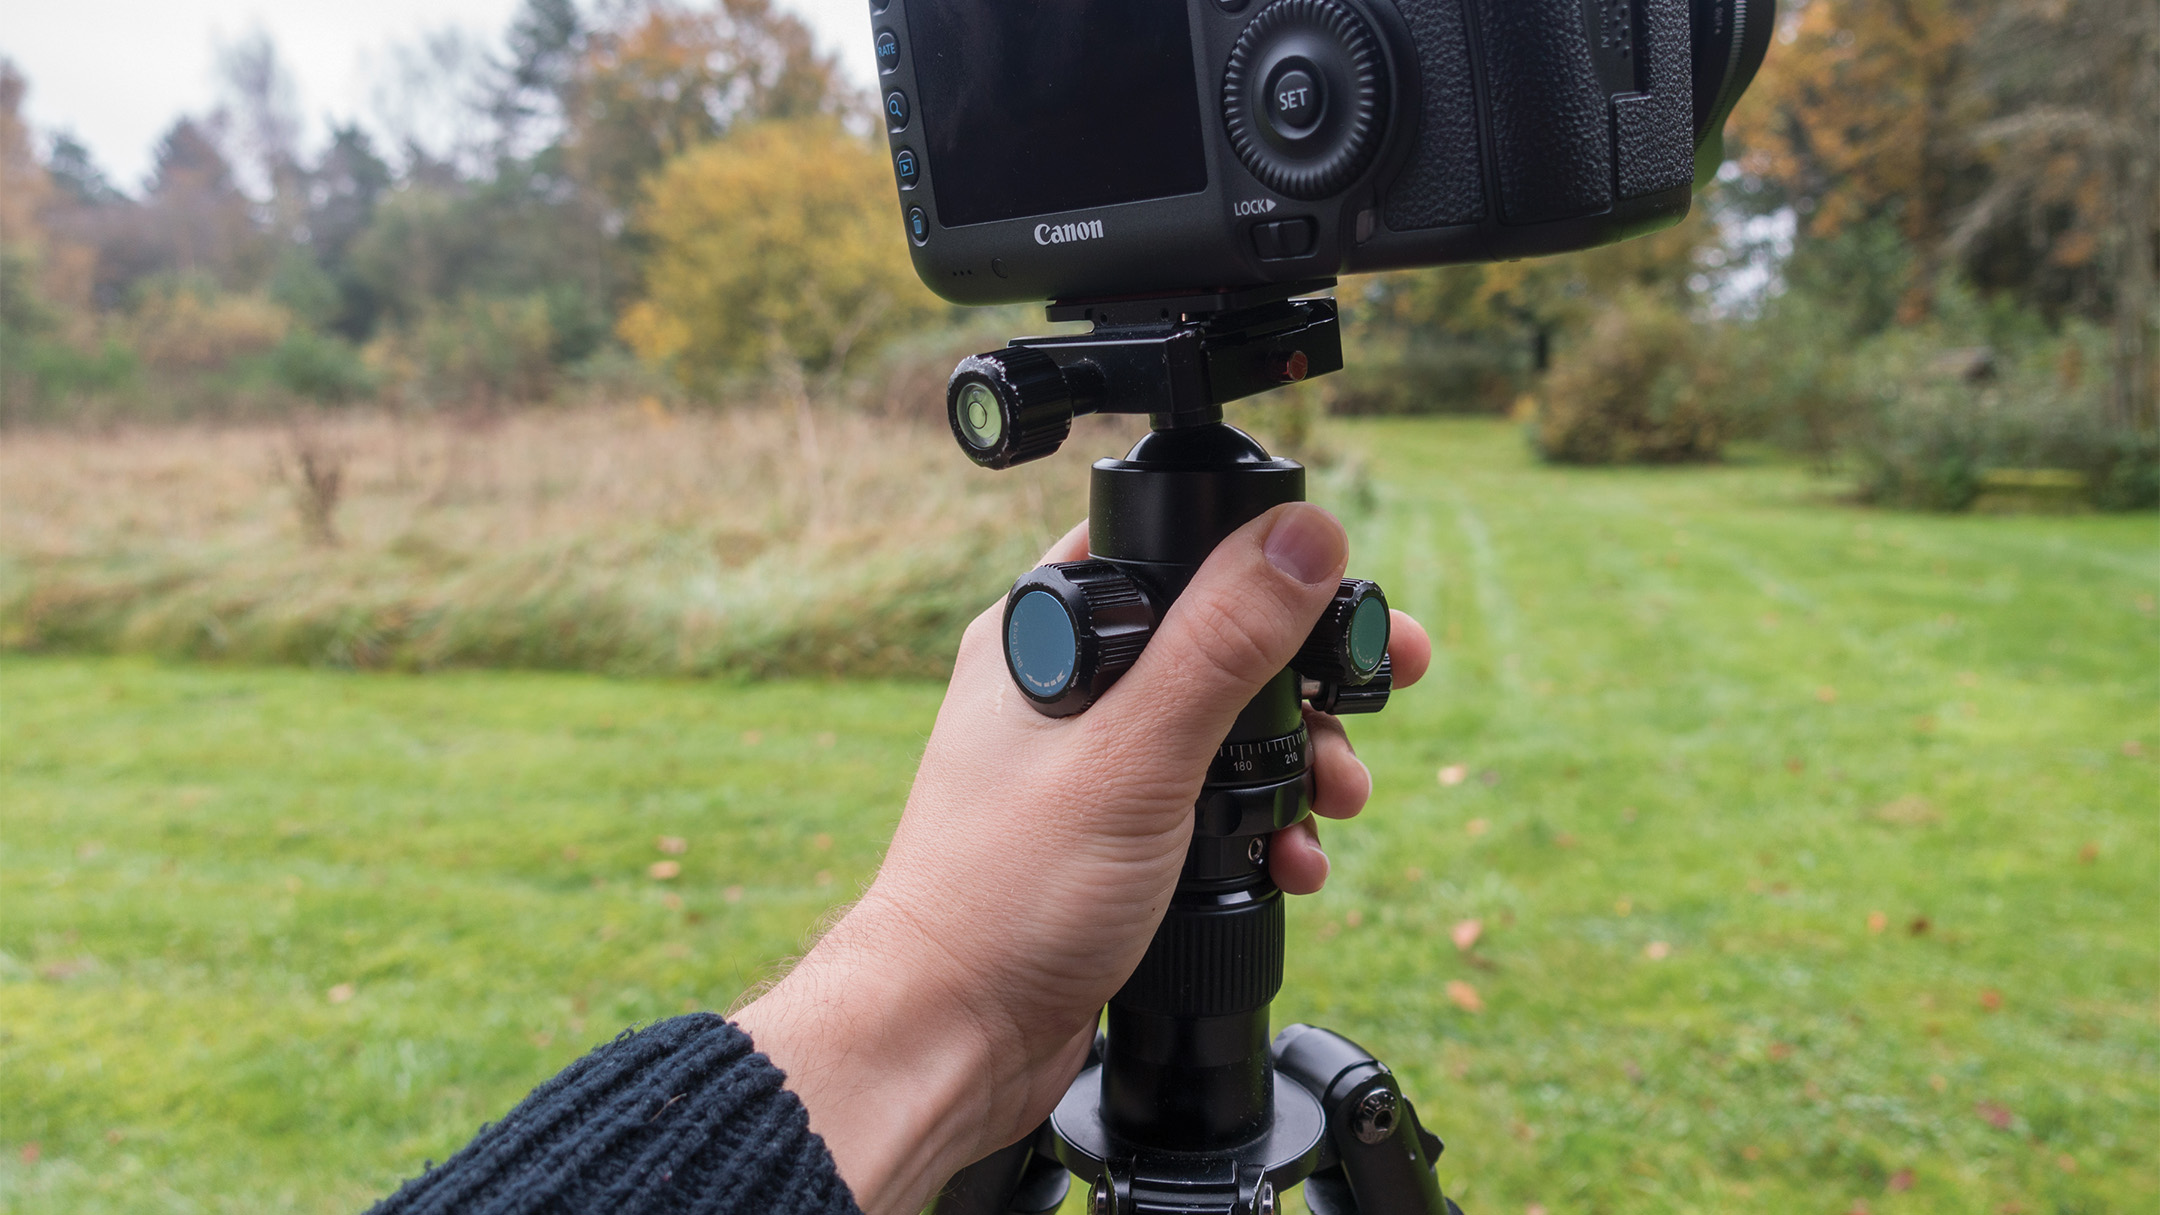
1-Use tripods the right way!
Yes a tripod is a go-to piece of kit for sharp images, when shooting longer exposures, but you need to use the correctly. First of all, extend the top leg sections before the lower sections, as these are often the steadiest. Secondly use the correct feet for the terrain you're on - thicker feet might be needed on wet sand for example, which can introduce blur through gradual sinking. Thirdly, turn off image stabilization on your camera or lens, when tripod mounted, as this can introduce blur.
• Read Best tripods
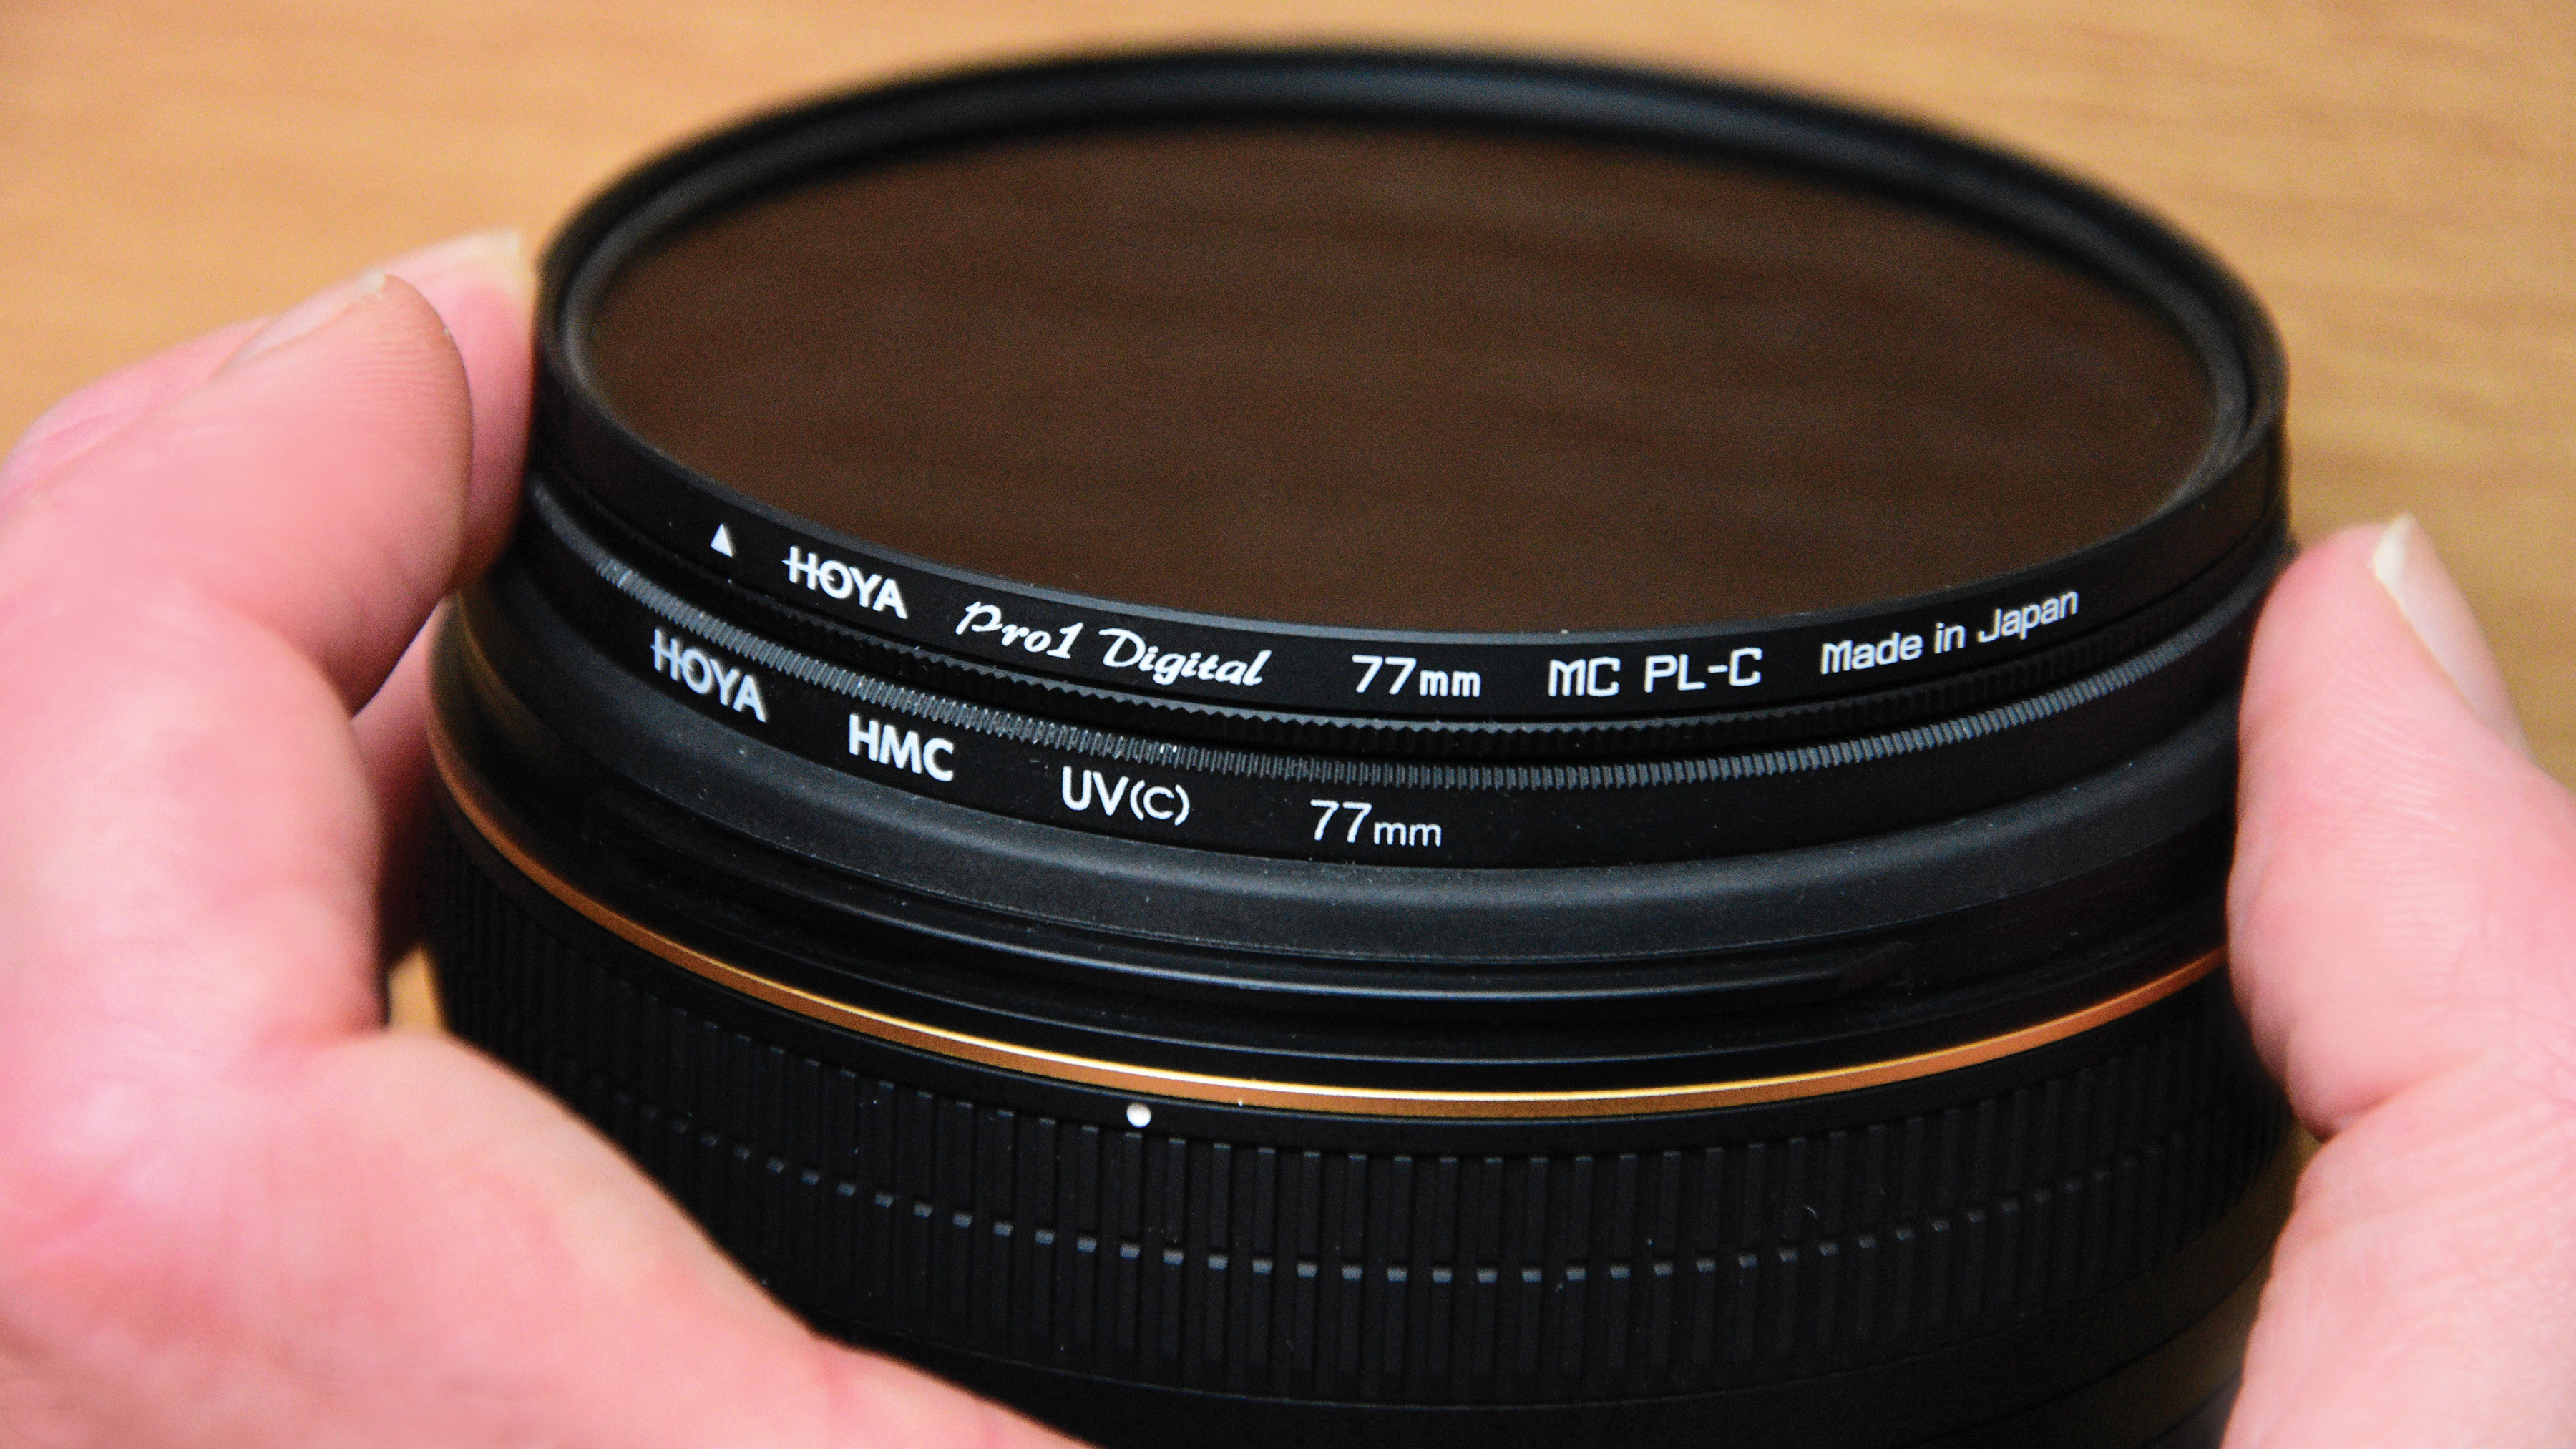
2- Remove excess filters
Any filter, even a professional, high grade one, is another barrier that light has to pass through to get to the imaging sensor. This will quickly reduce sharpness if filters are stacked. Always try to use as few filters as possible - stick to a polarizer and remove a UV or protector filter for example - as this will improve detail and reduce flare and ghosting.
The best camera deals, reviews, product advice, and unmissable photography news, direct to your inbox!
3- Avoid diffraction
Lenses often deliver superior results when the aperture is stopped down from the maximum. An f/2.8 lens will likely be sharper at f/5.6 or f/8 for example. However at very small f/stops sharpness will drop again and quite rapidly. This is because more light is redirected by the aperture blades (called diffraction) and the quality is impacted. Unless you really need to stop down to f/16 or smaller, because you want a longer shutter speed or need deep depth-of-field, stick to mid-range apertures, for sharper images.
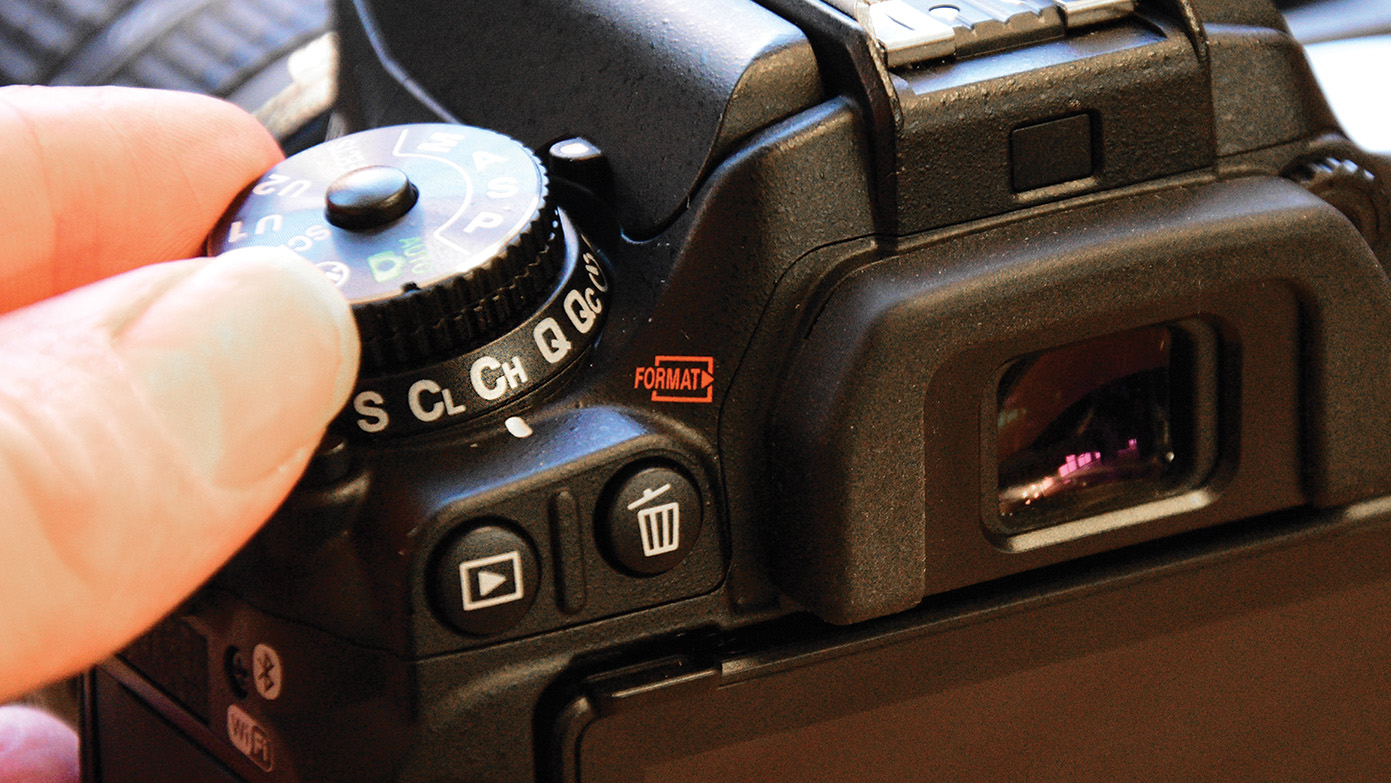
4- Use burst mode
The more images you take close together, the more likely it is you will get at least one sharp image. This is why sports and wildlife shooters put burst mode to work, firing off many images in sequence. Switch your camera to burst mode and hold down the shutter release, firing at least 5 or 6 frames, more when your shutter speed is below around 1/60sec. The you can examine all of these at the computer and pick the sharpest one, or maybe even combine elements of multiple frames.
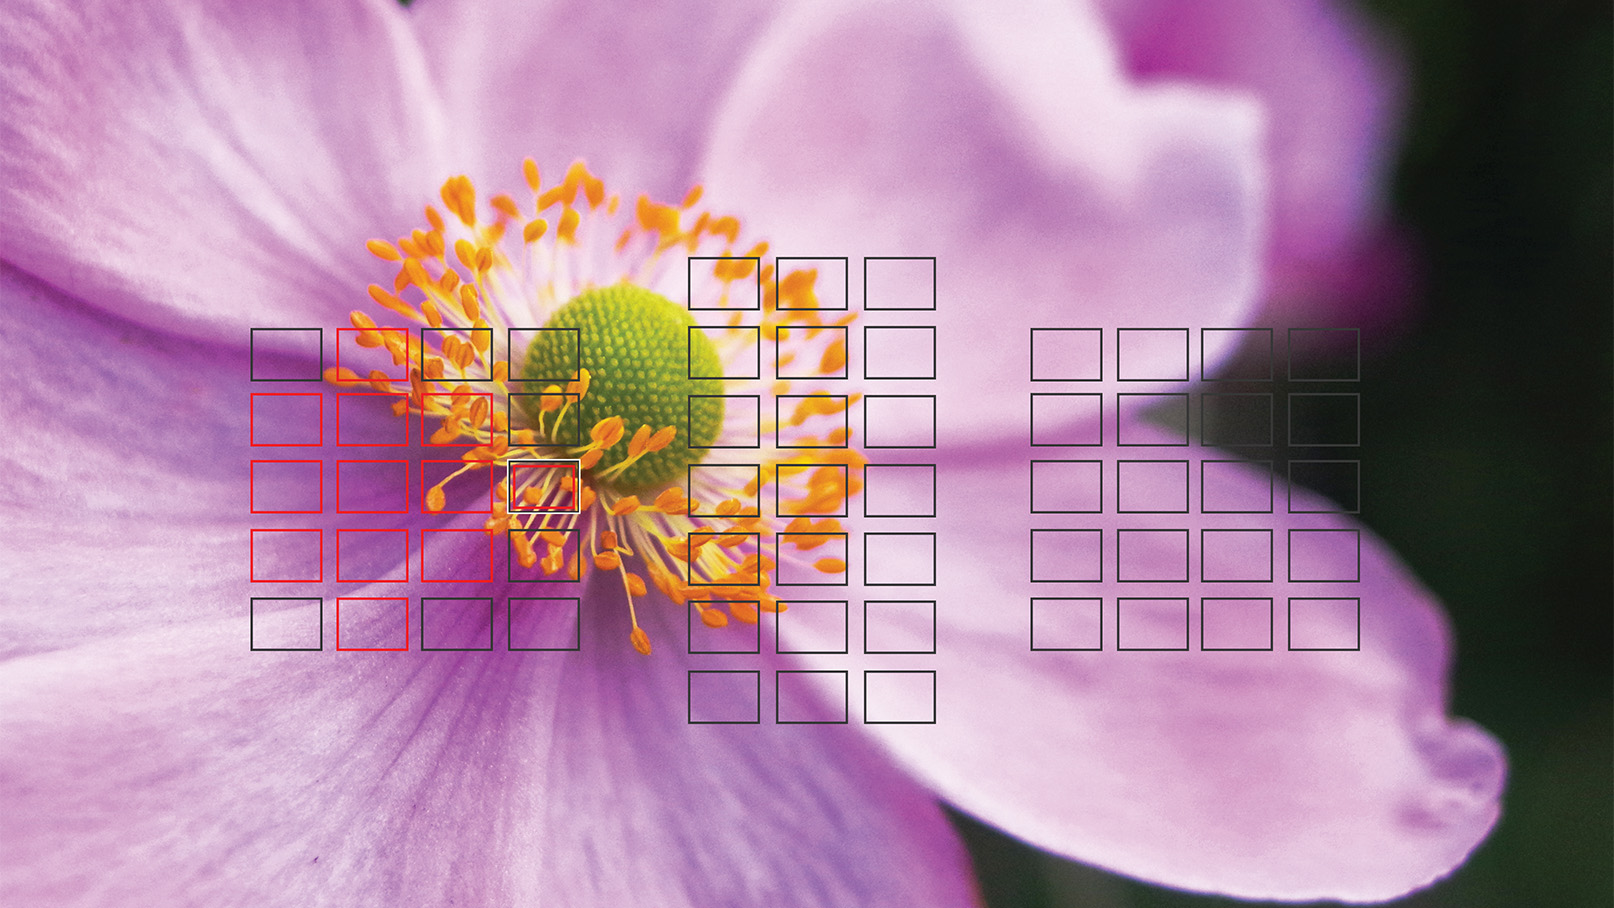
5- Move your AF point
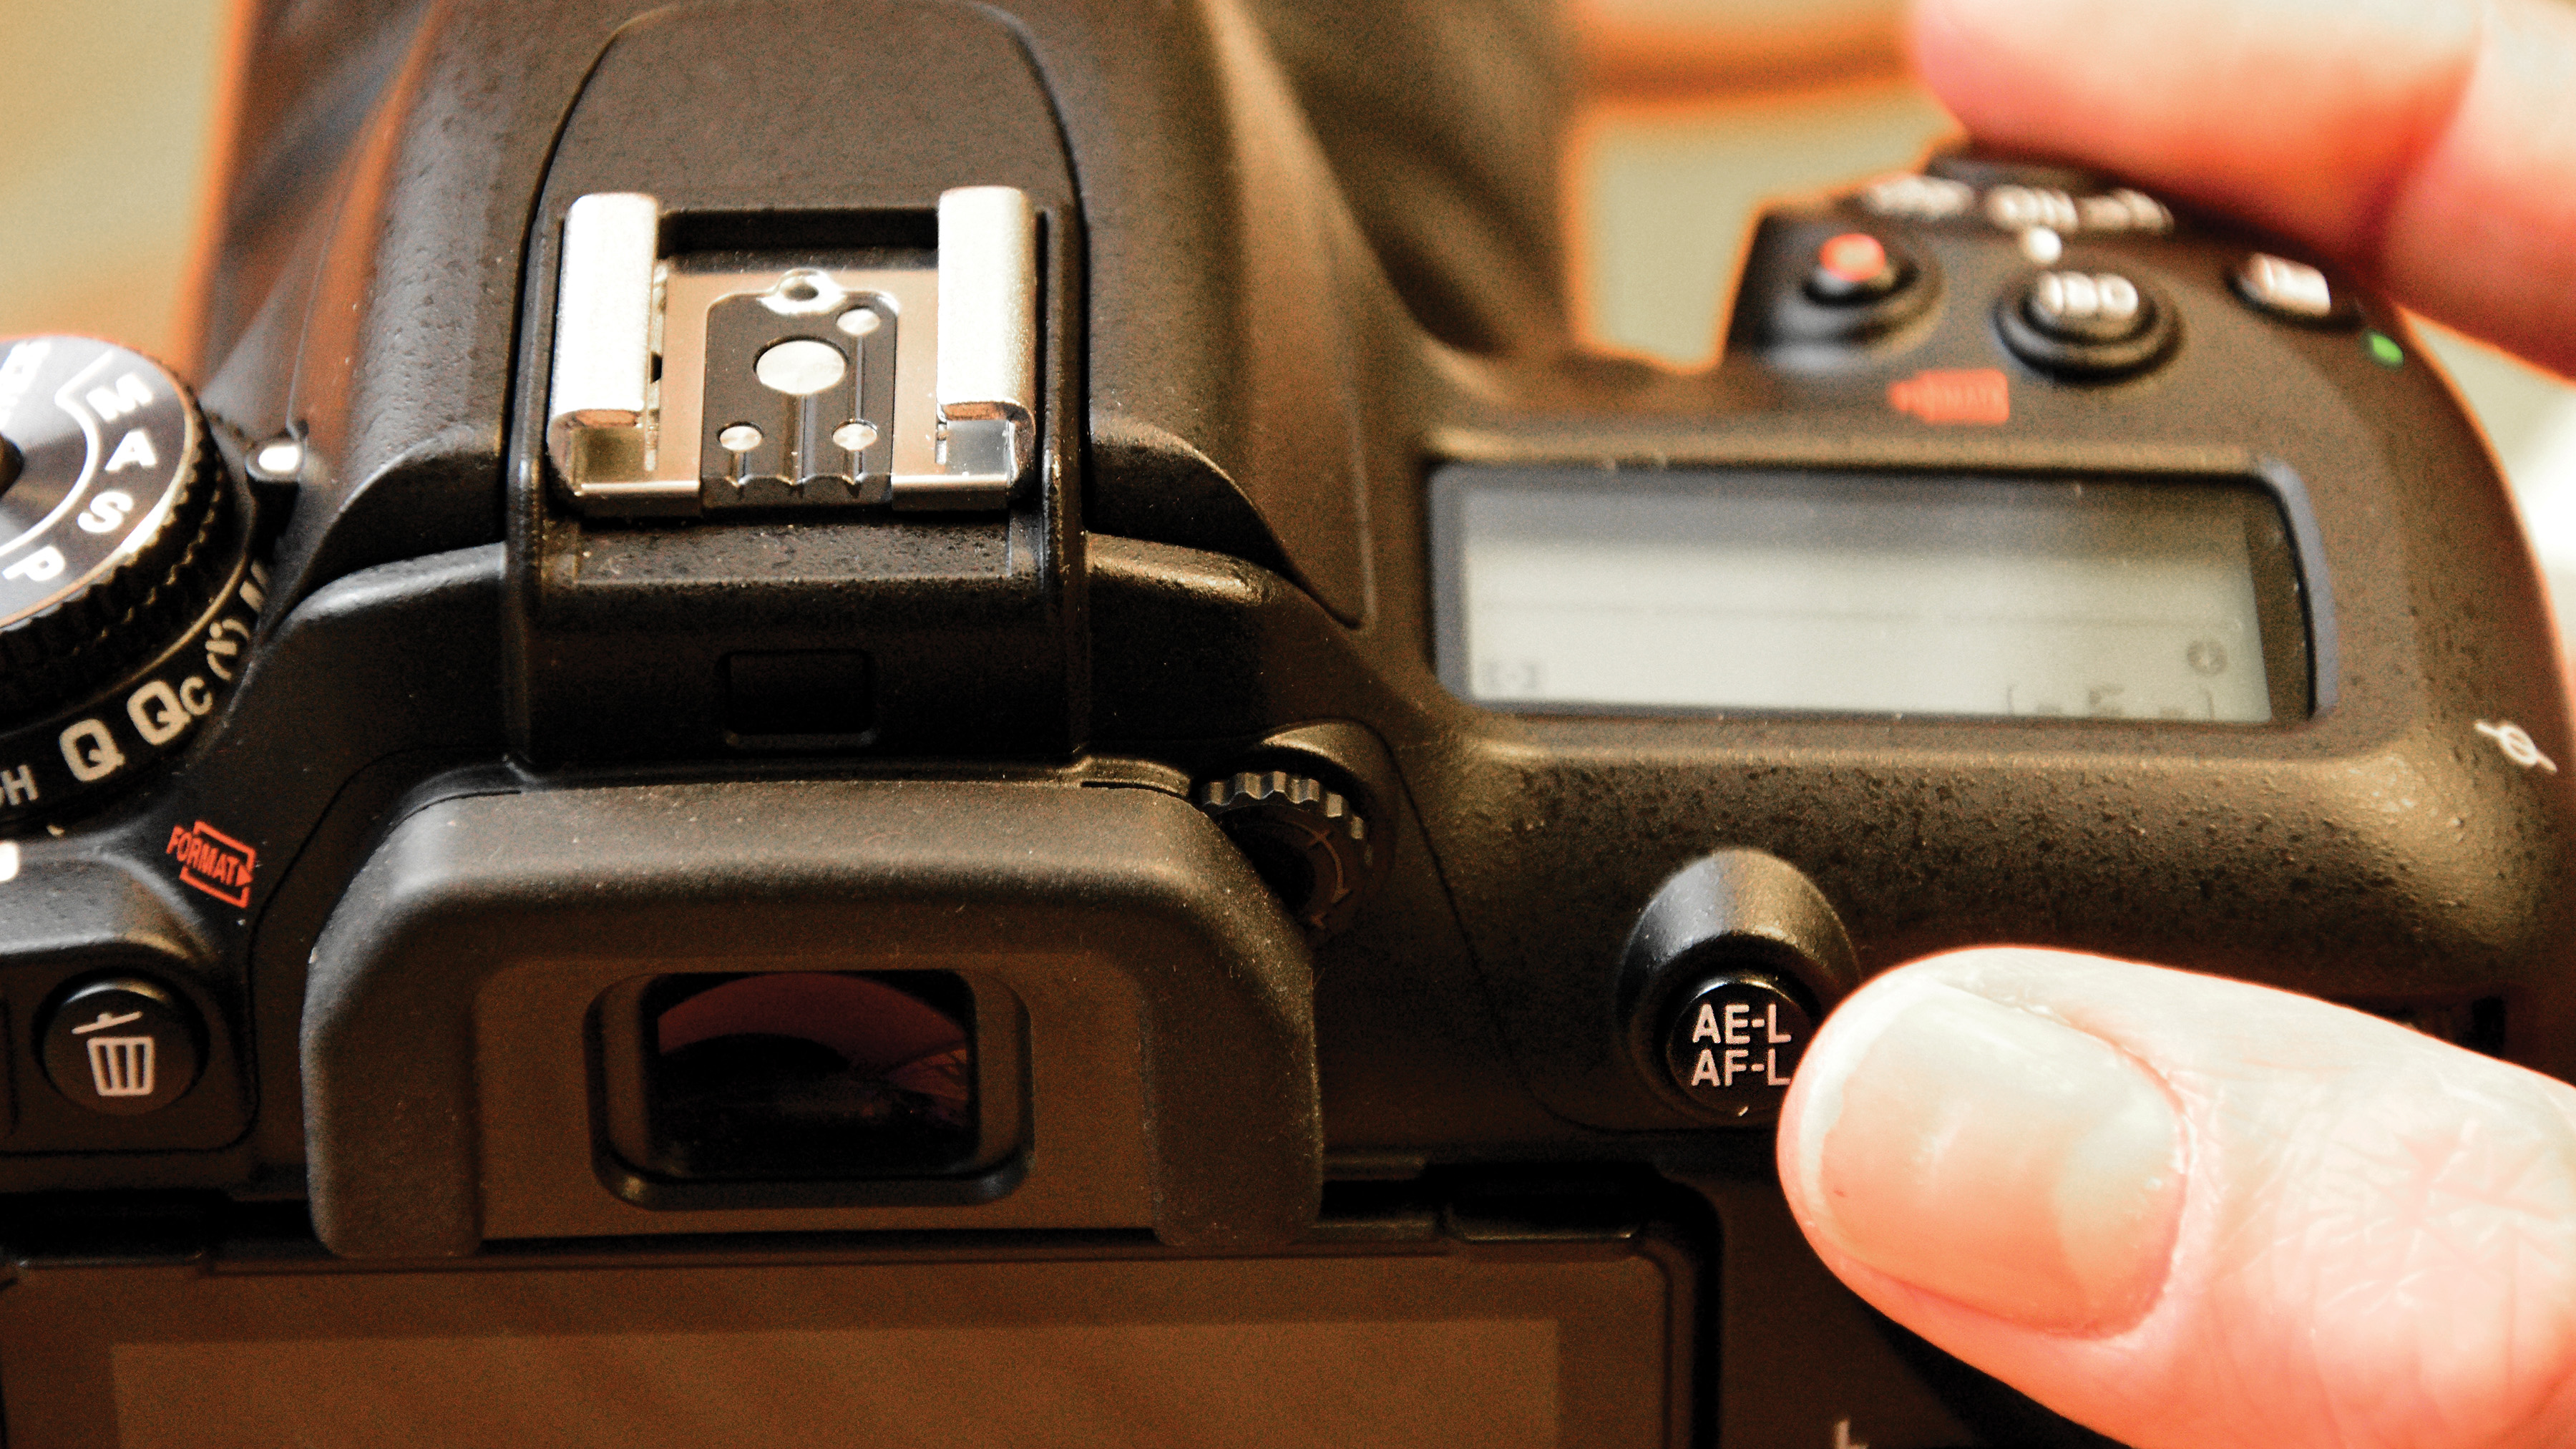
A common technique for rapid shooting is to focus your image, then reframe the shot for the best composition. While this works nicely in wider scenes, and at smaller aperture settings, below around f/4 and at focal lengths of 35mm and longer, this shift in camera position can push the subject out of the plane of focus. In these circumstances move your AF point instead. While looking through your viewfinder, or at the camera's rear LCD, compose your shot, toggle through your AF points until one is illuminated over your subject, then half press to focus and shoot.
6- Remove your strap
A camera strap is an essential protection device when shooting handheld, but when tripod mounted it can be a hindrance. The wind can catch the strap and cause unwanted vibrations, which are highly noticeable when shooting longer exposures. If you are going to be out shooting landscapes, for example, and know you won't be shooting handheld, remove the strap to streamline the camera setup.
7- Prefocus
Rapidly trying to find focus is a big cause of camera shake and miss-timed, lost opportunities. This is why focussing on a spot where you expect your subject to be in the near future is a tried and testes pro strategy. If you are shooting wildlife for example, lock focus on an area where you've seen movement and when the subject comes into frame, fire a shot sequence.
8- Turn off Noise Reduction
At higher ISO settings some level of image noise reduction will be needed, for clean shots. However in-camera processing can be a little over-zealous, reducing detail by a very noticeable degree. It's often better to leave NR until you are post-processing your shots in software, as you can view the image large, on-screen, and choose a custom blur amount, for a balance of detail and smoothness.
9- Magnify preview
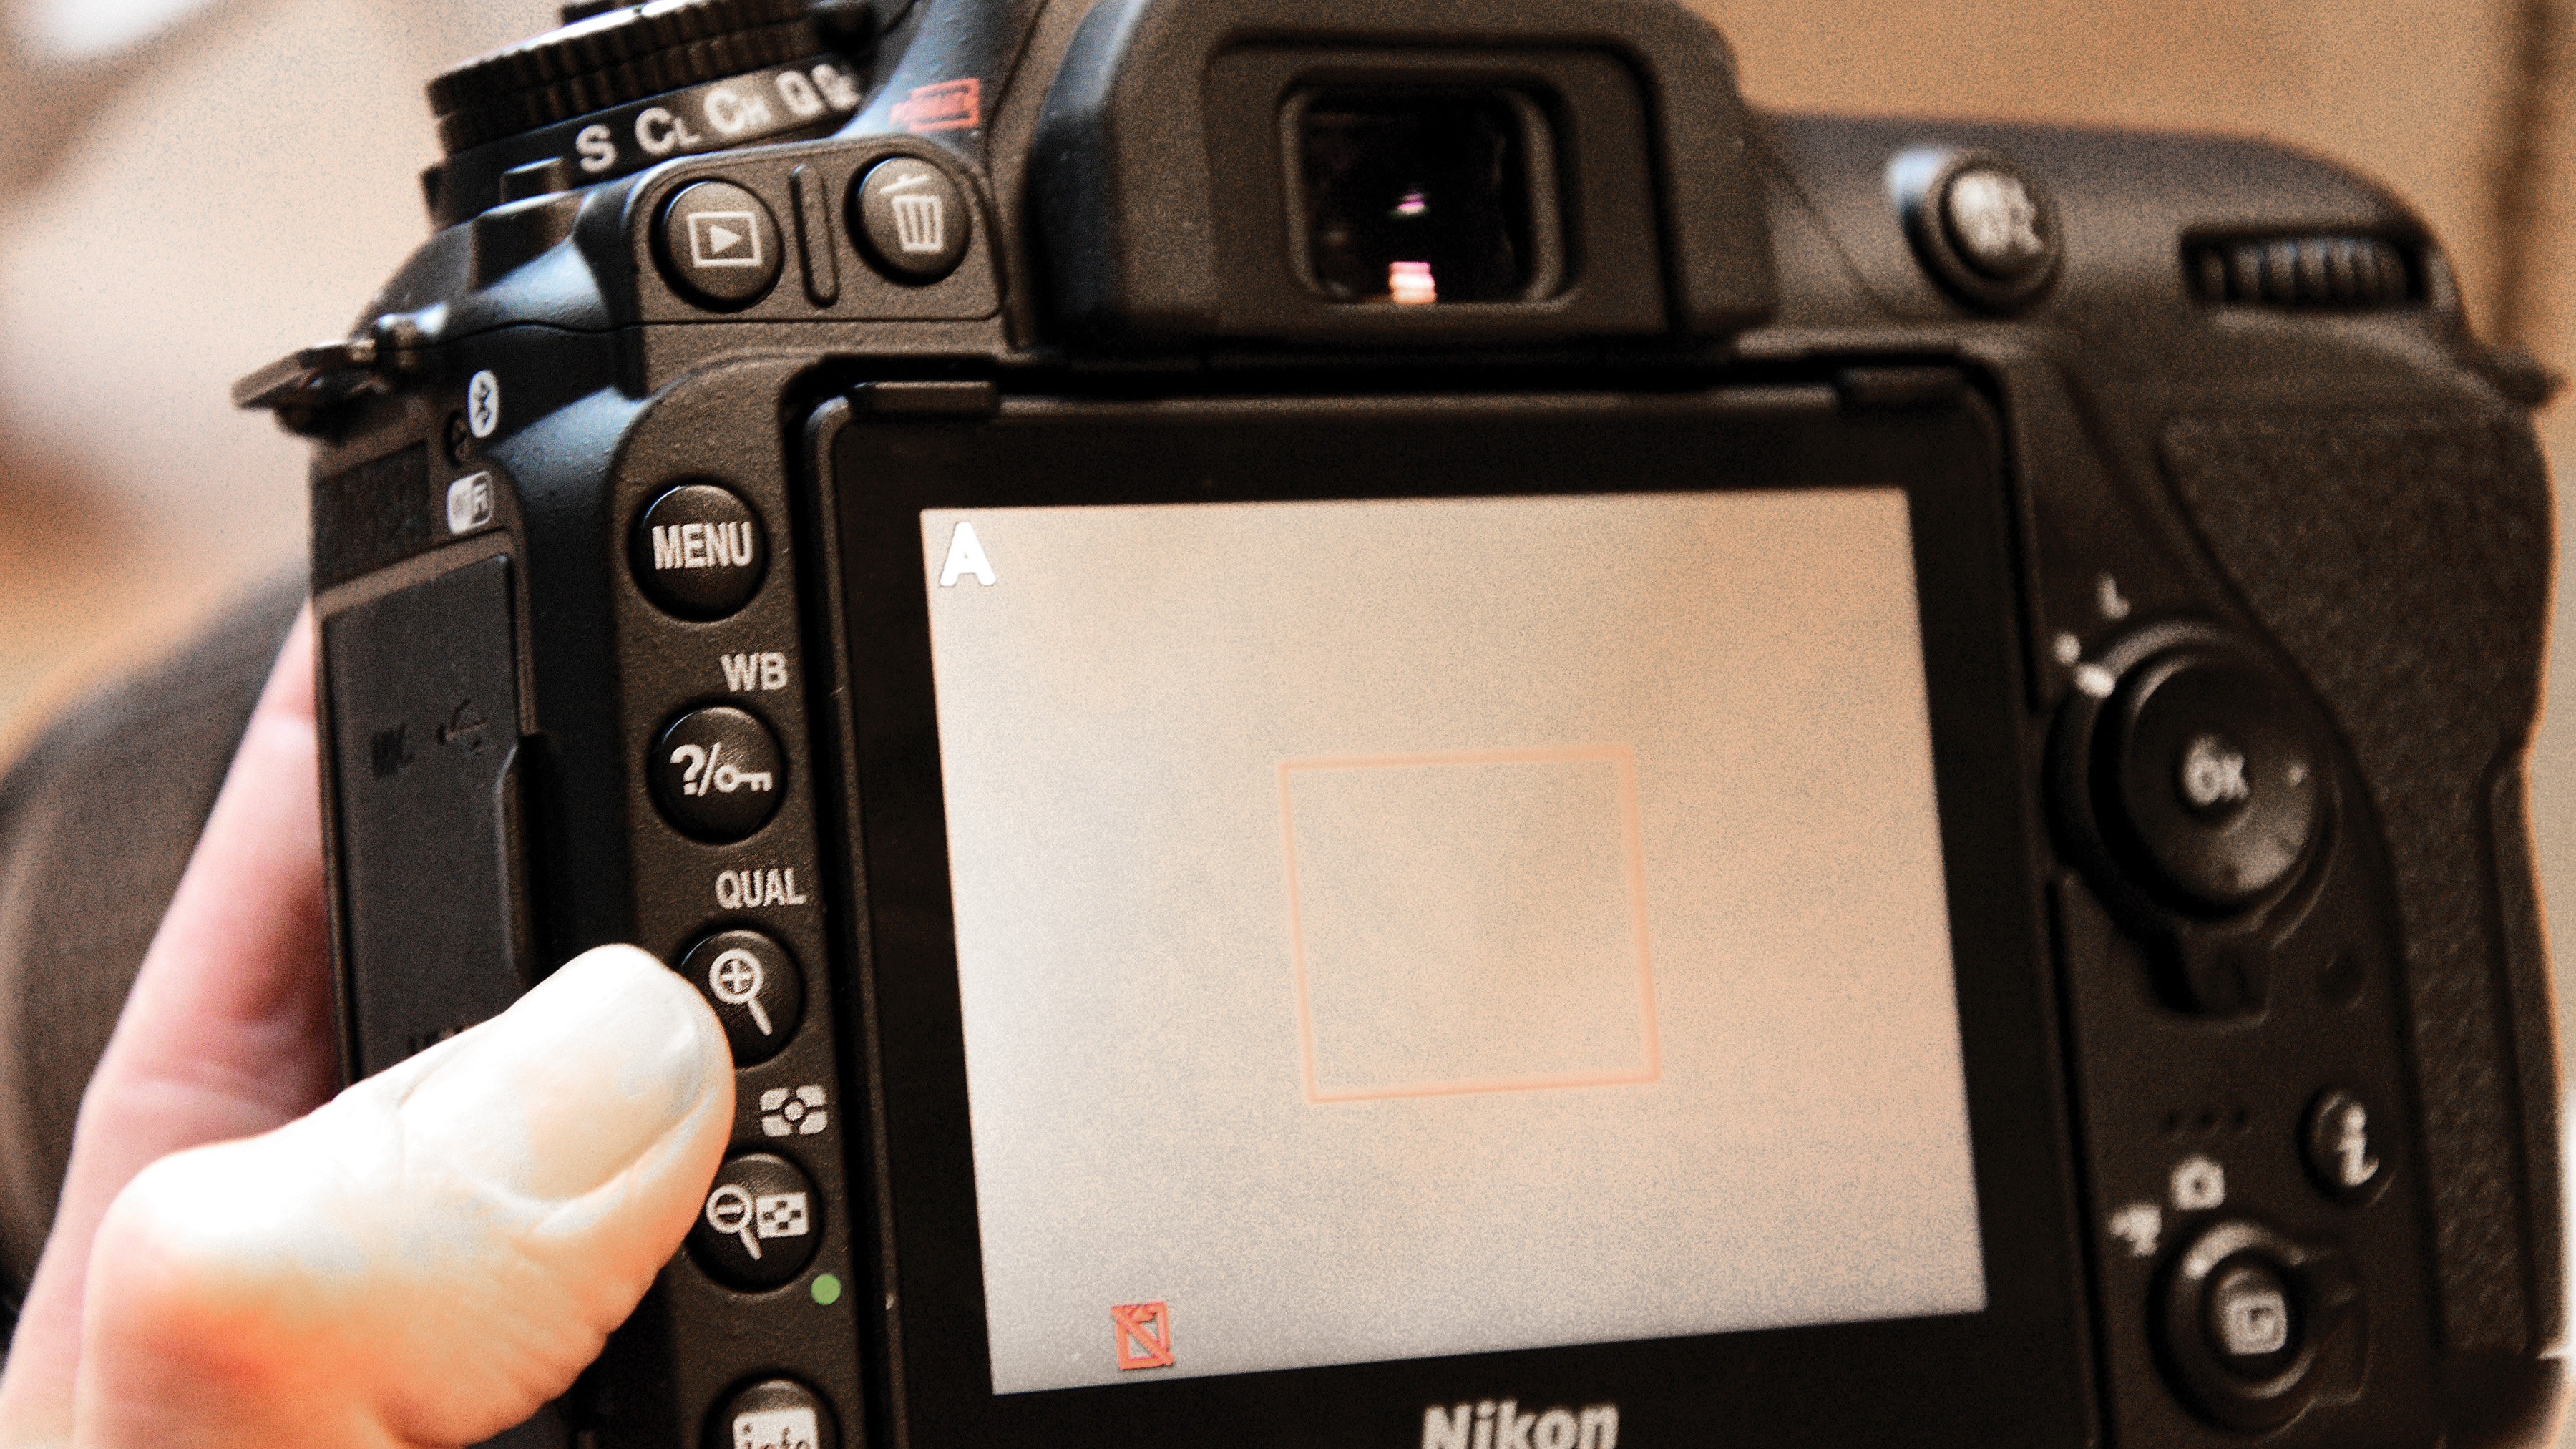
It's hard to imagine how early digital photographers were able to accurately review their images - cameras had 2" LCD screens with puny resolution by today's standards! That being said, even the 3.5" multi million dot screens of the present day can't give an accurate depiction of an image's sharpness at the default magnification. Always zoom into 100% to check critical sharpness before packing up your gear.
10- Change IS Mode
Image stabilisation (IS, VR, OIS, OS, VC depending on your lens/camera brand) is a great tool for reducing camera shake when shooting handheld. There are numerous modes on modern lenses however and it's important to understand what each one is for, to use them correctly.
Standard IS is for everyday shooting for example, while Active mode often refers to situations where you are shooting from a moving vehicle, such as a car or on a boat. Meanwhile tripod modes and panning modes are common additions to many models today. Canon also have a 'hybrid' mode, which is specialised for handheld macro shooting, compensating for rotational movements.
Incorrect usage can actually lower sharpness, so be certain you know what each is for.
Read more
The best cameras to buy: need help choosing a camera?
How to capture luscious landscape lighting
The best mirrorless camera: cameras for travel, vlogging and more
As the Editor for Digital Photographer magazine, Peter is a specialist in camera tutorials and creative projects to help you get the most out of your camera, lens, tripod, filters, gimbal, lighting and other imaging equipment.
After cutting his teeth working in retail for camera specialists like Jessops, he has spent 11 years as a photography journalist and freelance writer – and he is a Getty Images-registered photographer, to boot.
No matter what you want to shoot, Peter can help you sharpen your skills and elevate your ability, whether it’s taking portraits, capturing landscapes, shooting architecture, creating macro and still life, photographing action… he can help you learn and improve.
