
Watch video: How to photograph the Milky Way
In the northern hemisphere, the 'season' for best photographing the Milky Way in in the summer months between March and September. You need to shoot at New Moon - so there is no moonlight to interfere in the light display (and also on a cloud-free night!).
August 27
September 25
October 25
Those of us who live in cities rarely have the chance to see a truly dark sky. To escape the light pollution of urban conurbations and really see the stars, you’ll need to head to a recognized dark sky area – and fortunately, most of us aren’t too far away from a suitable spot (see www.darksky.org). However, you can help get around the problem to some extent by using a special light pollution filter.
Our galaxy, the barred spiral shape of the Milky Way, is seen side-on from earth as a band of subtle light that reaches through the night sky. Even in the darkest of spots it can be tricky to see it in all its glory with the naked eye, but thanks to our cameras’ long-exposure abilities we can reveal the galaxy in eye-popping detail.

With a little planning, it’s possible to reveal the full glory of the heavens in the darkest skies with a photo and be tucked up before bedtime. The only equipment you really need to shoot it are a tripod, your camera, and a wide-angle lens.
It’s important to know where and when the Milky Way will appear, too, so here's how to go about it…
• Best camera for astrophotography
Invaluable accessories for shooting anything astro
01 Tripod
With exposures lasting several seconds, it’s vital that your camera remains rock-steady throughout for sharp shots of the stars and the Milky Way. Check our guide to the best tripods.
02 Wide-angle lens
The wider your lens, the more of the galaxy you’ll be able to fit into a shot. A 24mm will be fine, though, as you can stack the images later on in software; what's important is that it has a wide aperture, to gather plenty of light. Find one for your camera in our guide to the best lenses for astrophotography.
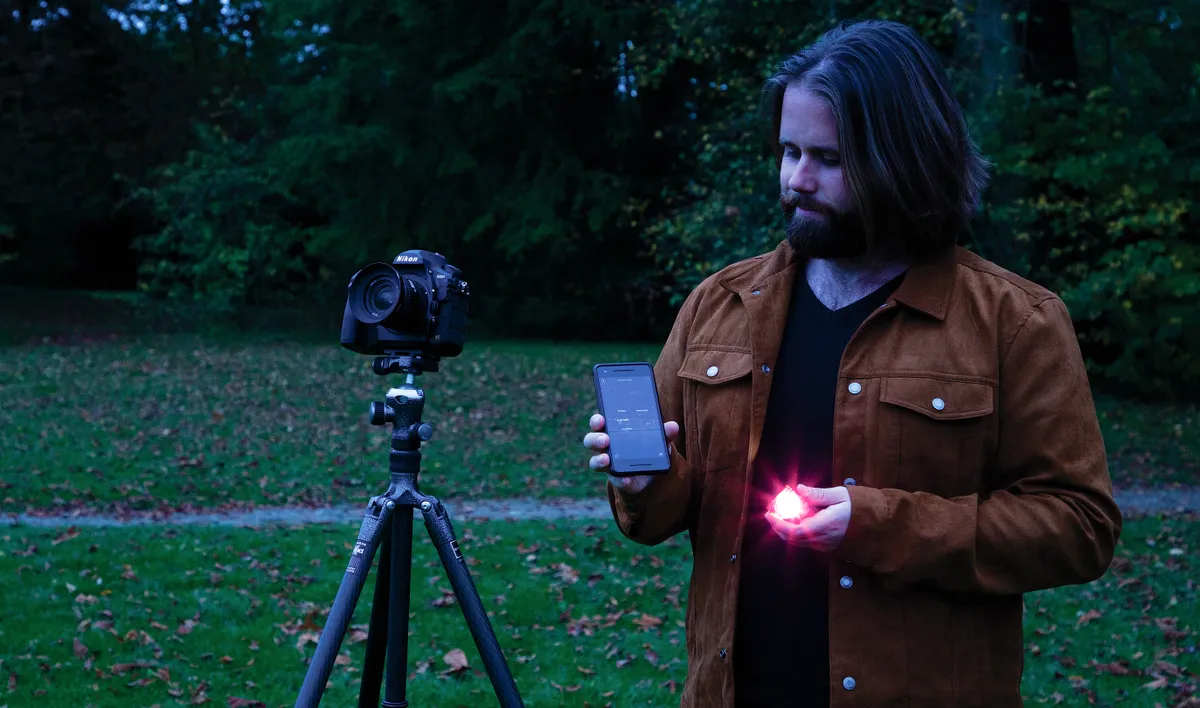
03 Red torch
A red-colored light is lower in frequency than a traditional white torch, and is preferable for astrophotography as it doesn’t ‘blind’ your night vision. Some of the best head torches have a suitable red light setting - and will leave your hands free..
04 Use your apps
There are a wide range of smartphone apps to track the weather, map light pollution, and show the position of the Milky Way in the night sky. We're fans of Star Walk 2 (or desktop-based software like Stellarium).
05 Remote release
To avoid knocking your tripod as you take a shot, it is helpful to have a camera remote to fire the shutter. If you don't have one of these, use the selftimer instead to reduce vibrations.
Get set to shoot the night sky

01 Wide angle and wide aperture
A fast wide-angle lens is a must to capture as much light, and as big an expanse of the Milky Way, as possible. We used a Nikon 24mm f/2.8 lens, but a wider-angle lens will capture a greater slice of the heavens, and even wider apertures maximize the amount of light you can capture. (See our guide to the best lenses for astrophotography for our top recommendations).

02 Take a high-ISO test shot
Choose aperture priority mode and set the lens’s widest available aperture, and ramp up the ISO as high as it will go – we used f/2.8 and ISO25,600. The resultant shot will be extremely noisy and blurry, but will give you a quick indication of your composition and exposure.

03 Tripod and head
Set up the tripod and ensure that the legs are locked in place. If shooting on soft ground, gently push the tripod down until it settles firmly into place. Then screw the footplate into your camera and lock it into the head, ensuring that the horizon is perfectly level.

04 Composition
A horizontal composition works well if you have an interesting foreground, but limits the amount of galaxy stretching out above. For less photogenic locations, and to make the most of the night sky, try shooting vertically with just a small slither of land at the bottom of the frame.

05 Set timer
With longer exposures, even the act of pressing the shutter release button can jog the camera and result in the blurring of an image. To avoid this, use a remote shutter release or your camera's self-timer mode to set a small delay before taking the shot, to allow vibration to subside.

06 Long Exposure NR on or off?
Long exposure noise reduction produces cleaner images, but doubles your exposure time. This is because, during long exposures, photosites on the image sensor heat up, producing random speckles of noise.
Long exposure NR takes a second exposure with the shutter closed, to create a ‘black’ frame with the same noise, which it can then use to eliminate this noise. When taking several long exposures this can significantly increase the amount of shooting time, so we normally recommend leaving this option turned off.

07 Live View focus
Use Live View to focus your shot. Zoom in on your image and move to the nearest, brightest star. Then engage manual focus and adjust the focus ring on the lens until the star is a sharp, pin-like dot of light.

08 Use a long exposure
Turn to manual mode and set your shutter speed to a maximum of 30 secs. Any longer than this and the stars will become elongated lines, due to the rotation of the earth. For every stop increase in shutter speed, you’ll need to reduce the ISO from your test shot accordingly.

09 Aperture & ISO
Keep to your lens’ widest available aperture and dial in the new ISO setting to record a much clearer image than your test shot. Our histogram is stacked to the left, because our image is predominantly dark sky. This is normal, so don’t expose to the centre of the graph.

10 Create a vertorama
To capture more of the starry scene, take a series of shots, tilting the camera vertically between each one to make a vertorama, which you can stitch together in post production. In our main image, we tilted the camera in a 180º arc, for land at either end of our shot.
Stitch your shots in Photoshop or Lightroom

For Photoshop go to File > Automate > Photomerge. Click Browse and highlight your files. Make sure the ‘Blend images together’ box is ticked along with Vignette removal. Then click OK to render your finished composite photograph.

In Lightroom click on all the photos that you’ve taken in your panorama, then right-click, navigate to Photomerge>Panorama. Lightroom will now process the images and produce a composite shot in the film strip at the bottom of the screen.

Read more:
The best lenses for astrophotography: fast ultra-wide lenses for the night sky
The best CCD cameras for astrophotography
Canon EOS Ra review: Canon's full-frame mirrorless astrophotography specialist
A day in the life of a professional astrophotographer

