Use a polarizing filter to get stunning skies in your landscape photography
Completely transform blue skies in your landscape shots by attaching a polarizing filter to your lens
The best camera deals, reviews, product advice, and unmissable photography news, direct to your inbox!
You are now subscribed
Your newsletter sign-up was successful
Watch the video: Use a polarizer for stunning skies in your landscapes
A circular polarizer is one of the most useful filters you can buy for your camera, as its unique effects simply can’t be replicated in Photoshop.
Screwing into the front of your lens, it has the power to make contrast and colors in your landscape shots look more intense, to cut out unwanted reflections from glass and water, and even remove the sheen on shiny surfaces like cars.
A polarizing filter is especially useful for landscape photography when you’re shooting scenes that include blue sky with fluffy white clouds, or big expanses of water.
• 10 things you need to know about camera filters!
• Landscape photography tips and techniques

The filter removes or reduces the amount of polarized light that’s reflected from the sky, water or other surface – however, as our eyes can’t see the difference between normal light and polarized light, its effect can be rather hard to predict. You often simply have to try it to see whether it’s going to help the scene you’re shooting.
The best camera deals, reviews, product advice, and unmissable photography news, direct to your inbox!
The filter is constructed with a rotating front element – the orientation of the glass needs to be adjusted to match the direction of the polarized light. Generally, you turn the filter until you can see the maximum effect possible through the viewfinder. It’s best to rotate the outer ring in an anti-clockwise direction when adjusting the polarizer to avoid unscrewing the filter from your lens by accident.
The effect is most pronounced when the sun is at 90 degrees to the scene, so it has little impact when shooting with the sun behind you. Similarly, it has little effect in overcast conditions.

01 Right size for your lens
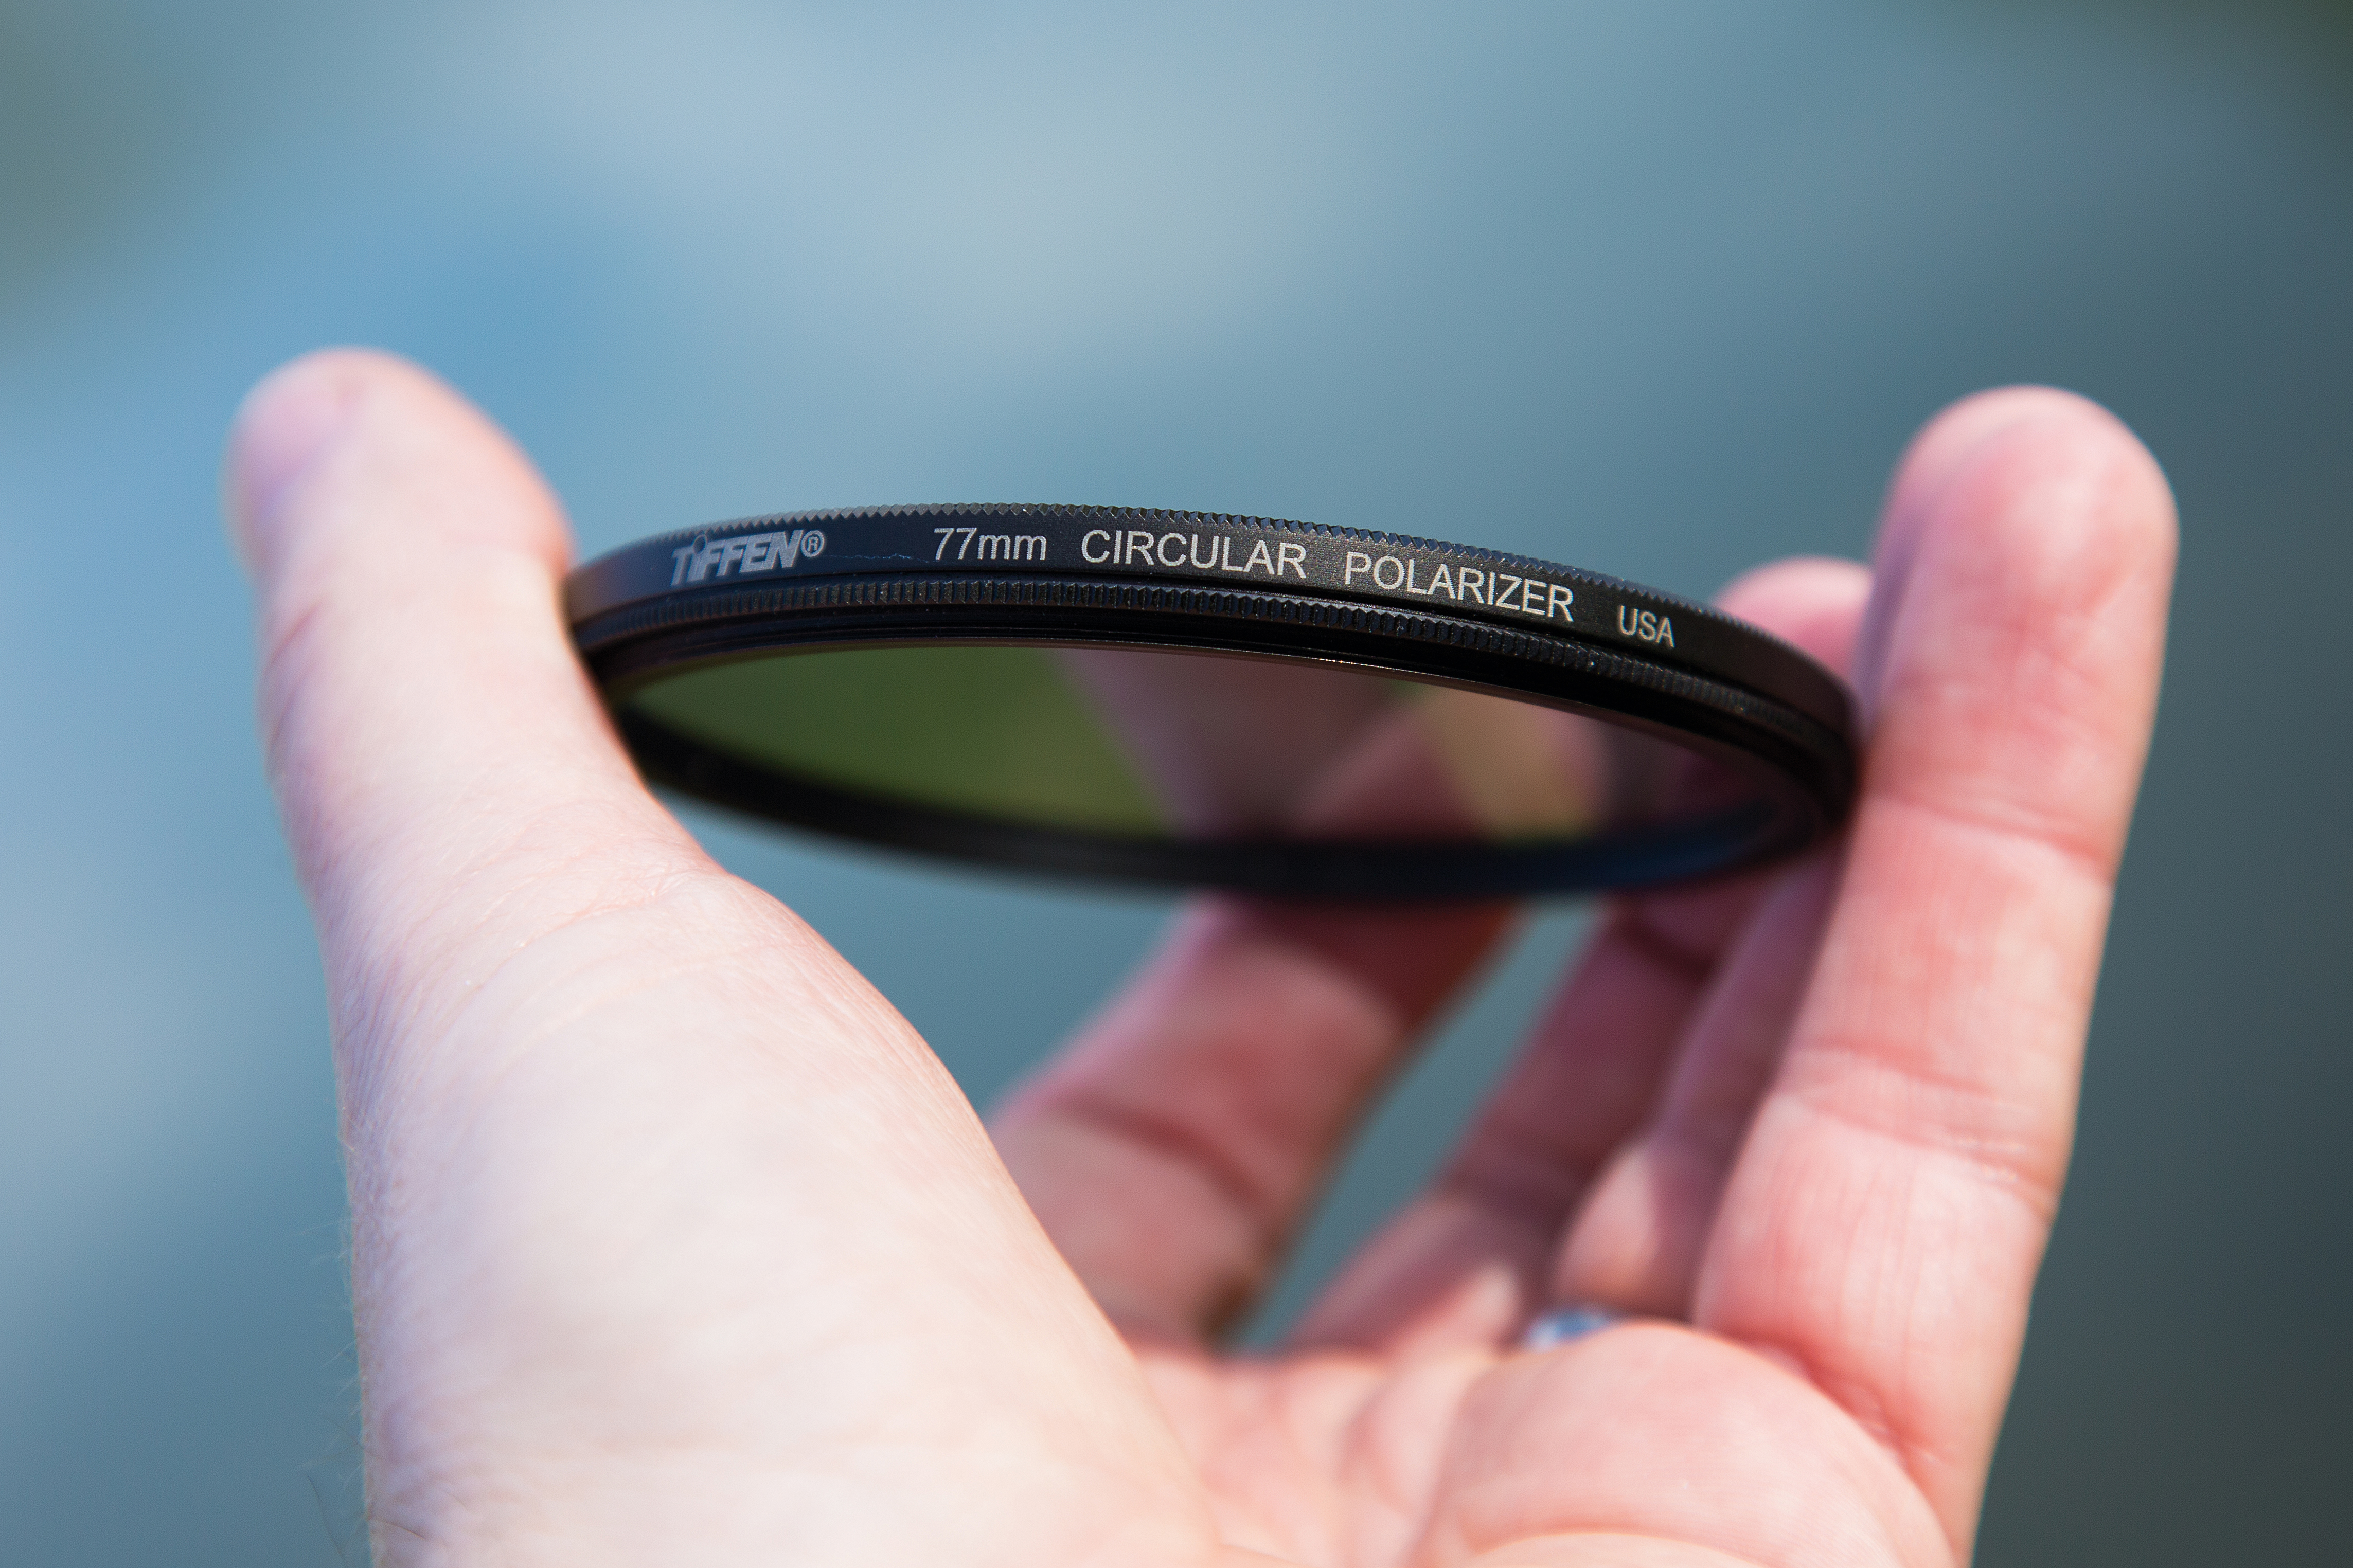
A polarizing filter screws into the front of your lens, so you’ll need to buy one of the same diameter. The diameter is marked on the lens in millimeters, and is usually prefixed with a "Ø" symbol. Our Canon EF 24-105mm f/4L IS USM lens requires a 77mm filter.
02 Preview the effect

A polarizing filter stops light from entering your camera from a specific direction. To see how it works, hold the filter up to your eye against the sky. To increase its effect, simply turn the outer ring on the filter to see how it changes the colors and contrast.
03 Shoot with the sun at your side
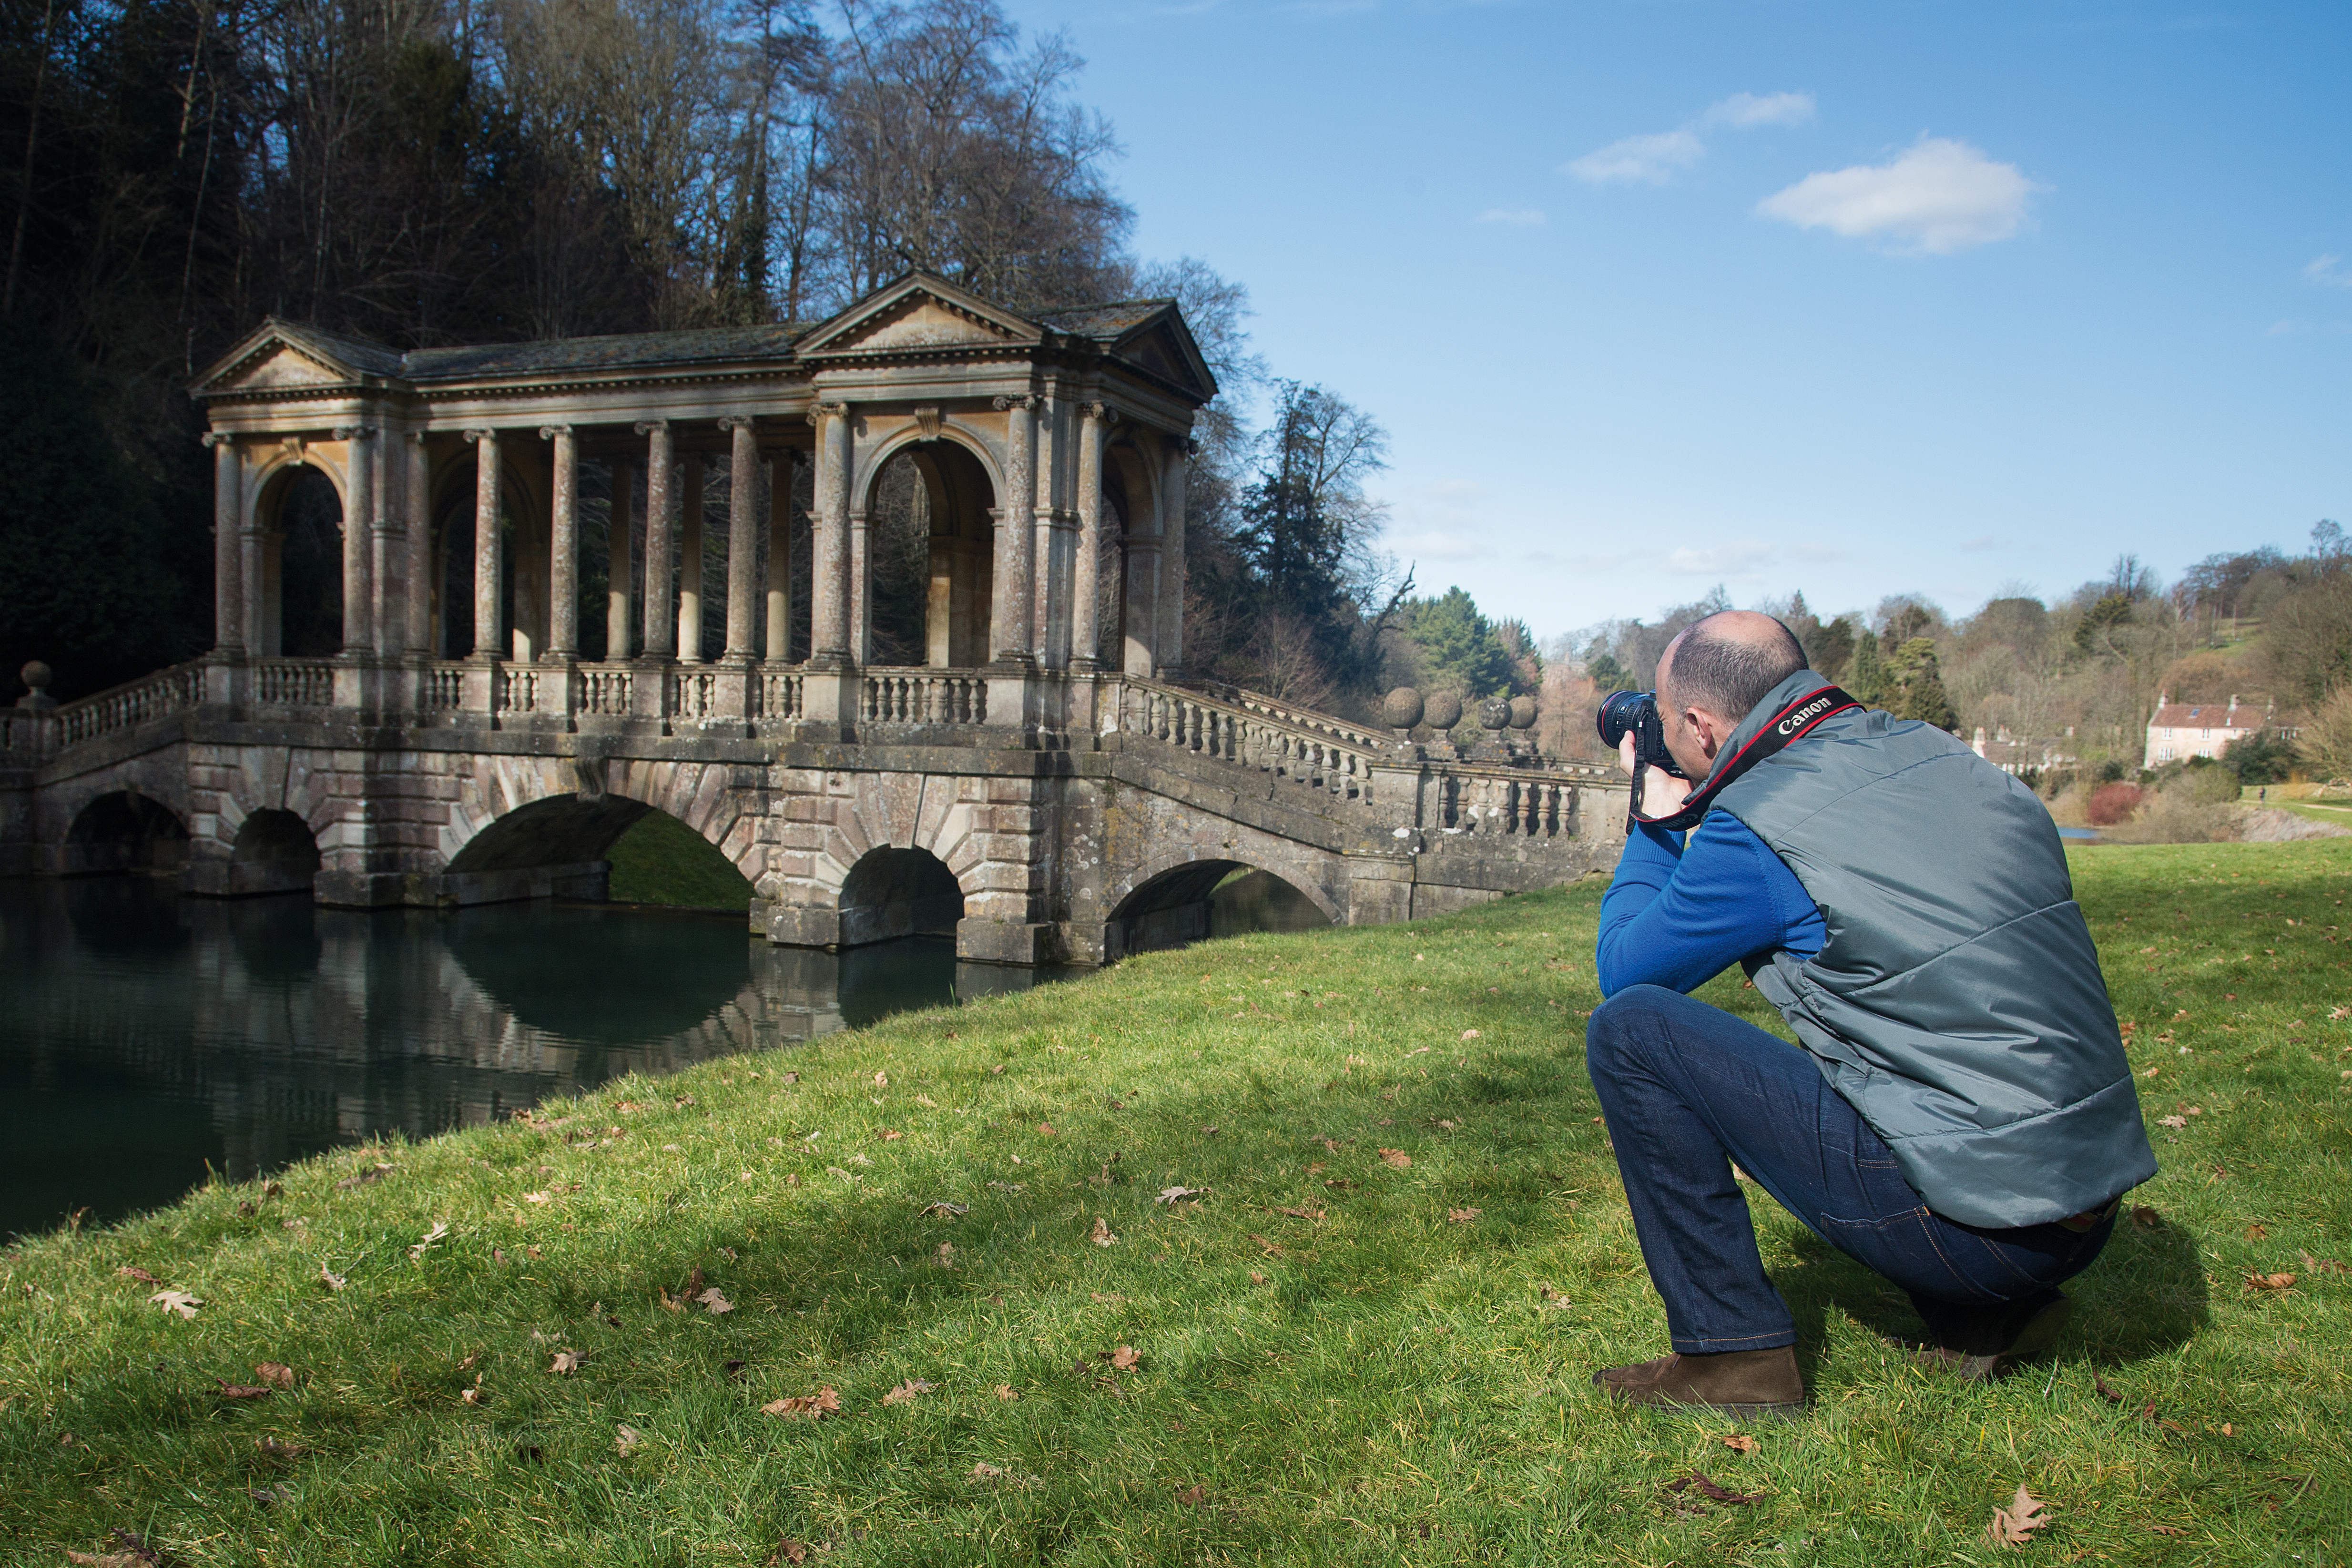
Polarizers are most effective with bright sunlight and blue skies, and the effect is strongest when the sun is to your side. As the polarizer blocks the light reaching your sensor by approximately one or two stops, be prepared to bump up your ISO when shooting handheld – or use a tripod.
• Read more: Best tripods
04 Find the sweet spots

The filter’s most pronounced effect is when the sun is at 90 degrees to the camera. A neat trick is to make a 'gun' shape with your hand. Point the ‘gun barrel' at the sun, rotate your wrist 90 degrees in either direction, and your thumb will point in the direction to shoot.

5 polarizing filter tips to boost your pictures

01 Contrast in clouds
As well increasing the contrast and saturation, to transform hazy blue skies into a beautiful deep blue on sunny days, a polarizer will increase the contrast of fluffy clouds, giving them added punch.

02 See through water
A polarizer can also remove reflections from water, cutting through the glare to reveal the riverbed beneath. The effect is most noticeable with smooth water and when the sun is 30 to 60 degrees above the horizon.

03 Reduce reflections
Polarizers can also remove distracting reflections from windows. If you’re shooting at the correct angle to the building, you can cut out the reflections and see more clearly through the glass.
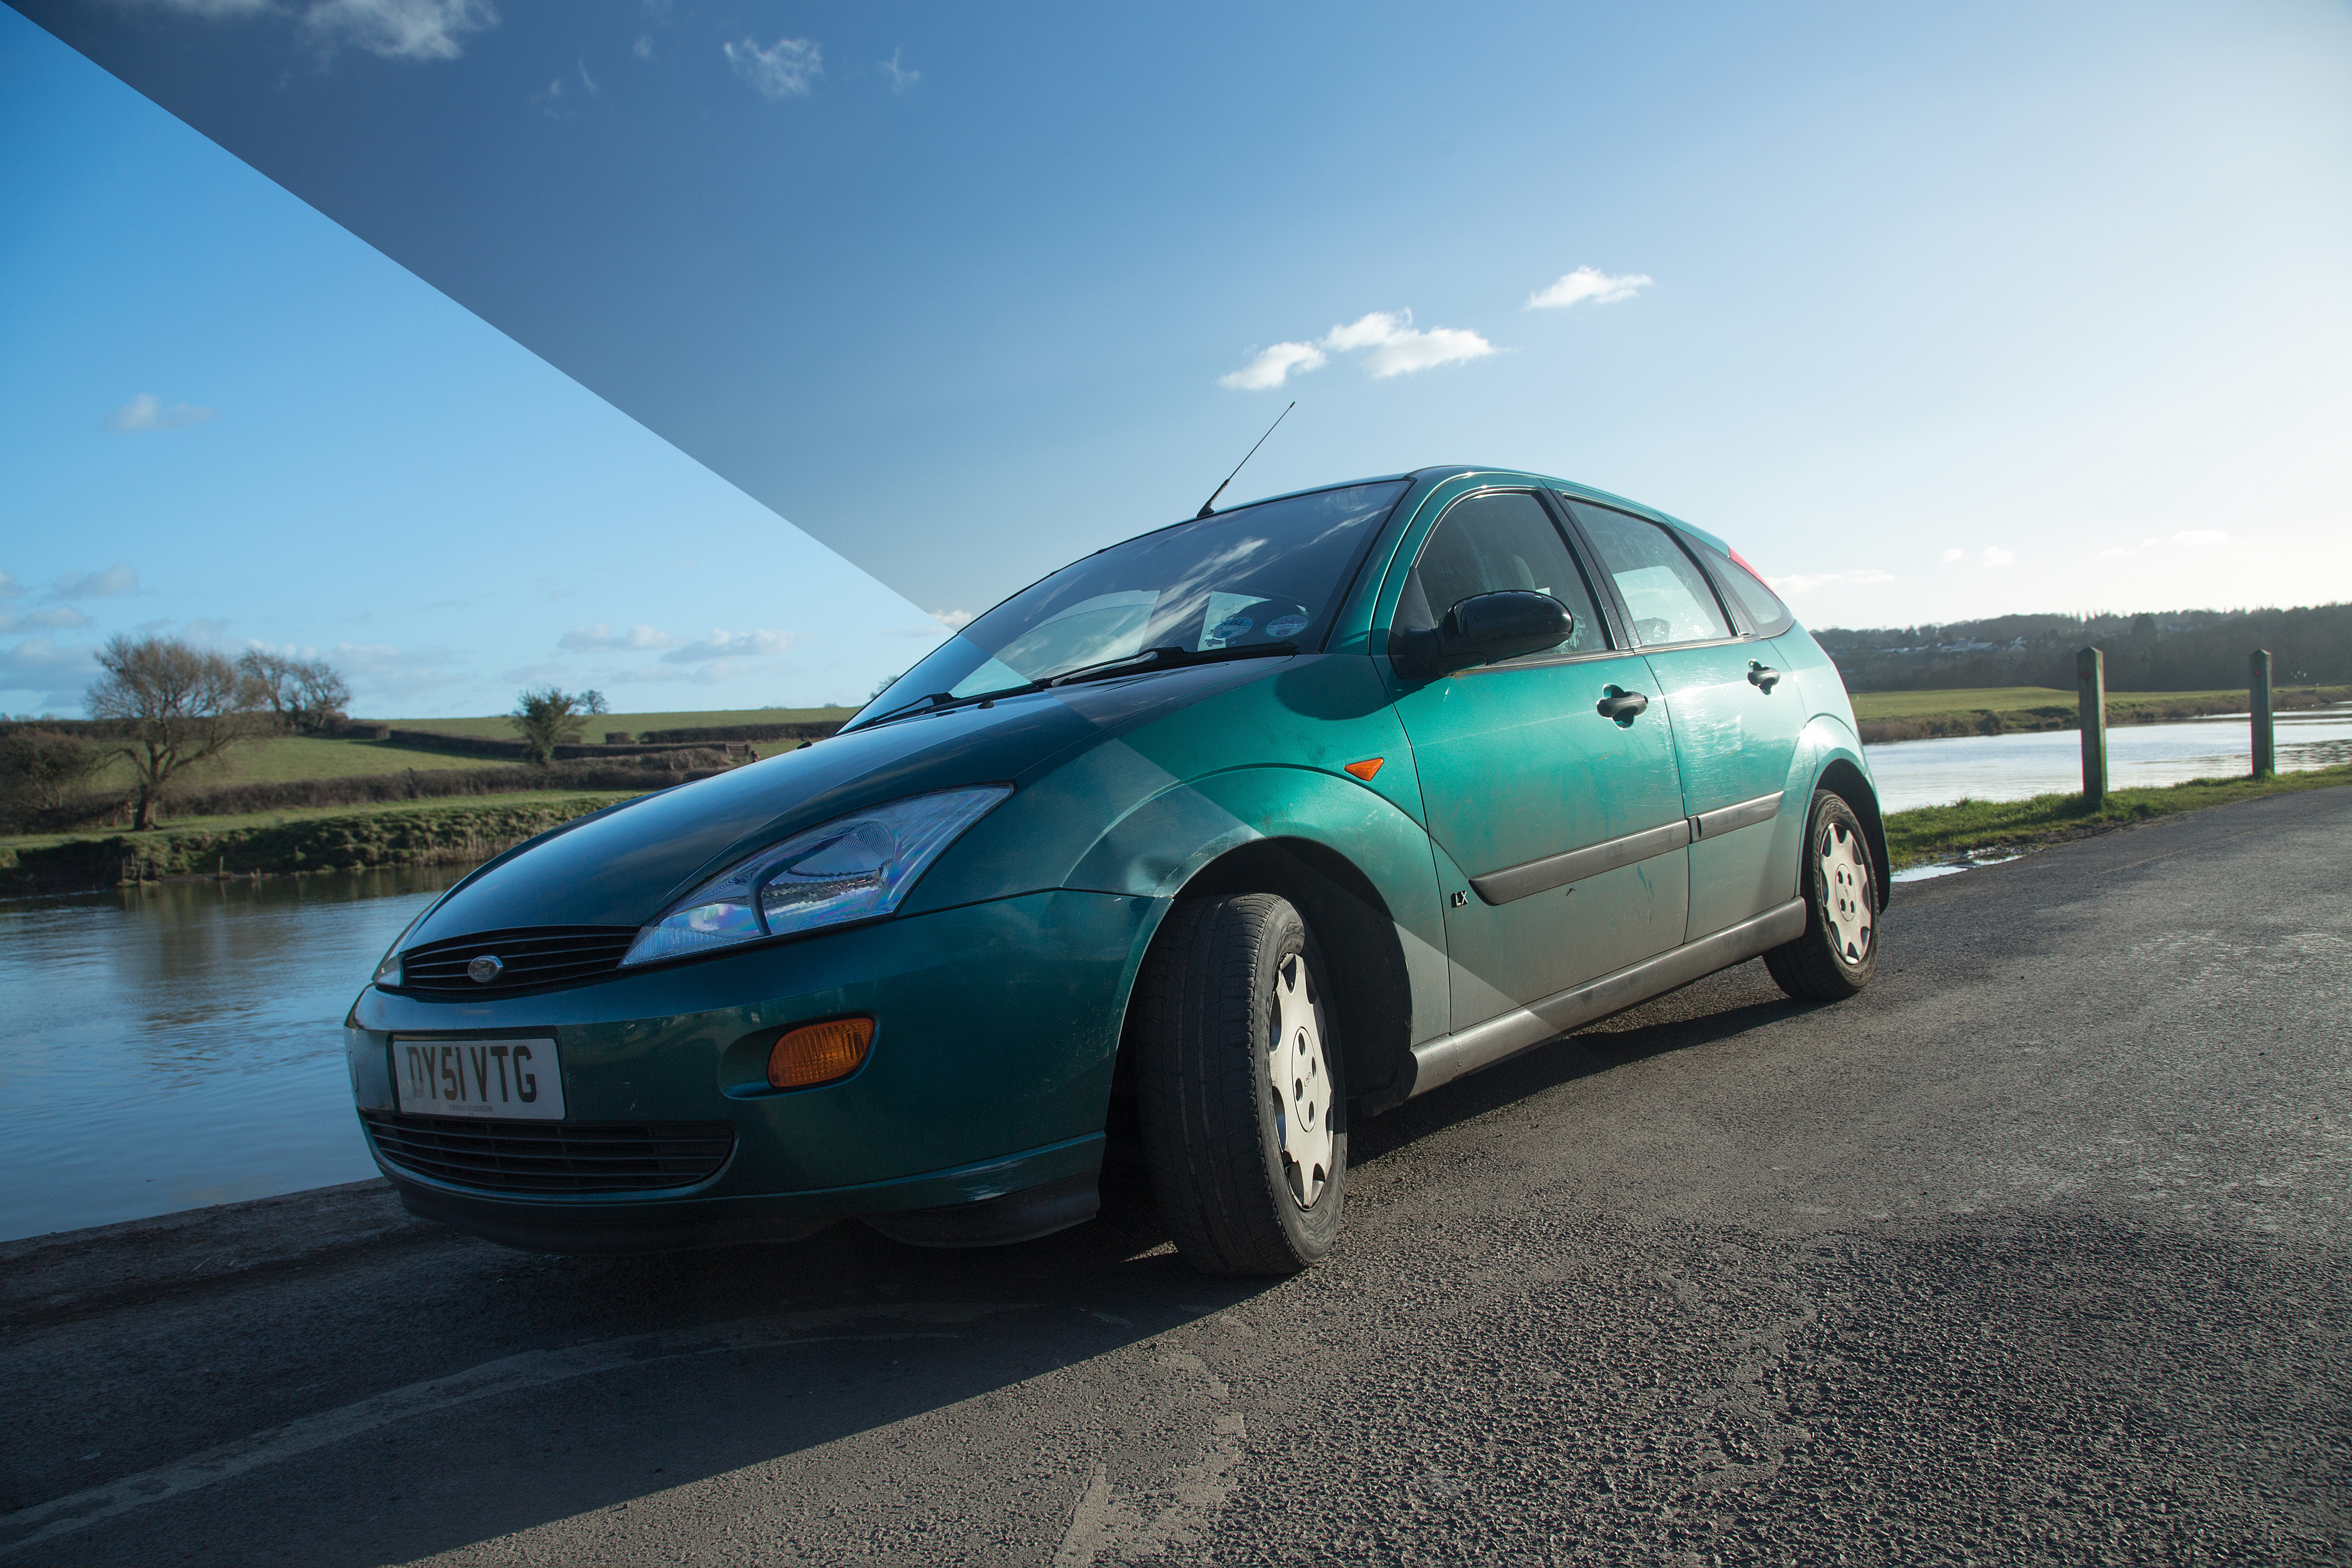
04 shiny surfaces
A polarizer can even kill the reflections on shiny subjects, like cars. This effect works best when shooting at 90 degrees to the sun, therefore boosting the skies at the same time.
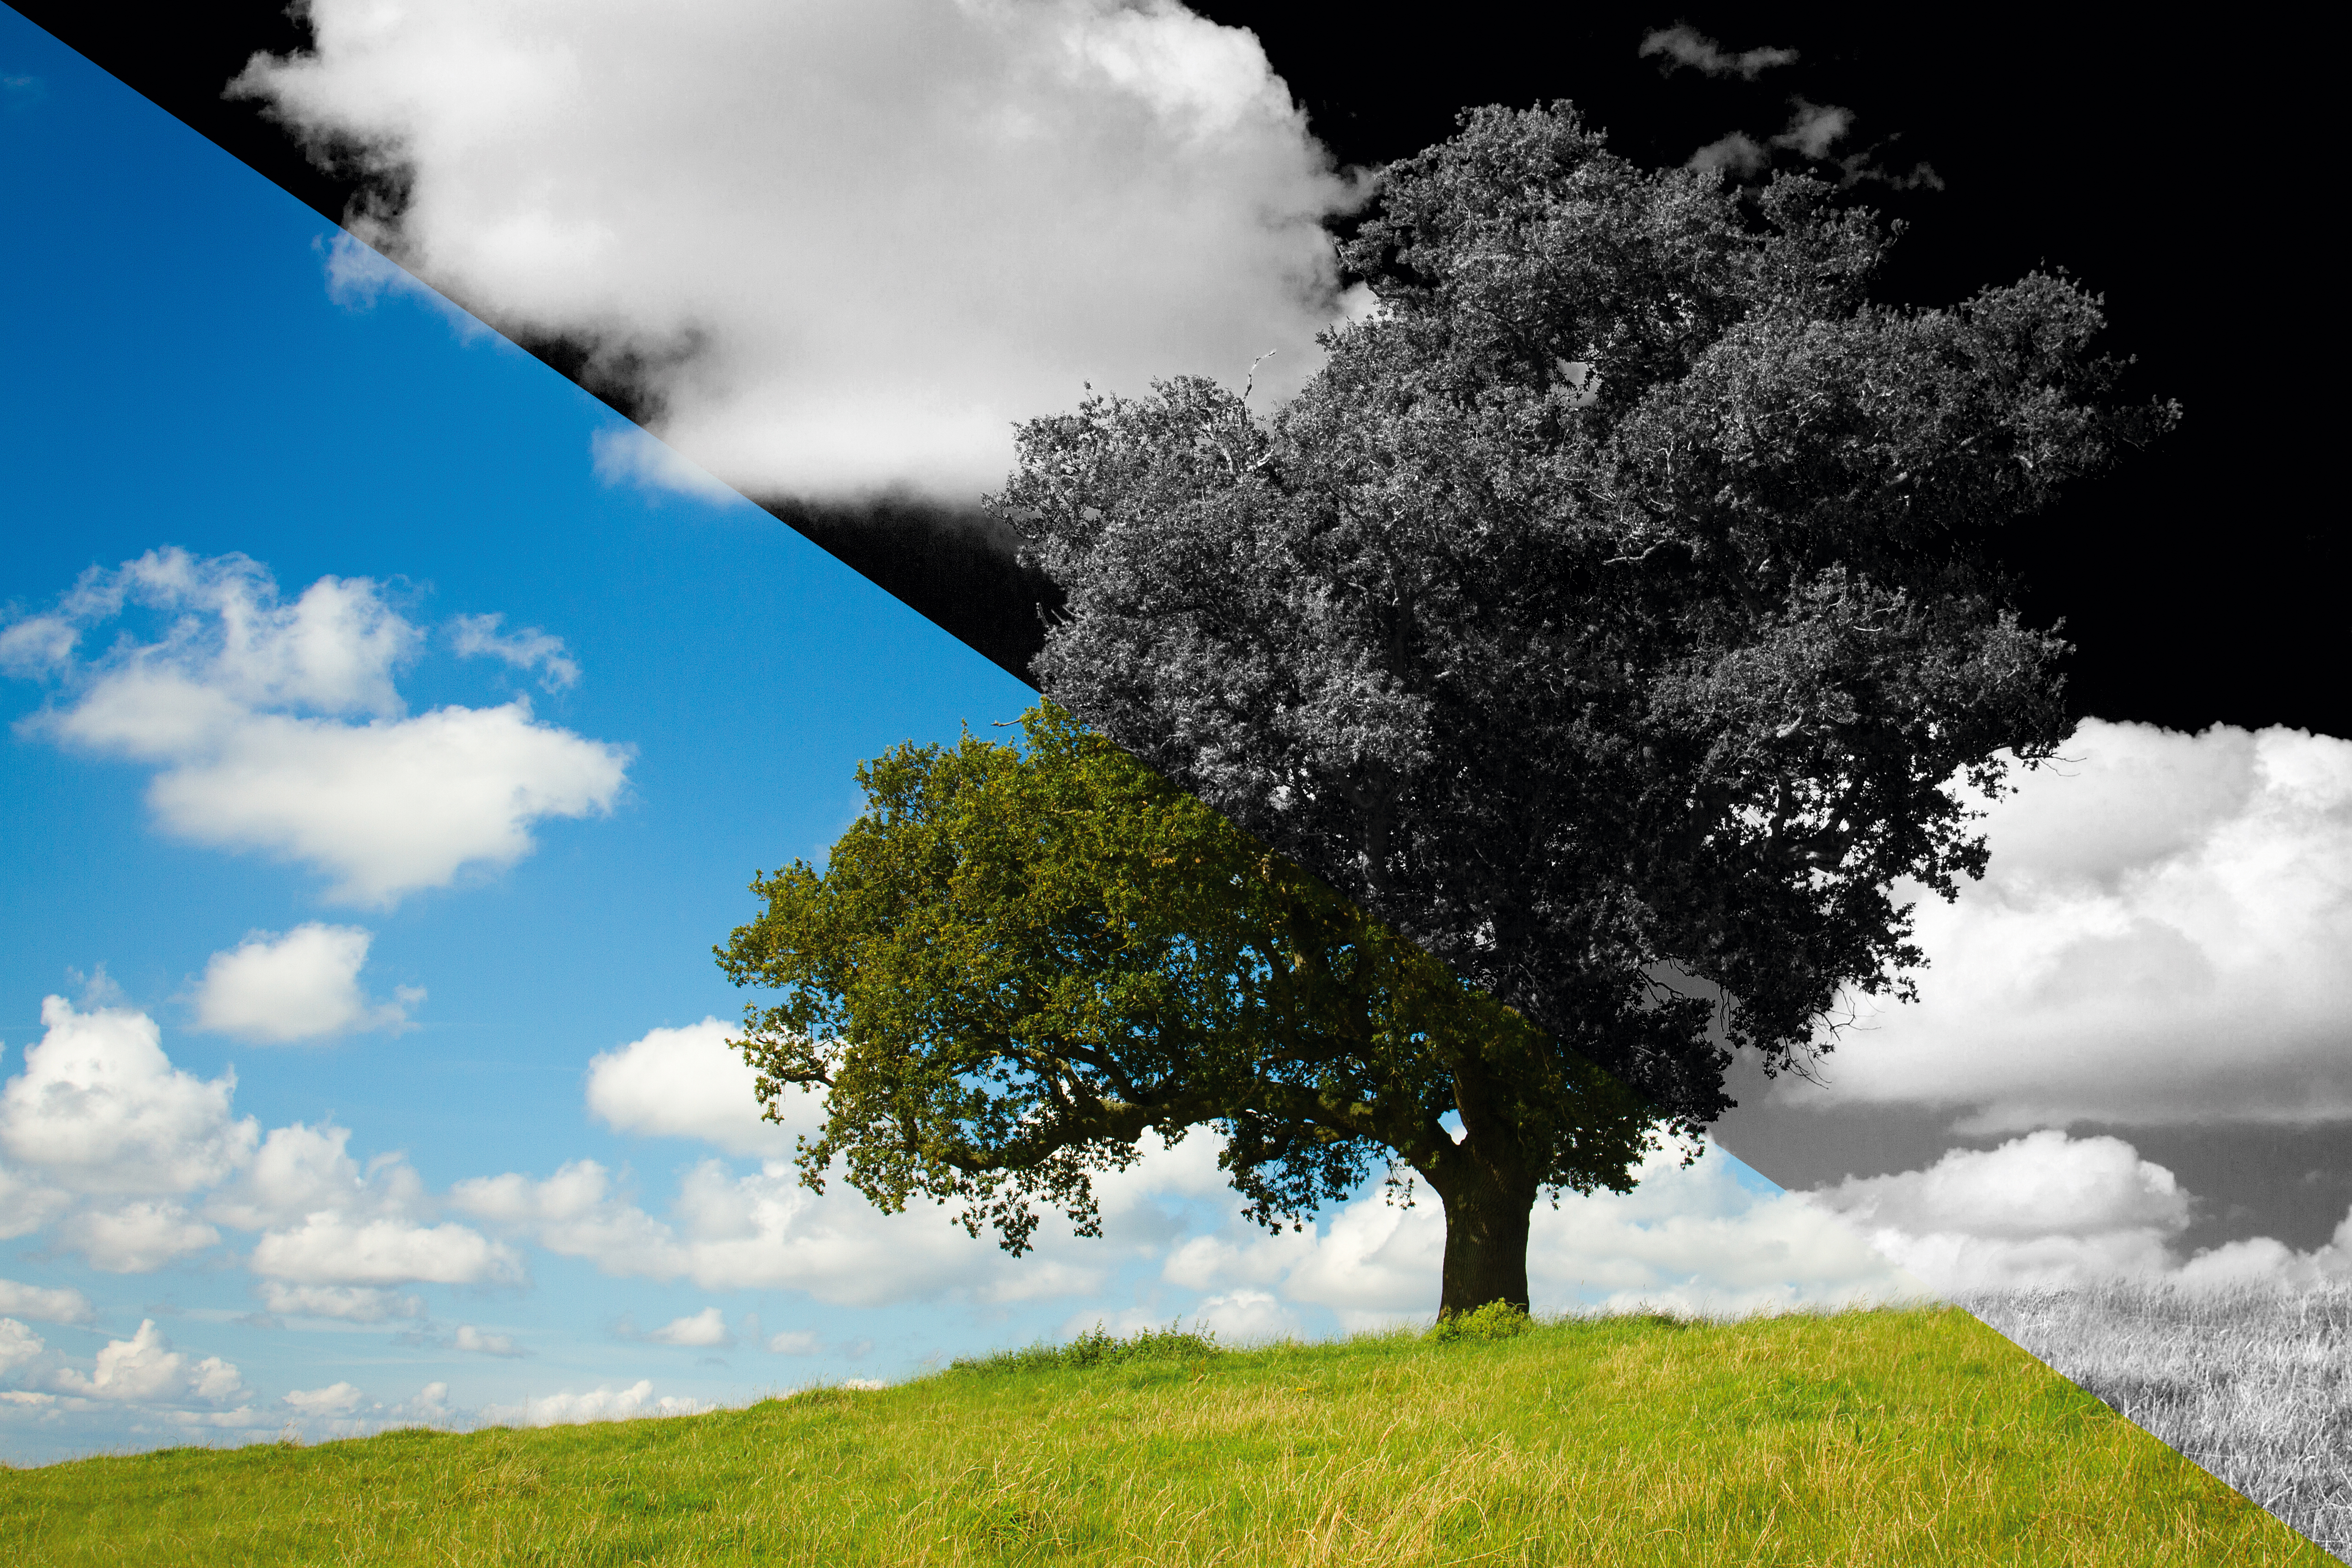
05 Better black & white
Polarizers are not just useful for boosting color; a vibrant polarized landscape shot is perfect for a dramatic black-and-white conversion in Photoshop, turning blue skies into stark blacks!

Read more:
Photography tips and techniques
Capture amazing landscape photography by using your camera's histogram
How to use an ND graduated filter for stunning landscape photography
The former editor of PhotoPlus: The Canon Magazine, Peter has 18 years of experience as both a journalist and professional photographer. He is a hands-on photographer with a passion and expertise for sharing his practical shooting skills. Equally adept at turning his hand to portraits, landscapes, sports and wildlife, he has a fantastic knowledge of camera technique and principles.
He is the author of several published photography books including Portrait Photographer's Style Guide, and The Complete Guide to Organising and Styling Professional Photo Shoots with fellow portrait pro Brett Harkness.
Peter remains a devout Canon user and can often be found reeling off shots with his Canon EOS DSLR and EOS R mirrorless gear. He runs Peter Travers Photography, and contributes to Digital Camera magazine.

