Long exposure flash photography can give you mind blowing results – here's how
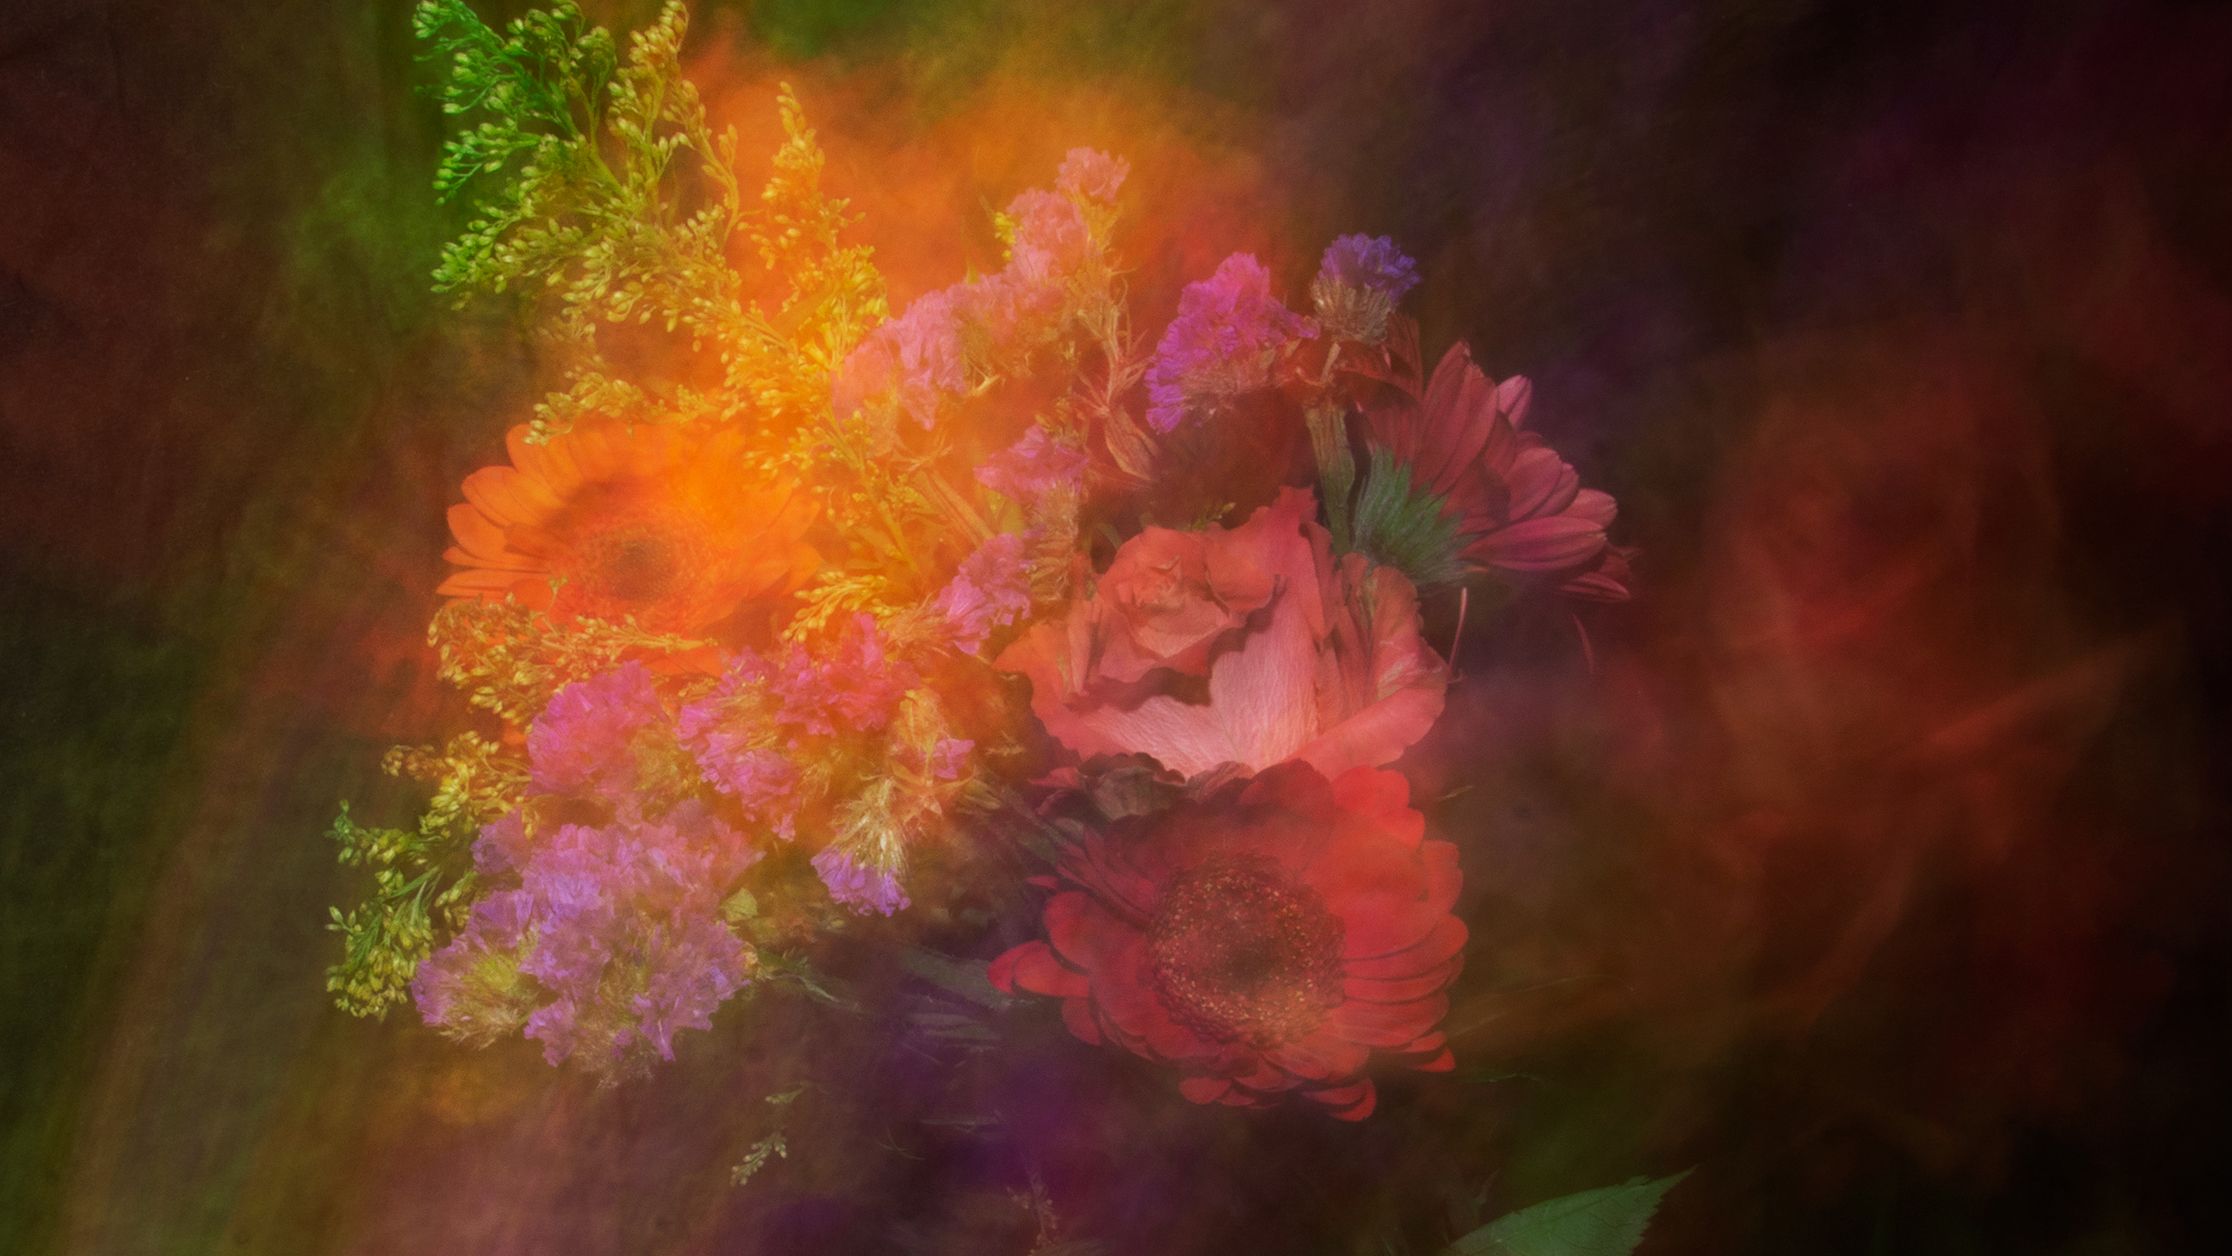
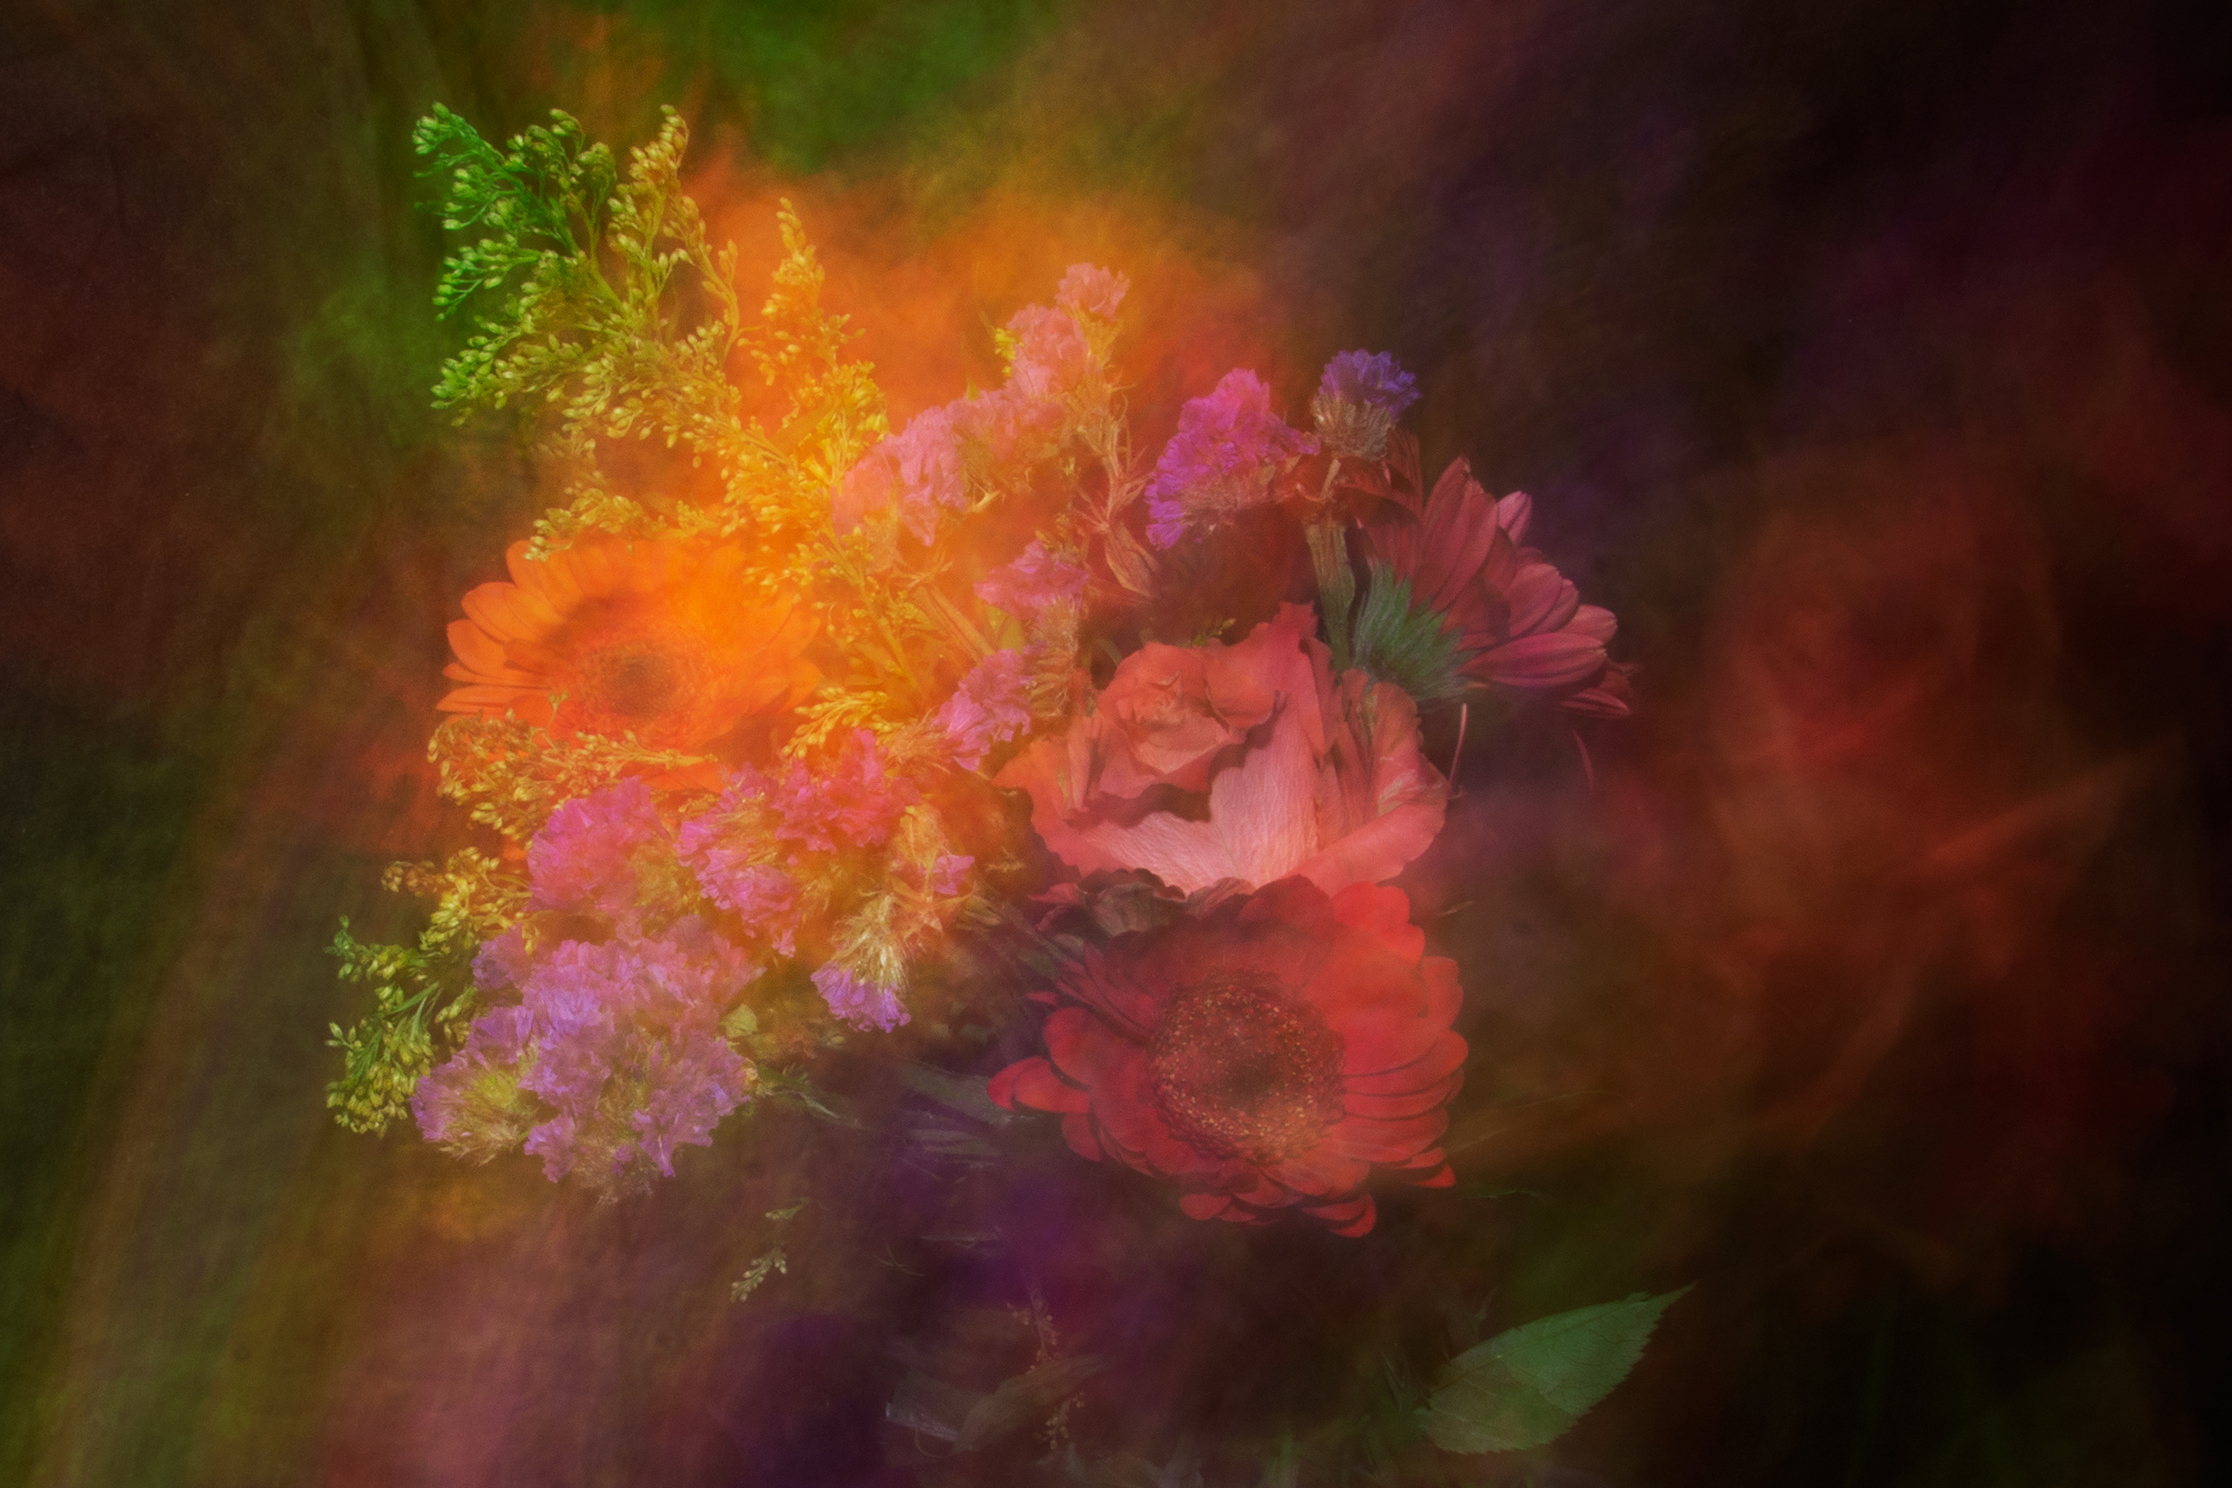
Get creative by using a flashlight to combine frozen and abstract elements in one shot
The best camera deals, reviews, product advice, and unmissable photography news, direct to your inbox!
You are now subscribed
Your newsletter sign-up was successful
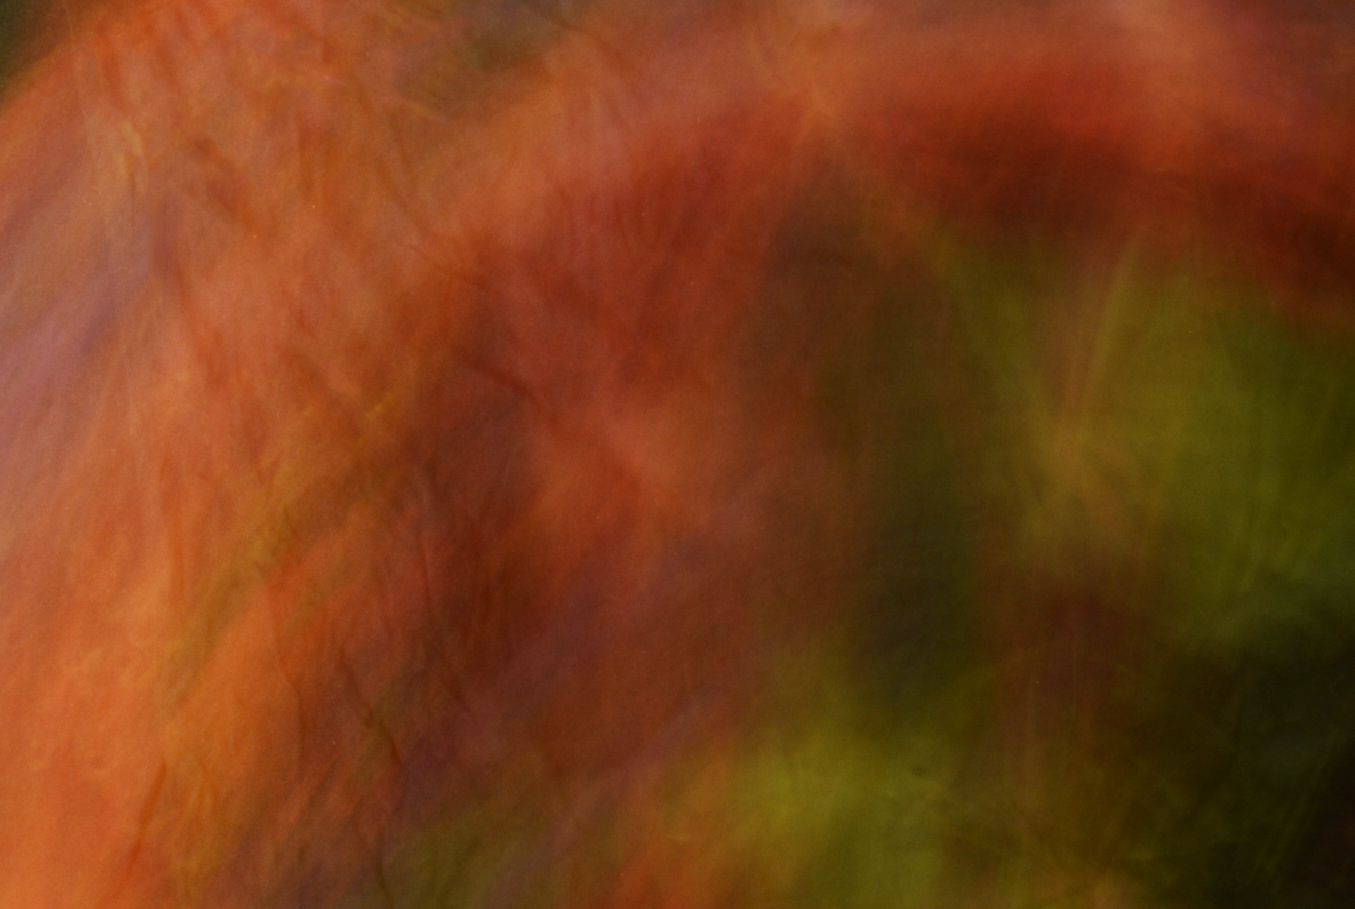
Long exposure is a well-known method used by photographers, especially under difficult lighting conditions, to improve images that would otherwise be undesirably dark. However, this technical approach can be extended with the addition of a flashgun or strobe, which can offer new perspectives and open up creative possibilities.
For this tutorial, you will need a flash, whether it is a studio or a practical hand-held flash. By integrating this technical lighting kit into your shoot, it is possible to bring the main subject of your image into sharp focus while combining it with artistically captured movement through long exposures. With this approach, it is important to note that the flash must fire automatically at the end of the exposure to achieve the best results. This is known as rear curtain sync or second/slow curtain flash.
The technique can be used in many areas and is especially popular in dance photography to convey a sense of movement. Even with the most diverse objects, you can achieve dreamlike and playful results by bringing the main subject to life. There are no limits to your creativity – each photograph is unique depending on the chosen exposure length and the integrated movement.
Before and after
Shooting steps
1. Find the optimal background
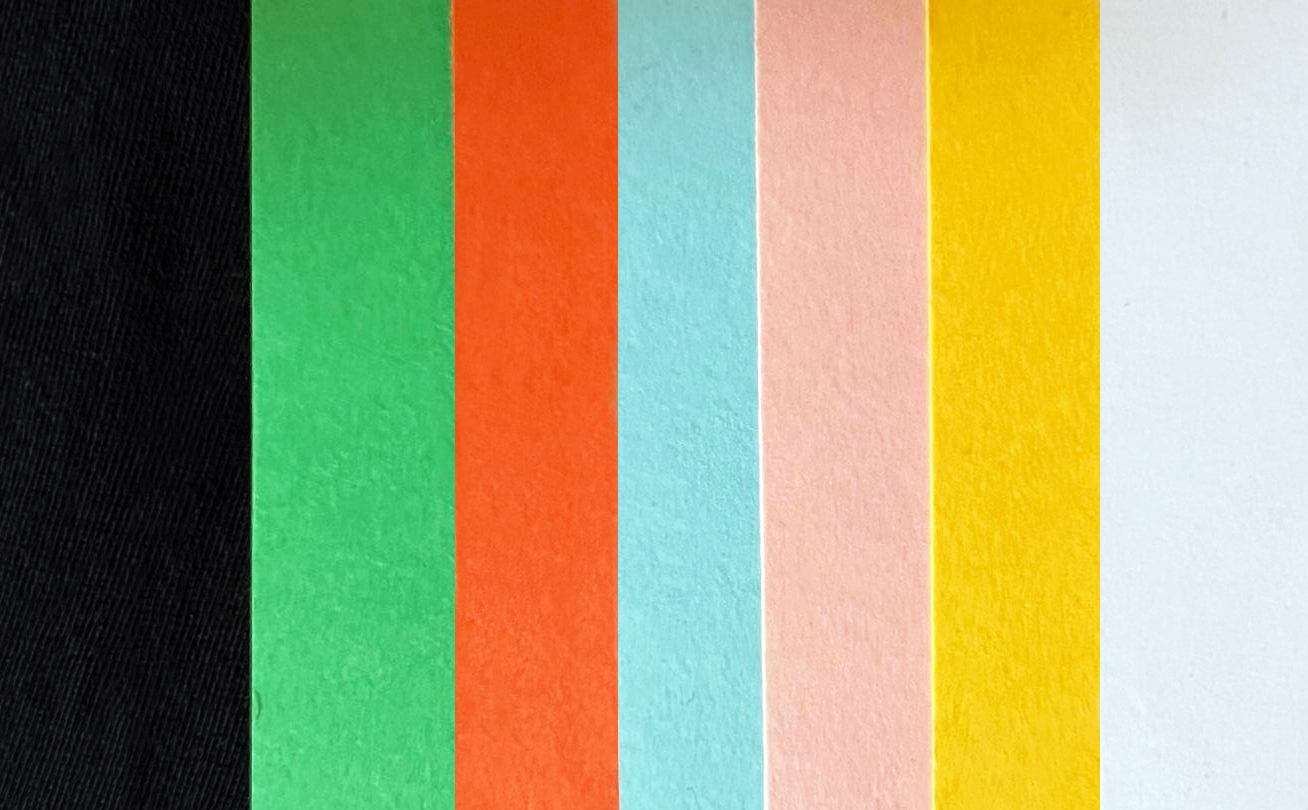
Make sure to choose a background that contrasts greatly in tone with your main subject. Black backgrounds achieve the greatest effect. Cardboard or black fabric are ideal low-budget material solutions to try.
2. The right light
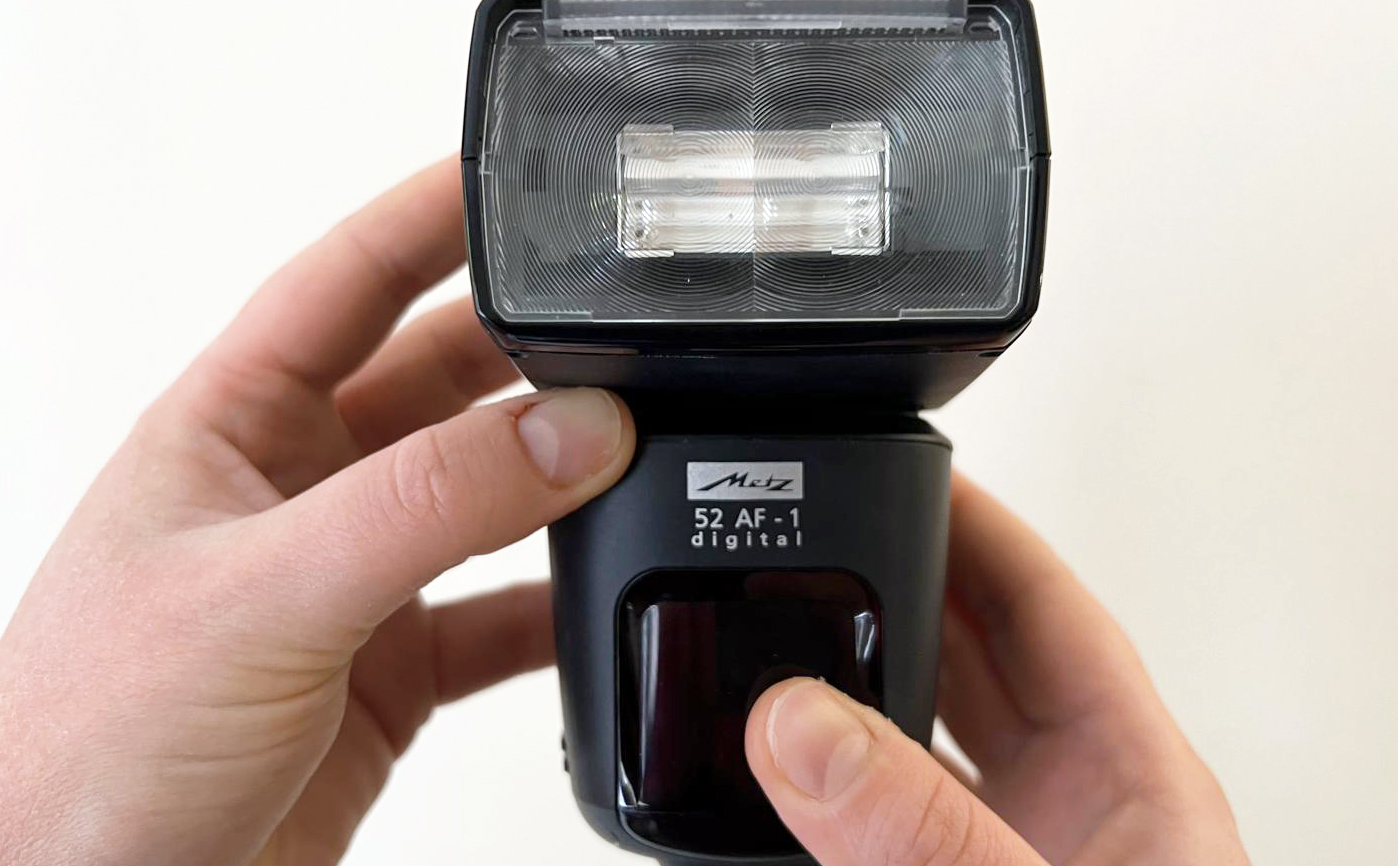
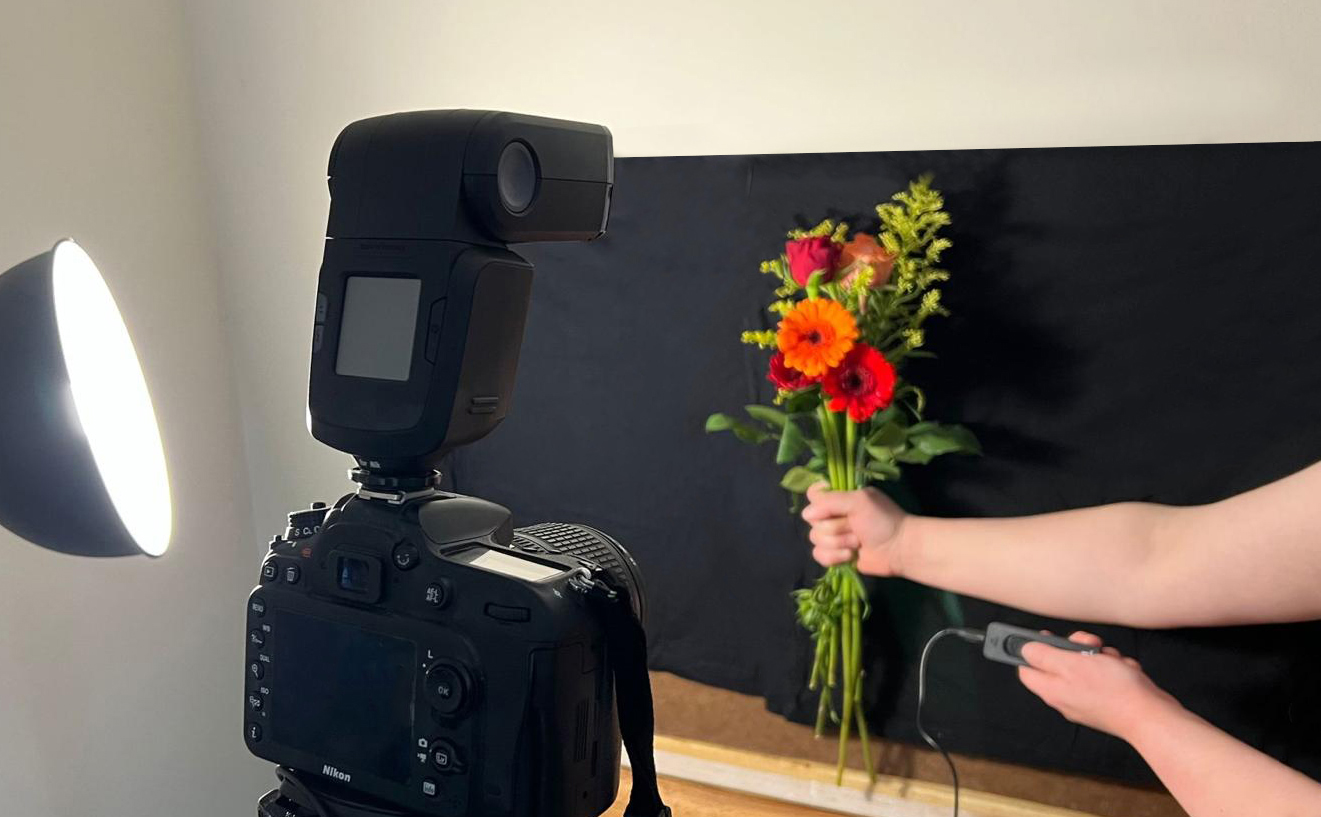
The most important piece of kit we need is a flash, but along with this, you will also need a permanent light. Adjust the flash and find the right location for the second light. Either place it in front of or next to your subject, depending on your aims.
3. Gain control
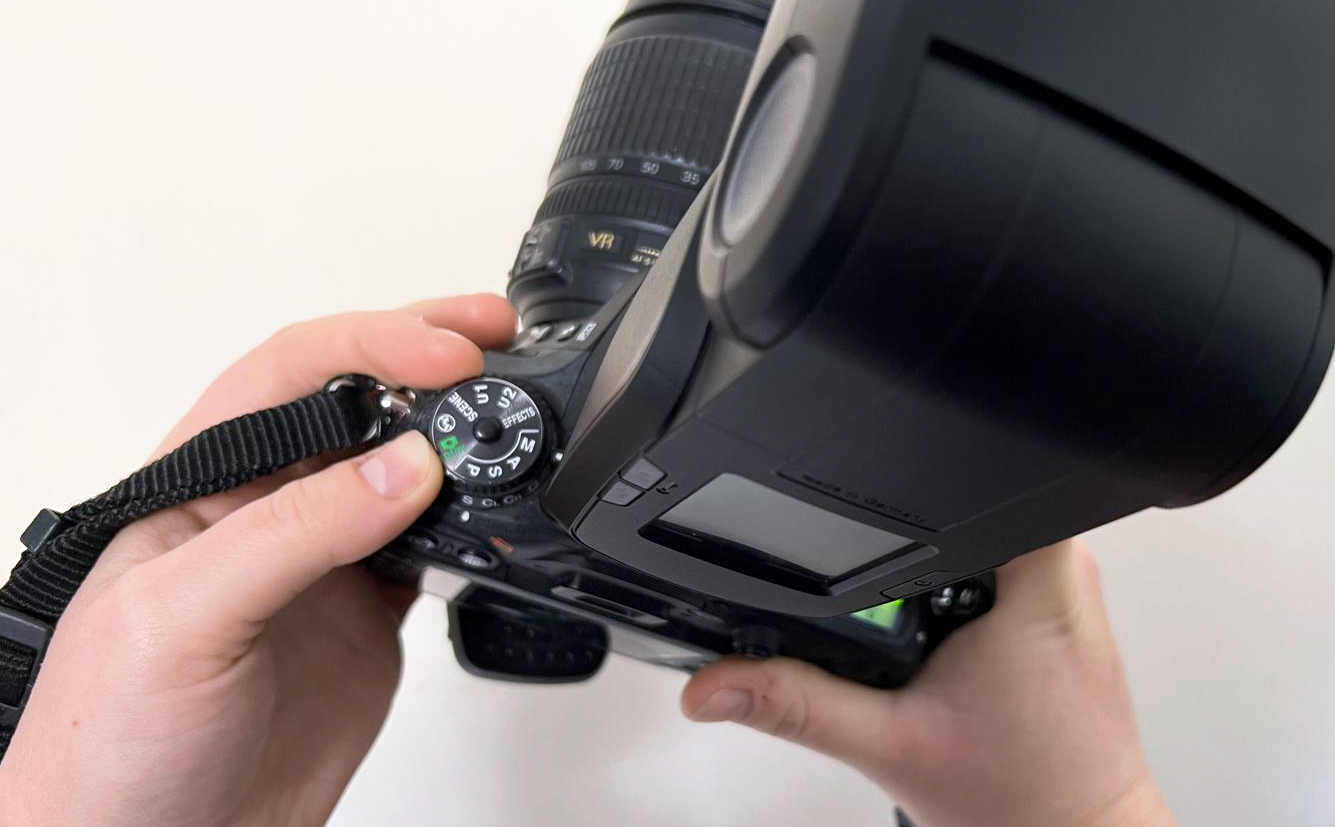
Set your camera to manual focus mode. To achieve the desired effect, choose a slow shutter speed and low ISO settings. For example, start with one second and then test different ISO settings to suit your individual project’s needs.
4. Adjust flash settings
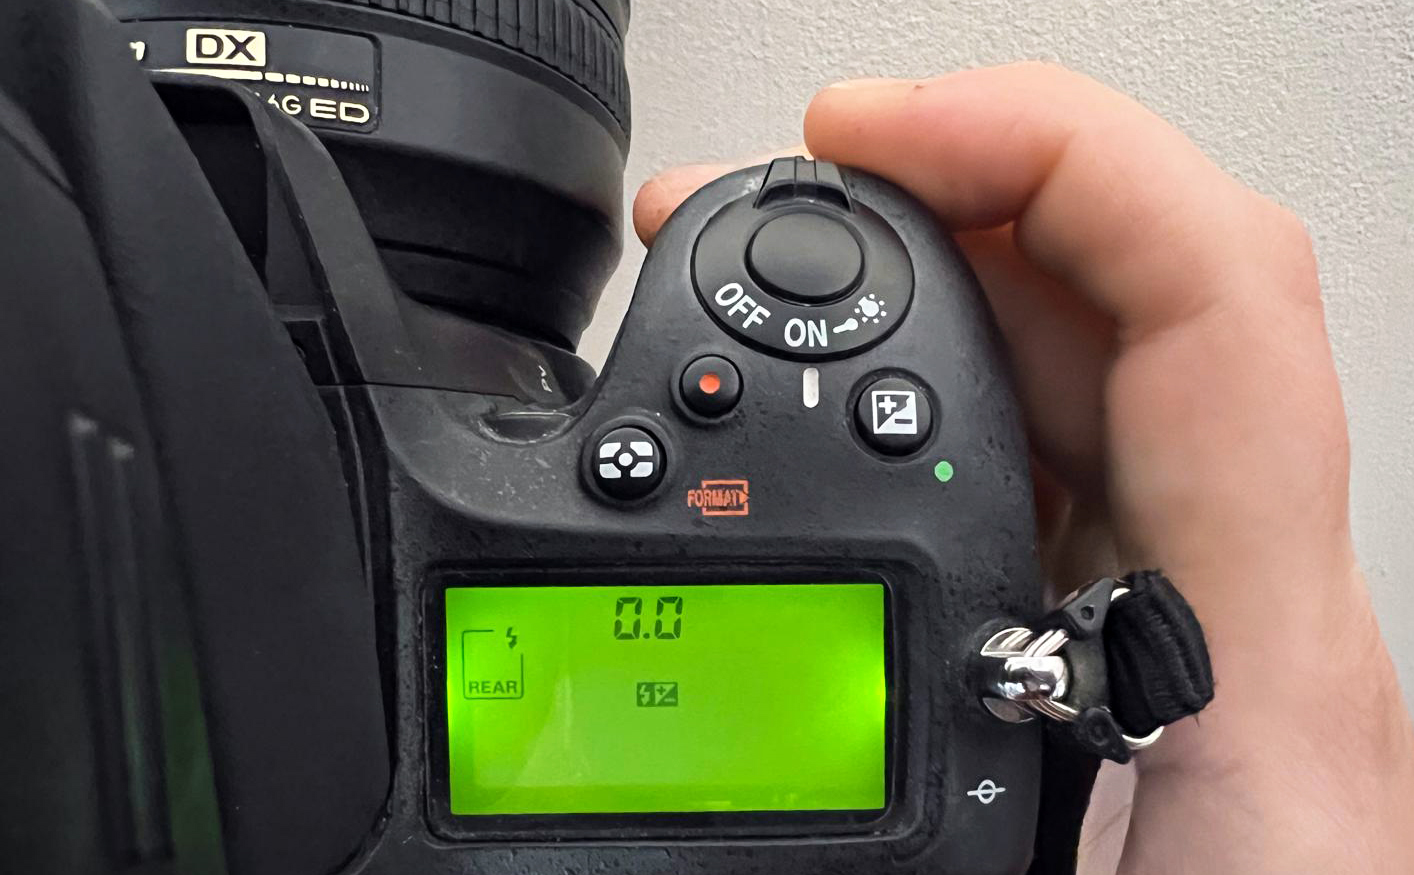
Go to your camera’s menu and select the Second Curtain Flash option – some cameras may have a fl ash button. Here, press it until Rear is selected. Don’t forget to select the Rear mode on your flash as well.
The best camera deals, reviews, product advice, and unmissable photography news, direct to your inbox!
5. Stay stable
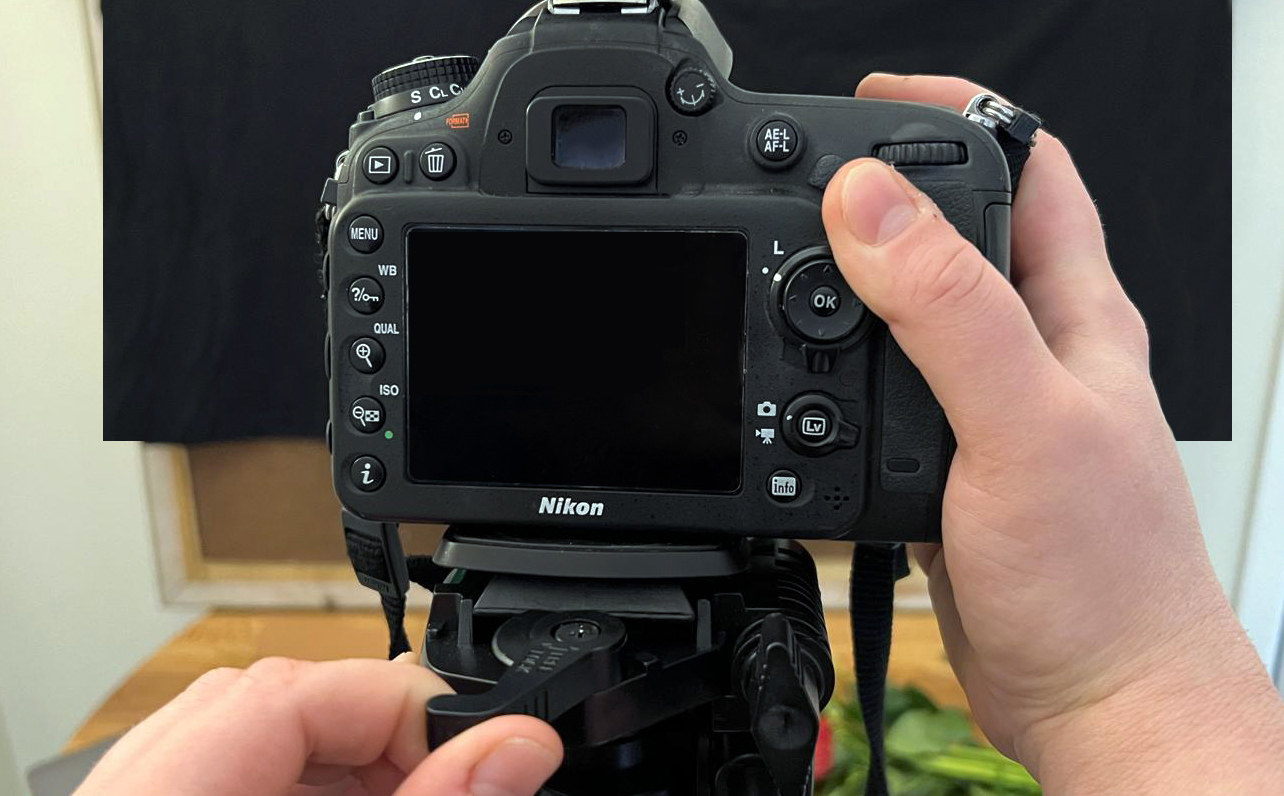
Set up your tripod and mount the camera on it – you will benefit from the extra freedom of movement, especially if you are shooting alone. Another benefit of a tripod is that it makes it easier to find the appropriate crop for your flower project.
6. Be creative
Release the shutter, start moving your subject and take a few test shots. A remote shutter release will be helpful, especially if you are working alone. Vary the exposure time to achieve different results and try out a range of exposures and movements.

Kim is a photographer, editor and writer with work published internationally. She holds a Master's degree in Photography and Media and was formerly Technique Editor at Digital Photographer, focusing on the art and science of photography. Blending technical expertise with visual insight, Kim explores photography's time-honored yet ever-evolving role in culture. Through her features, tutorials, and gear reviews, she aims to encourage readers to explore the medium more deeply and embrace its full creative potential.
