The best camera deals, reviews, product advice, and unmissable photography news, direct to your inbox!
You are now subscribed
Your newsletter sign-up was successful
To prevent converging verticals in architecture shots
Time: 30 minutes
Skill level: Intermediate
Kit needed: D-SLR, Tripod, Tilt-shift lens
Tilt-shift lenses have their origins in large-format cameras which feature a lens at one end and a sheet of film or sensor at the other, and a flexible bellows in between that allows both to be moved independently.
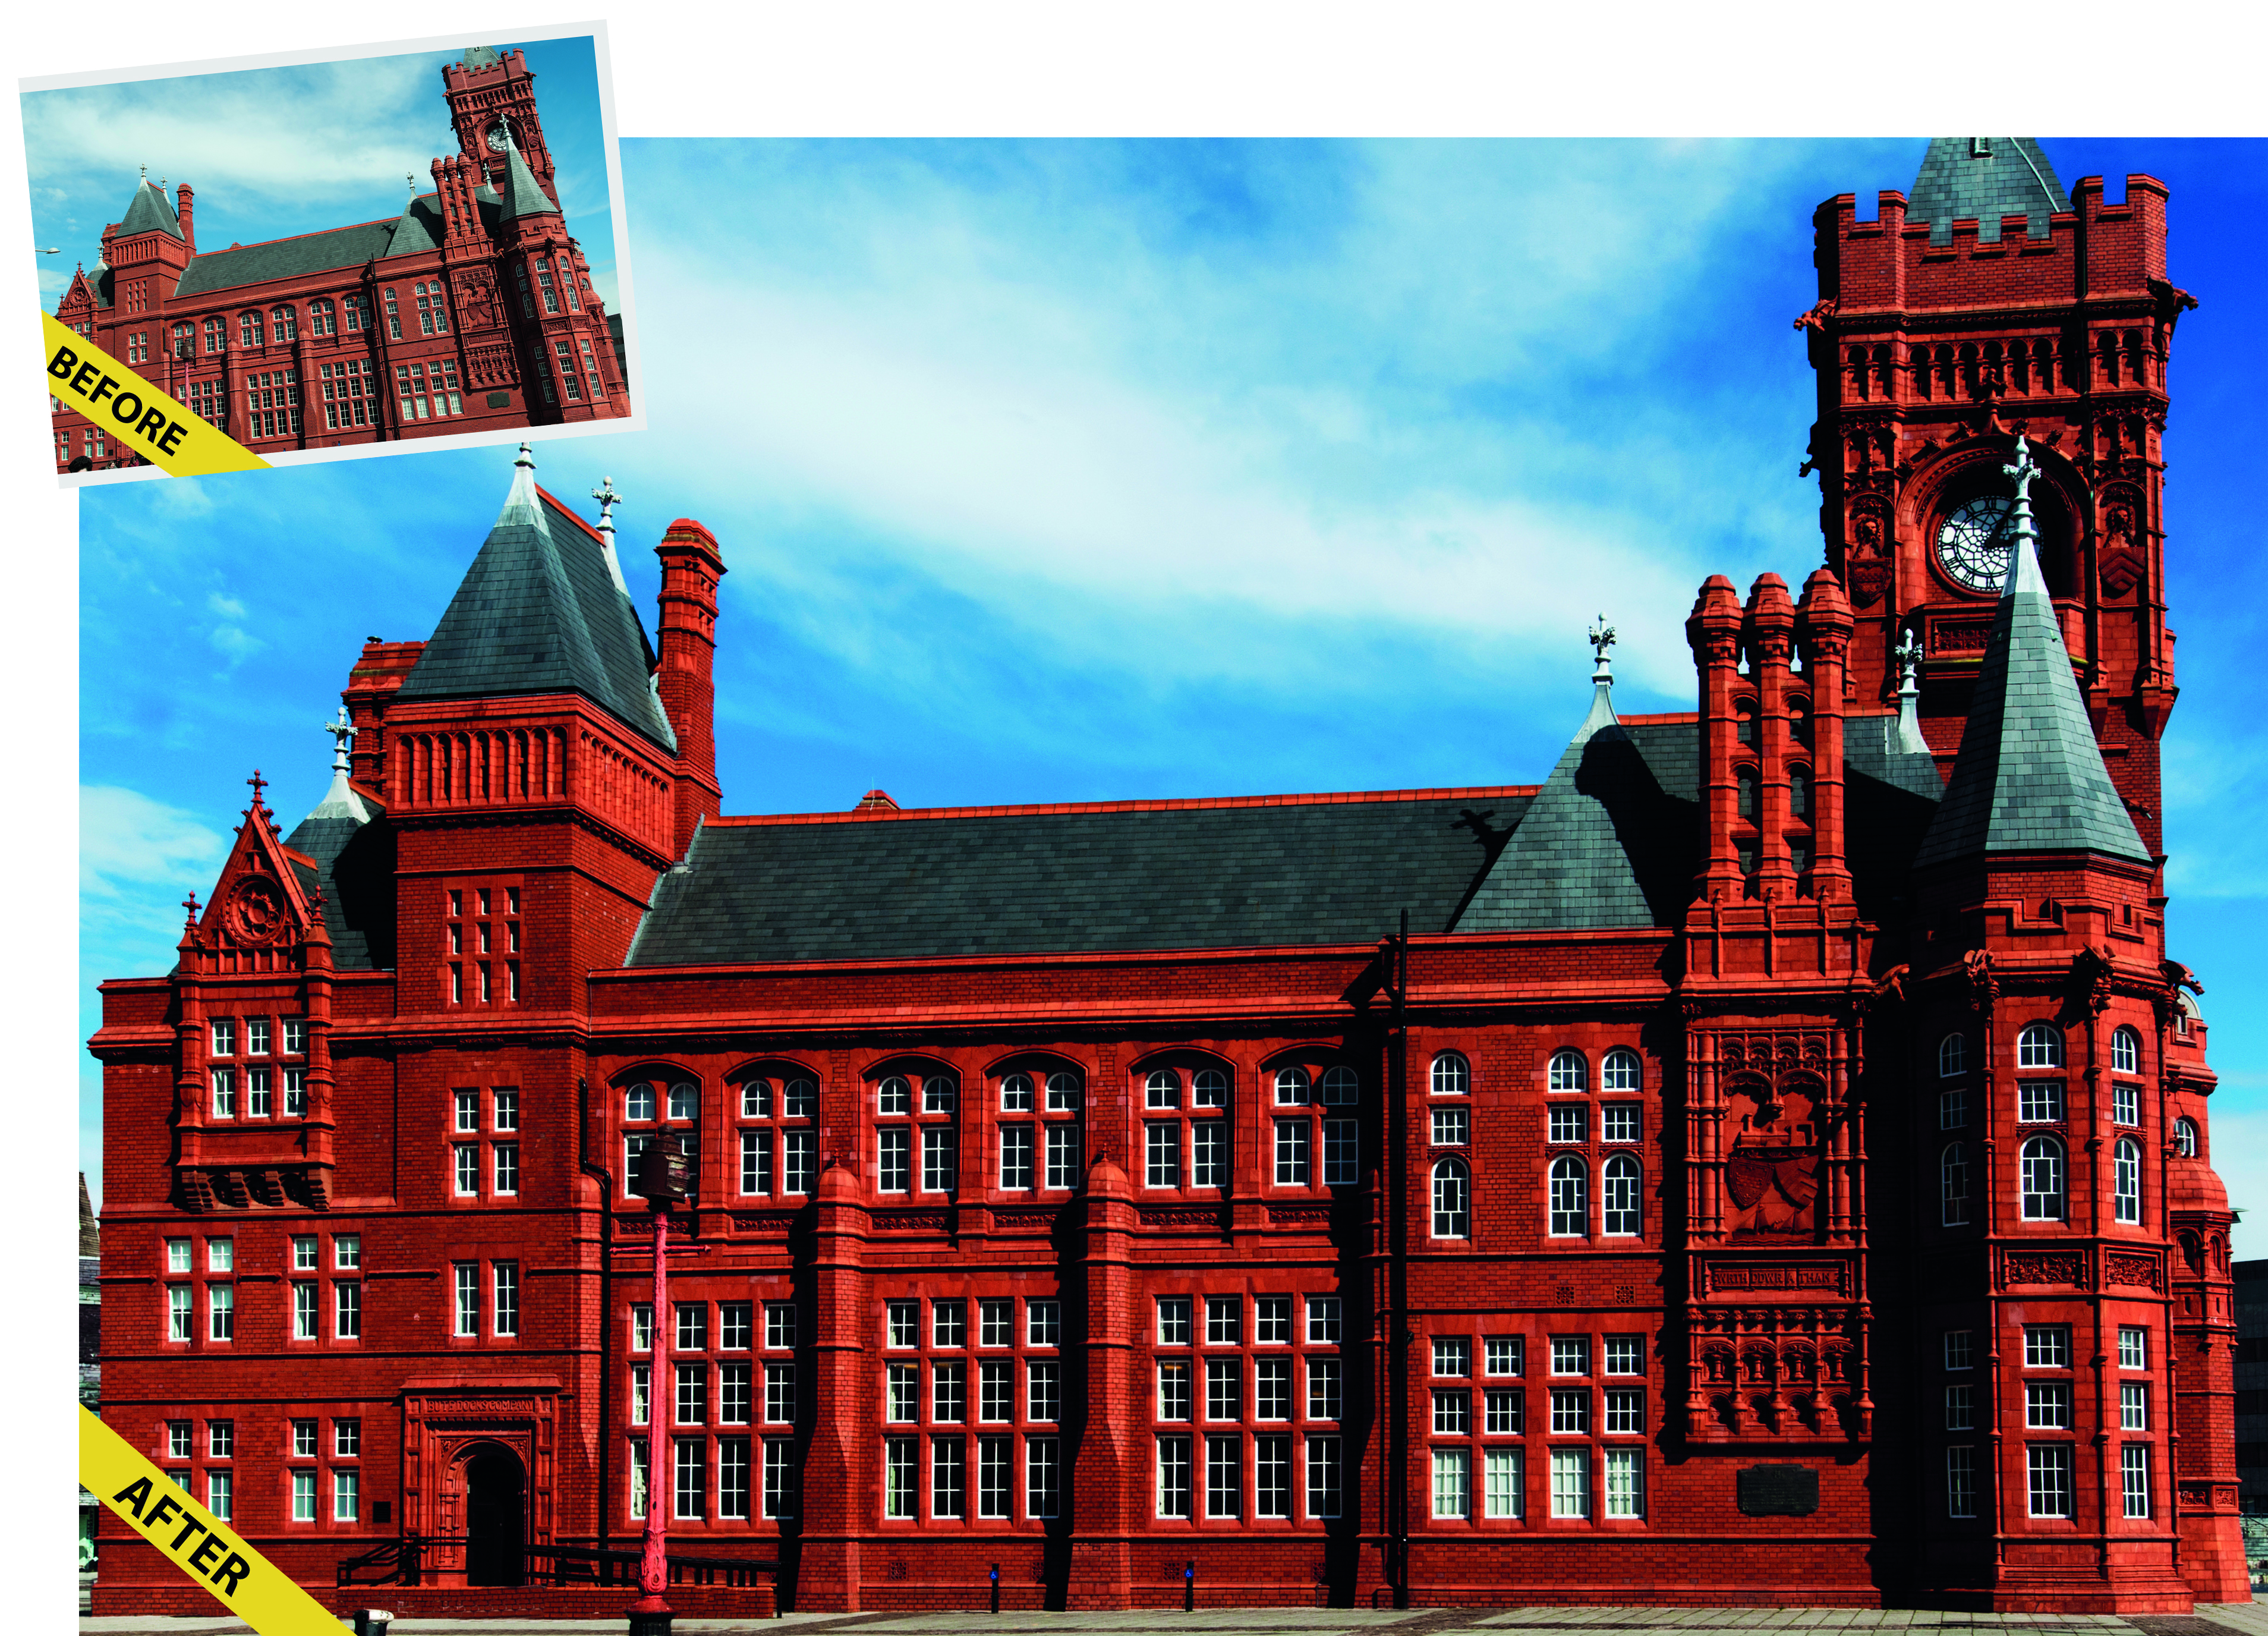
The advantage of this, at least for architectural photography, is that the lens can be ‘shifted’ so that the sensor covers the top of a tall building without having to tilt the camera upwards.
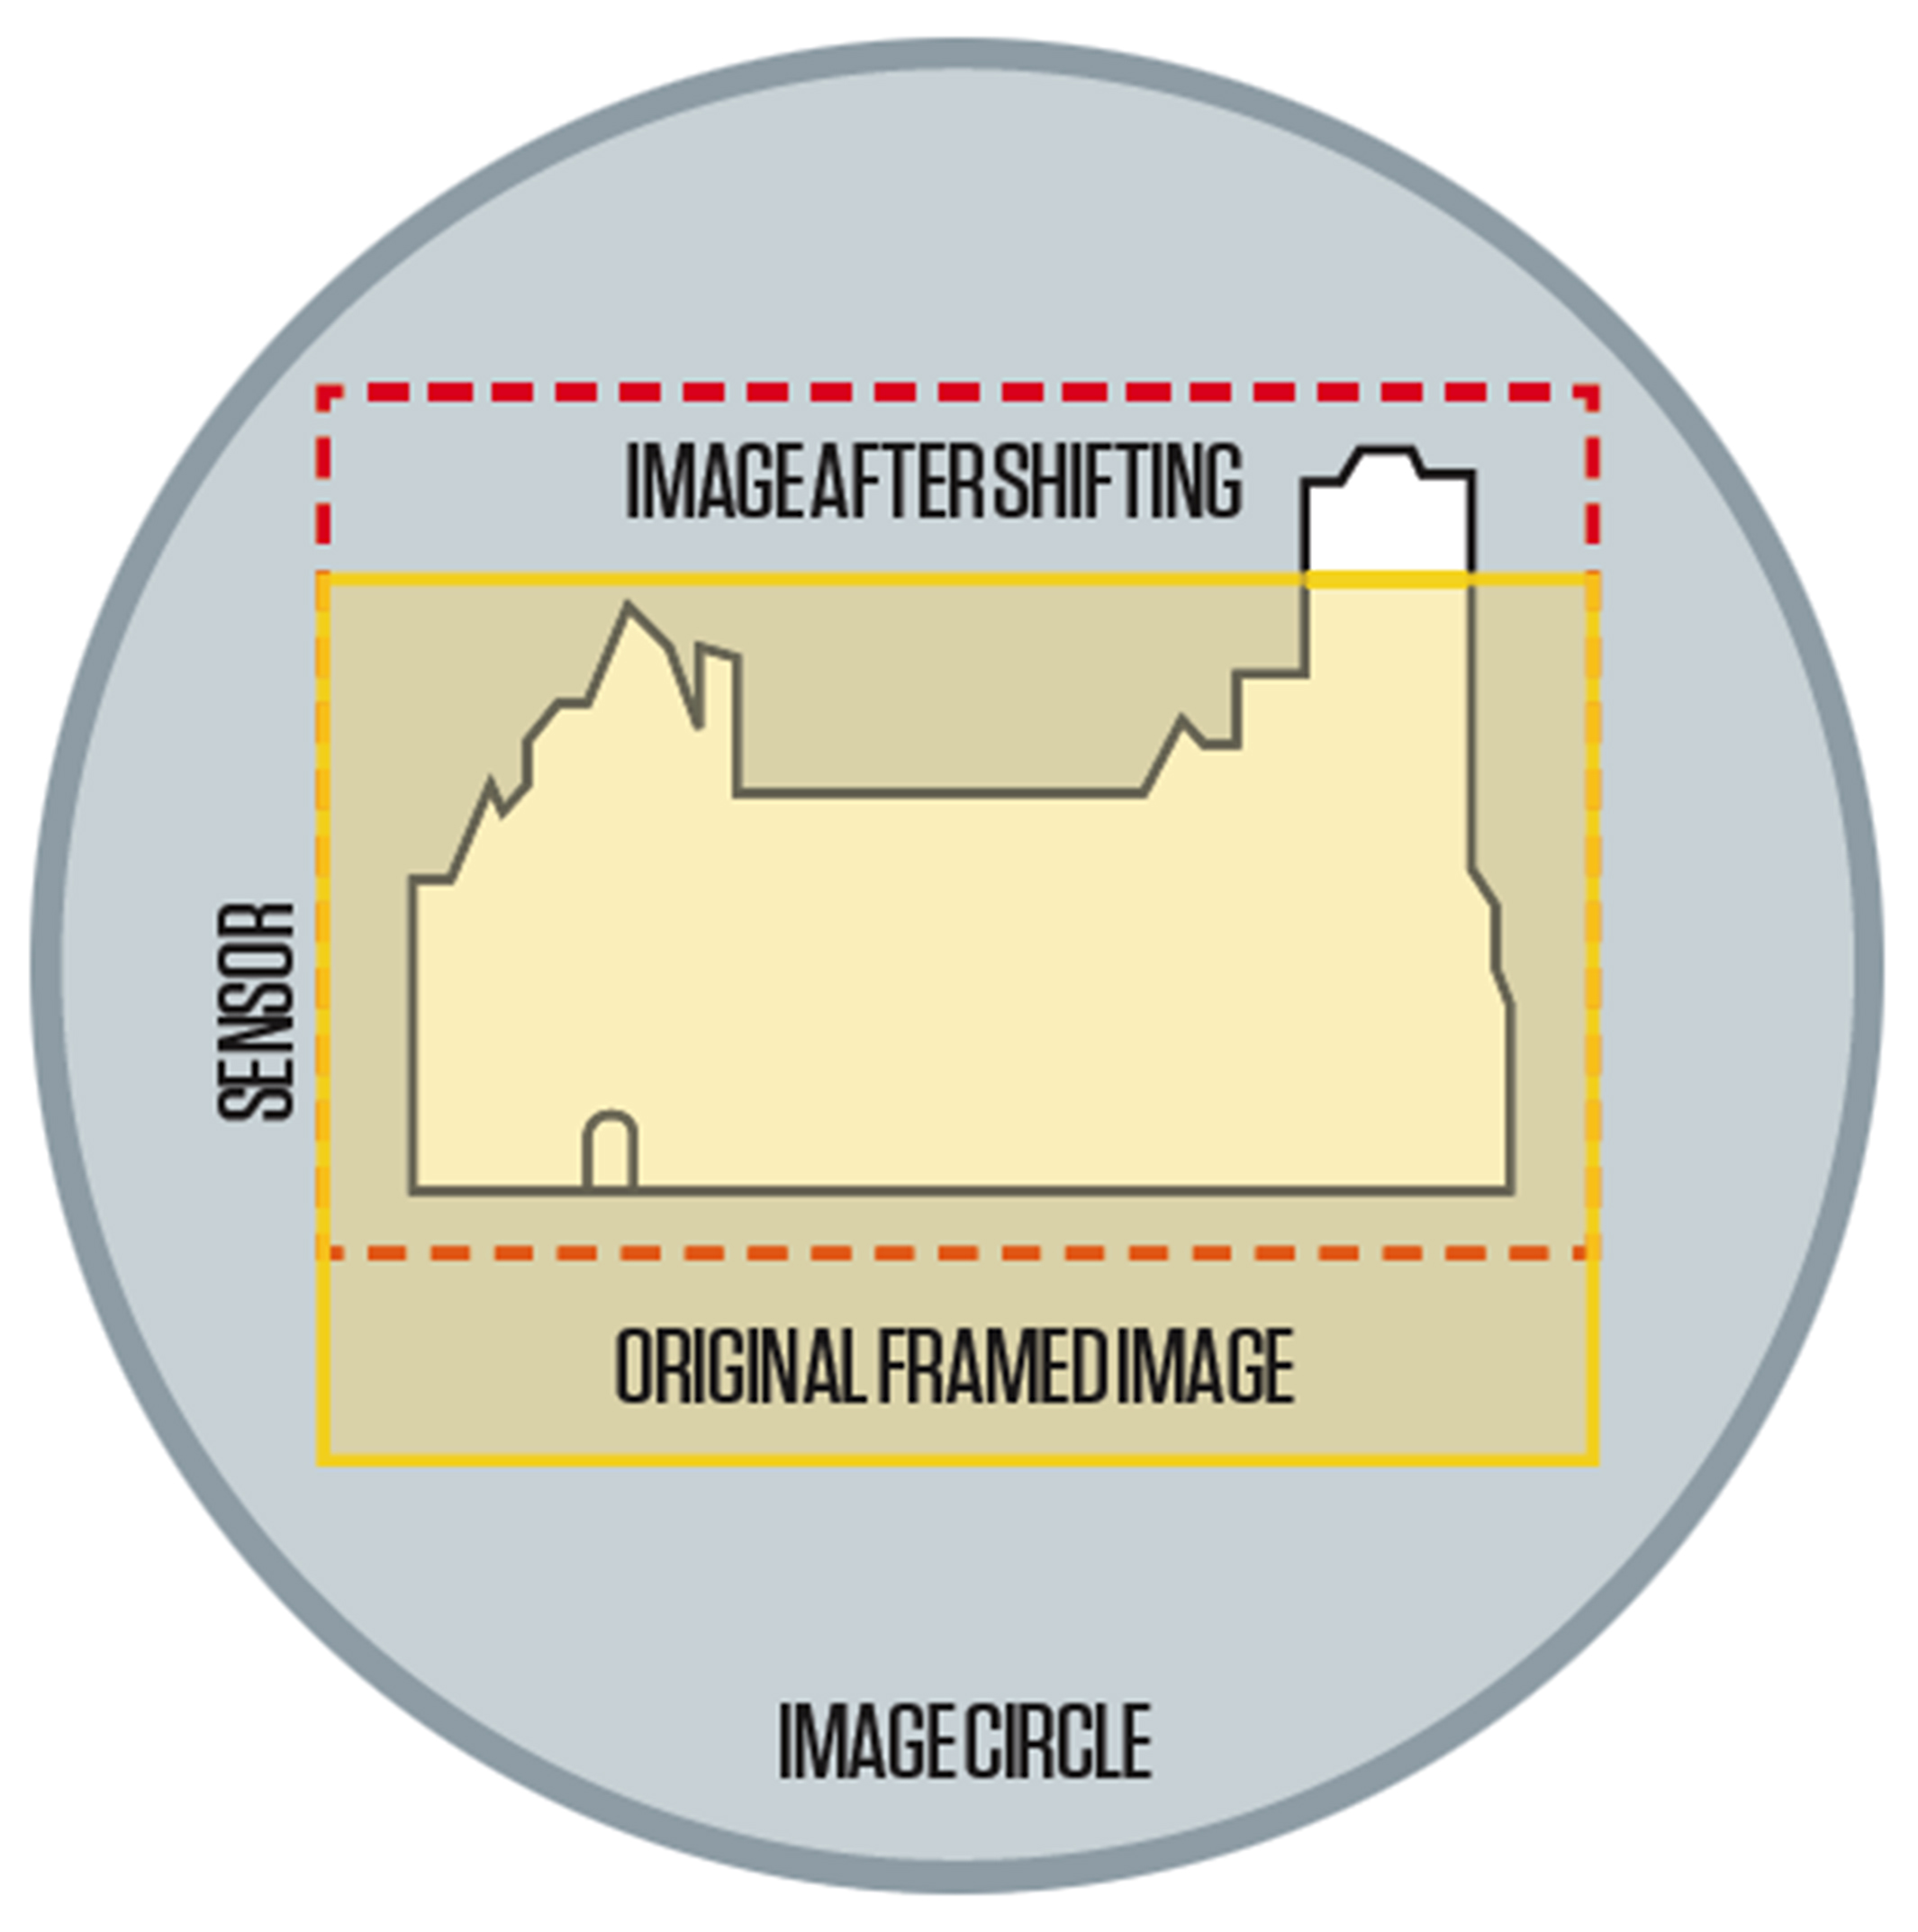
Here’s how it works: you start by pointing the lens horizontally at a building, so that the verticals are perfectly vertical. At this stage, your frame will include the ground in the bottom half of the frame, and the building in the top (assuming you’re shooting from street level). But because the image circle of a lens is much bigger than the sensor (see illustration below), you can physically shift the lens (and it’s image circle) so that the sensor covers the building and not the building and the ground. Still confused? Then read on to find out how it’s done...
STEP BY STEP: Straighten things out
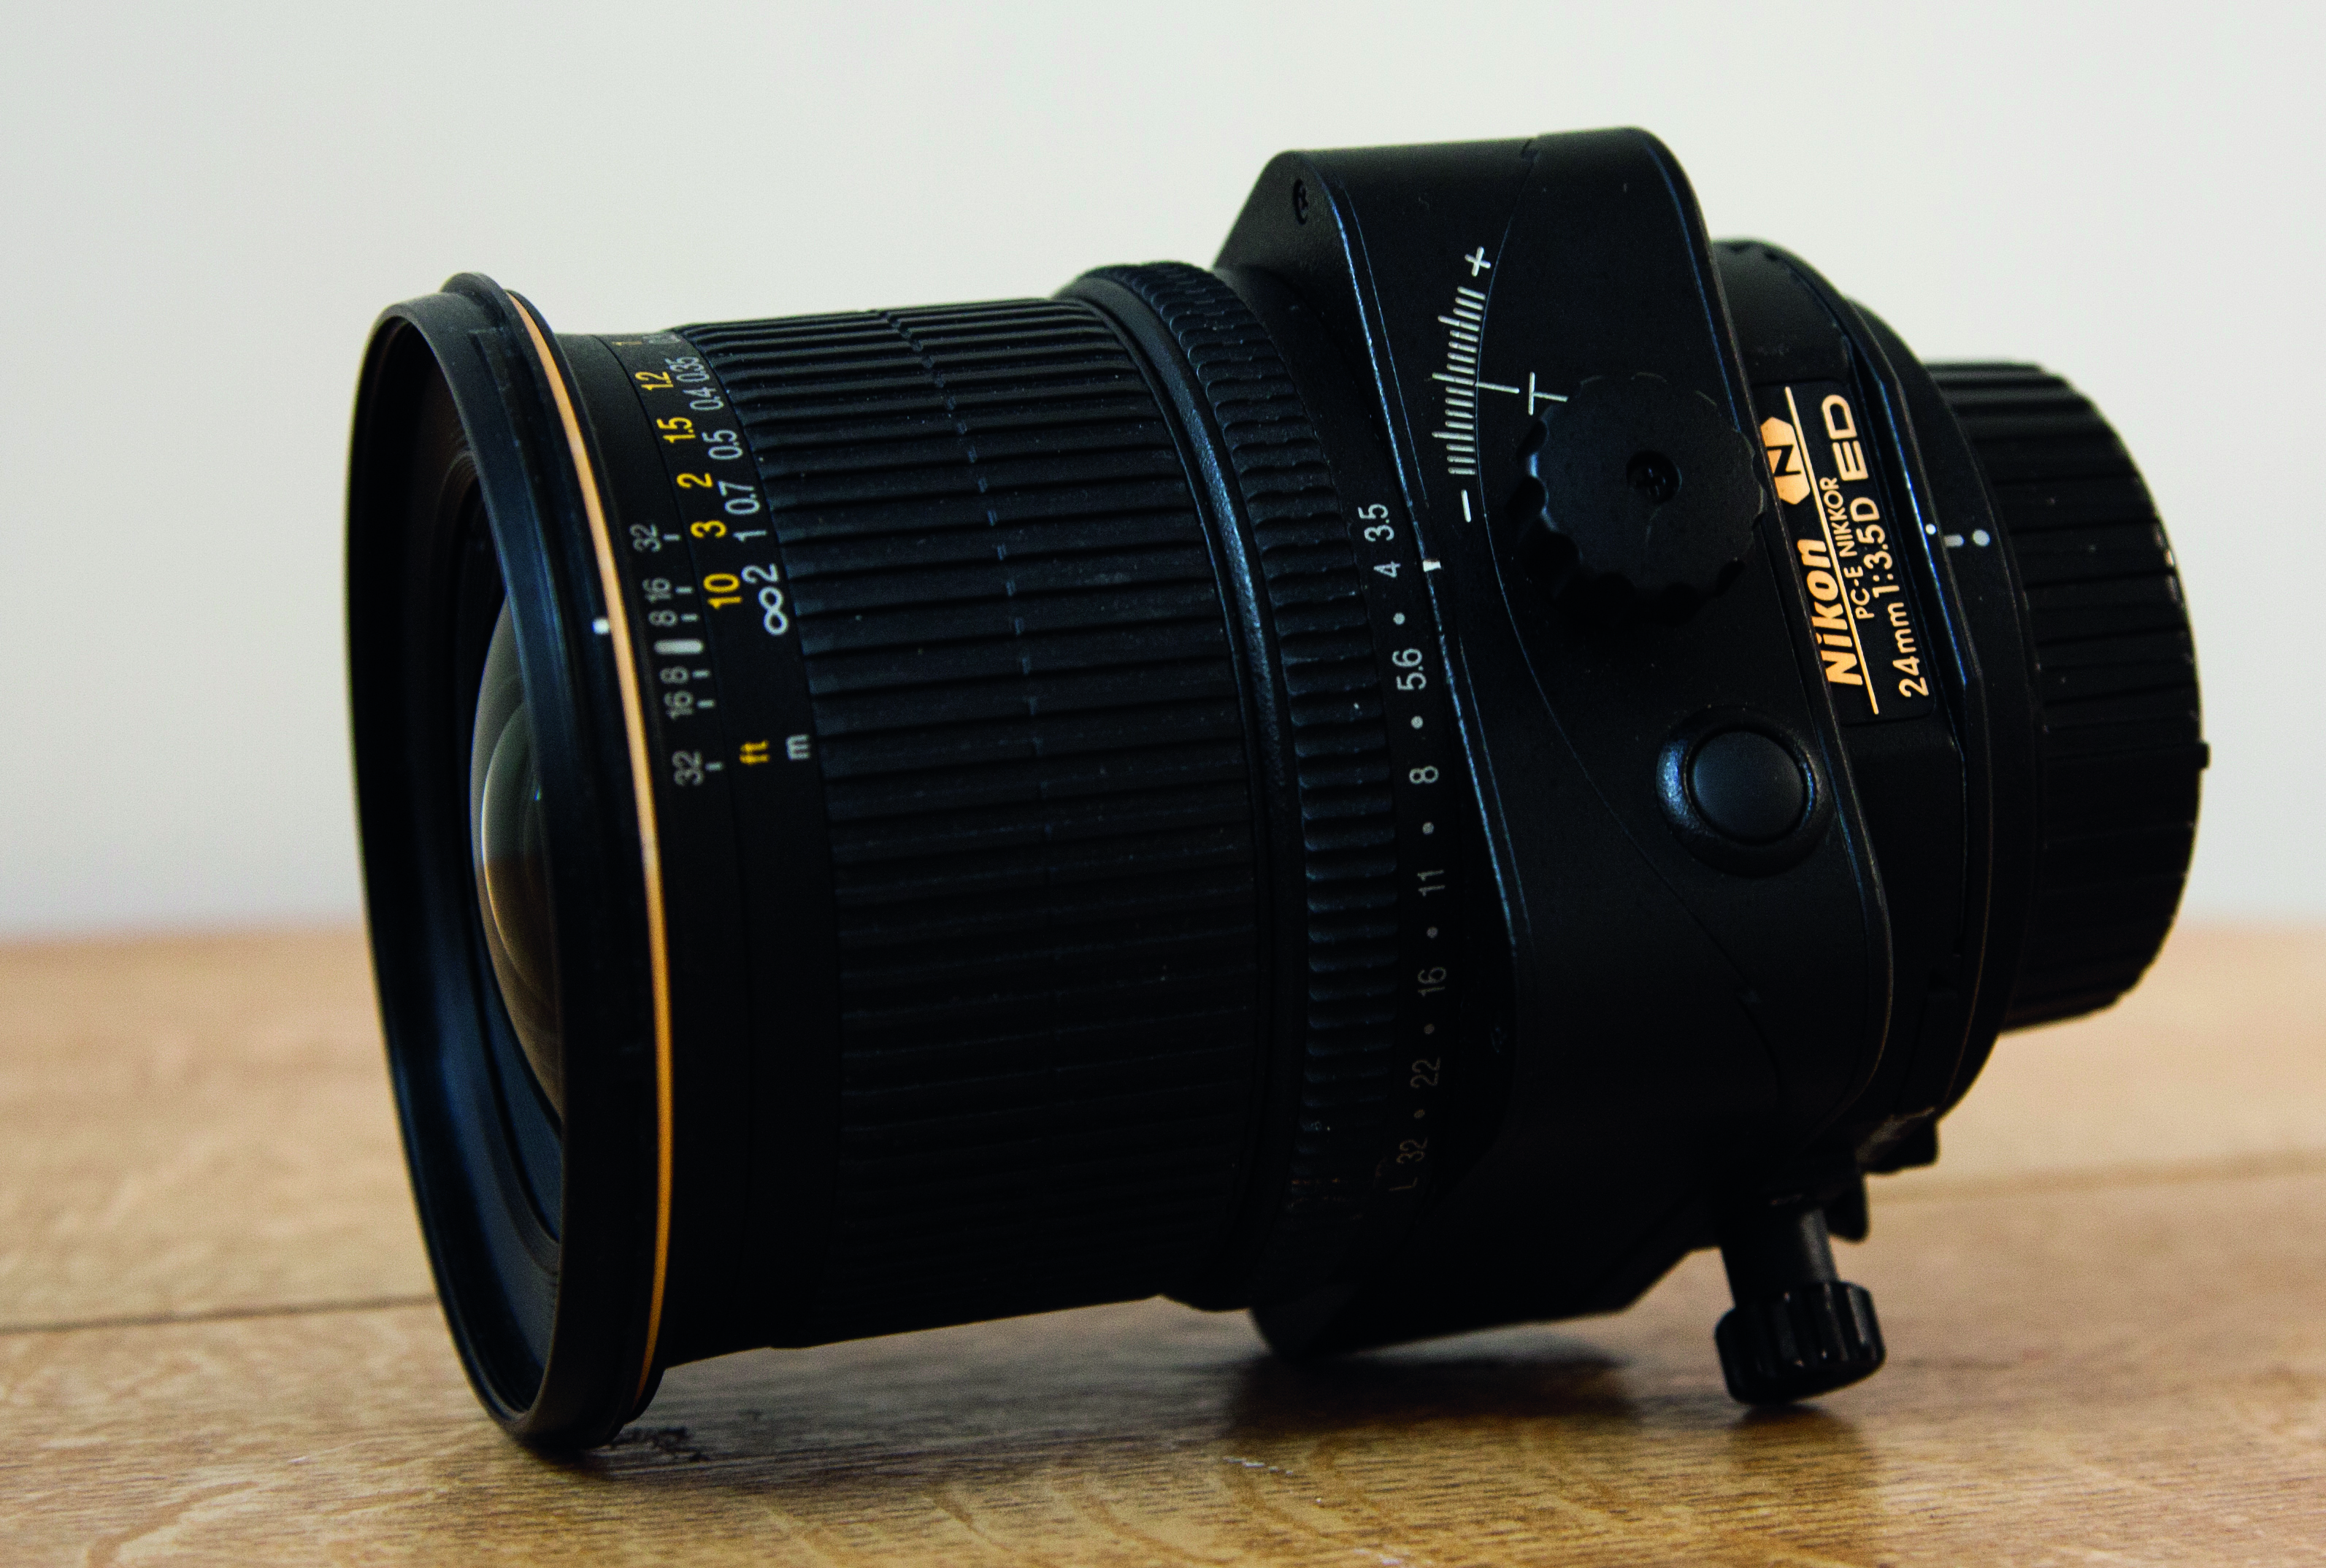

Tilt-shift lenses aren’t cheap: the 24mm PC-E lens we used will set you back around £1465/$2200, and the 45 and 85mm options aren’t much cheaper. Unless you’re planning to photograph a lot of architecture, that sort of outlay is hard to justify, but they can be hired for around £60/$100 for three days, which is plenty long enough to really get to grips with one (see page 88 to see how a tilt-shift lens stacks up against a standard wild-angle prime lens).
1 GET IN POSITION
We used a 24mm lens, which on a DX sensor has an equivalent focal length of 38mm, so we had to stand far back to fit in a whole building. Take your focal length and your sensor’s crop factor into account when choosing a subject. Position yourself squarely facing a building.

2 STEADY YOURSELF
Once you’re in position, set up your camera on a tripod. This not only enables you to use low ISOs and narrow apertures for increased image quality, but will keep the camera in place, giving you time to think about your composition and check the focus using Live View.
The best camera deals, reviews, product advice, and unmissable photography news, direct to your inbox!
3 ROTATE IF NEEDED
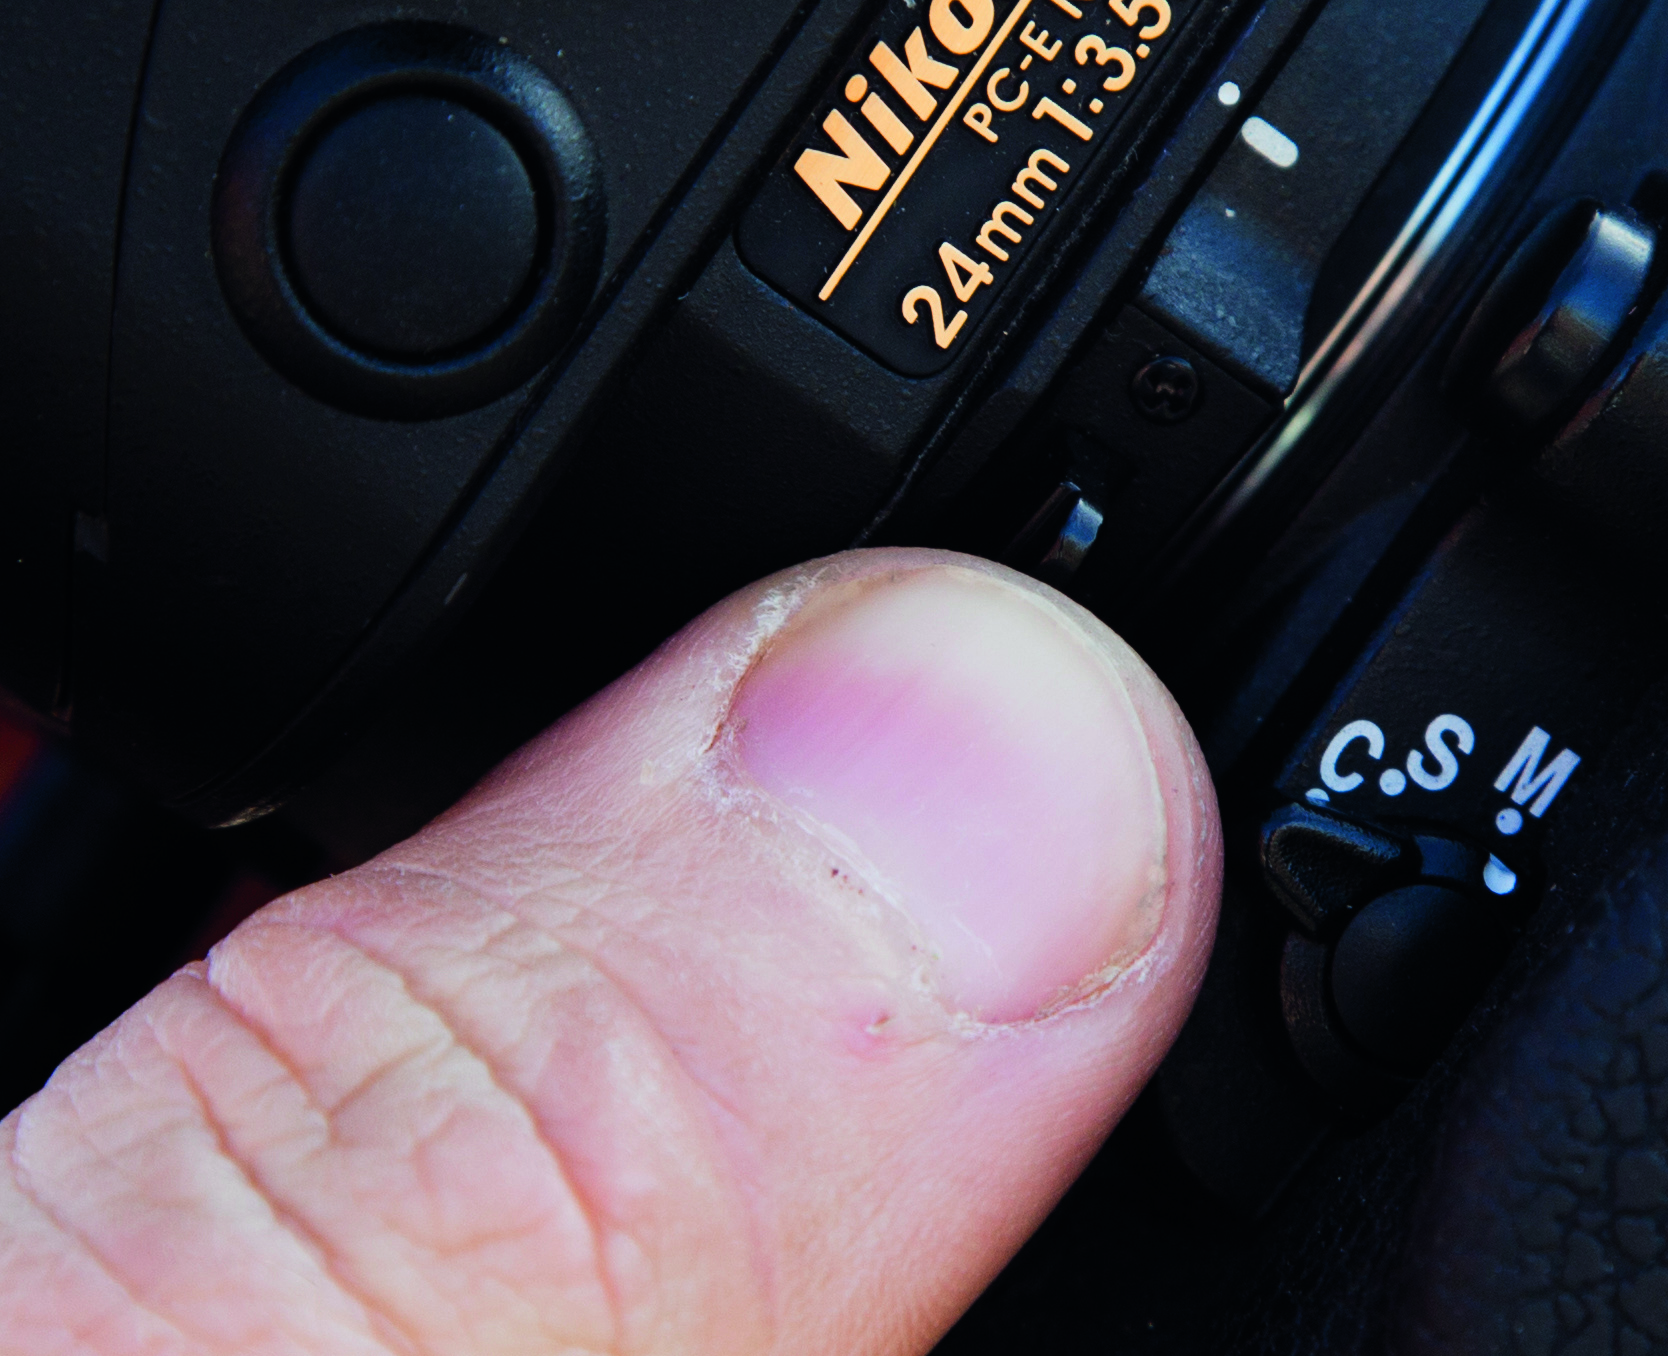
Depending on whether you are shooting in landscape or portrait orientation, you may need to rotate your lens – the shift mechanism should move up and down, not side to side. This is done by pulling the catch on the left of the lens to unlock it, and then turning the lens.

Shifting the lens to either extreme will reduce the amount of light hitting the sensor, so you may need to adjust the exposure to let in more light.
4 SHIFT IT UP
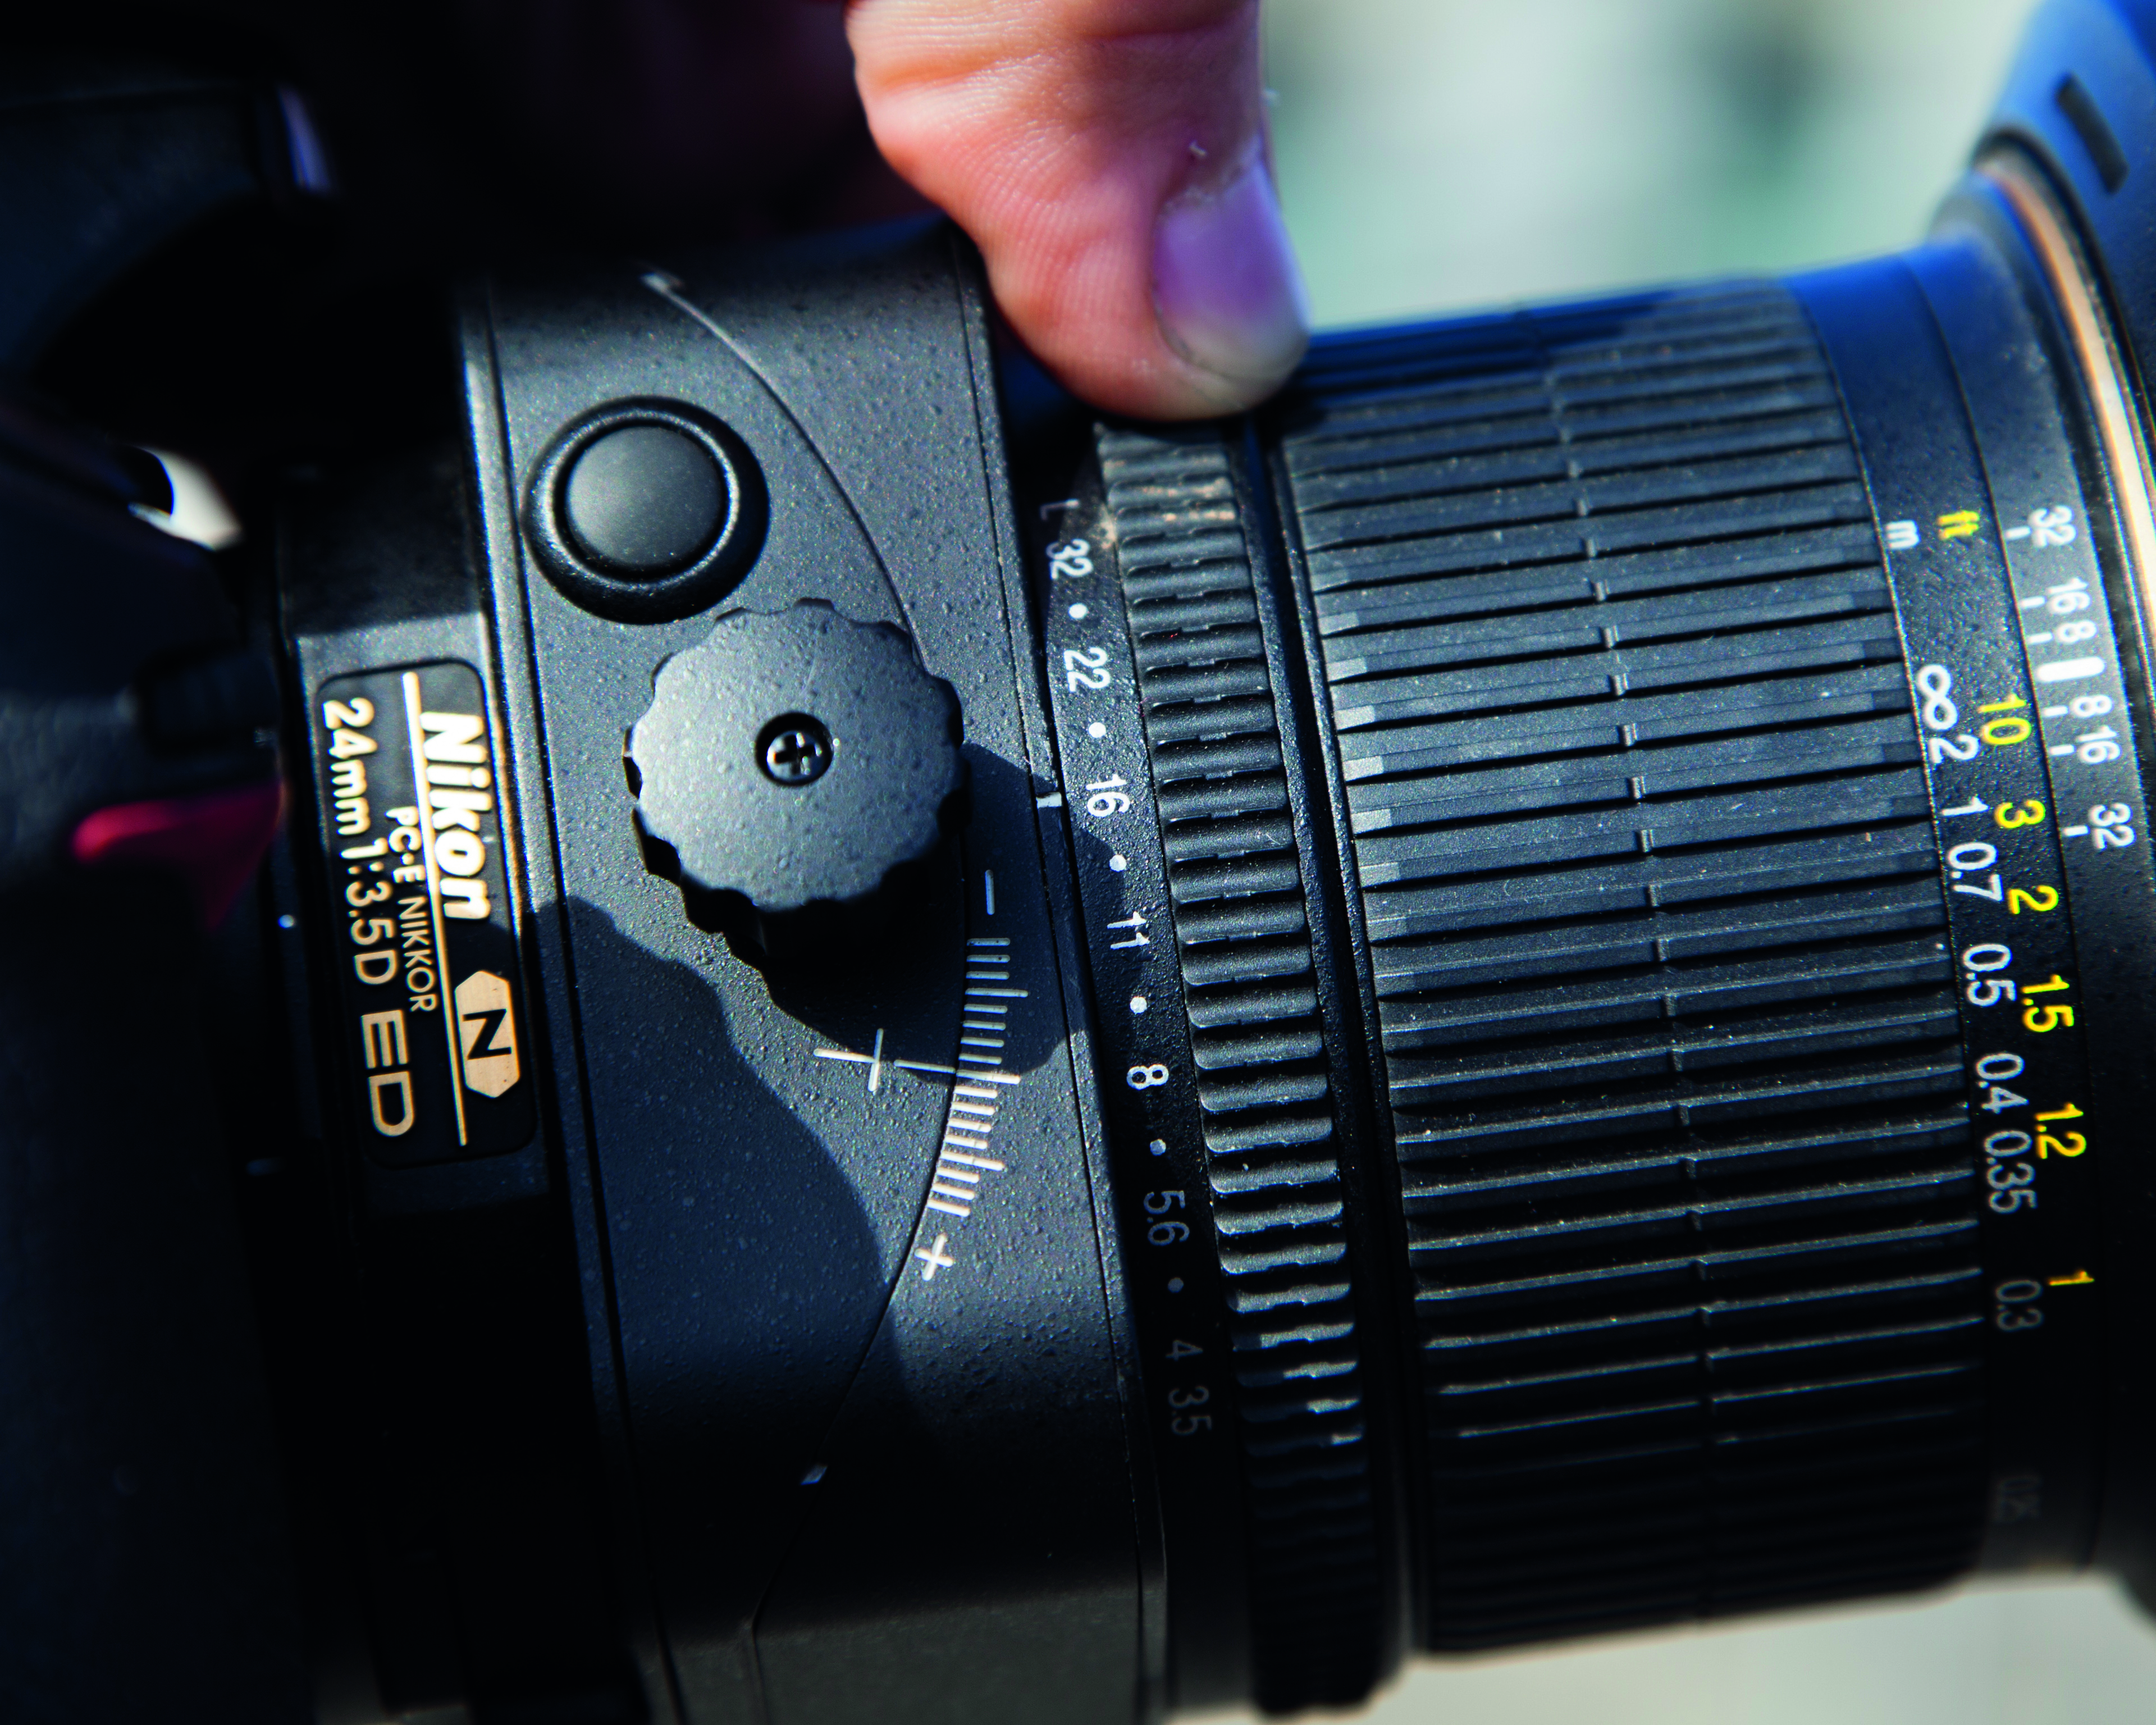
With your frame composed with the lens perfectly horizontal, turn the shift dial to move the lens up relative to the sensor. If you look through the viewfinder, you’ll see the top of the building slide into view as you do this, but – crucially – the verticals will stay vertical.
5 SET THE APERTURE
Set your camera to manual mode so you can keep control over the settings. Adjust the aperture via the ring on the lens. Set it to f/16 for a deep depth of field. Your camera’s metering system will still work, so you can use the exposure level indicator to set the shutter speed.
6 FOCUS IN LIVE VIEW
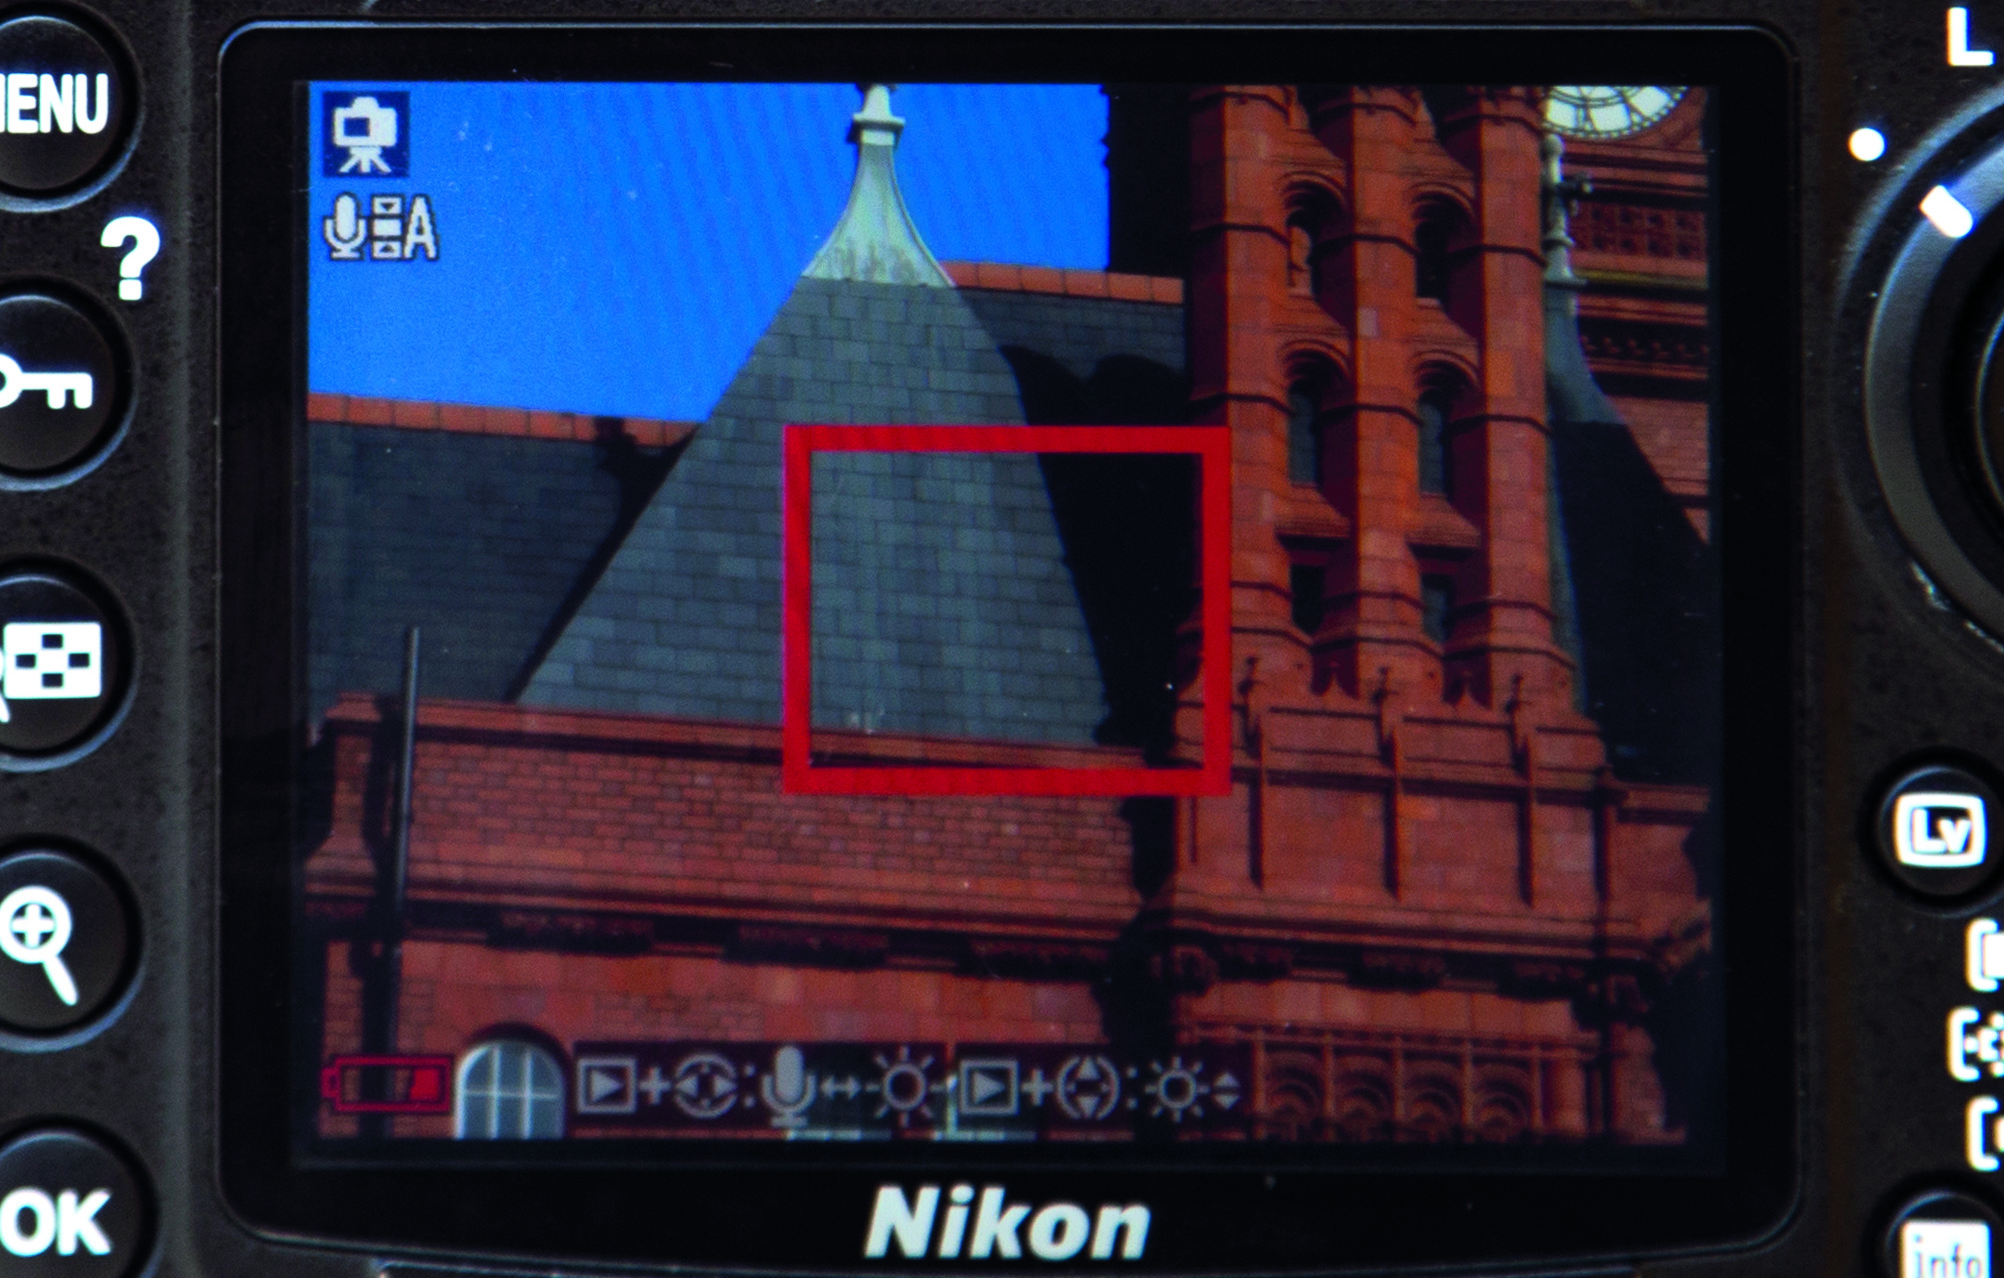
As you cannot see very well through the viewfinder when using a tilt-shift lens, once everything is set up on a tripod, switch to Live View. You can then digitally zoom in with the plus and minus buttons to focus manually using the focusing ring on the lens.
