How to use a polarizing filter for landscape photography
A polarizer is an essential filter to have in your kitbag for landscape photographer as it reduces glare and adds extra punch. This is how to use one properly
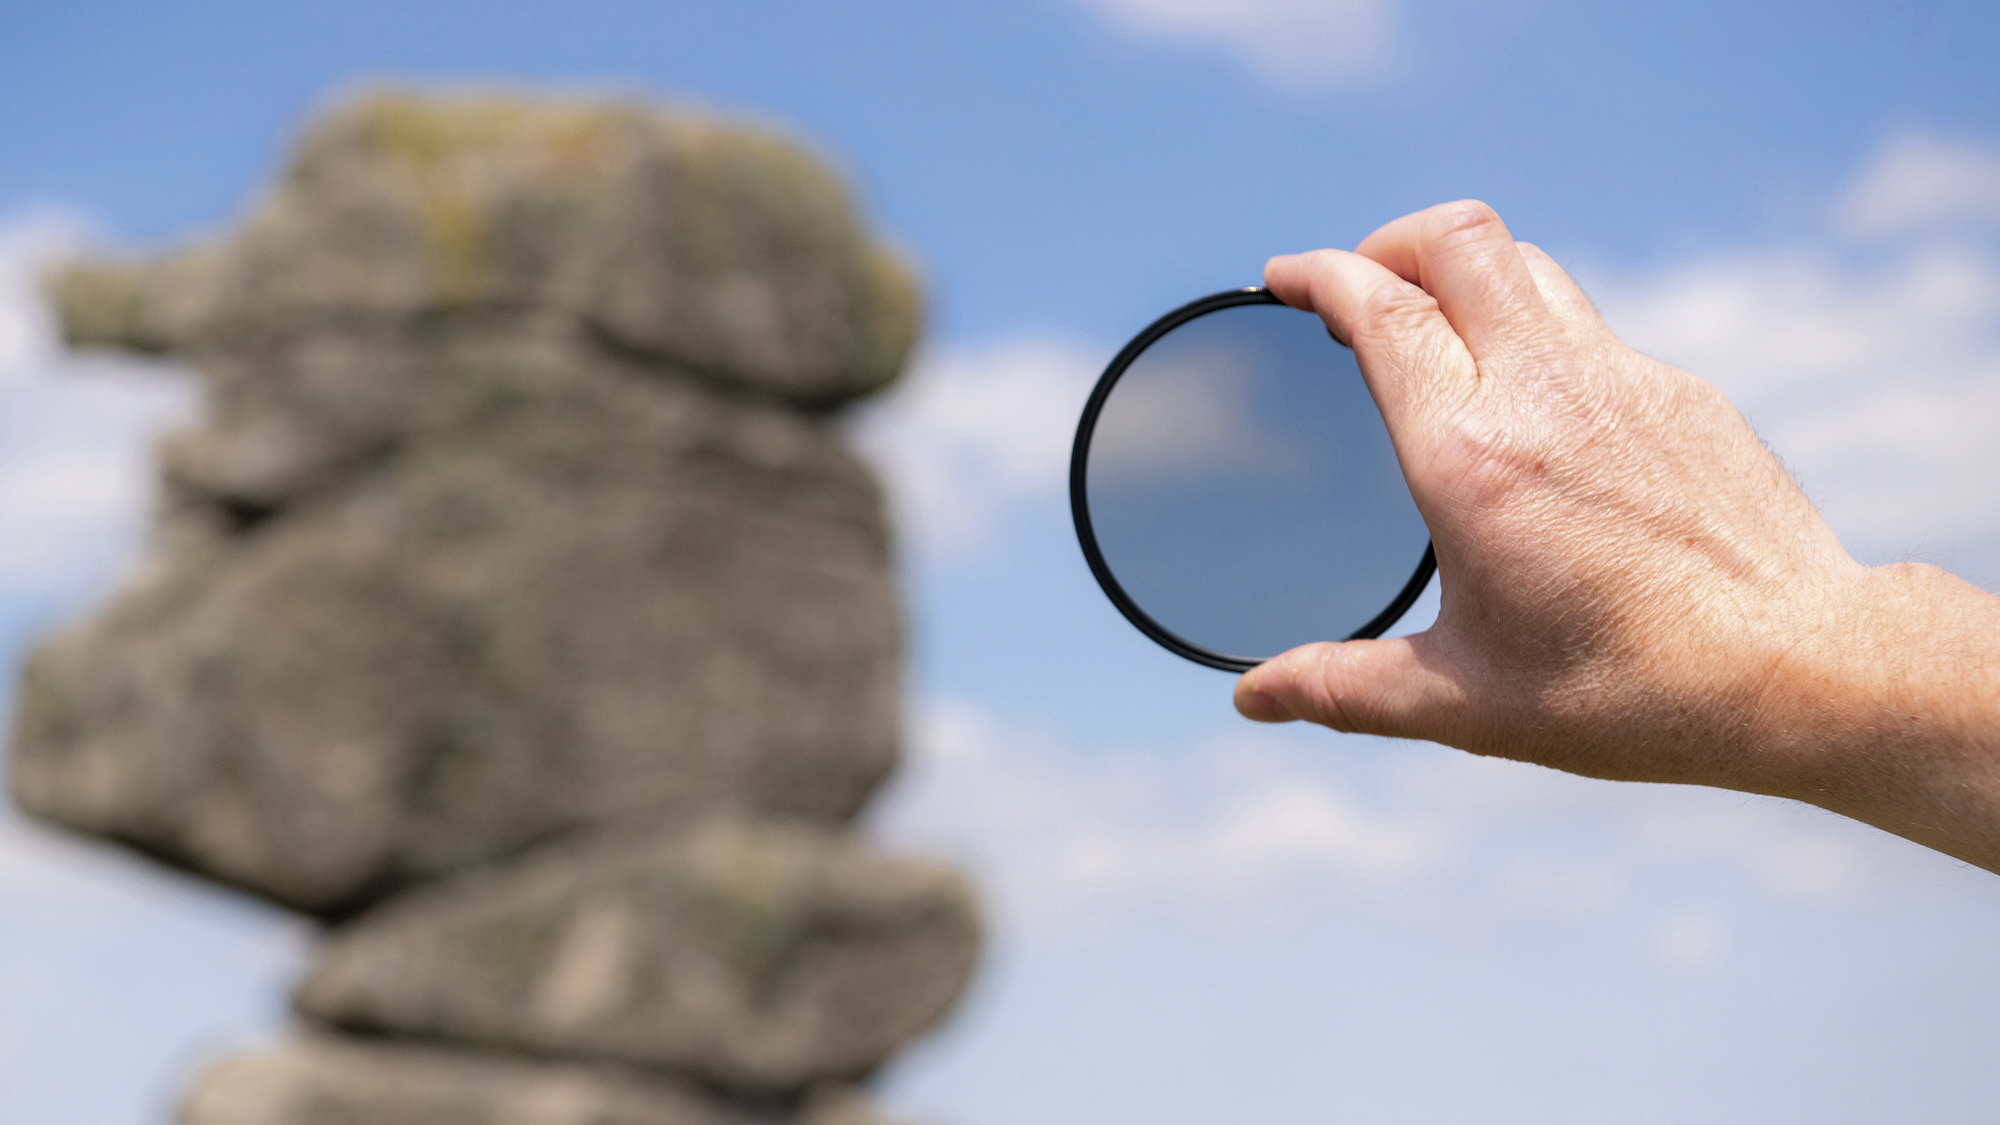
The best polarizing filters are among the most important filters you can buy for your camera, and this is because the effects they give can't be replicated in processing software. But what are circular polarizers and when would you use one?
In short, they are pretty much essential for landscape photography as they enable you to give blue skies extra punch, and they help to reduce glare and reflections from shiny surfaces.
Polarizers work by filtering out so-called polarized light (ie light waves traveling in a single plane, rather than in all directions).
When light reflects off a non-metallic surface (such as water) it becomes partially polarized, and a polarizing filter can be rotated so that it blocks this polarized light, but lets light waves traveling in other planes pass through.
• Read more: 10 things you need to know about camera filters!
This helps to reduce glare on everything from sweaty faces to waxy leaves, and allows the natural colors and details to show through.
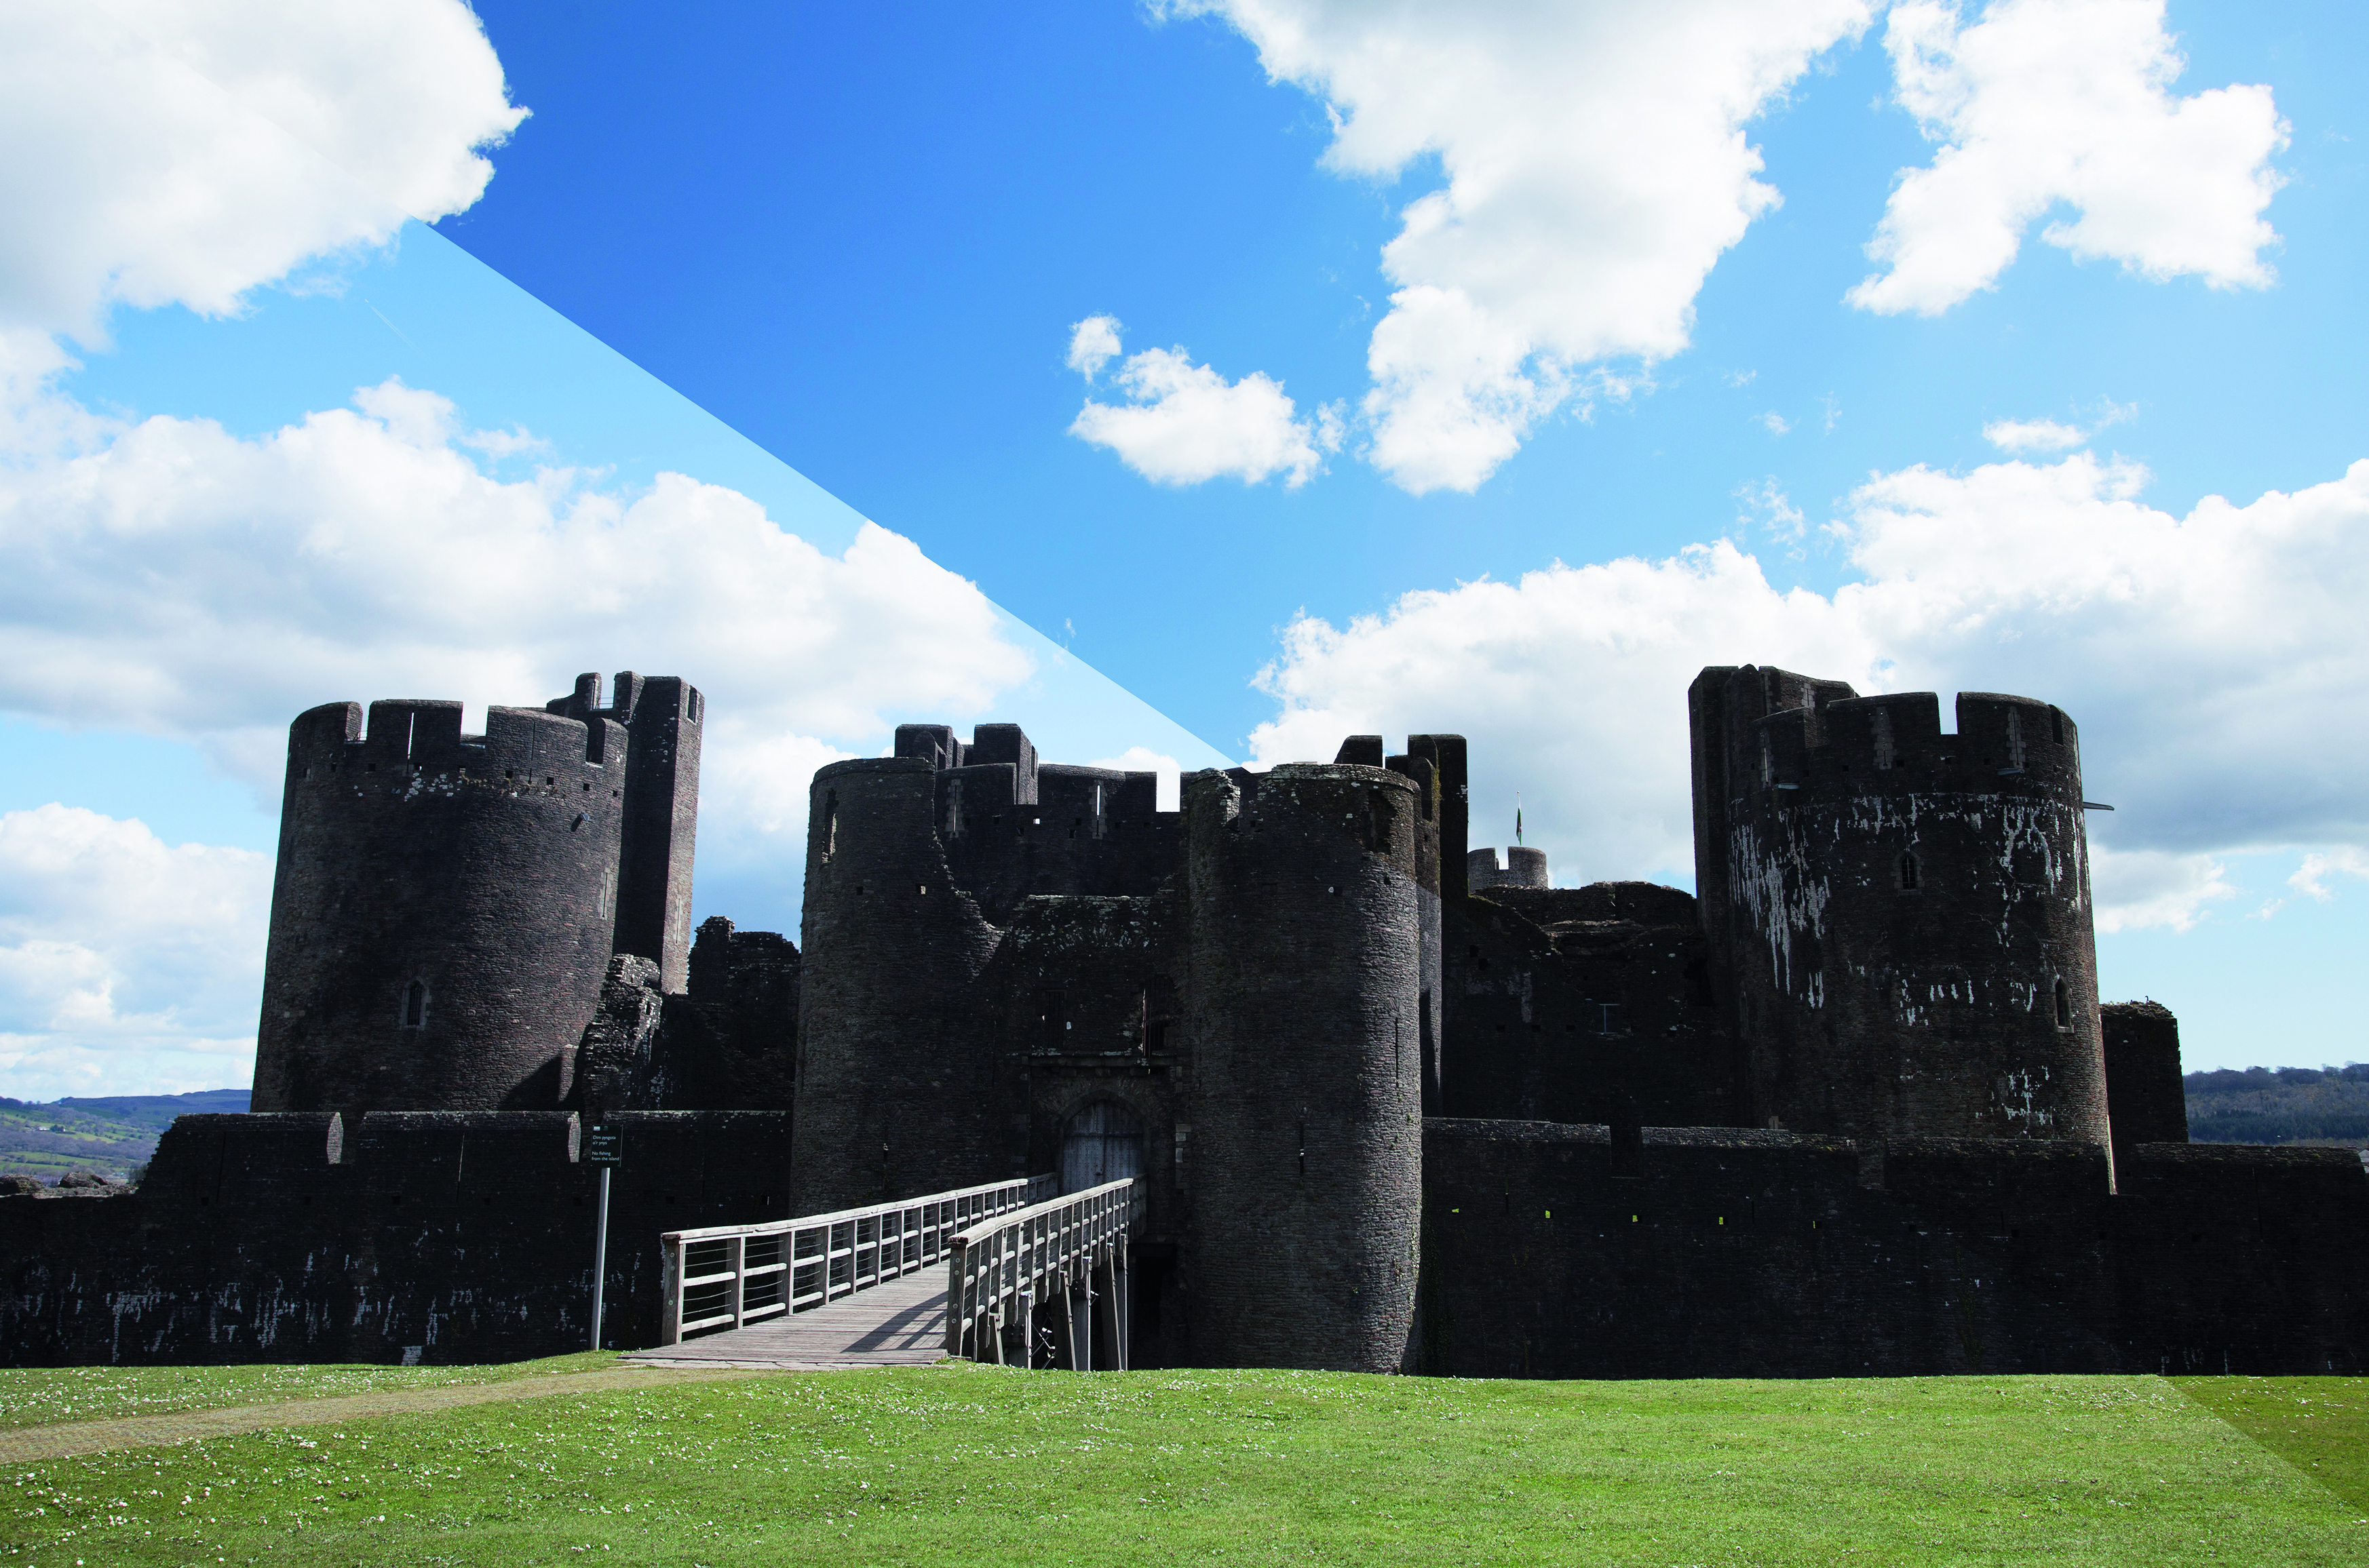
Similarly, some of the light from the sky is polarized, and filtering out this component of the light darkens the sky. Clouds are less affected, which is why they often look so white and fluffy against the darker blue sky.
The best camera deals, reviews, product advice, and unmissable photography news, direct to your inbox!
Step by step: Do the twist
Circular polarizers reduce the amount of light entering the lens. You may need to adjust your exposure, but if you're using Av, TV, P or Auto modes, your camera should do this automatically.
They can also cause vignetting (a darkening of the image corners), especially on wide-angles lenses. Polarizers with slimmer frames can help, though these are generally more expensive than standard ones.
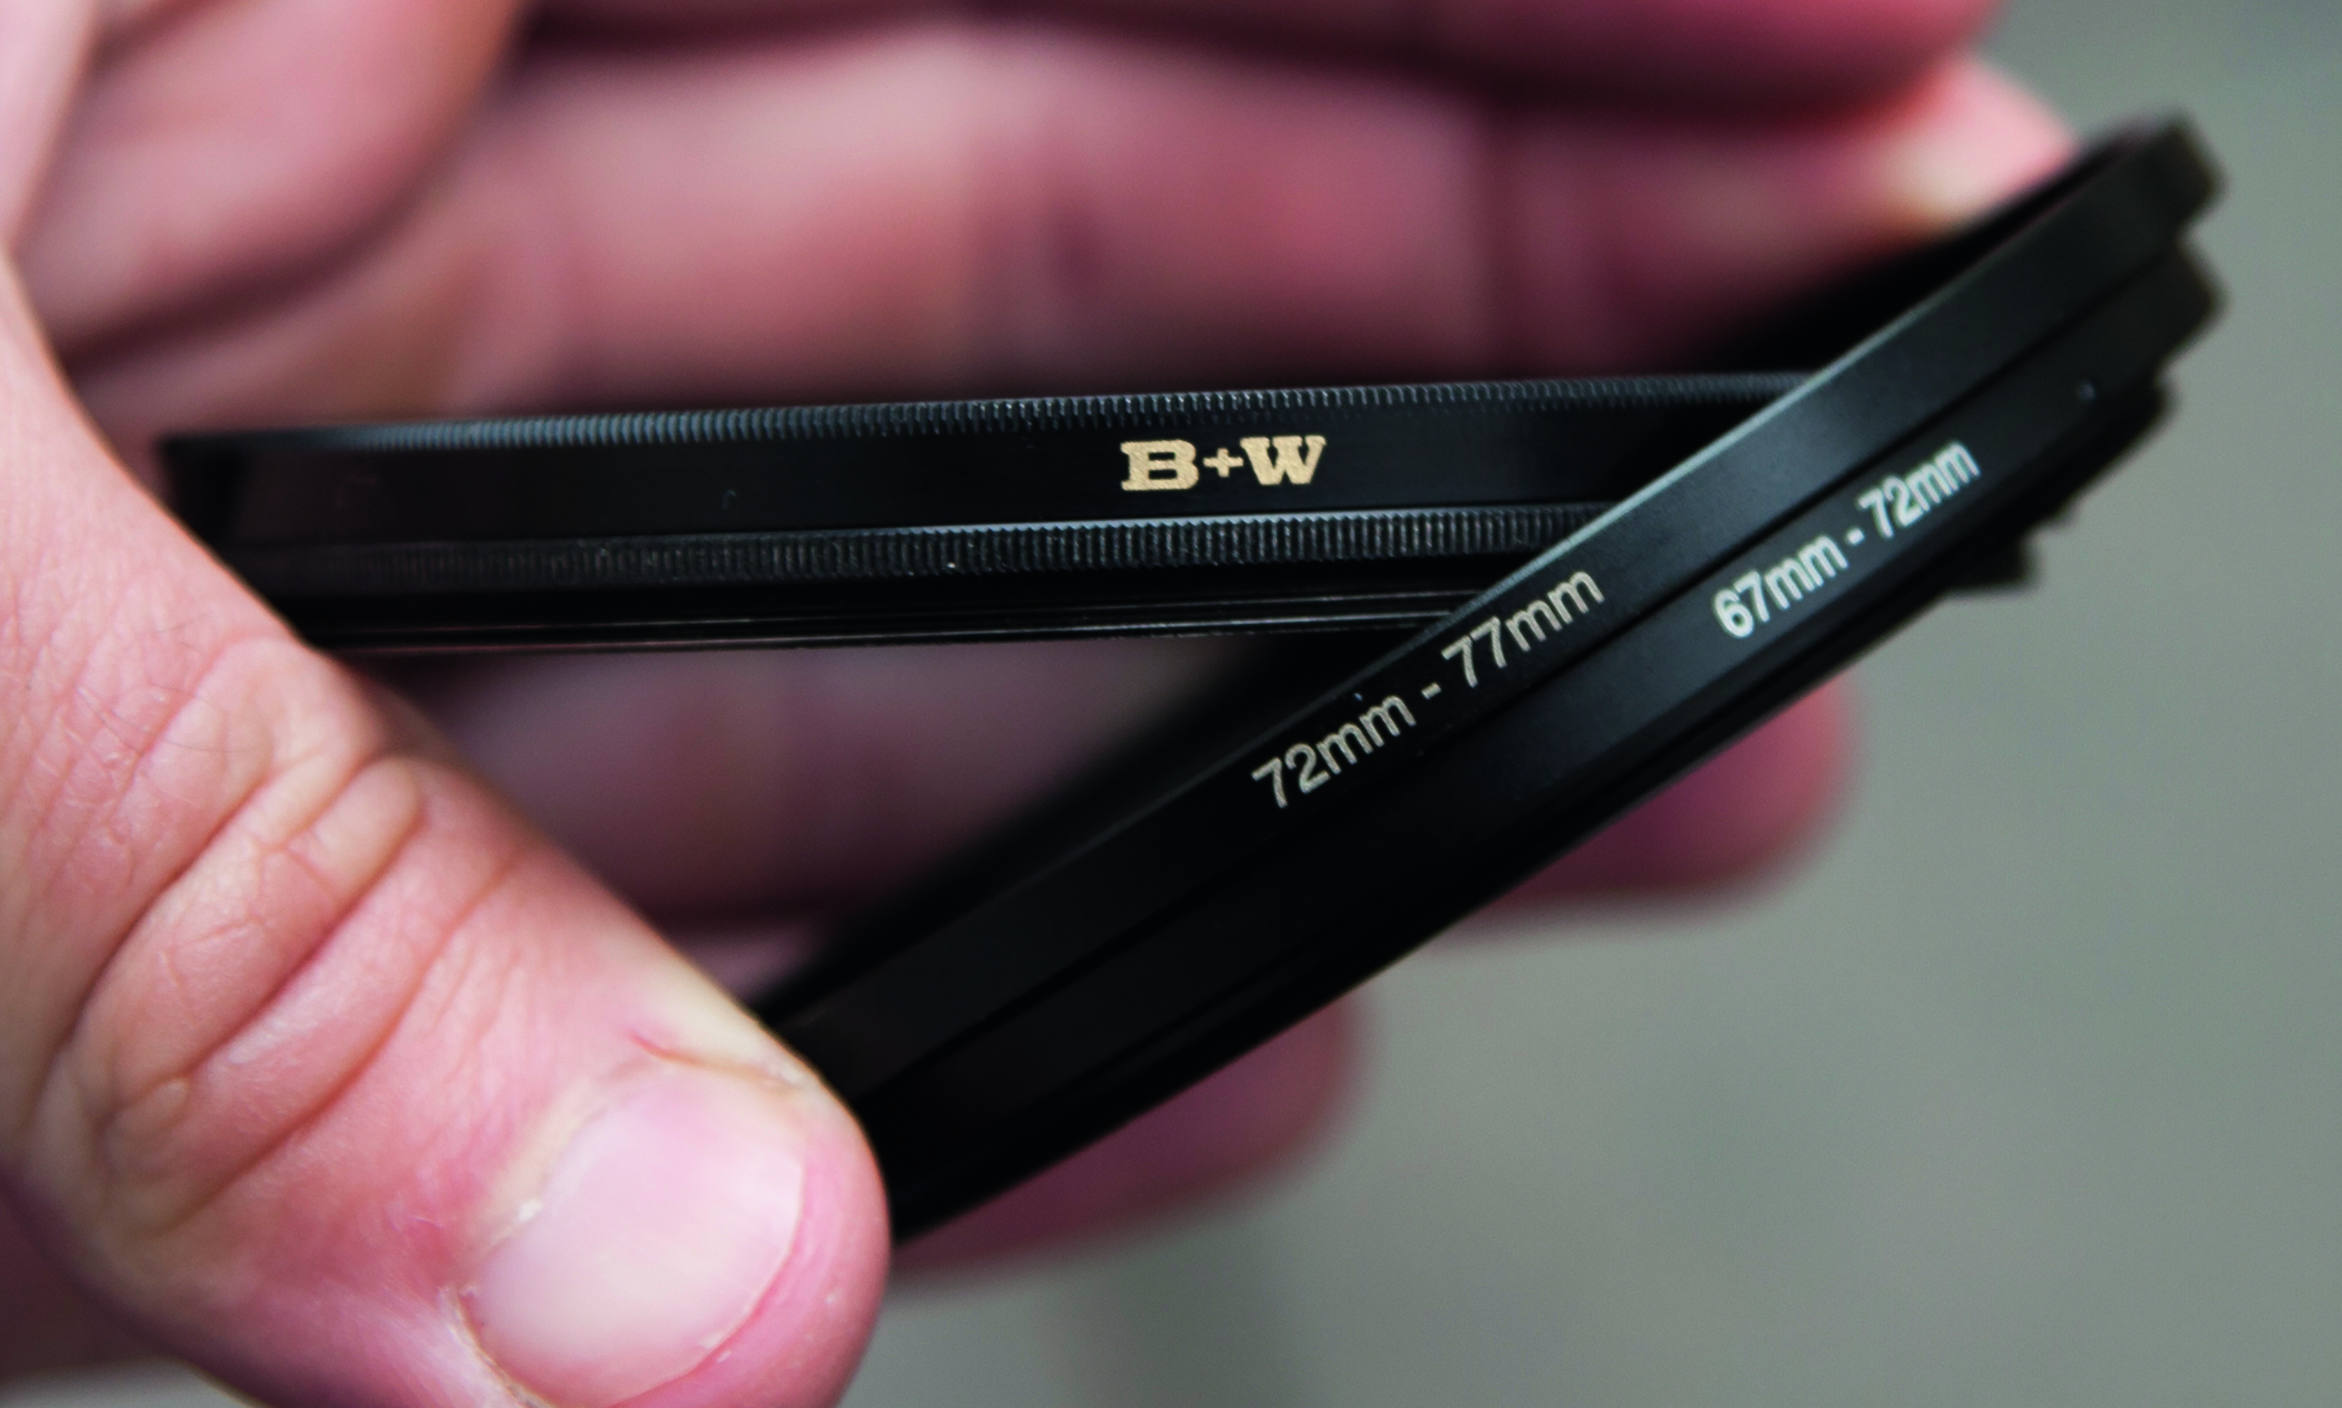
1. Size things up
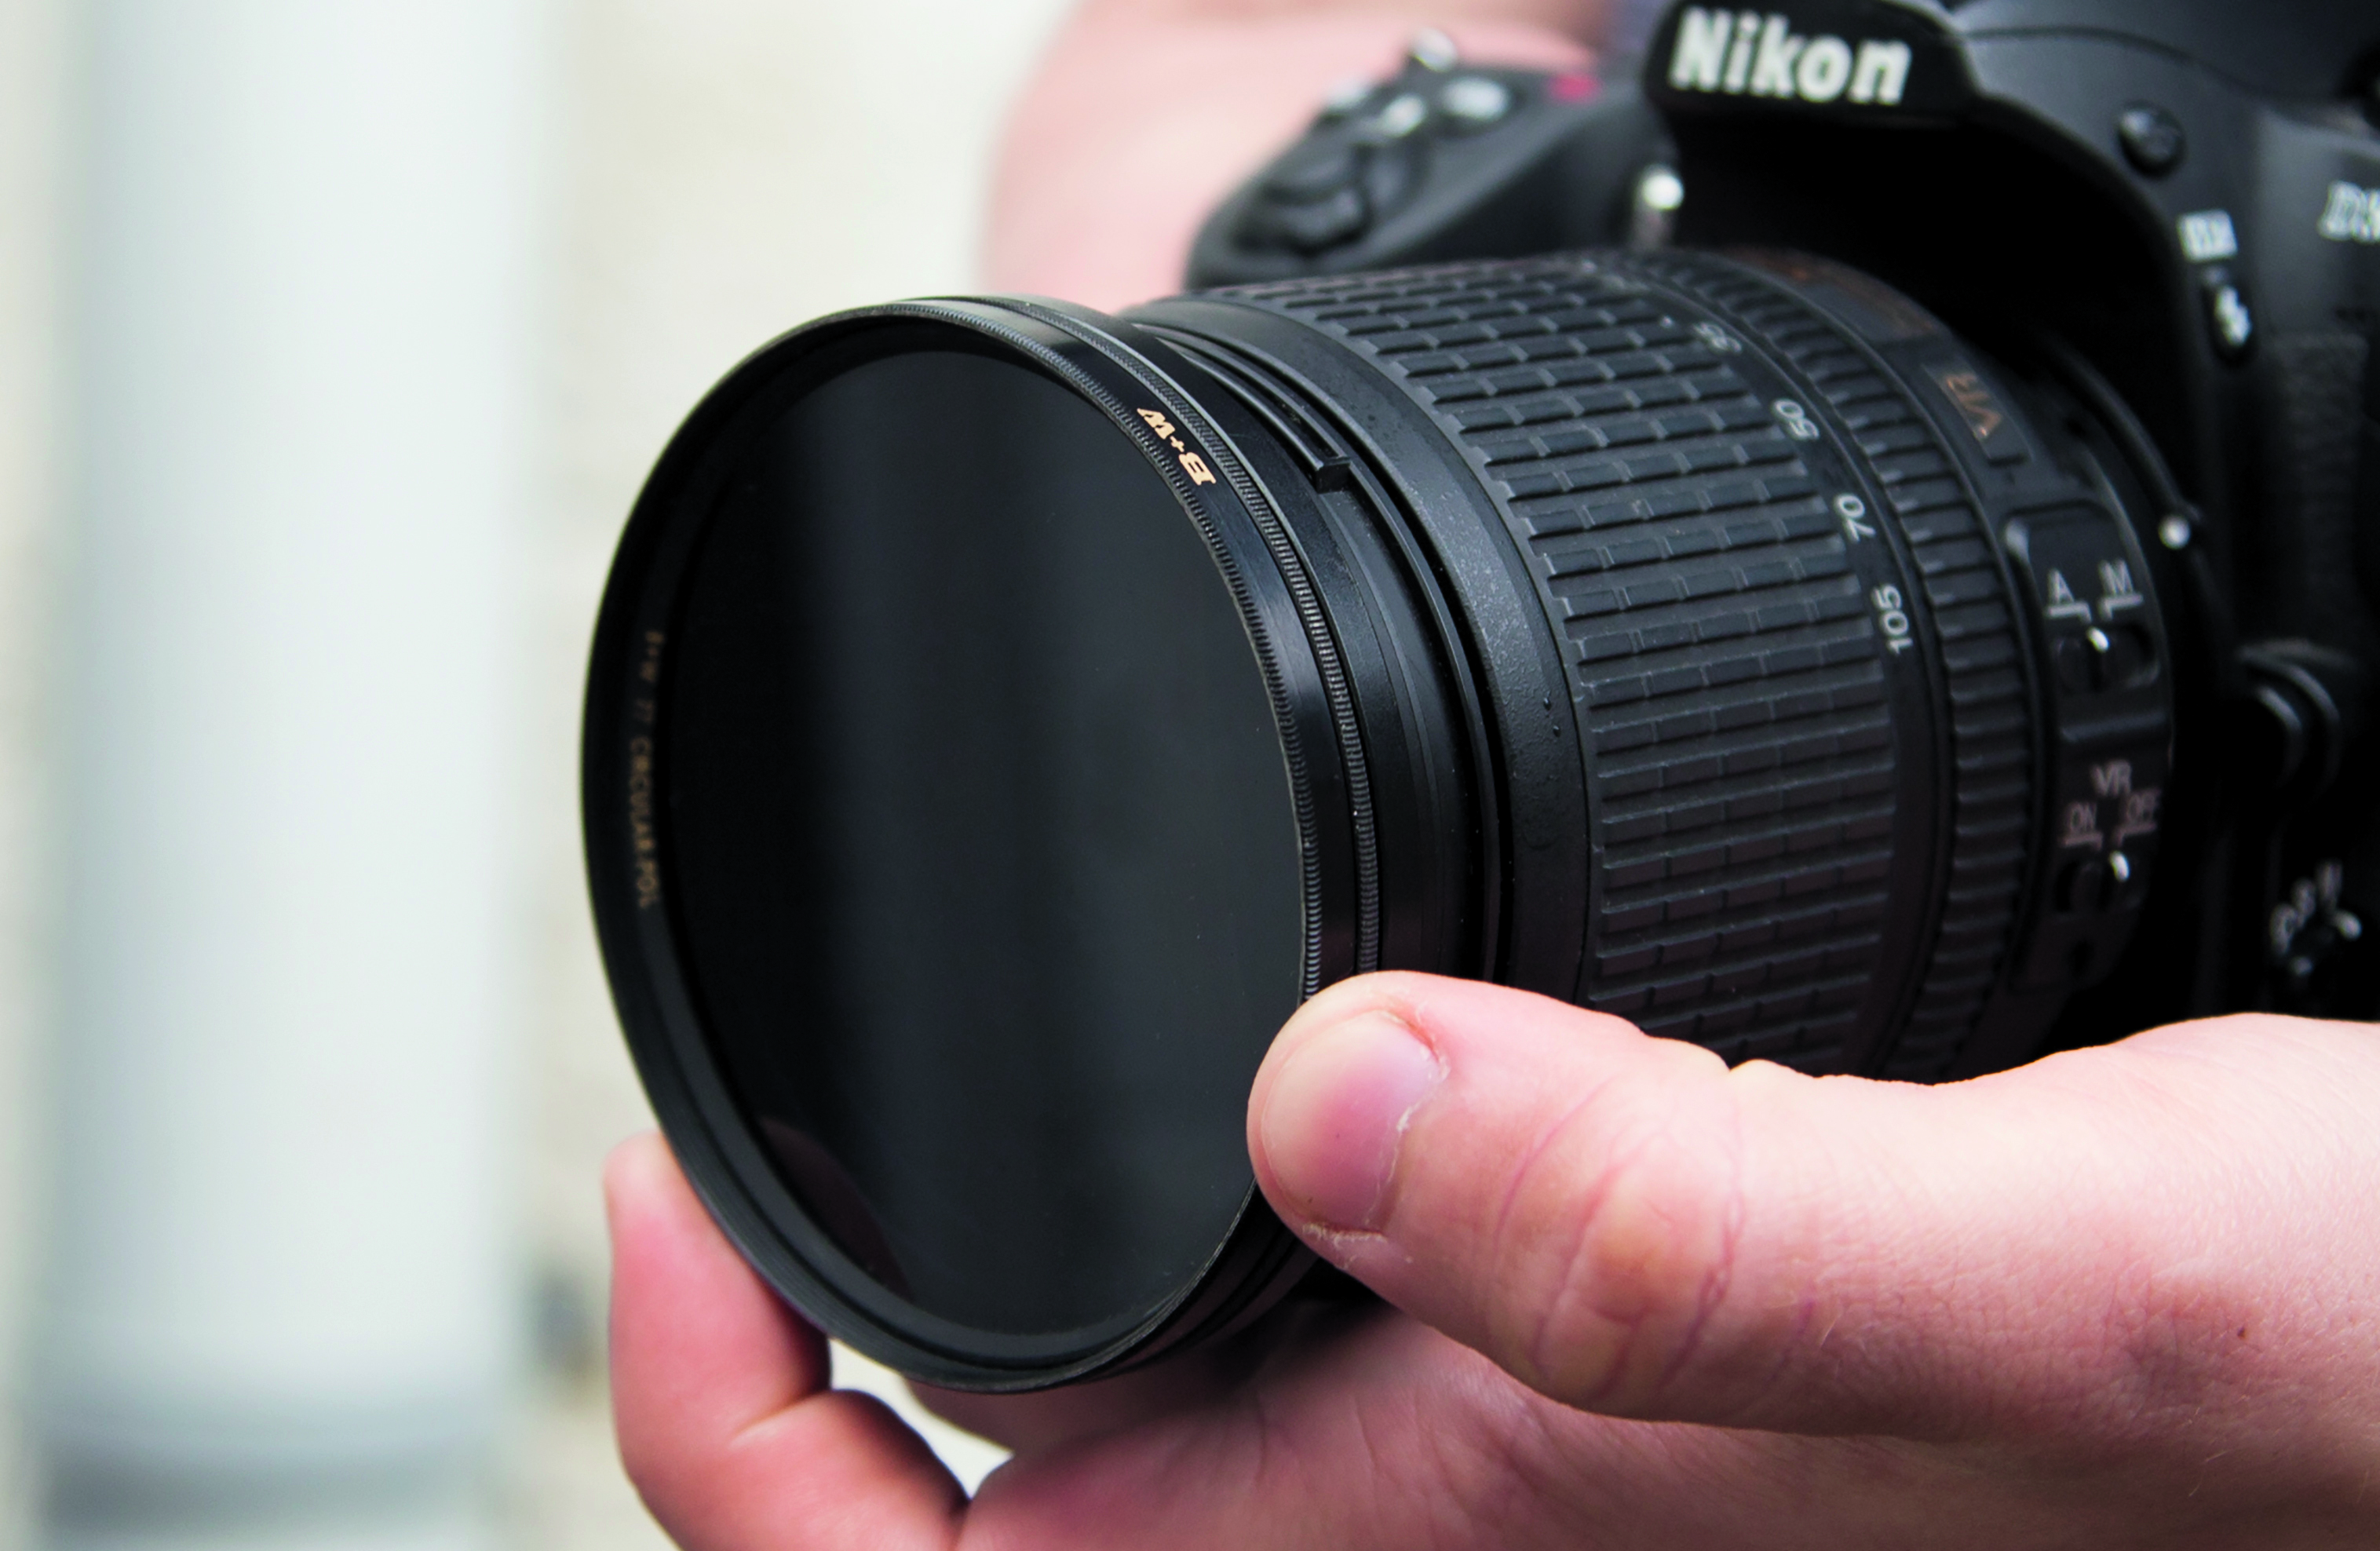
Circular polarizers attach to the front of your lens, so your filter’s diameter will need to match the filter thread of your lens. If your lenses vary in diameter, you can get step-up rings that enable you to attach your filter to any lens. These can also help reduce vignetting.
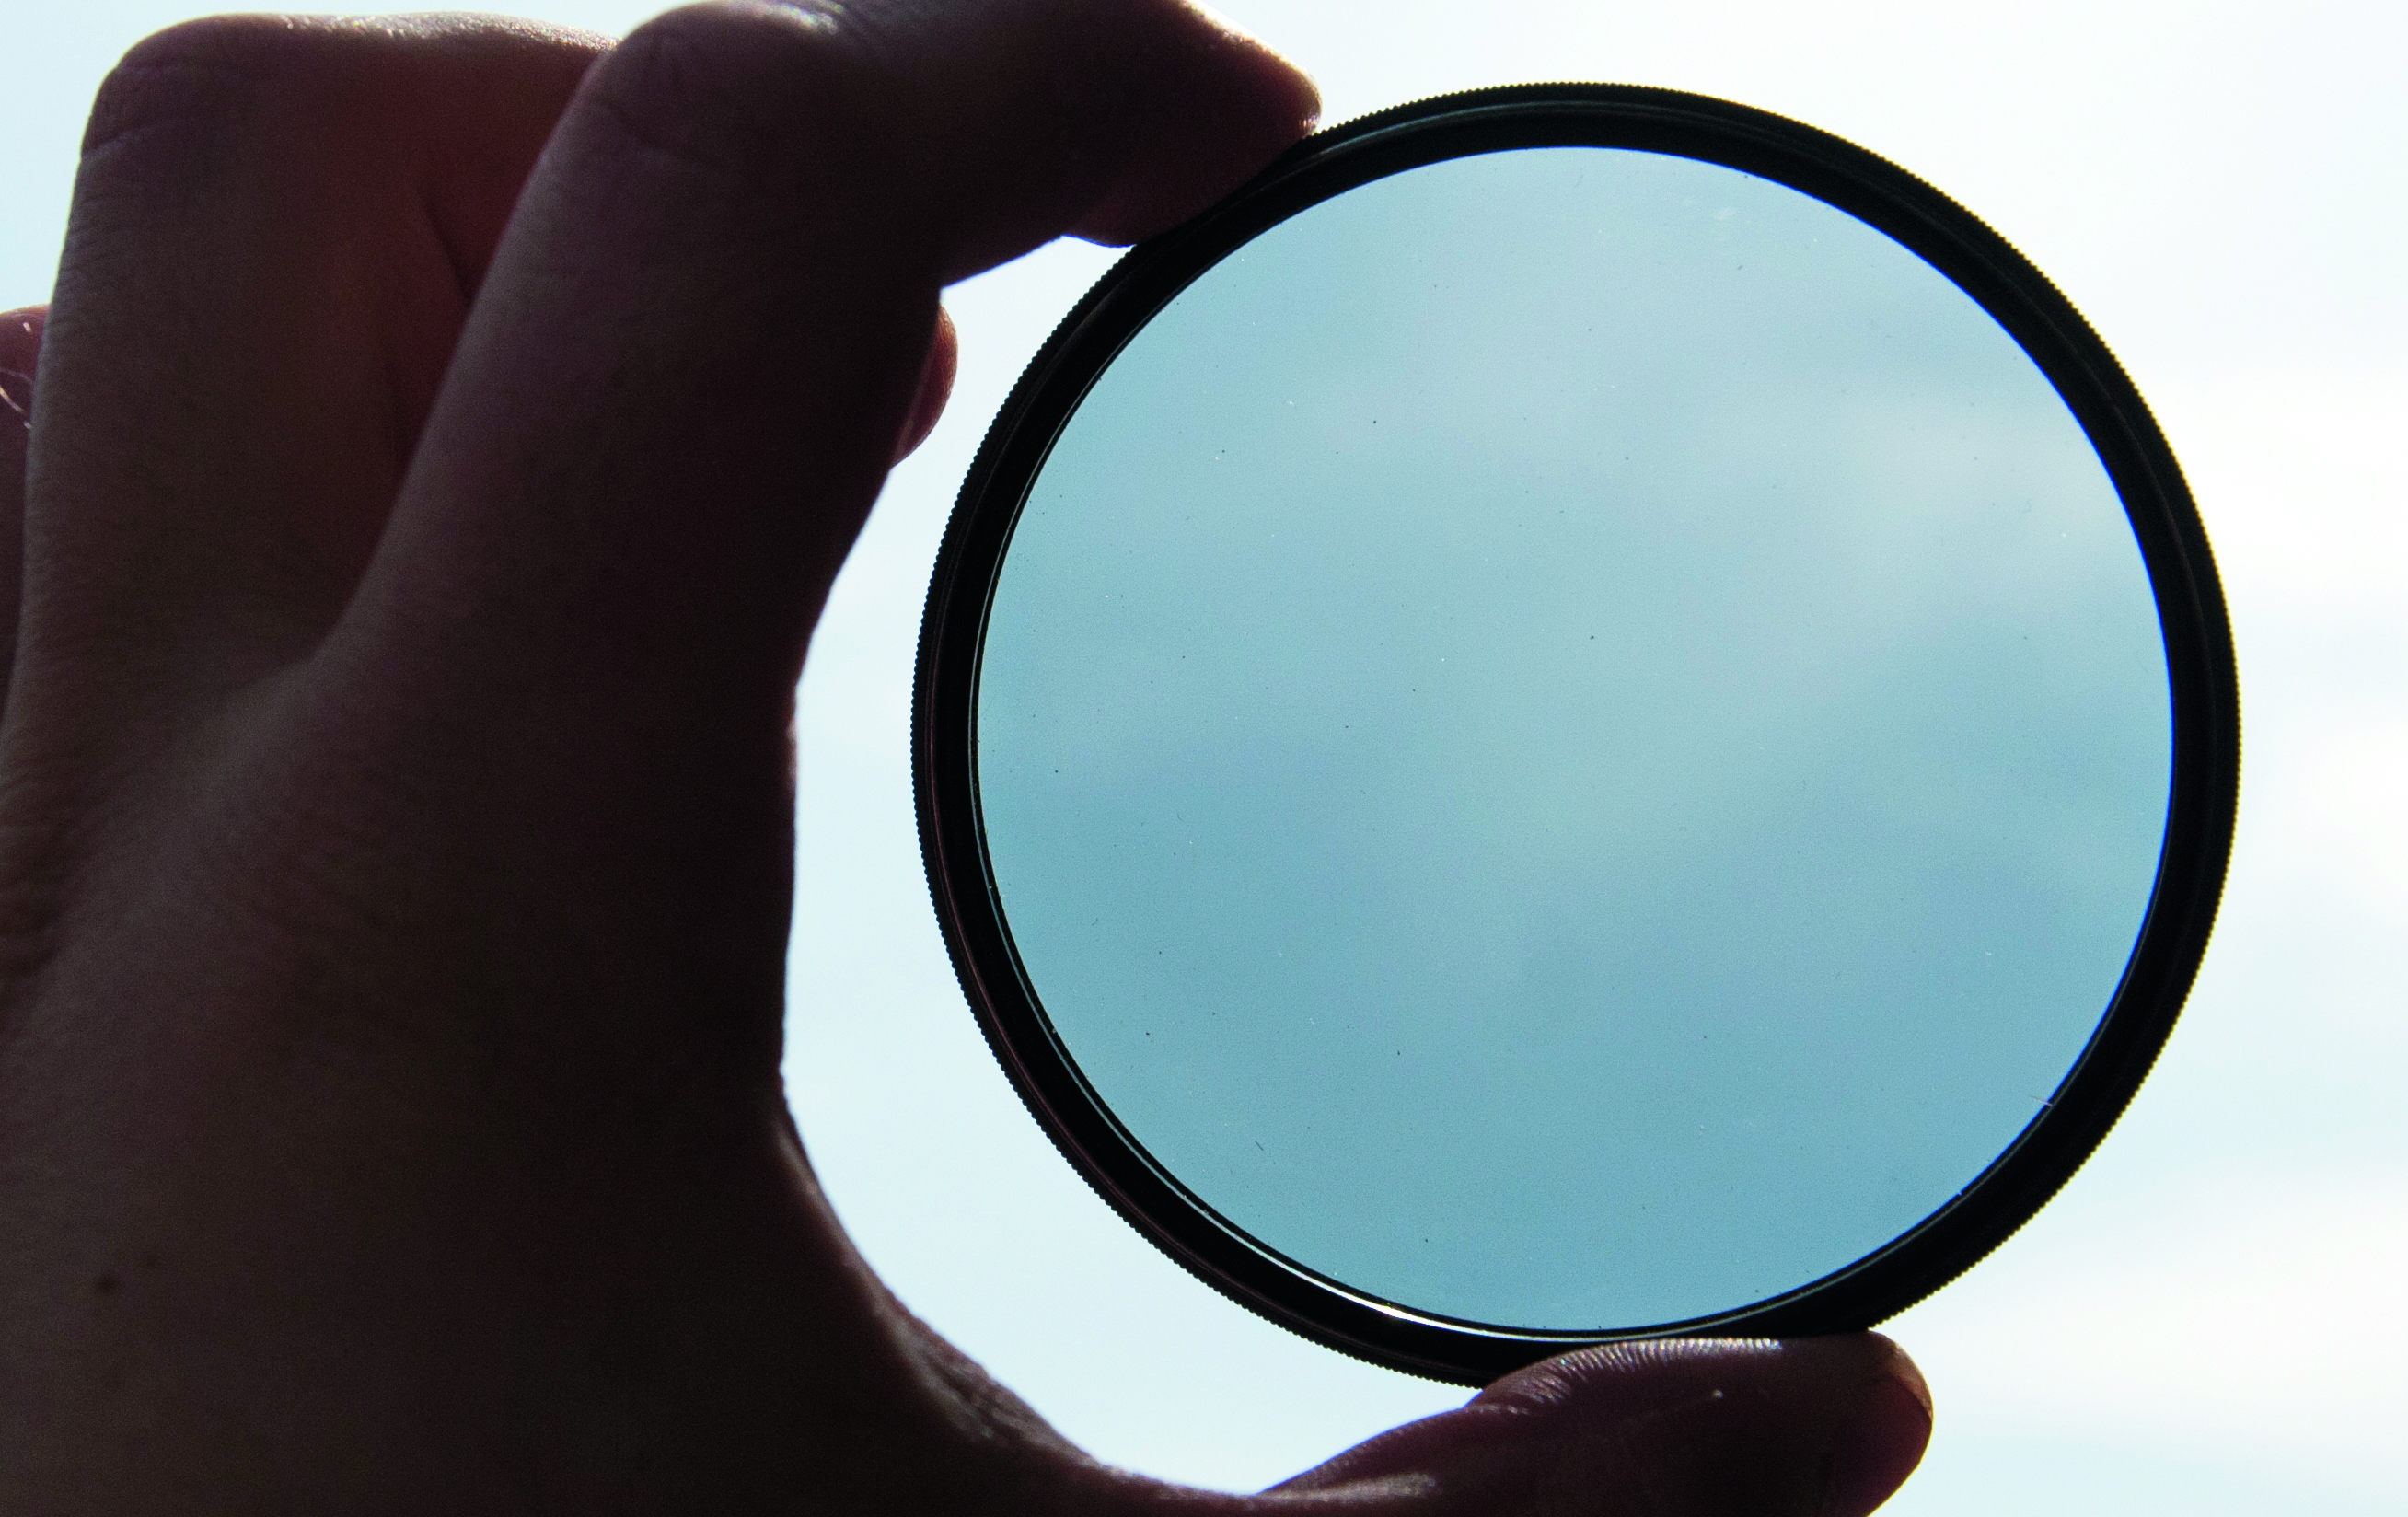
2. Check the effect
It can be tricky to predict how a polarizer will affect a scene. Holding the filter up to the sky will allow you to preview the effect, but it’s far easier to see any effect by looking through your camera’s viewfinder as you rotate the filter when it is attached to the lens.
3. Find the best angle
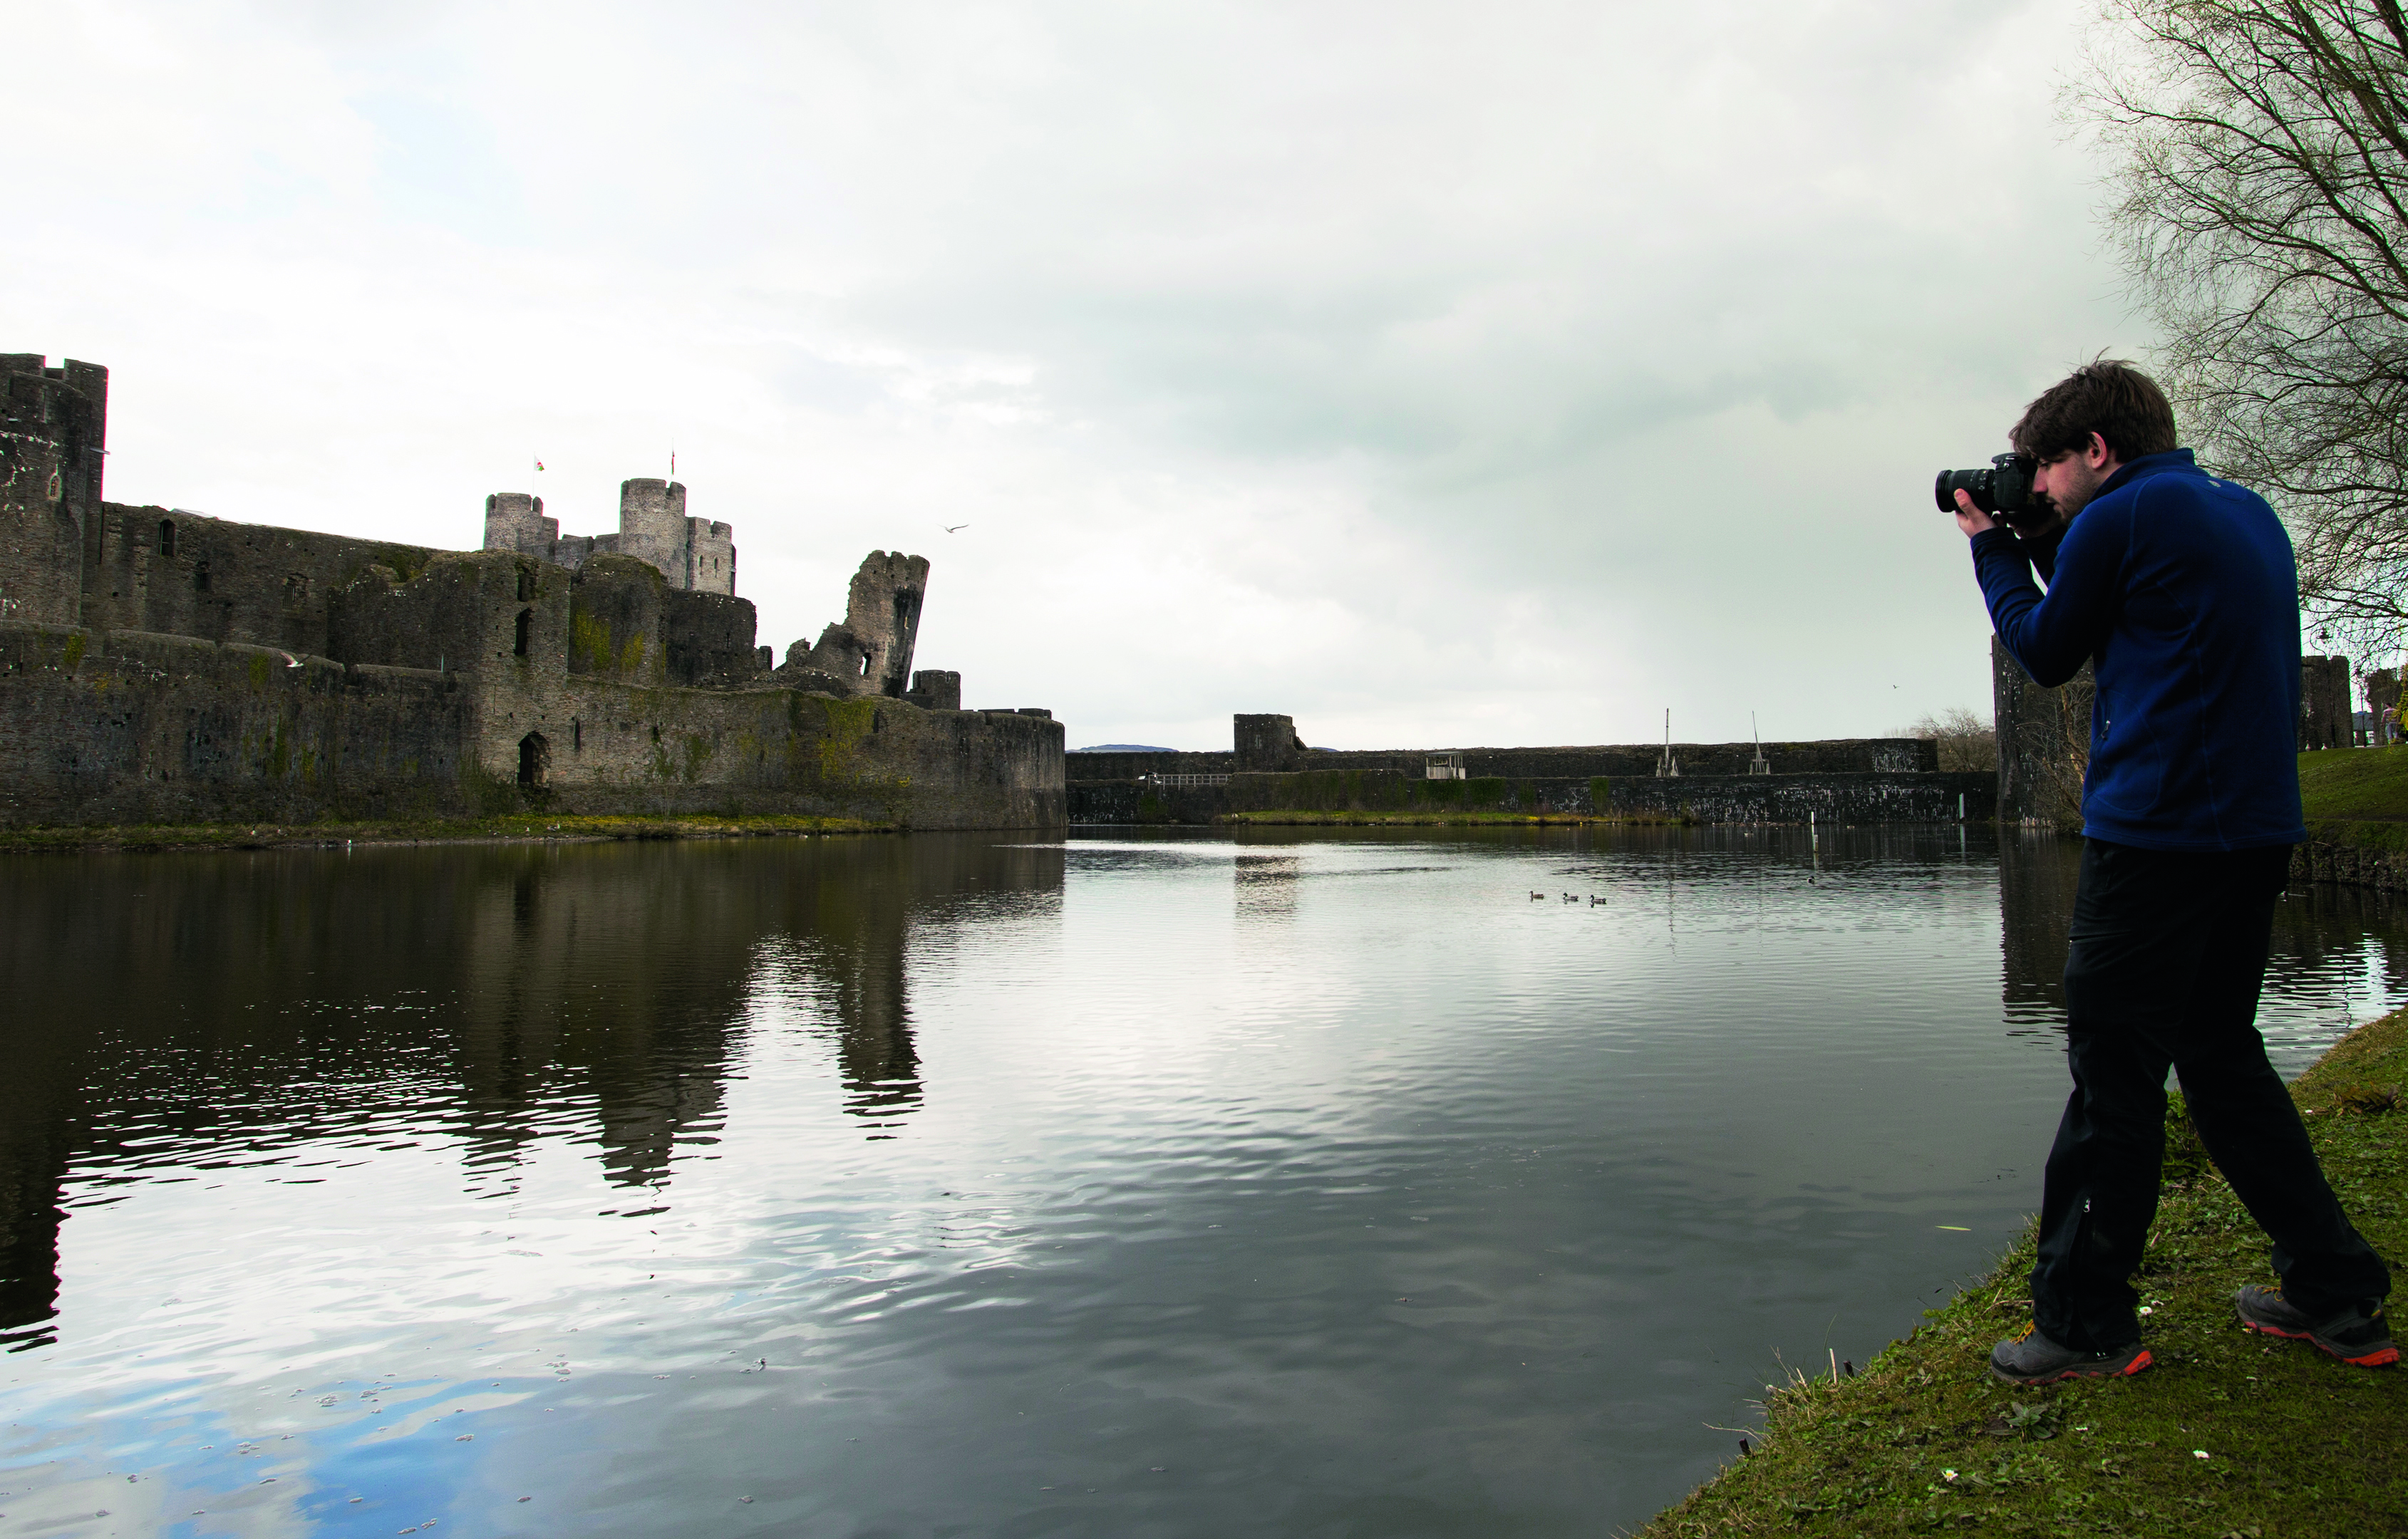
Polarizers are most effective if you shoot at 90 degrees to the sun. In other words, keep the sun to one side of you to get the bluest skies possible. Stay safe, though, by making sure you don't look directly at the sun through the viewfinder while searching for its position.
4. Fine-tune the effect
Once your filter is in place and you’re standing at the right angle to the sun, you might think you’re all set to take the shot – but you can still boost the sky some more. Rotate the front ring of the filter to maximize the intensity of the polarizing effect.
5. Avoid wide angles
As mentioned in the introduction, polarizers increase the contrast and saturation of your images, especially in blue skies, but you should take care. With wide-angle lenses, the strength of the polarizing effect can vary across the frame, so it can sometimes look a bit uneven.

6. See through water
By reducing the reflections from, for example, a shallow river, a polarizer can help cut through the glare to reveal the rocks in the riverbed below. This effect is more noticeable on still water when the sun is 30-60 degrees above the horizon, but it’s also apparent on moving water.
Read more: How to improve your landscape compositions
Read more
The best polarizing filters
Use a polarizing filter to cut through reflections
How to use polarizing filters for colorful cross-polarization effects
N-Photo: The Nikon Magazine is a monthly publication that's entirely dedicated to Nikon users. As a 100% independent magazine, you can be assured of unbiased opinion from a trustworthy team of devoted photography experts including editor Adam Waring and Deputy Editor Mike Harris.
Aimed at all users, from camera newcomers to working pros, every issue is packed with practical, Nikon-specific advice for taking better photos, in-depth reviews of Nikon-compatible gear, and inspiring projects and exciting video lessons for mastering camera, lens and Photoshop techniques.
Written by Nikon users for Nikon users, N-Photo is your one-stop shop for everything to do with cameras, lenses, tripods, bags, tips, tricks and techniques to get the most out of your photography.
- Lauren ScottFreelance contributor/former Managing Editor

