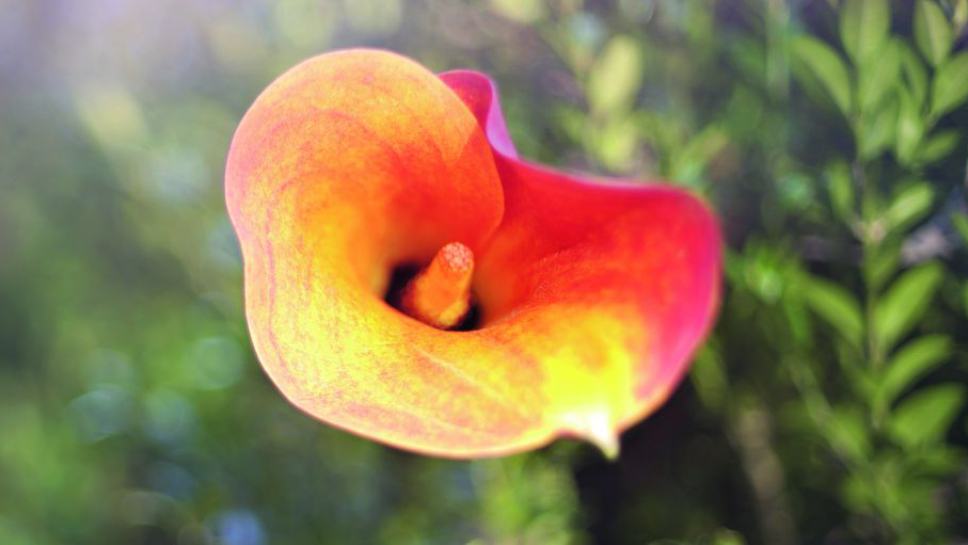
To get the effect of a tilt-shift lens without the cost
Time: 20 minutes
Skill level: Intermediate
Kit needed: DSLR or similar, 50mm lens, tripod
Tilt-shift lenses are notoriously costly, but you can get a similar effect without having to shell out on expensive optics.
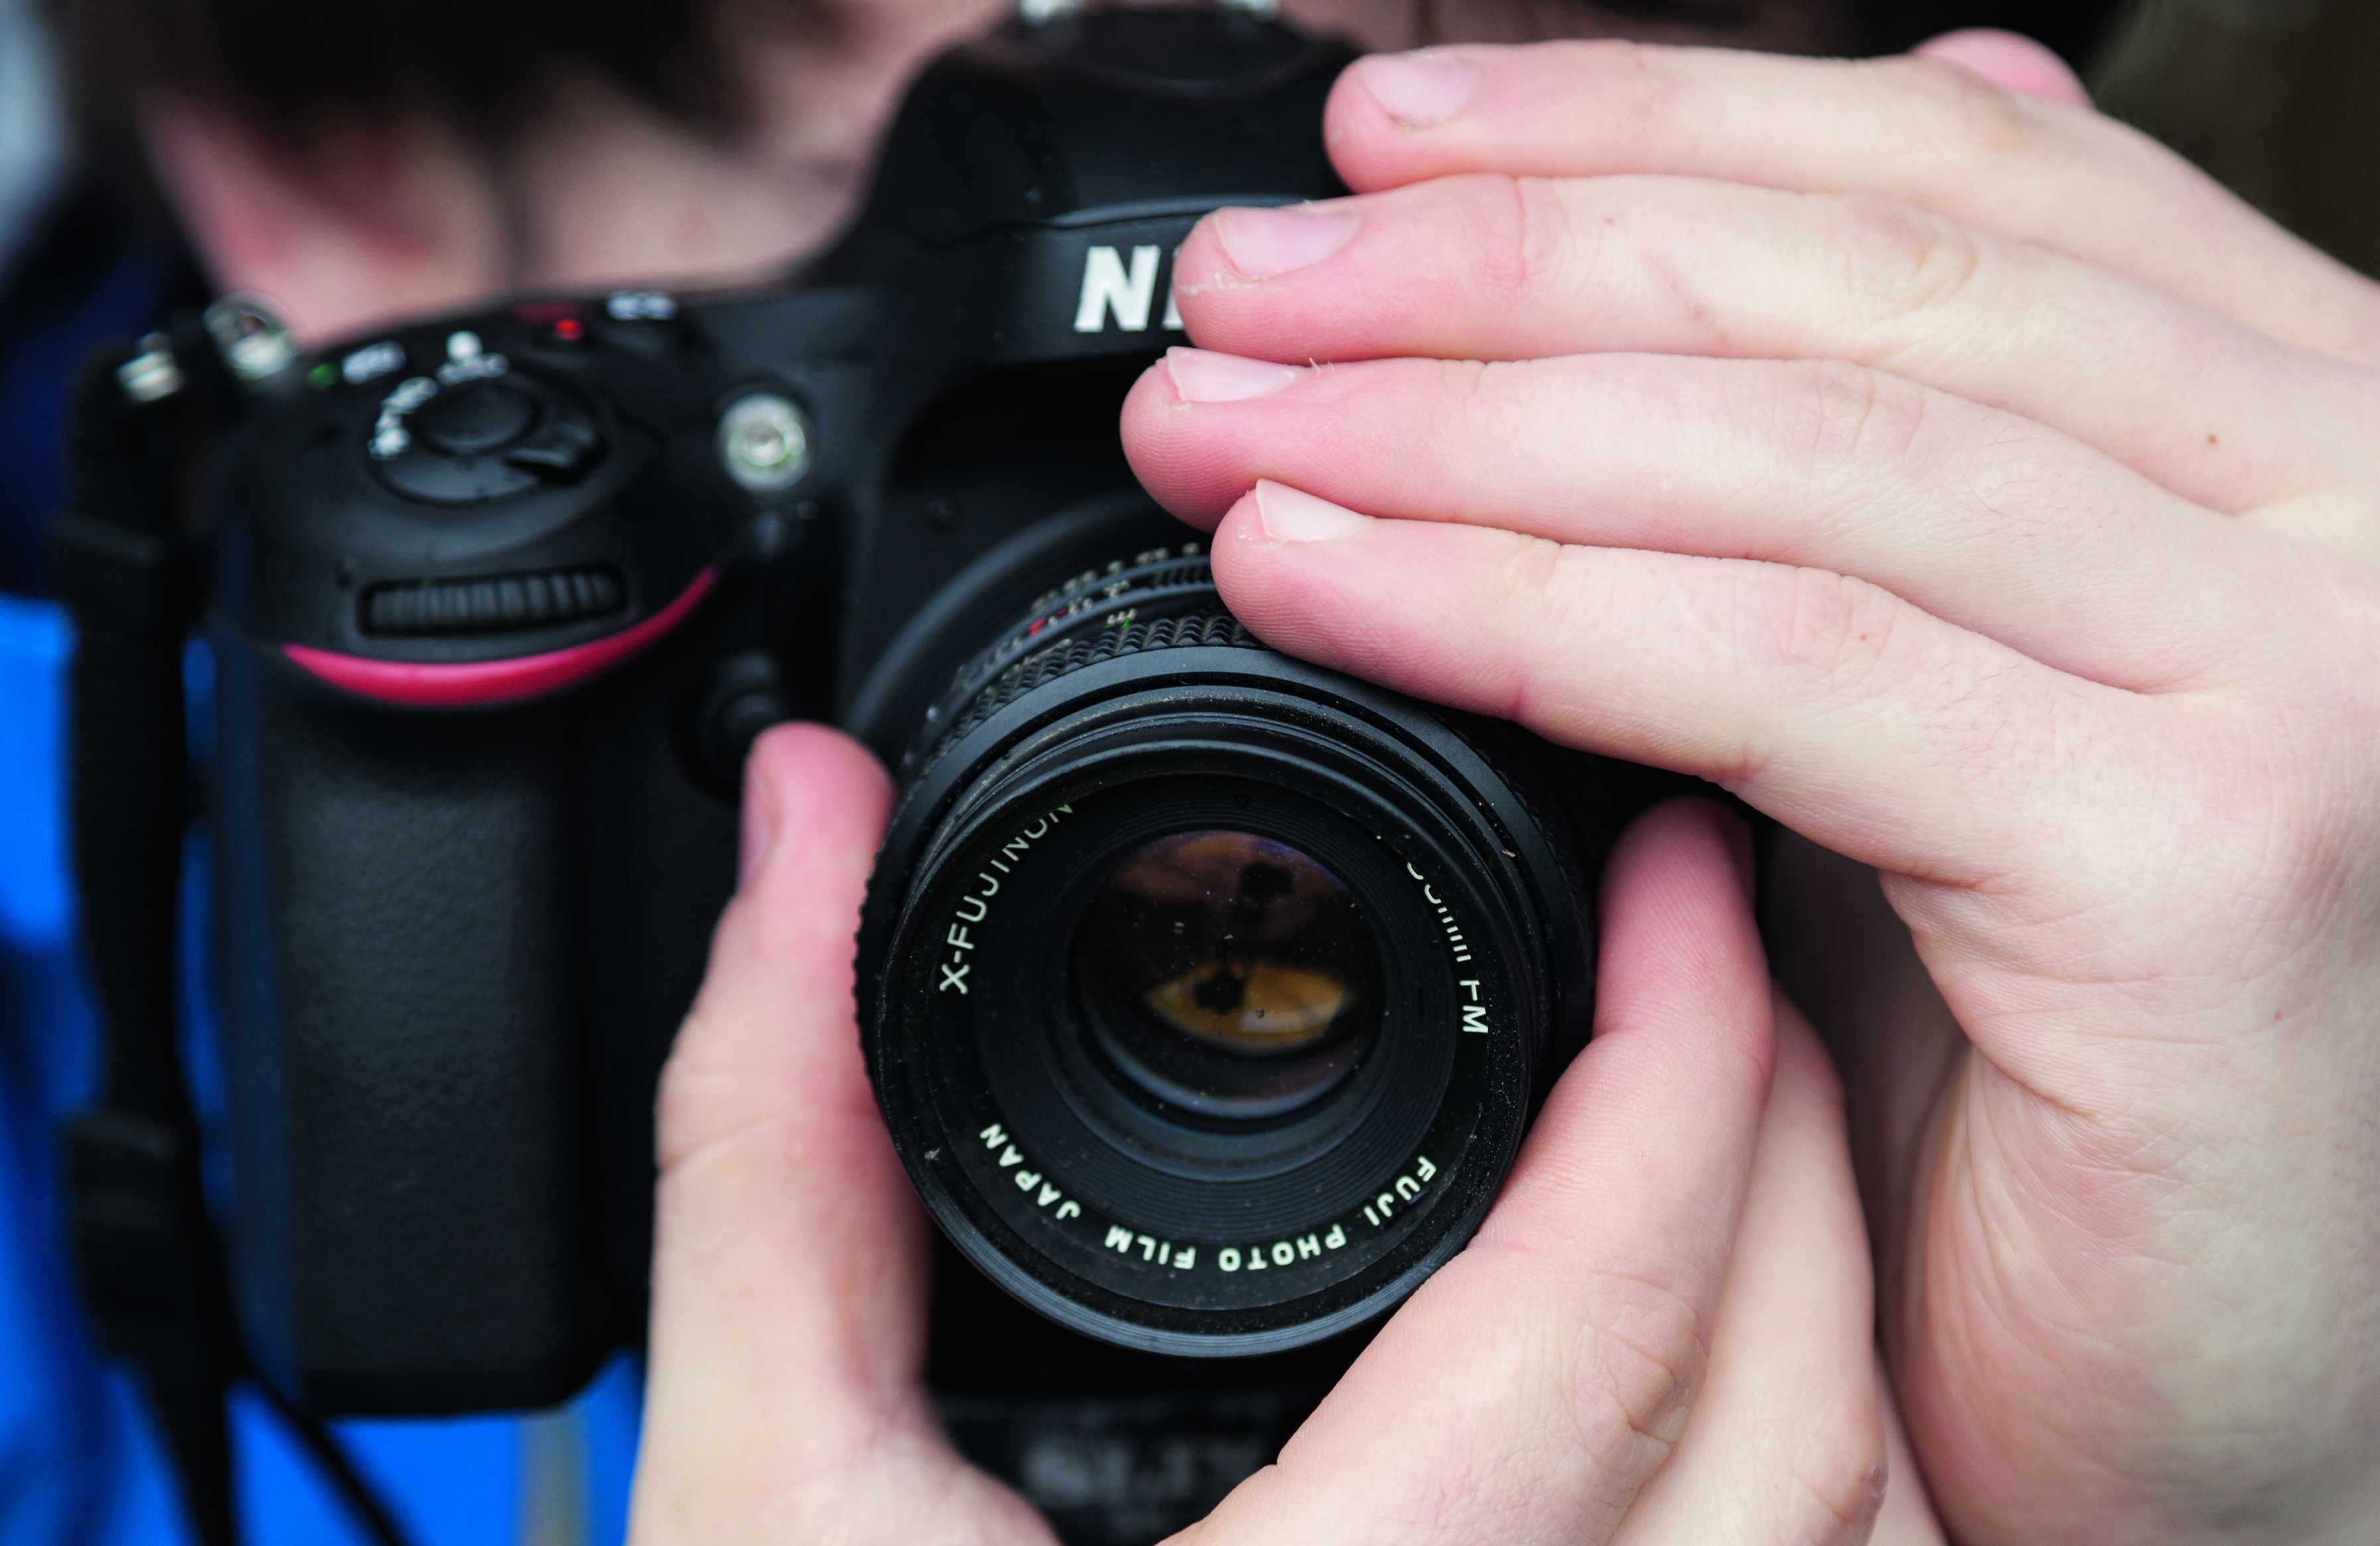
So-called ‘free-lensing’, where you detach your lens and hold it in front of your camera while shooting, can result in some very interesting effects. As with a tilt-shift lens, you can adjust the plane of focus in your image with a lens that isn't physically mounted to the camera, so that only a narrow band is sharp.
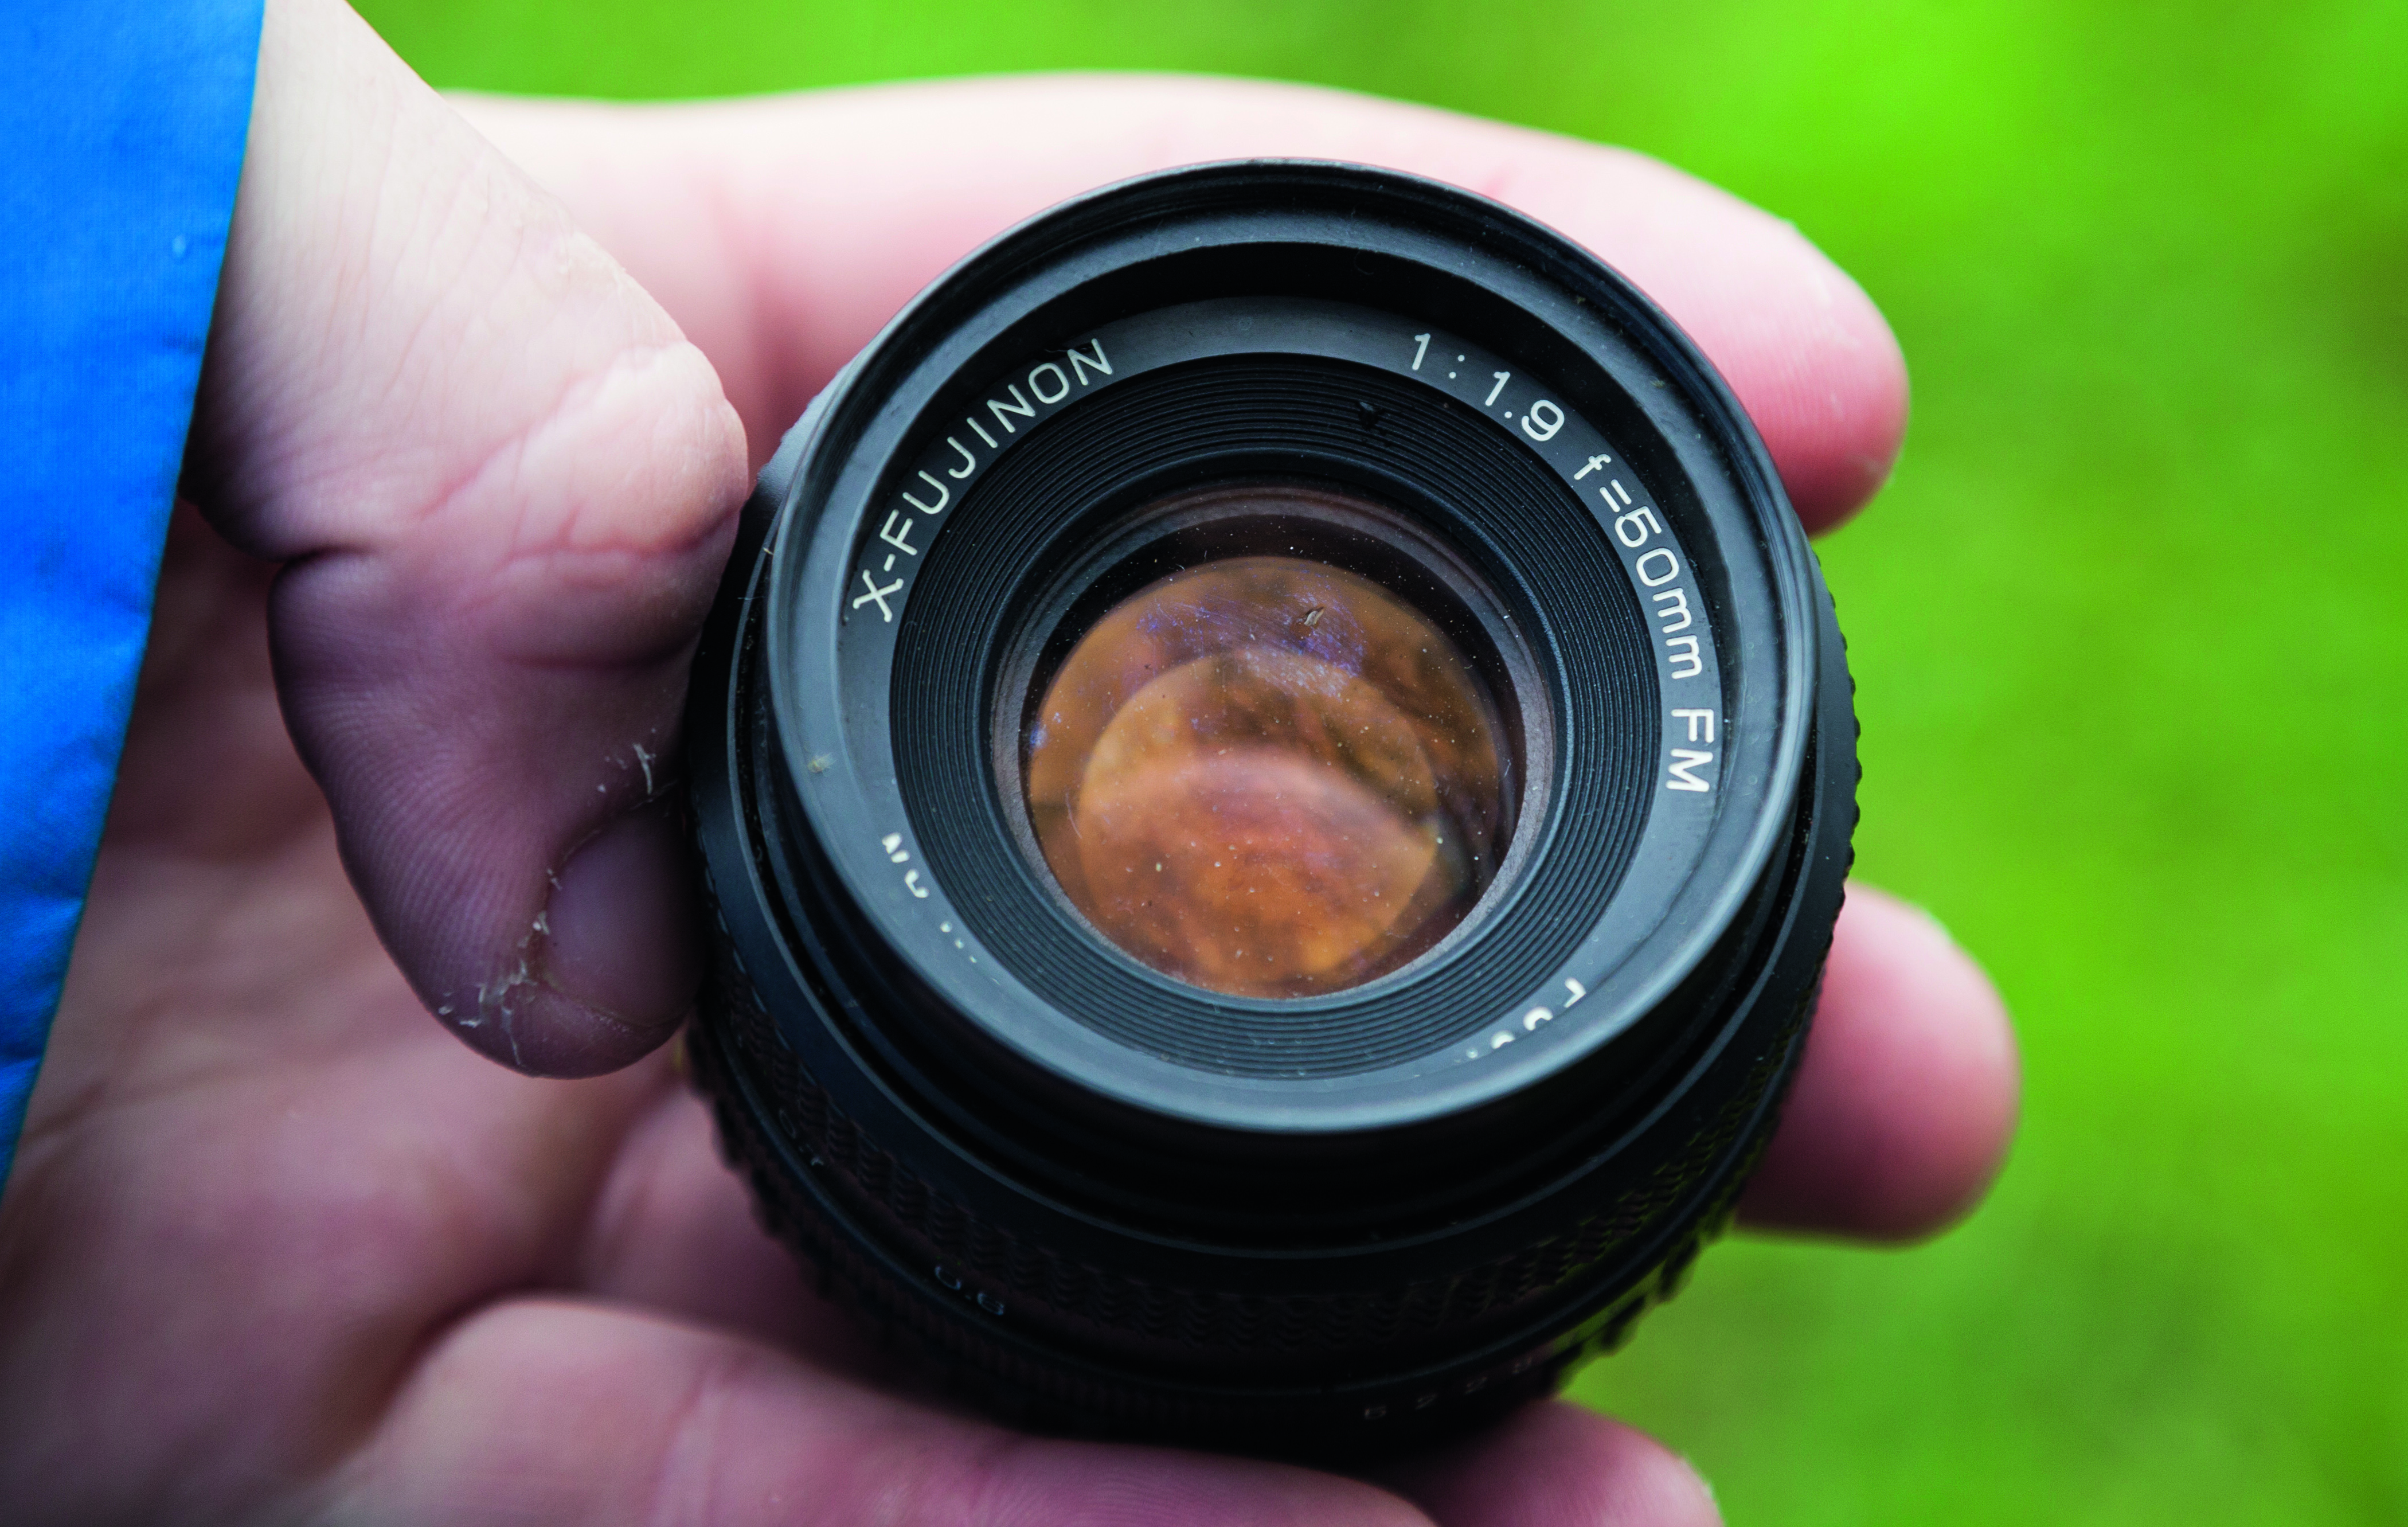
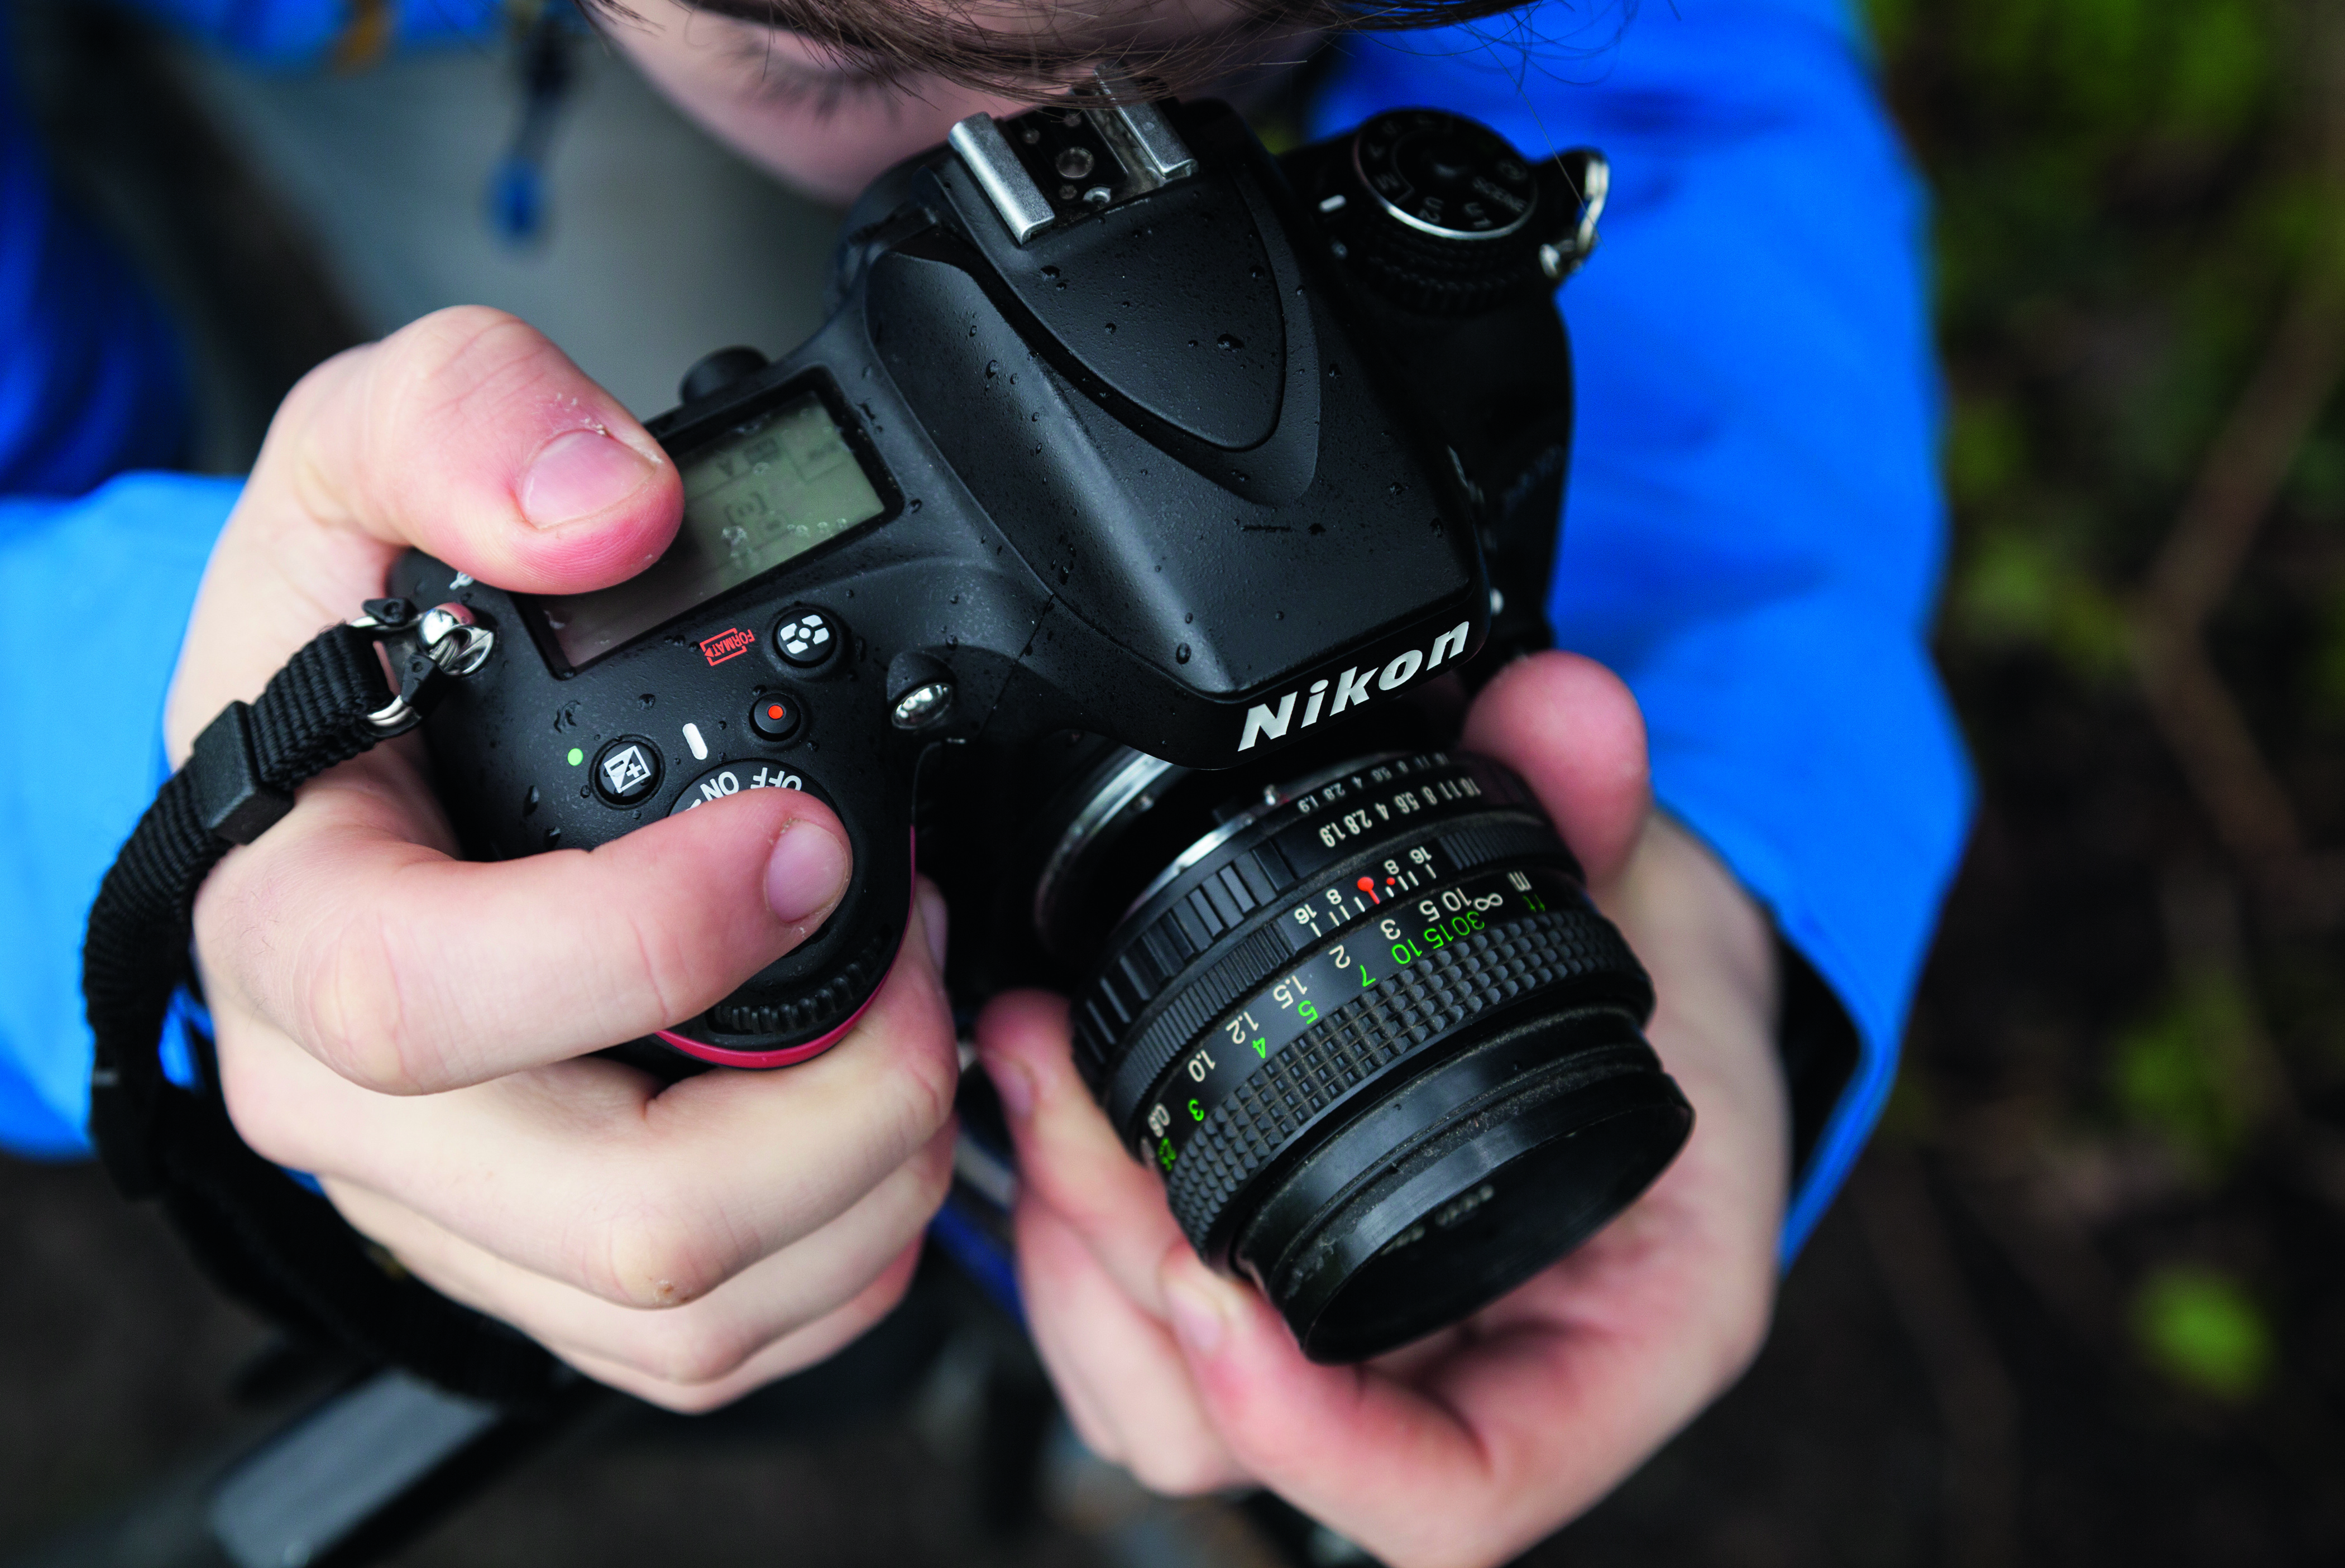
Although you can use any lens for this technique, older analogue lenses are best as they enable you to set the aperture manually. You can pick up an old lens quite cheaply, and you don’t have to worry about the fit since it doesn’t need to be attached. For our photos we used an old Fujica 50mm f/1.9 lens designed for use with a 35mm film SLR.
This technique takes a little practice, but you can get some great effects from the vignetting and colour casts that result from moving your lens around, as well as the amazingly shallow depth of field. Here’s how it's done.
Step-by-step guide: Shoot more freely
1. Go manual
A lens that allows you to focus manually is essential for this technique, while a physical aperture ring will also help. It's also a good idea to shoot somewhere still, and without too much dust or sand around, as your camera's sensor will be exposed to the elements.
2. Free up your hands
The best camera deals, reviews, product advice, and unmissable photography news, direct to your inbox!
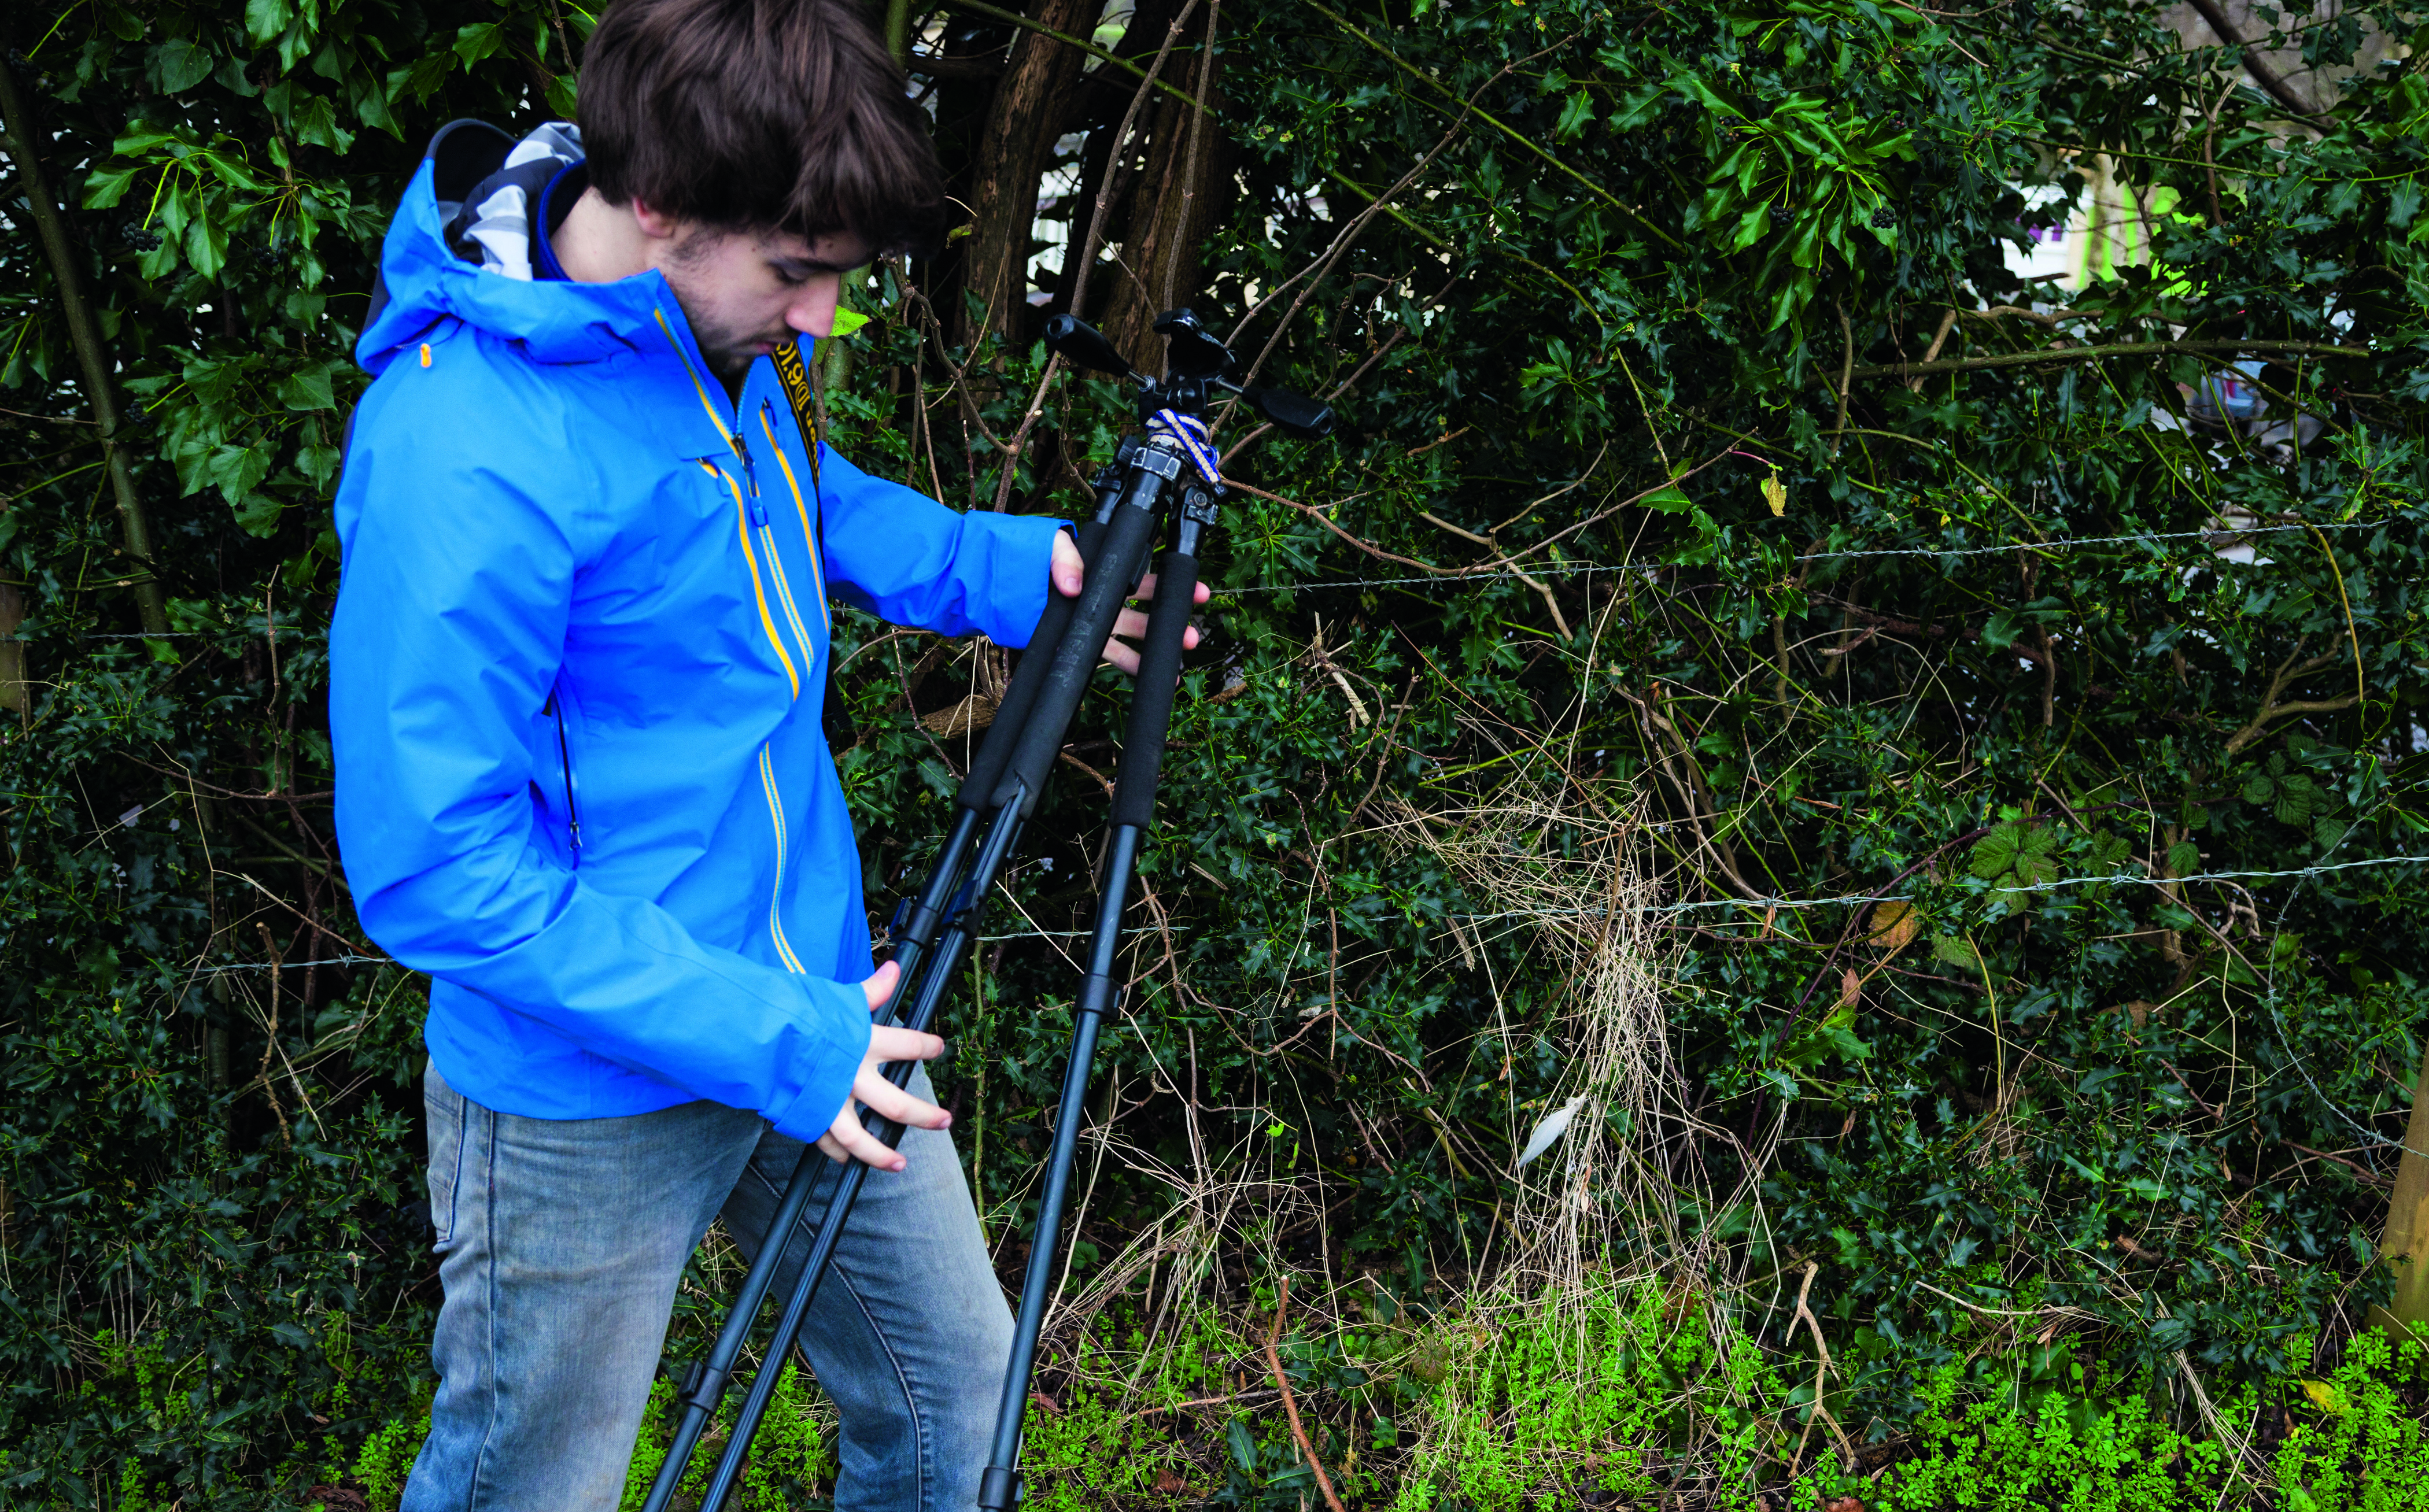
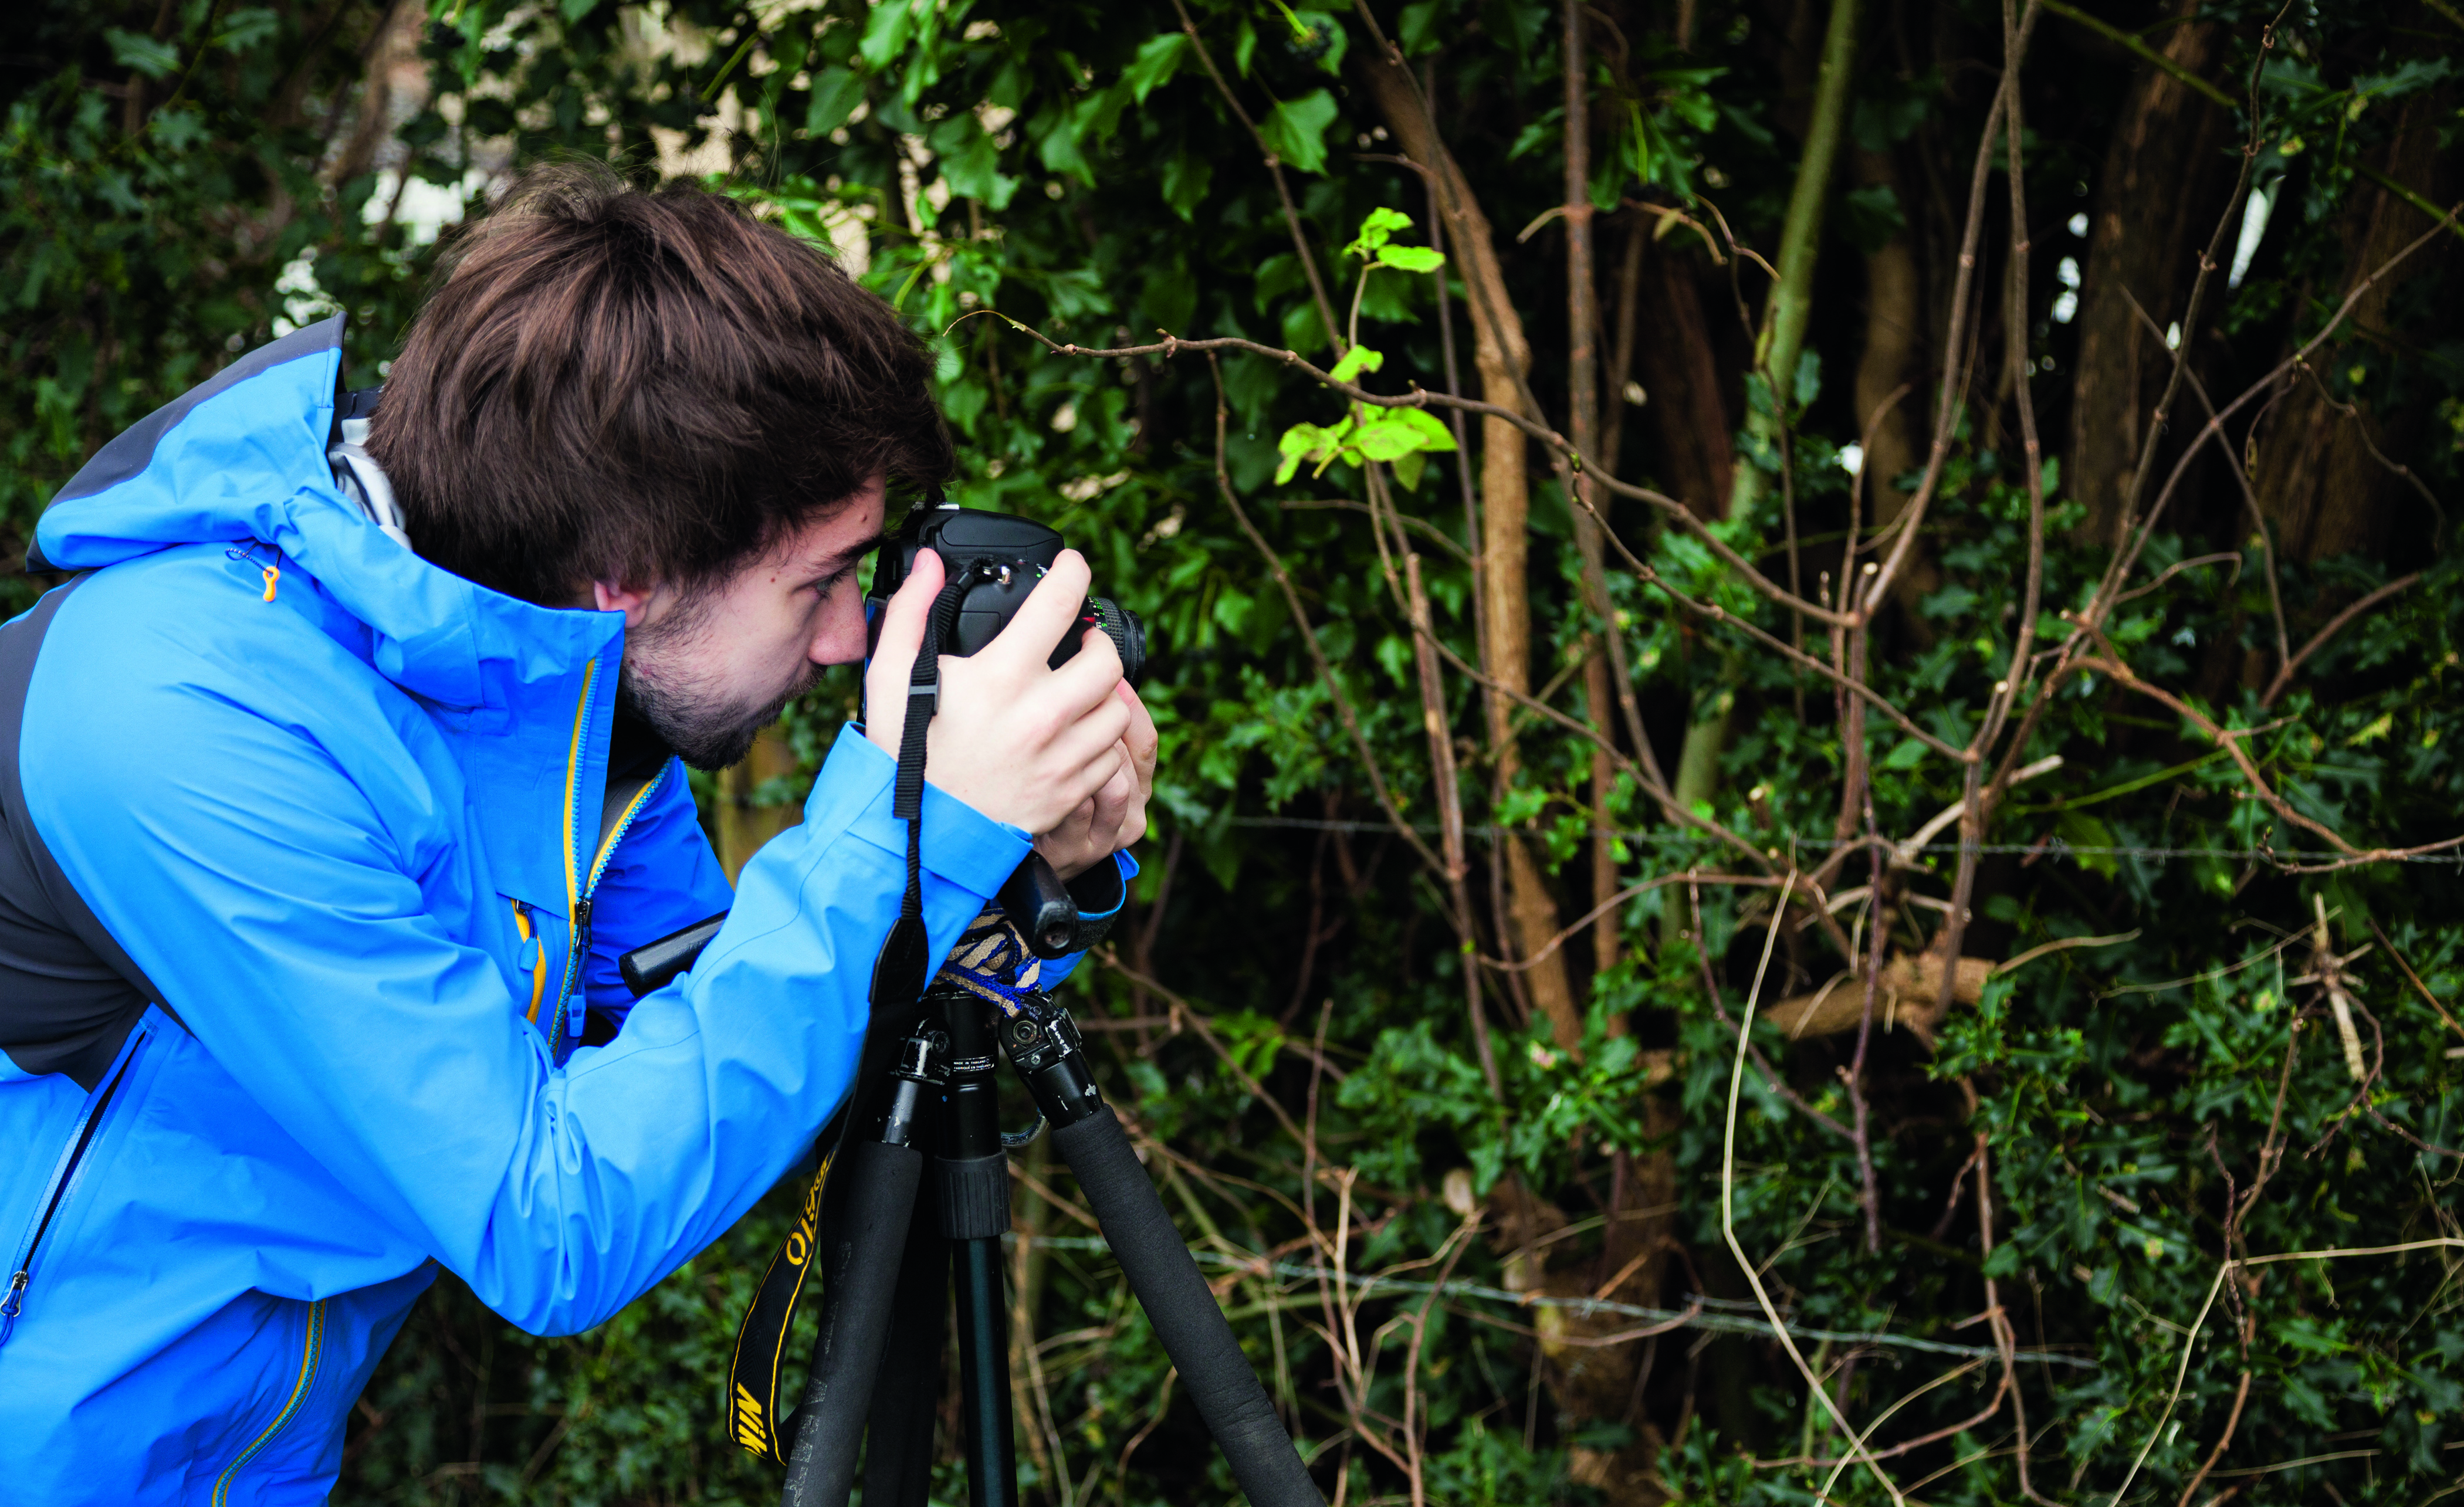
Using a tripod will help you to get sharper images and, teamed with a timer or remote trigger, this will also leave your hands free to move the lens around. You can get light leaks when moving the lens, so hold something dark around its sides to prevent this. A black piece of card or a divider from the inside of a camera bag would be ideal.
3. Open wide
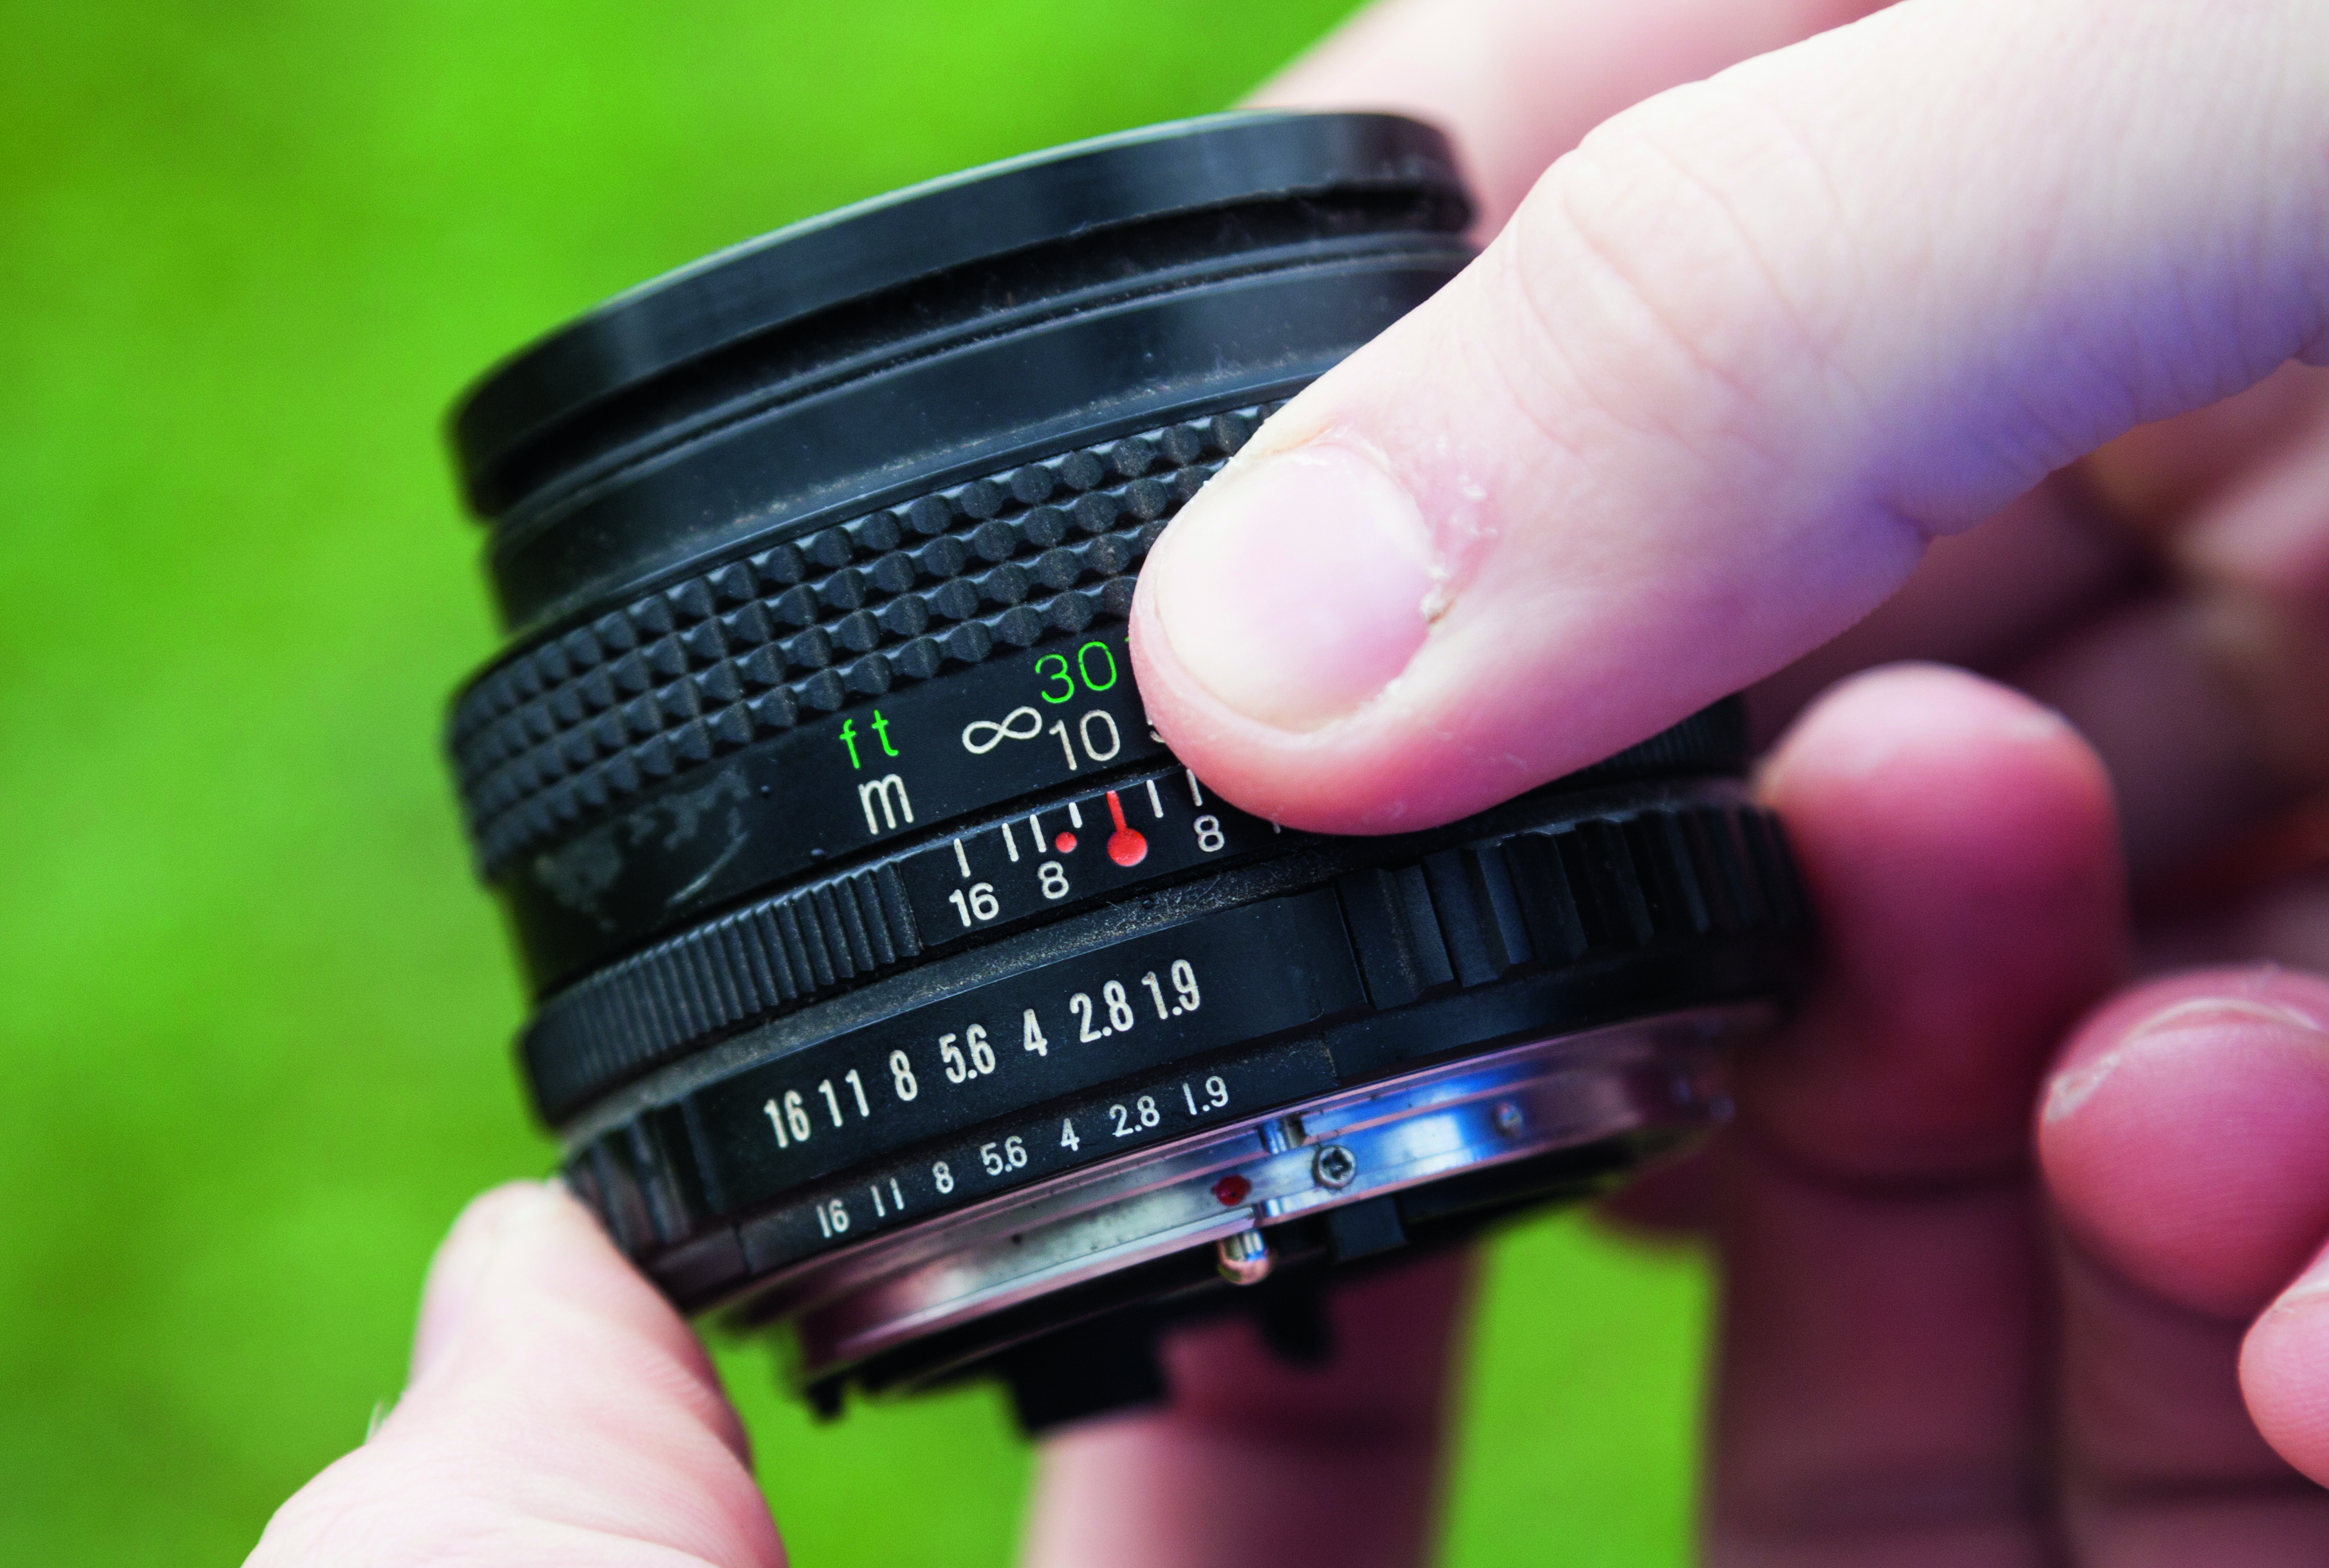
If your lens has a manual aperture ring, set it as wide as you can to let more light in. This will also give you a brighter viewfinder image. Without a lens attached, you won’t be able to use your camera’s metering system, so you’ll need to experiment with shutter speed in the manual exposure mode.
4. Keep it clean
Free-lensing creates a very shallow depth of field, but it’s still a good idea to ensure backgrounds are clutter-free. To complement our bright, colourful subject, and to help it stand out more, we shot it against a green bush, which also helped to provide some texture and detail.
5. Mind the gap
Using small movements, move the lens away from the camera, keeping it at a slight angle to the camera. This may create a gap that will leak enough light in to blow out your image, so keep the gap small and use your hands to block the edges. This will also give a colour cast to your image.
6. Focus with care
Accurate focusing takes a bit of practice. A good starting point is to use the viewfinder or Live View to set the focus point just in front of, or beyond, your subject, and then to move the lens back and forth very slightly to get the area you want to keep sharp in focus.
Read more: How to make your own lightbox for next to nothing
N-Photo: The Nikon Magazine is a monthly publication that's entirely dedicated to Nikon users. As a 100% independent magazine, you can be assured of unbiased opinion from a trustworthy team of devoted photography experts including editor Adam Waring and Deputy Editor Mike Harris.
Aimed at all users, from camera newcomers to working pros, every issue is packed with practical, Nikon-specific advice for taking better photos, in-depth reviews of Nikon-compatible gear, and inspiring projects and exciting video lessons for mastering camera, lens and Photoshop techniques.
Written by Nikon users for Nikon users, N-Photo is your one-stop shop for everything to do with cameras, lenses, tripods, bags, tips, tricks and techniques to get the most out of your photography.

