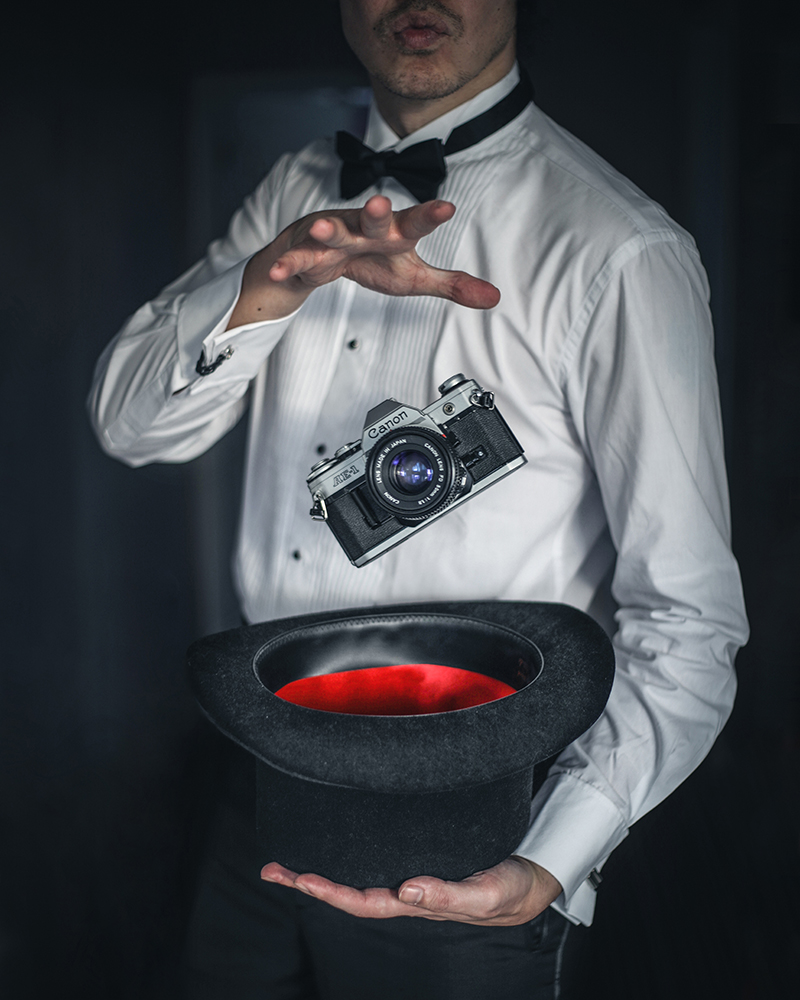
Home photography ideas: How to make objects levitate in-camera!
Make objects magically levitate, in-camera, to shoot creative photographs at home
Watch the video: Home photography ideas – Make objects levitate in-camera!
Want to add a magic touch to your portraits and photos taken at home during the current lockdown? Then we'll show you a magic trick to make make objects levitate – in camera!
Whether you want to take striking portraits or action-packed product shots, the ability to make objects float in your frame can add serious punch and production value to your photographs.
• Get more Home photography ideas
• 10 best online photography courses
There are a few different ways to achieve this effect. The most fun way is to spend a few years attending Hogwarts, but you can also make objects float using a program like Photoshop with the aid of multiple layers and some nifty masking skills. However, you can get a much more realistic-looking effect in-camera – and it can be much easier than wrestling with lots of layers in post-production.
You’ll need to pick up an expandable shower rod, which will only cost you a few bucks from Amazon or eBay. Then you'll need a roll of catgut or fishing wire, which again is a very inexpensive purchase.
Then of course you will need an object, or objects, to levitate. This will depend on the specific image that you want to shoot, but in our case we’ve gone for a magician making a bunch of old vintage camera gear float in the air.
The best camera deals, reviews, product advice, and unmissable photography news, direct to your inbox!
From here it’s a case of finding a doorway or other space to securely erect your shower rod, and using lengths of catgut to diligently hang each element that you want to levitate. If you’re lucky with the light, once you’ve taken your shot, the wire will be completely invisible. If not, you’ll need to use the Spot Healing Brush in Photoshop to erase the signs of your magic trick!
01 Hanging around
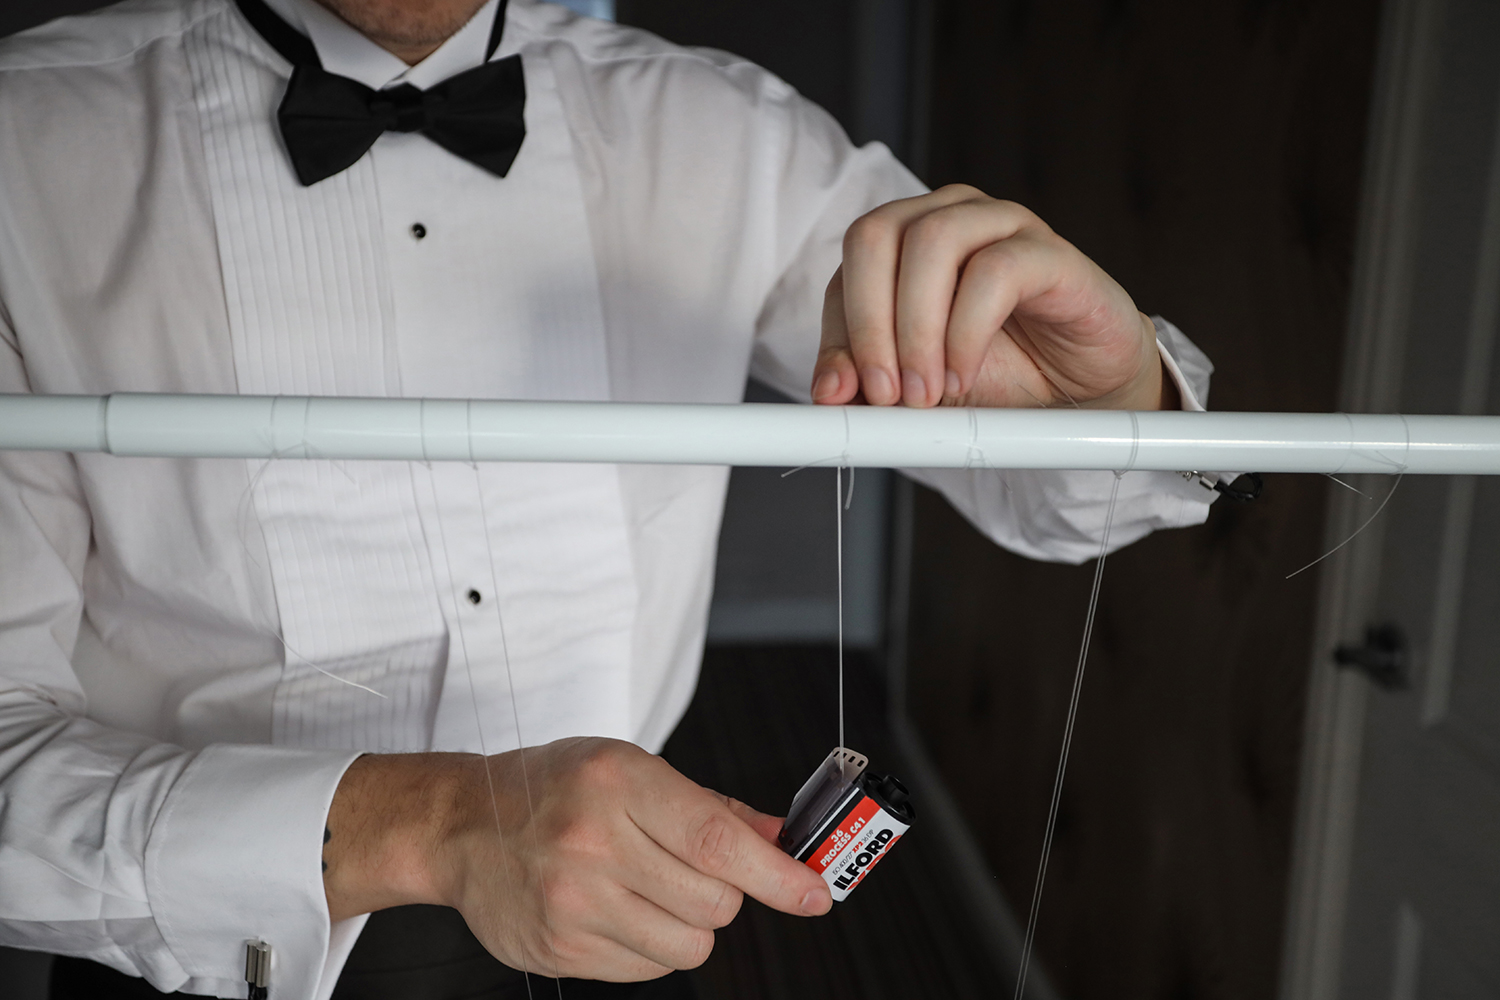
Erect your shower rod in a doorway or other suitable space. Once it’s secure, tie on lengths of wire and hang the objects you wish to levitate. Make sure to snip any loose excess wire to save extra editing later.
02 Trick of the light
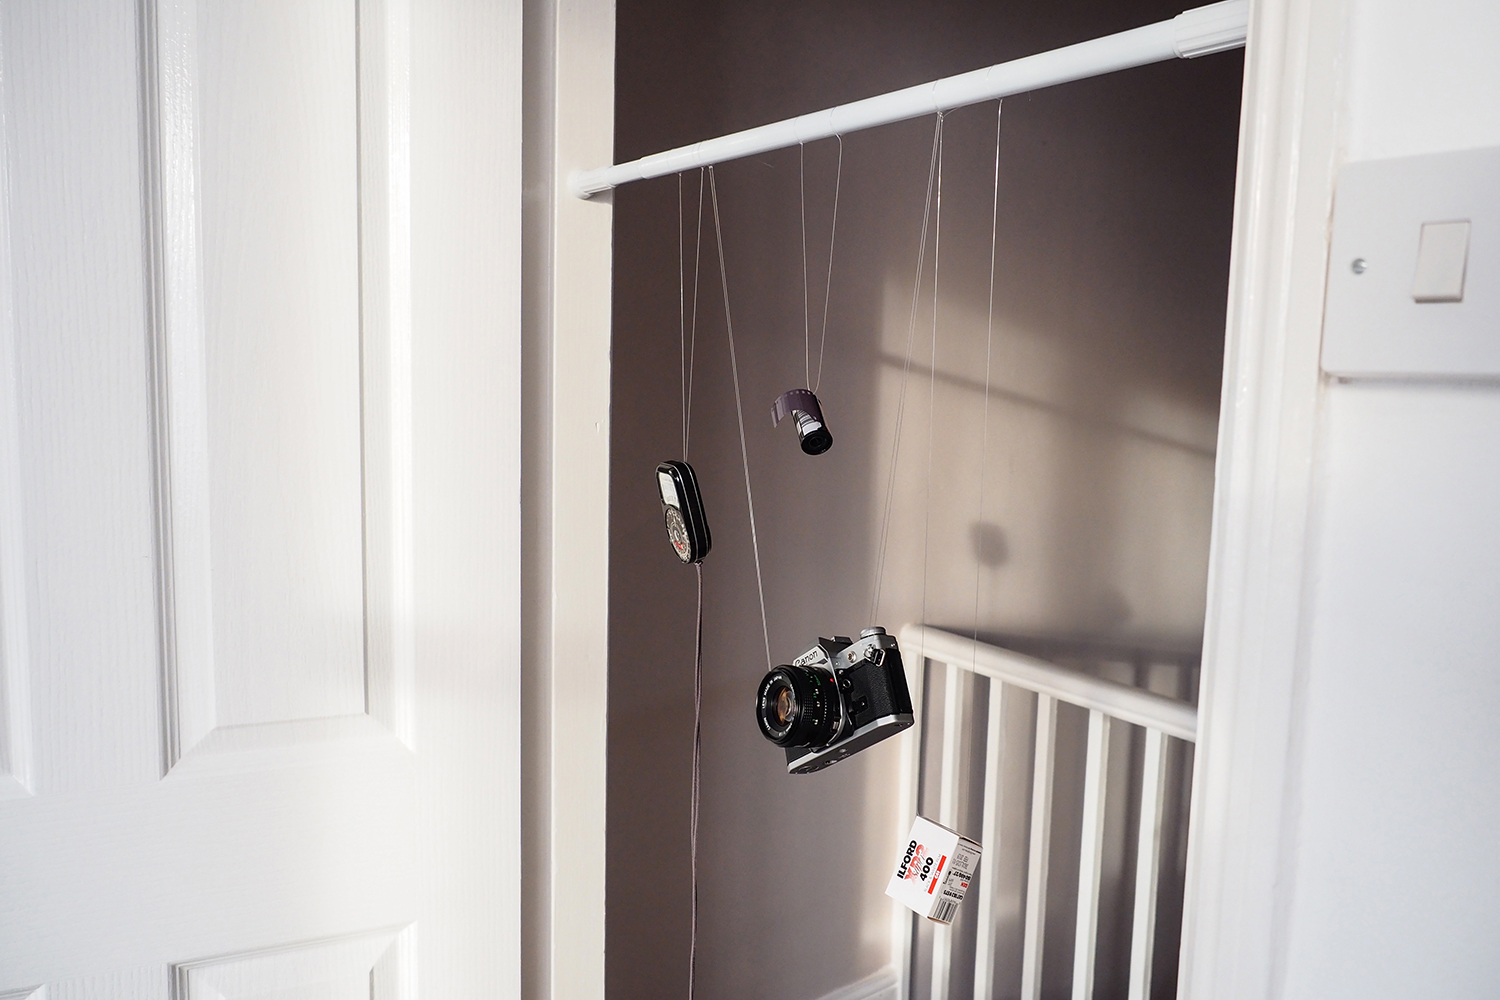
Whether you’re using natural or supplemental, having light with a bit of direction will help sell the illusion. If the objects cast some shadows on your subject, it will show that the image isn’t just a Photoshop trick!
03 Point of focus
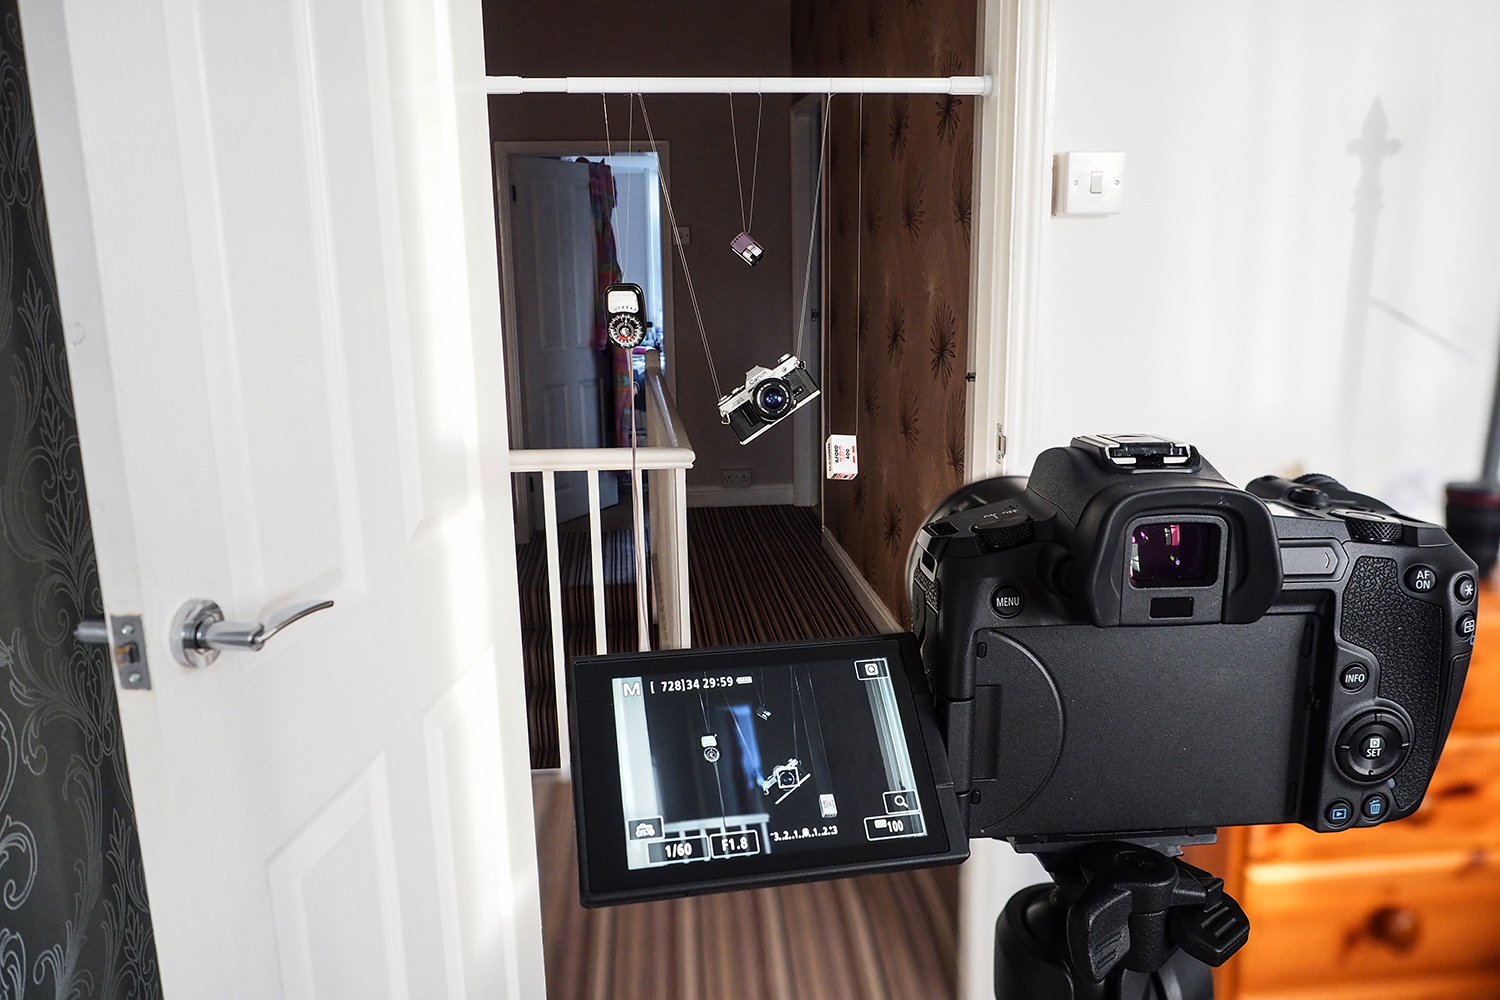
Your objects will all be on the same focal plane, so focus on your main point of interest. Shoot with the widest aperture you can (we used f/1.8) to blur the background while keeping objects and subject sharp. An 85mm portrait lens or a standard 50mm prime is perfect for this project.
04 Where the magic happens
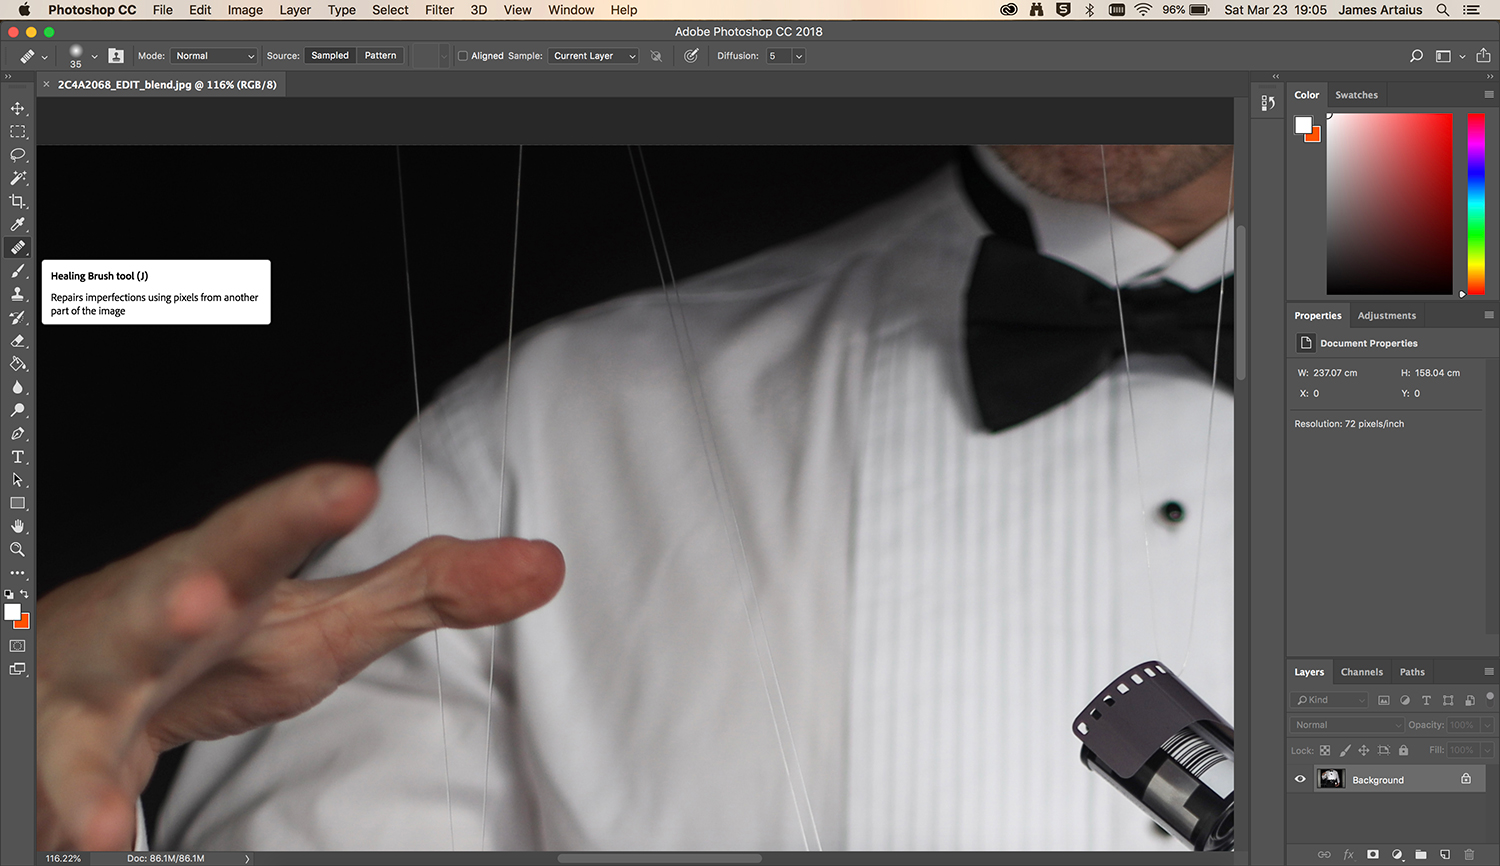
After you’ve taken your shot, you may have to remove the wires in post-production if the light caught them. Use Photoshop’s Healing Brush tool and simply paint along the wires to make them disappear – magic!
05 A spot more magic
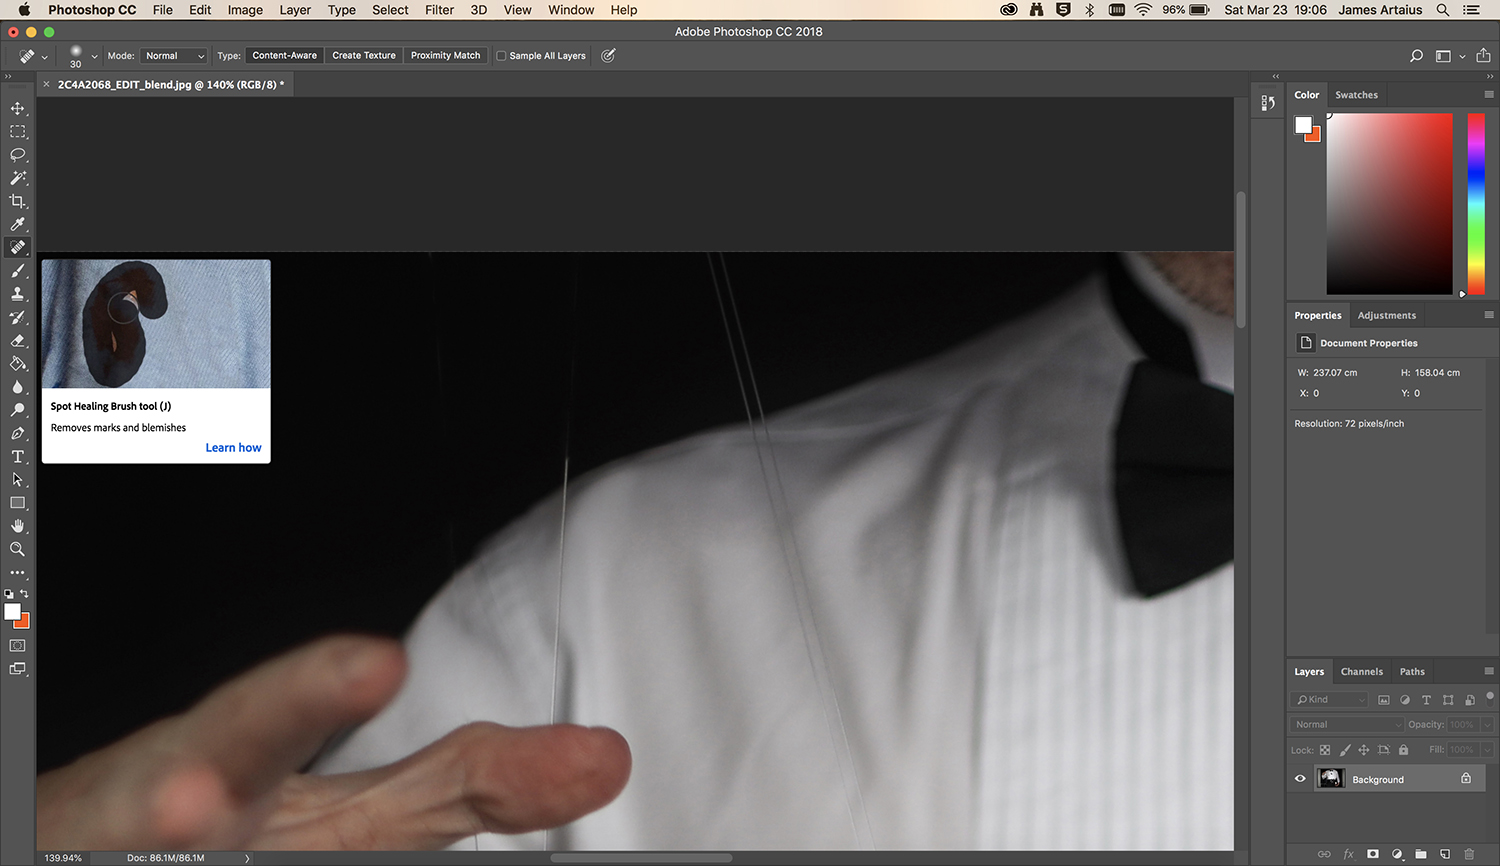
The Healing Brush can struggle where different backdrops meet – like the black background meeting the white shirt, or the shirt meeting the thumb. Use the Spot Healing Brush or Clone Stamp tools here.
06 The last (Wiz)bit
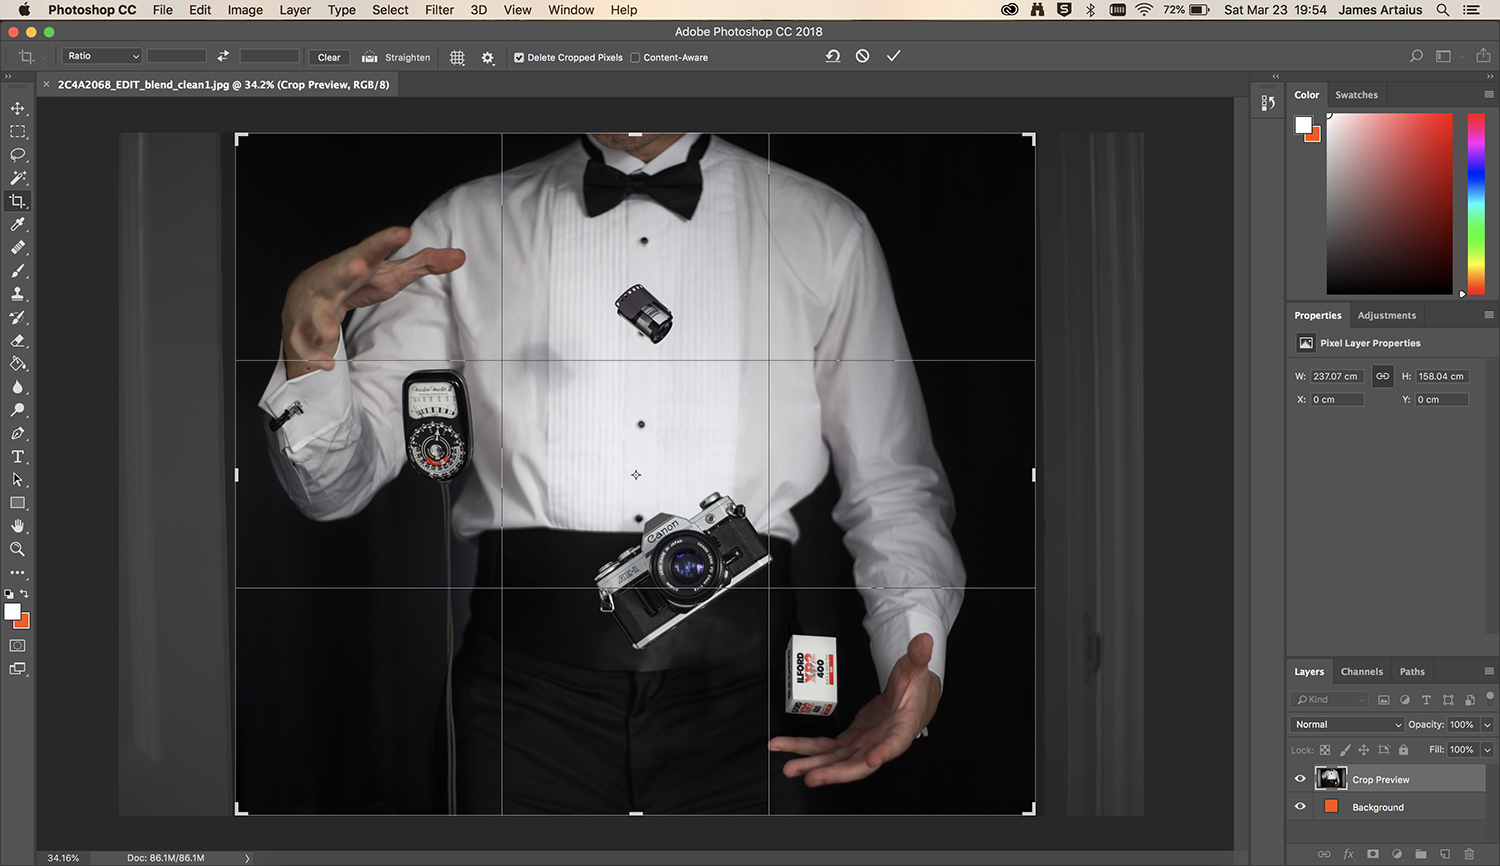
Finally, use the Crop tool to remove the door frame at either side of the shot. It can be tempting to leave it in as a framing device, but it will give the trick away! Now do any final retouching and save the image.
More videos:
The best 50mm lens in 2020: Which 'standard prime' is the right one for you?
The best photography tips videos
Home photography ideas: Capture incredible indoors pet portraits

James has 25 years experience as a journalist, serving as the head of Digital Camera World for 7 of them. He started working in the photography industry in 2014, product testing and shooting ad campaigns for Olympus, as well as clients like Aston Martin Racing, Elinchrom and L'Oréal. An Olympus / OM System, Canon and Hasselblad shooter, he has a wealth of knowledge on cameras of all makes – and he loves instant cameras, too.
