Watch video: Discover these Quickshot modes for capturing Hollywood-style footage with DJI drones
Who doesn’t love a bit of cool aerial photography? We certainly do, and many of the DCW teams use drones regularly when we’re out with our main cameras. You can’t beat a drone for capturing a unique bird’s eye perspective from high above, and the DJI drone range in particular is ideal, whether you’re an aerial beginner or after a professional drone.
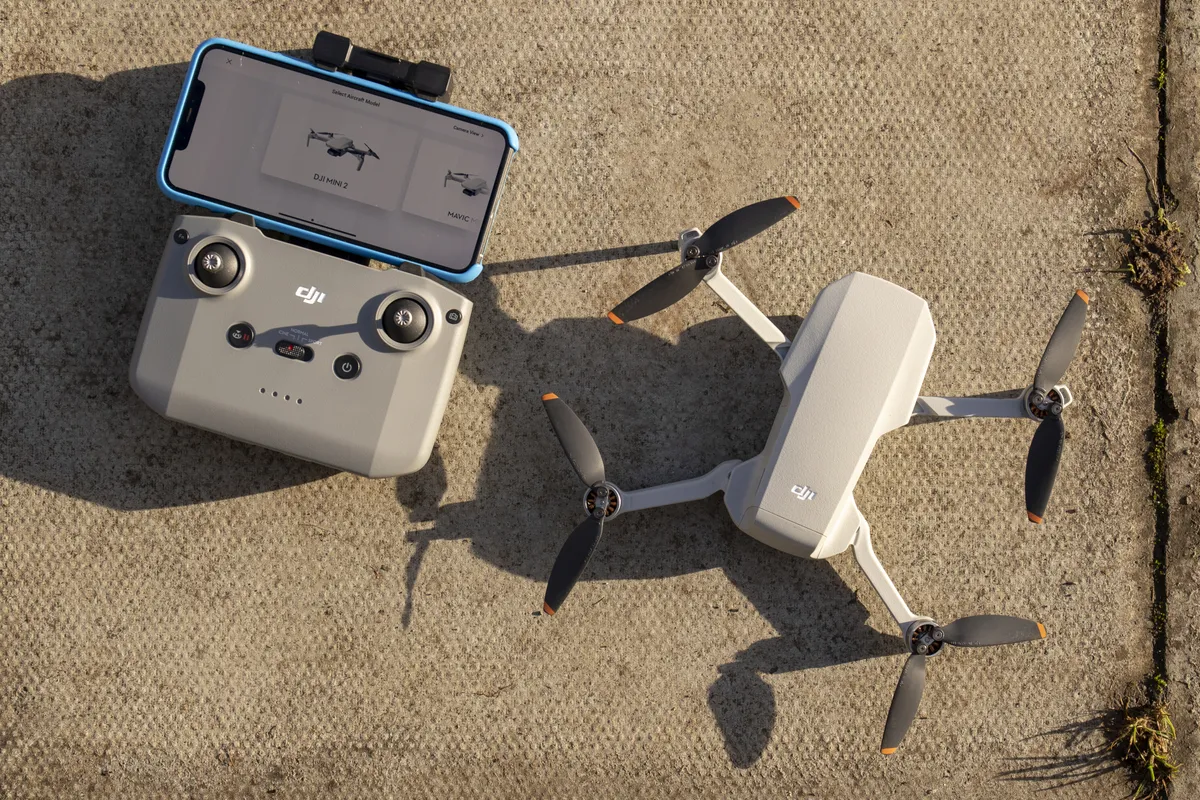
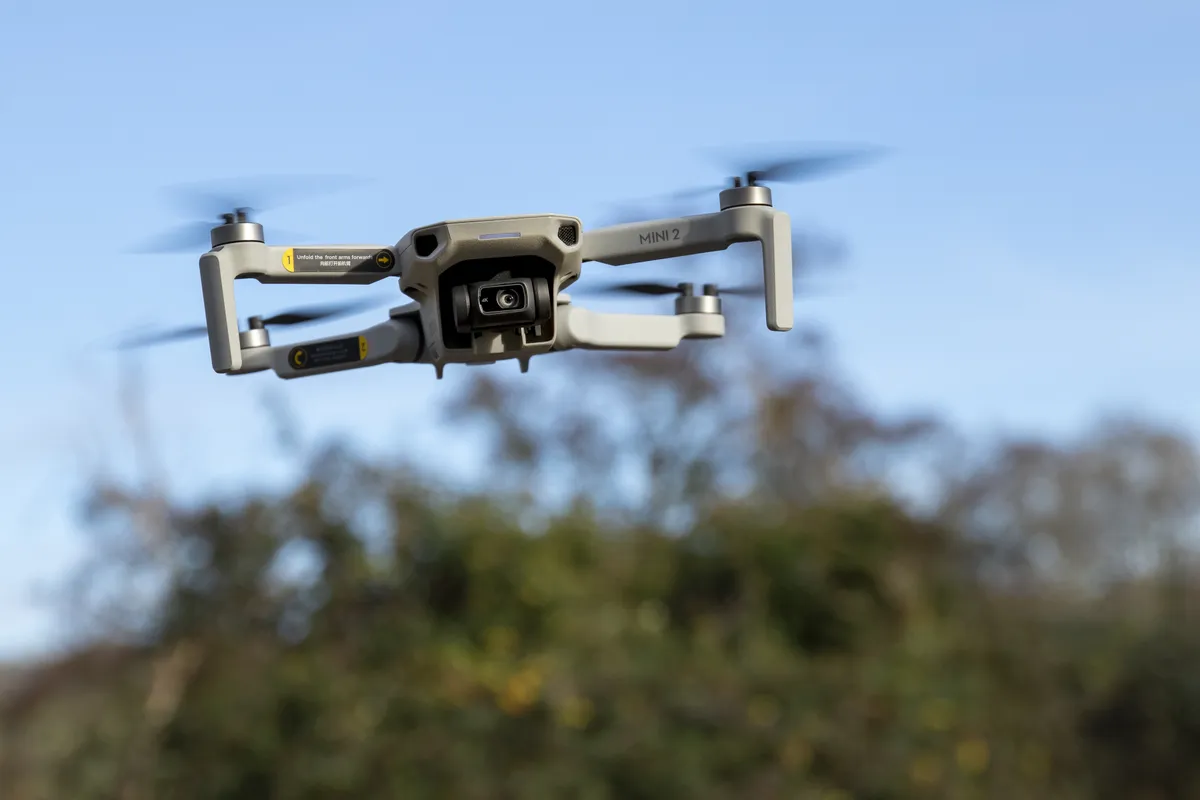
In fact, we’ve been hugely impressed with the latest DJI Mini 2 drone that offers 4K and pro-quality footage in a budget-price, compact package.
But taking quality aerial footage can be harder than it looks. So what’s the solution? Instead of months of video training, we’ll explain five sure-fire shooting modes to improve your aerial videos by utilizing DJI drone’s Quick Shot modes, aptly named as: Dronie, Helix, Rocket, Circle and Boomerang.

With just a few key settings, a DJI drone like the Mini 2 will automatically record and shoot Hollywood-esque, professional-level clips. Simply select your QuickShot and your DJI drone will execute an elaborate preset motion while recording. You also then have the option to save the automatically generated short video via DJI Fly app – complete with dramatic edit, soundtrack and filter – ready to share it with friends and family on social media.
Safety notice: it goes without saying that you need to be sensible when flying a drone, and especially when using the following Quick Shot modes on DJI drones as you’ll be programming the drone to fly up and in large circles, depending on the mode and settings you select. Set a proper flight distance, and always fly in safe, open spaces away from people, and obstacles such as buildings, tall trees or power/phone wires.
Note that drone rules and permits for Europe including UK have changed for 2021 so check with your country's aviation authority for the latest regs.
To use QuickShot modes from within the DJI Fly app, launch your DJI drone in the air and hover at least 2-metres above the ground. Select the remote control icon at the right of the screen, then select Quick Shot from the icon below the Photo and Video icons. From there, select the specific Quick Shot you’d like to perform, and a suitable distance or flight time as necessary.
To select your subject for your drone to focus on, tap the subject (such as yourself, a building or element in a scene) on your smartphone’s screen and draw around it. Once your subject is illuminated by a green square, tap the Start button, and the DJI drone will begin the Quick Shot mode after a 3, 2, 1 countdown on screen. Once finished the drone will either hover or return to its starting position, depending on the Quick Shot - more info below on this.
You can cancel any Quick Shot by tapping the red circle with a cross (or press the flight pause button on the controller) at any time during recording. The drone will then stop the Quick Shot recording and hover in its position. Don't touch the control sticks mid Quick Shot as this will stop the drone too.
Here are the five pre-programmed intelligent QuickShot Modes available on the latest DJI drone, with example video footage for you to enjoy:
01. DJI QuickShot: Rocket mode
Rocket - DJI drone flies straight up into the air with the camera moving to point downward following your subject you've selected. Set a height limit of 40, 60, 80, 100, or 120 ft. Once recording is finished the drone will fly back to its original position.
02. DJI QuickShot: Helix mode
Helix - the DJI drone flies upward and away gradually, spiraling around your subject, finishing at the height limit/radius you set from 40, 60, 80, 100, or 120 ft. Tap on your subject or draw a box around it to choose your focal point.
03. DJI QuickShot: Boomerang mode
Boomerang - DJI drone flies a boomerang-like oval flight path around your subject you've selected, starting and stopping video in the same place.
04. DJI QuickShot: Dronie mode
Dronie - The drone video equivalent of a selfie! The DJI drone flies backward and upward, with the camera tracking your subject you've selected. Set a height limit of 40, 60, 80, 100, or 120 ft. Once recording is finished the drone will fly back to its original position.
05. DJI QuickShot: Circle mode
Circle - The DJI drone will circle around your subject you've selected with your green box on screen, and once you've chosen a direction (left or right), will circle at a constant altitude and distance, from the starting point you choose, returning to this point to finish.
Auto video edits with DJI Fly app
Once you've recorded your Quick Shots videos, if you want the DJI Fly app to edit the QuickShot, make sure you’re connected to the drone (attach and plug in your smartphone to the controller, switch on your controller, switch on the drone if you're done this back home) when viewing the video clip.
QuickShot videos will then be visible in the DJI Fly app Album area, and have handy icons (in the bottom left corner) to show you which type of Quick Shot they are.

When you’ve selected the Quick Shot clip, then press the magic icon wand for the app to generate a ‘funky’ shorter edit (sped up, slowed down, colours and tones boosted, music added, and finished with a DJI logo at the end).
You’ll need space on your smartphone as it will need to save the edited Quick Shot while still attached to the controller. Note that in Quick Shot mode some DJI drones shoot in the lower quality 1080p video format.
Read more:
Best DJI drone for novices through to pros
Best drones for beginners
Best camera drones
DJI Mini 2 vs Mavic Mini
DJI Mini 2 review

