Color photography masterclass: Part 2
Get to grips with essential color relationships and create images with superior impact
Colour through the day 1
What makes color photography so fascinating is that the available hues on display change vastly throughout the day. From the deep blues of early pre-dawn, to the stark, contrasty, top-down light of midday, to the fiery reds and oranges of sunset, there is something different every hour. By staying at one location and shooting it throughout the day, even with unchanging composition it is possible to capture totally unique images in the evening, from those taken at 10am.
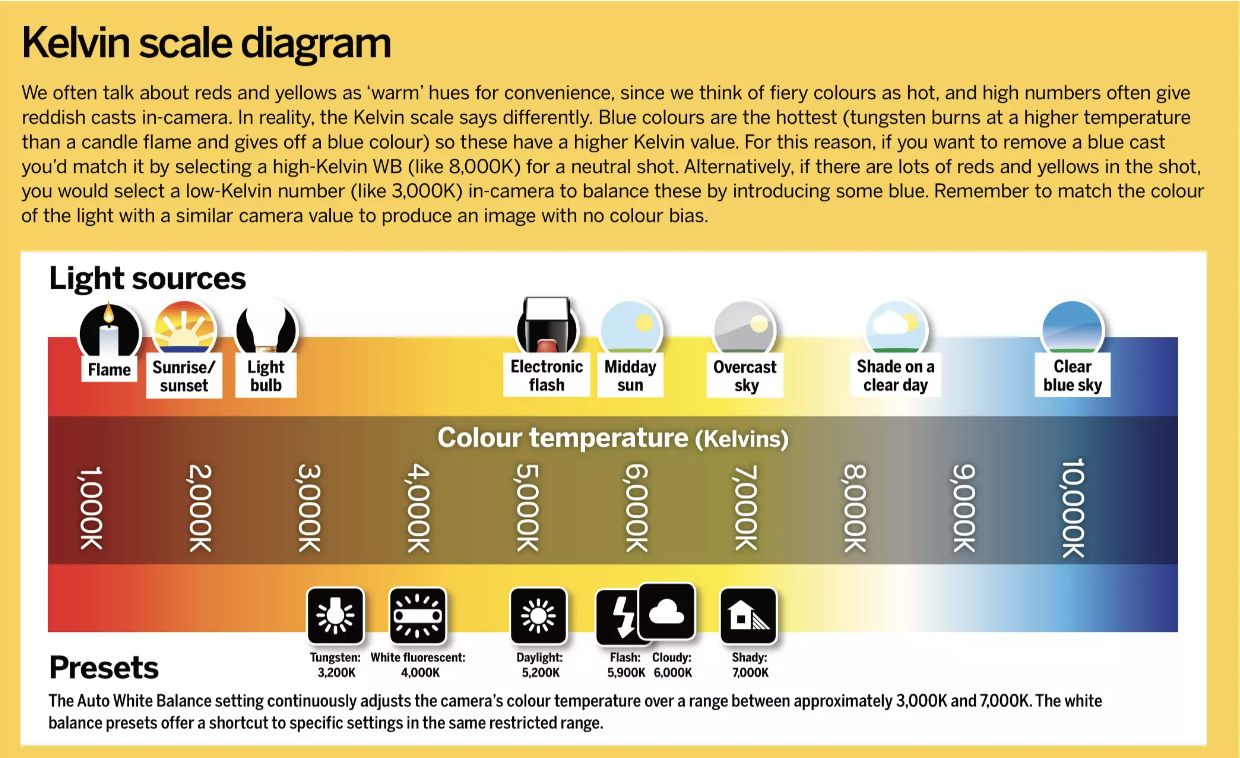
In order to capture this plethora of colors correctly it helps for us to understand exactly what is happening to the light as the sun changes position and how this affects the way in which the camera perceives the scene in front of it. This can be a far more complex area than is first apparent. It can be easy to assume which camera settings to choose based on what we can see with our eyes, but translating the visible colours into digital format takes some additional insight into light behavior.
Read Part 1 of this Color Photography Masterclass
At sunrise for example, just before the sun appears above the horizon and a scene is flooded with warm, golden light, initially it may seem that there are only low color temperature values present. However if you bias your white balance to these alone, you will often notice your shadow areas becoming too cold, with a similar effect higher up in the sky. At these times the gradient of color is steep, moving away from the horizon, so it is important to correctly balance the warm and cool tones in the frame.
Similarly, it is important to note how different lighting will impact subjects in your image. As a case study, when you are shooting brightly colored flowers you have to be careful how low kelvin light will impact the integrity of the hues seen in the digital image. The warmth of the light can push some colors in the subject out of range, resulting in clipping of individual channels, resulting in ‘bleeding’ of color and a lack of fine detail.
Dawn and Dusk
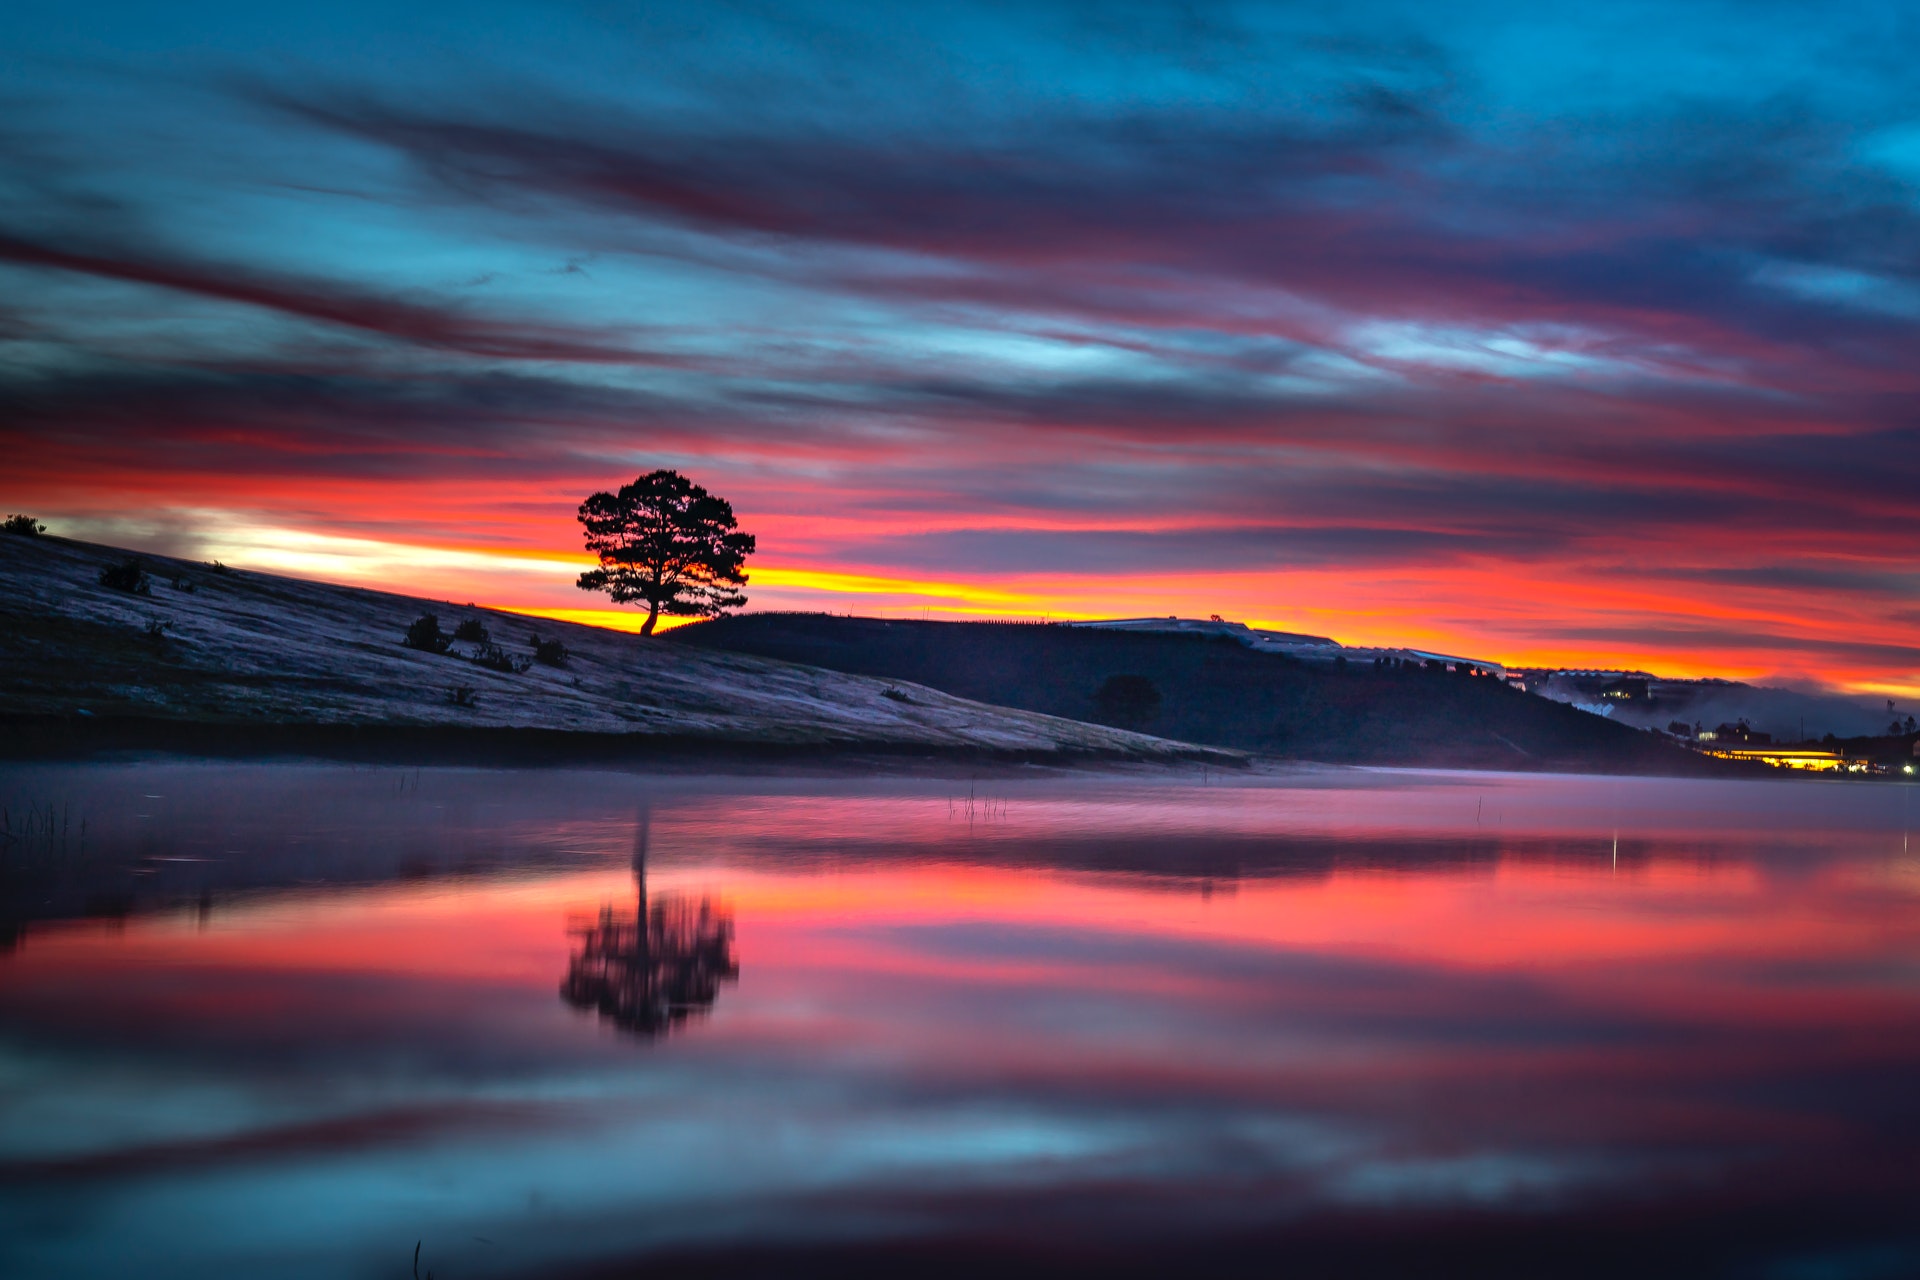
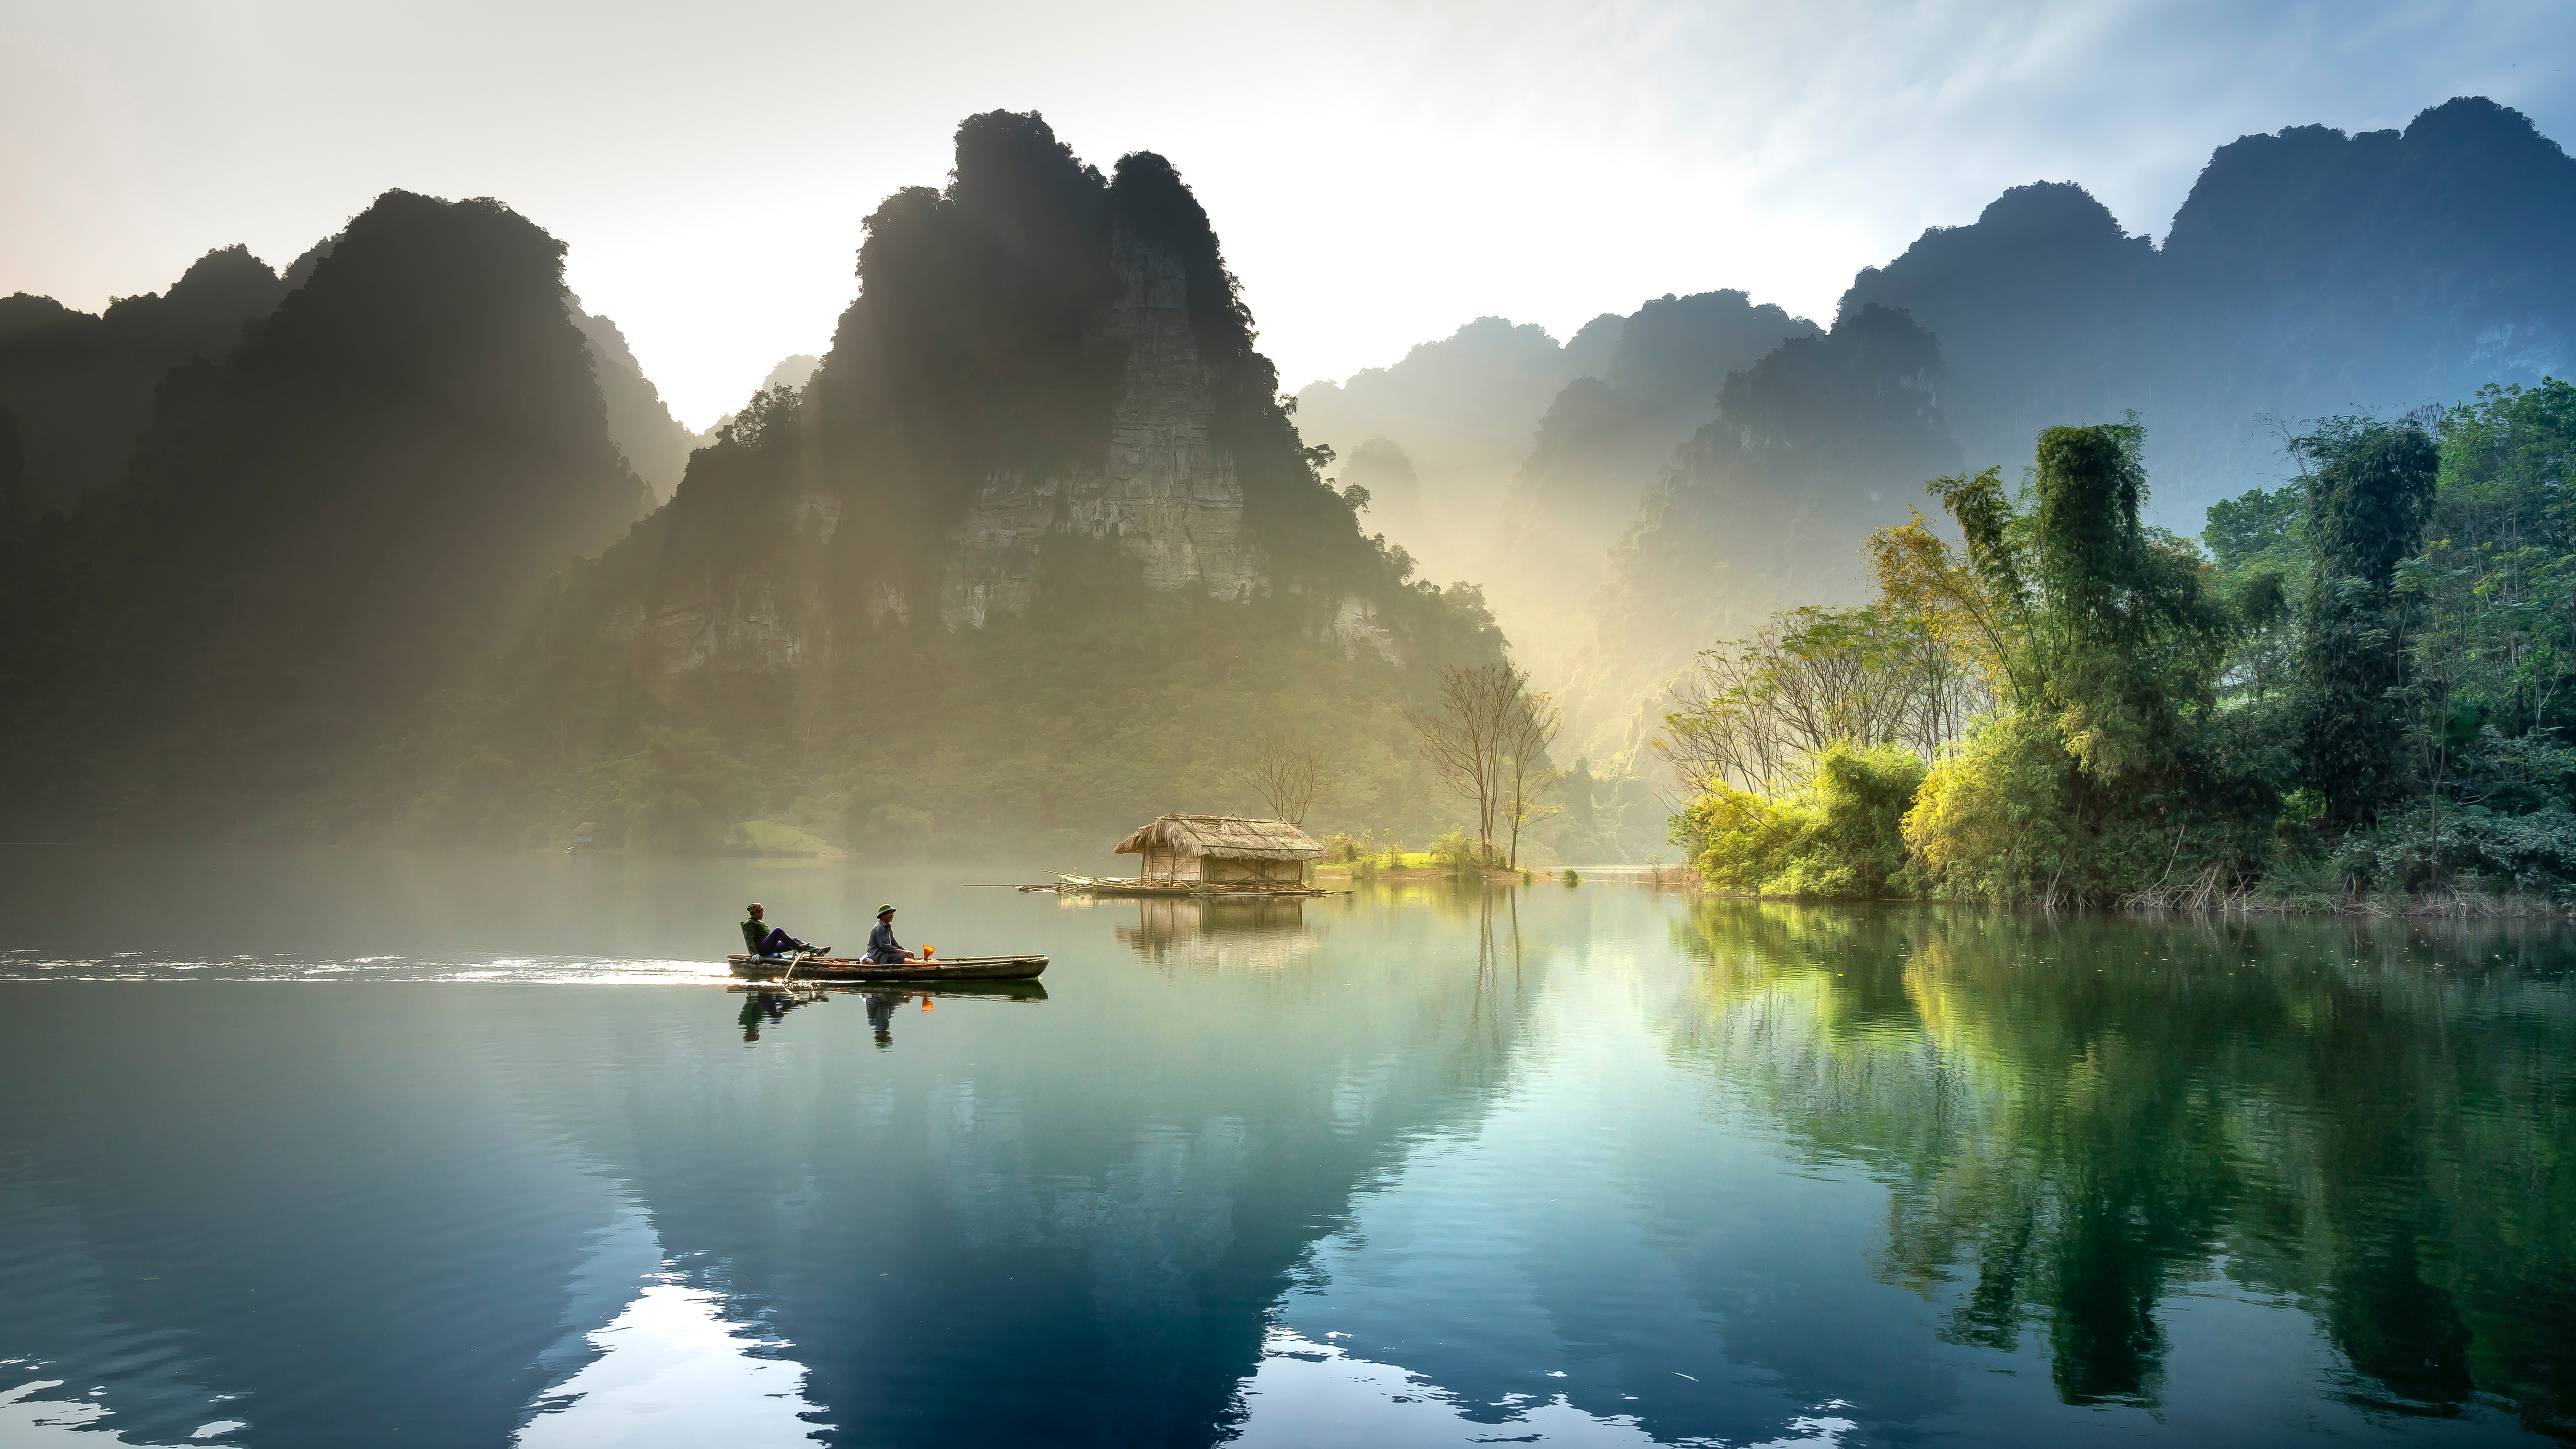
Approximately 20 minutes before the sun rises and around 45 minutes after the sun has set there is an extreme colour gradient, from low temperatures close to the horizon to higher kelvin colours in the shadows and further up in the sky. This falloff is caused by the extreme low angle of the light entering the atmosphere. It creates substantial white balance selection challenges - do you prioritise the cooler colours or the warmer tones? With digital photography you can choose your WB in RAW post processing and blend frames, but if a single in-camera capture is your goal, it is often best to bias for the blues and purples, since these are most dominant.
Late morning/afternoon
While sunrise and sunset are the most favourable times to shoot landscapes for many photographers, later in morning and afternoon can still provide some unique opportunities. The colour is often not as biased to reds and yellows at these times, than after dawn or before dusk, but the lower angle of the sun can give more detail and ambience than midday. The aim is to keep some natural warmth to the light while avoiding any unnatural shifts in colours such as green vegetation. Watch out for greens turning an unsightly shade of yellow, caused by the overlooked reduction in kelvin value when the sun is close to the horizon.
The best camera deals, reviews, product advice, and unmissable photography news, direct to your inbox!
Colour through the day 2
As any experienced photographer may know, when the sun is high in the sky there are challenges with contrast, notably deep, unattractive shadows, with the added complication of easily blown highlights. Noon is far from the landscape or portrait shooters' favourite time of day, to the extent where many photographers simply won’t shoot a location if they can’t be there at sunrise or sunset. There are some additional hidden difficulties that often go unnoticed, or unrecognised in midday shots, which should be given more attention too (just when you thought it couldn’t get worse).
Color can be difficult to control when the sun is at its zenith. It might seem that the light is relatively neutral, unlike the extreme warmth of sunrise or sunset, but shadows often adopt an unsightly blue cast, which is more insidious and can be missed in processing. Left uncorrected it can be very noticeable in prints, giving an almost cross processed look in extreme cases. This is especially prominent in wintery images, featuring snow. Just as we all know exactly what skin tones should look like, it is immediately obvious to a viewer if snow is not neutral. While this can lead to a dramatic ‘cold’ style, if not managed blue snow is a major distraction and can spoil the narrative of a photograph.
Midday light
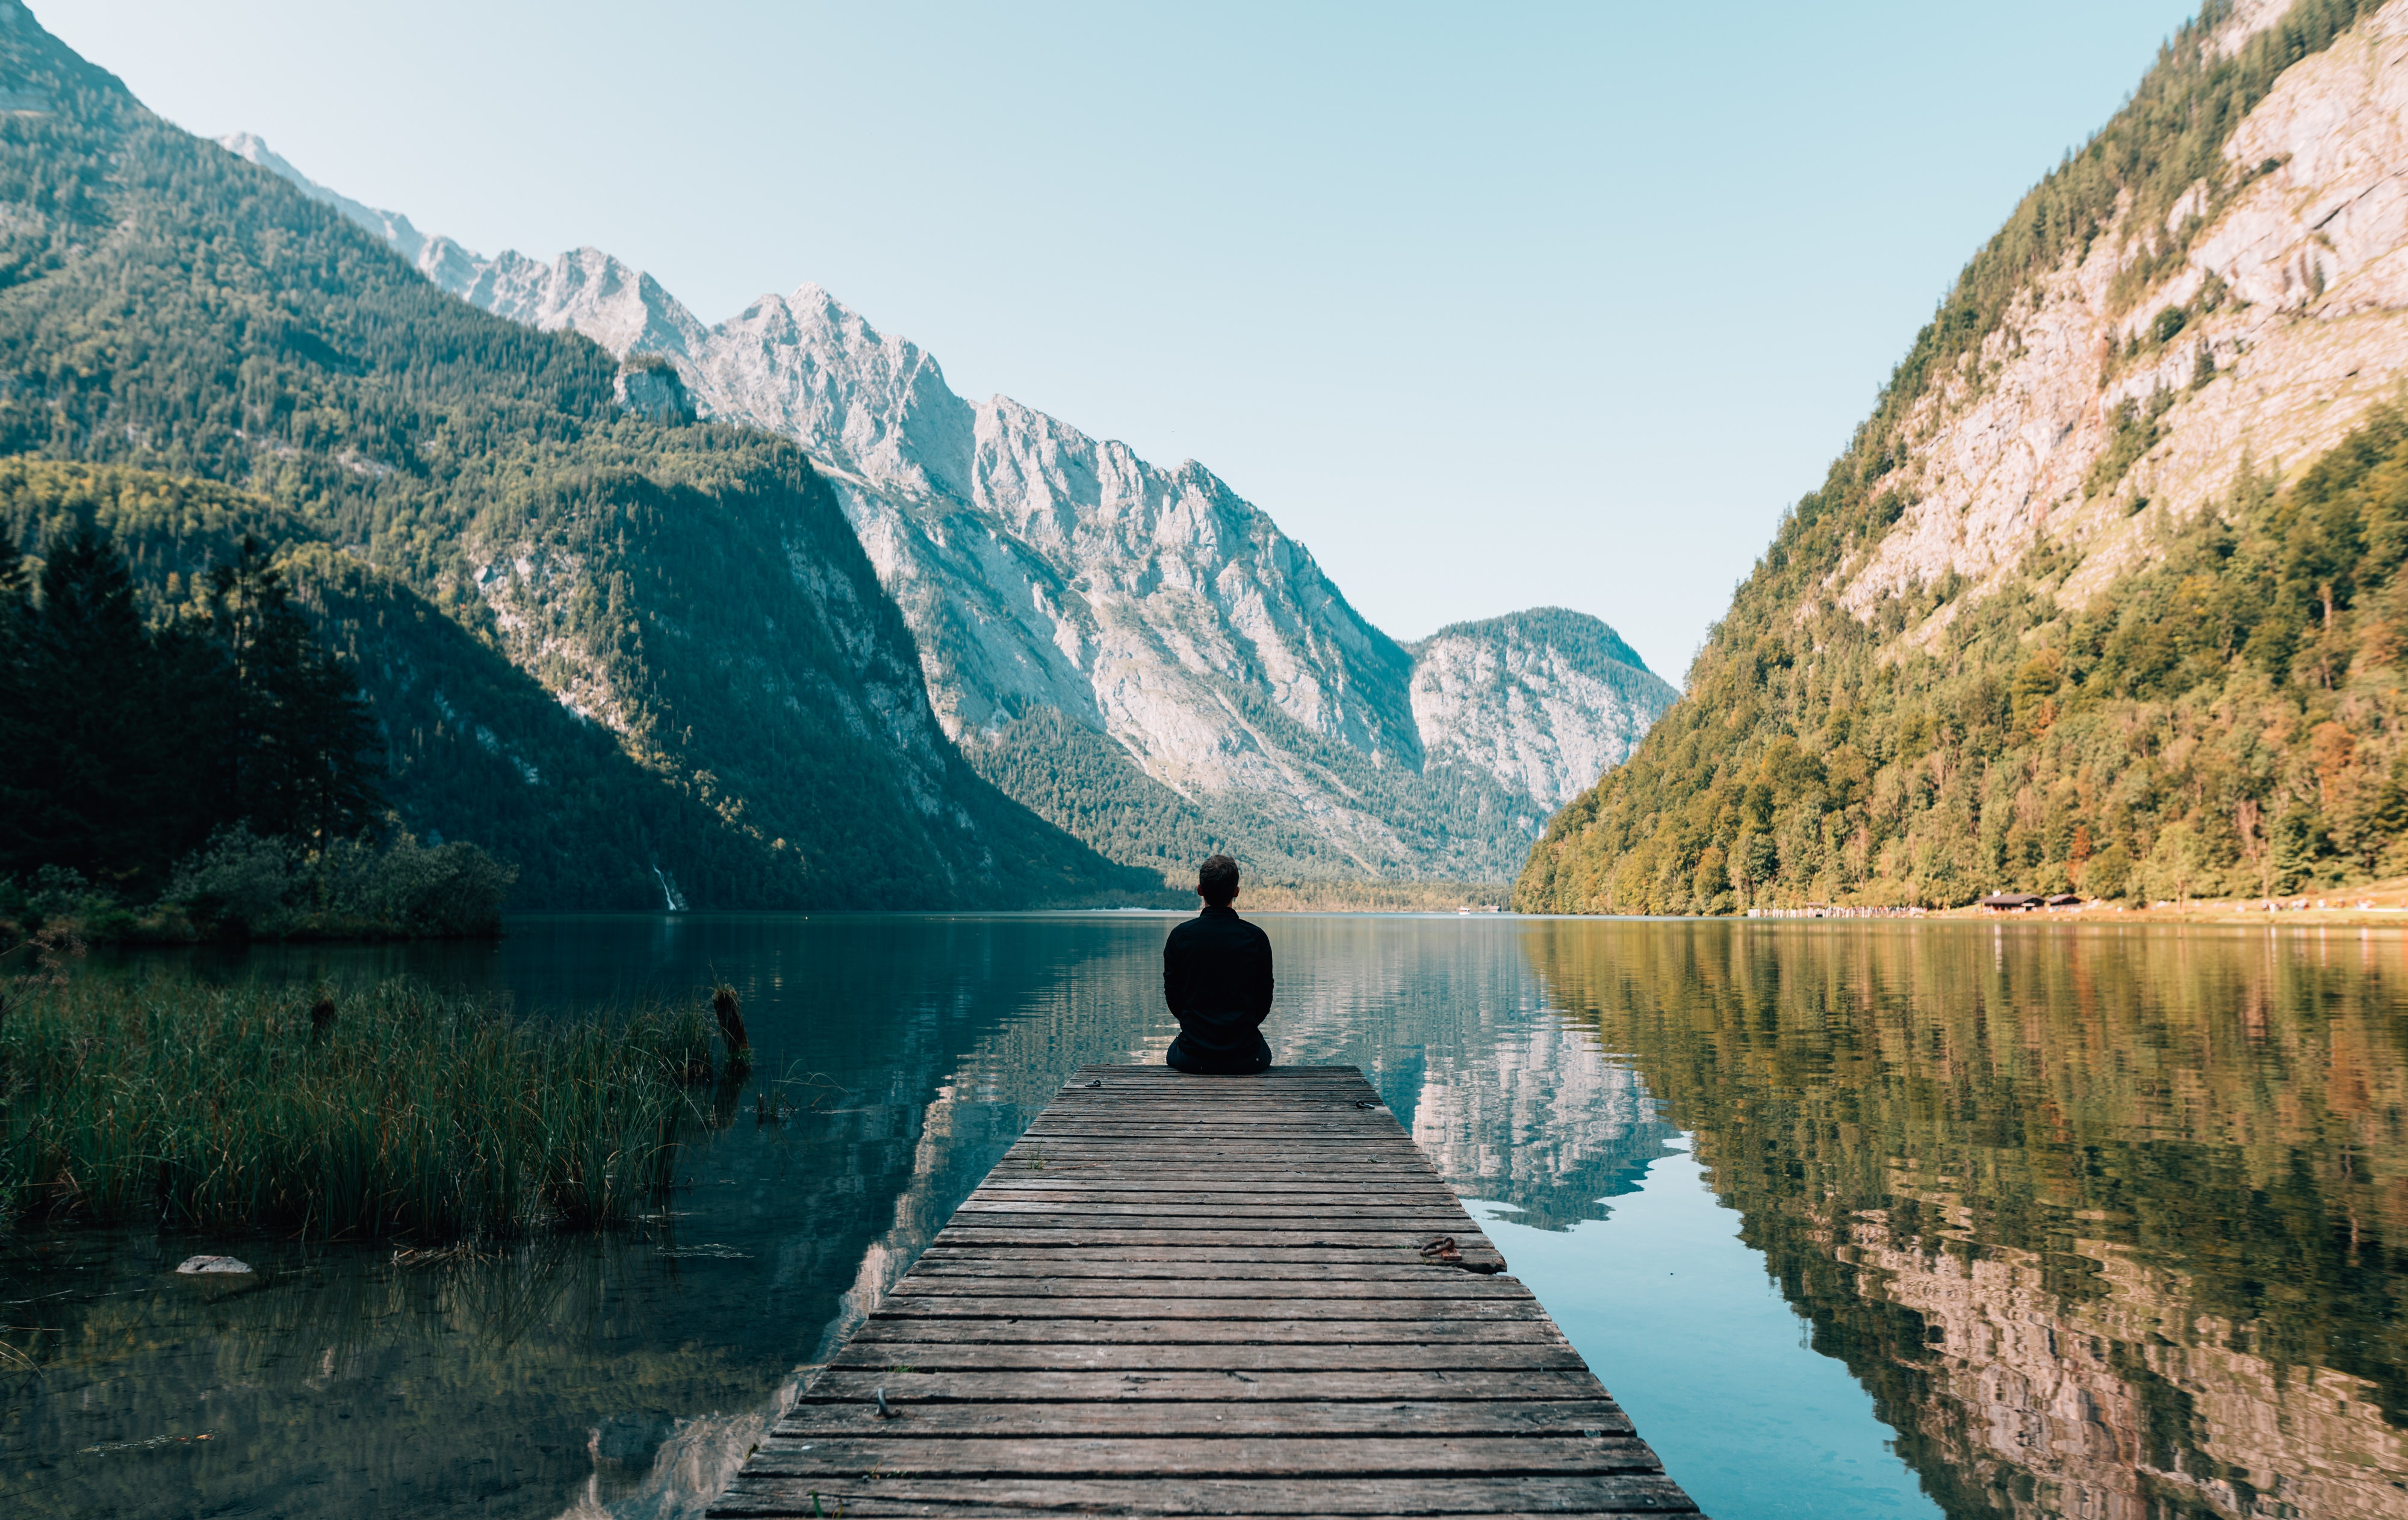
An easy to miss characteristic of midday light is how much blue can creep into your shots when the sun is high in the sky. This especially true of shadow areas which can adopt a noticeable blue cast. Selecting an in-camera Kelvin setting of around 5500K will help neutralize this, ensuring balanced color throughout your shot however, depending on the scene, this can still leave some shots lacking impact. Try increasing your Kelvin value to about 6500K to add some artificial warmth to the highlights, which can make environments look more inviting to viewers.
Sunrise and sunset
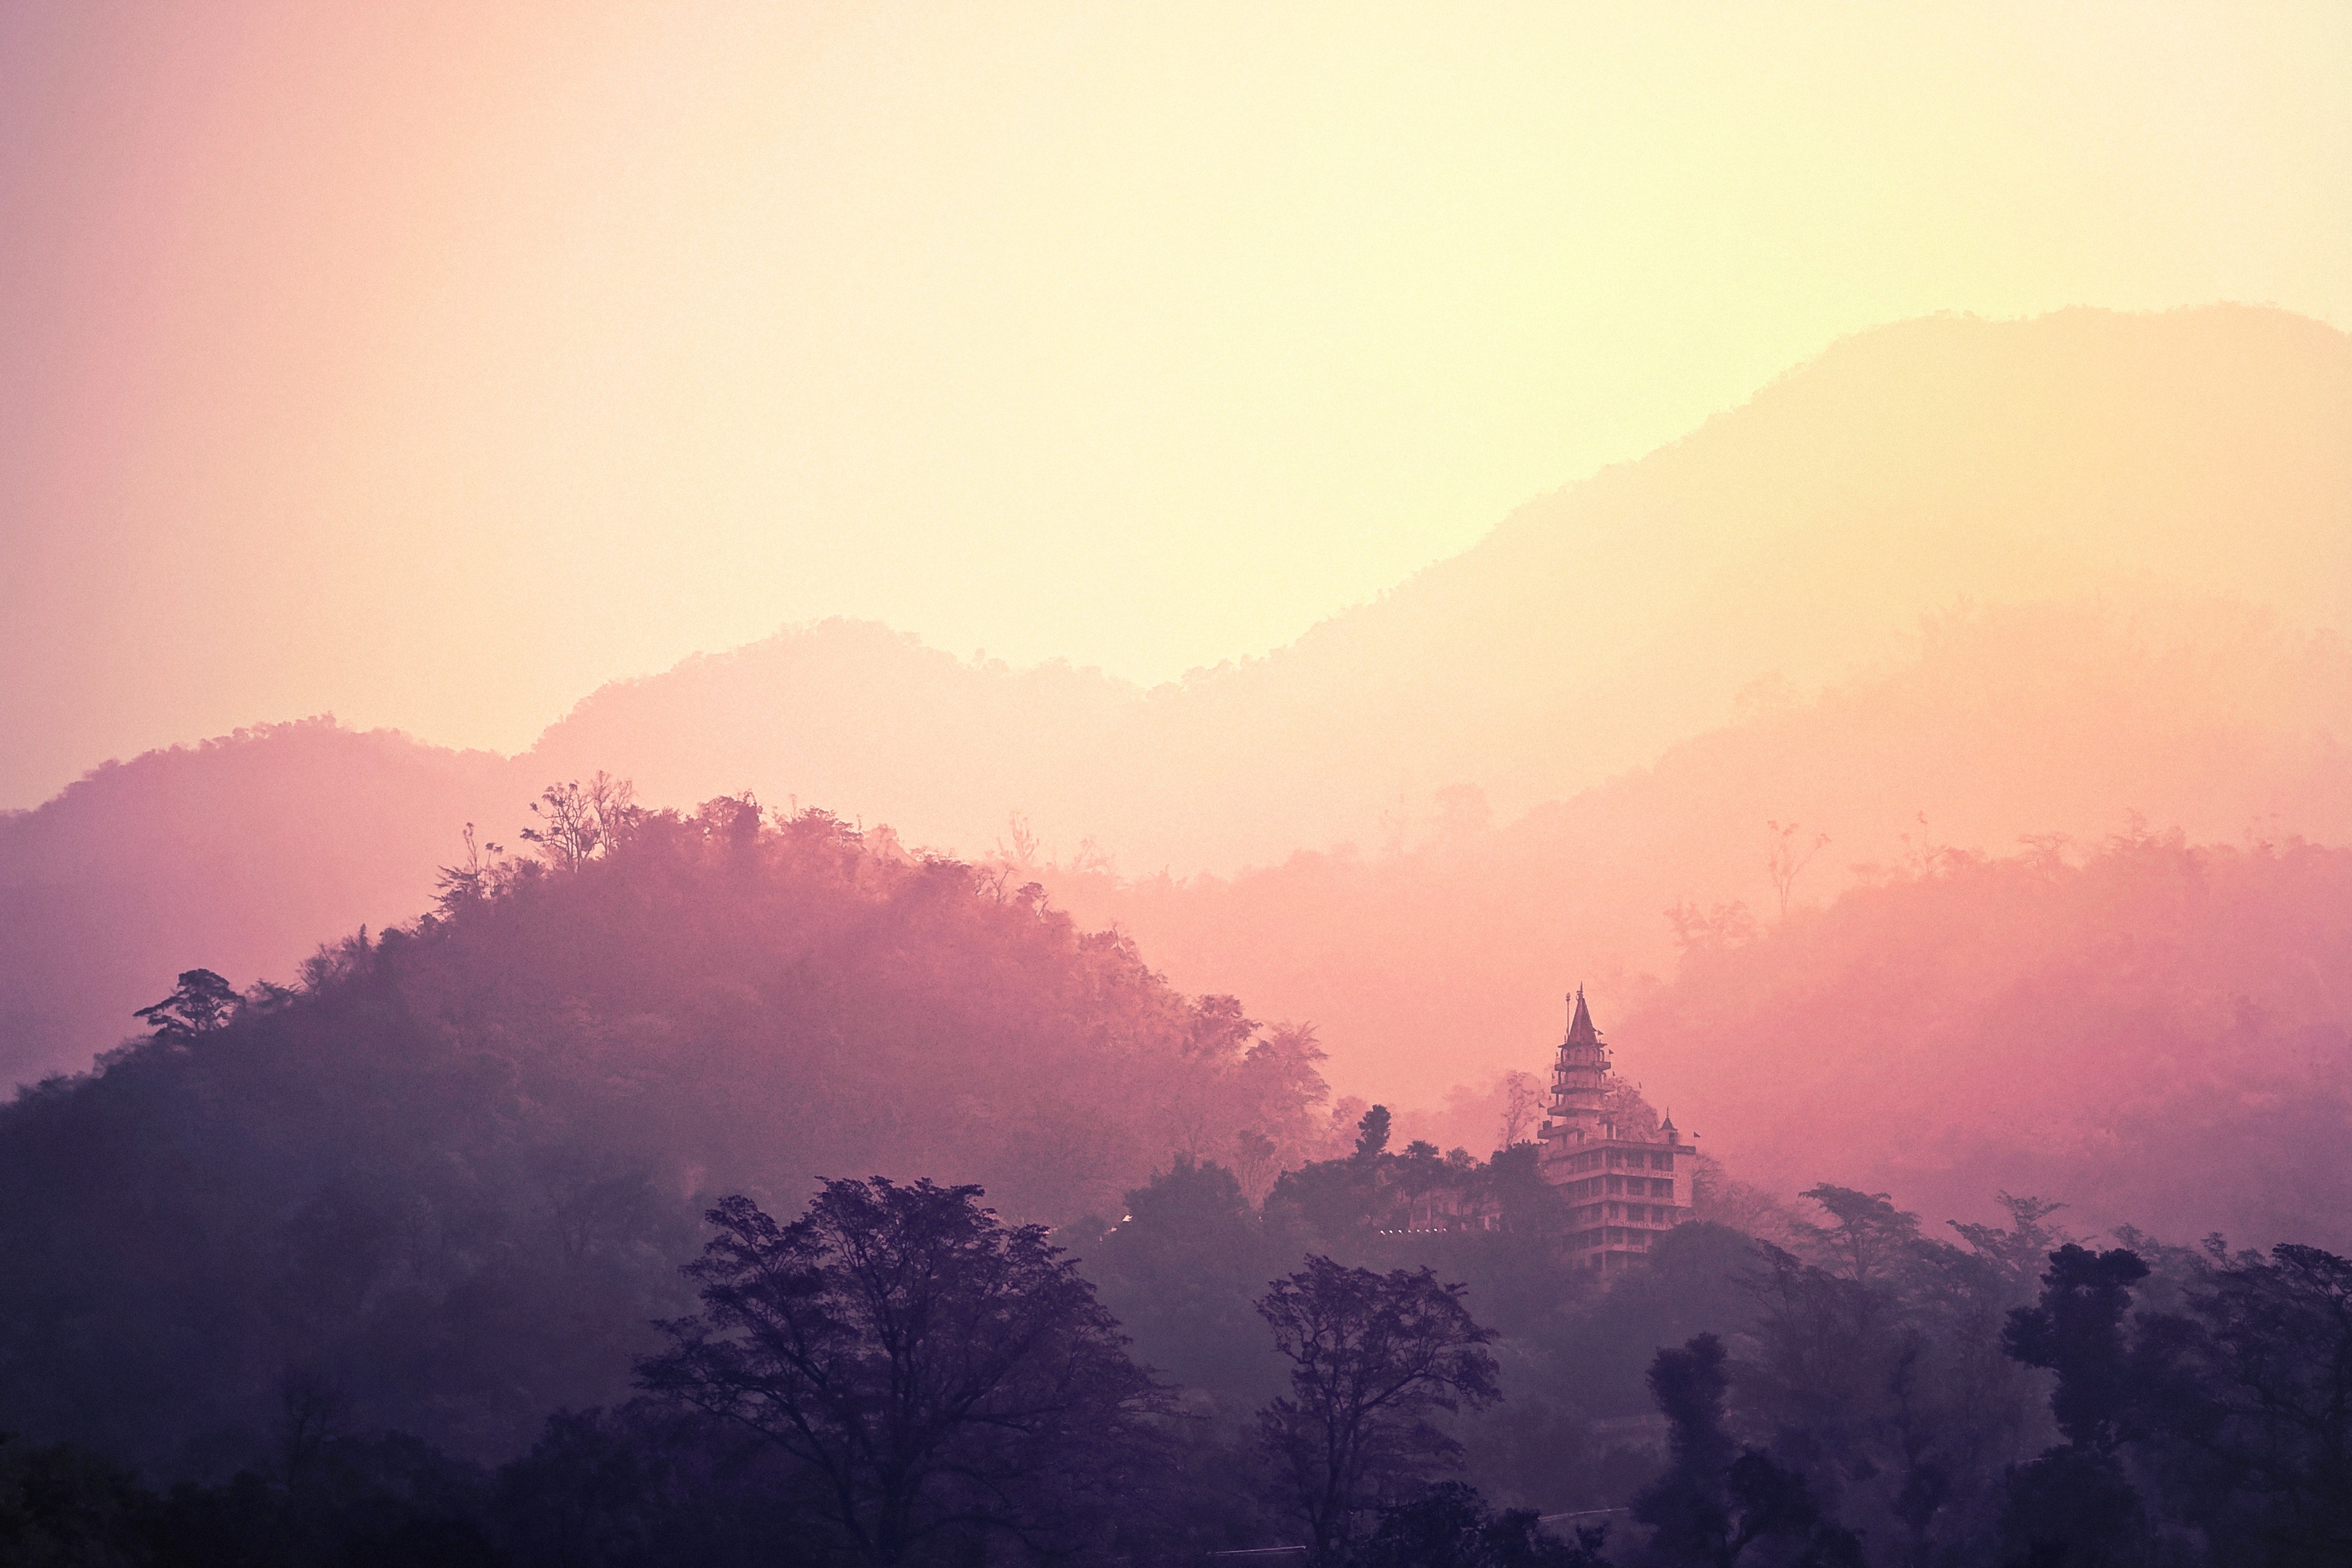
Once the sun has appeared over the horizon in the morning and when it sits low in the sky at sunset there is a dominance of intense warm color. This is usually seen as highly attractive, is popular amongst viewers and is the reason the so called golden hours are popular with photographers. However, without care, these warm hues can produce flat images, due to a lack of color contrast. If the aim is to create a wash of colour, such as on a misty morning, then select a white balance for enhancing reds and yellows - Shade for example. Otherwise use a custom Kelvin setting of between 5500 and 7000K to balance the intensity of the sunlight with cooler shadow tones.
Read Color Photography Masterclass: Part 3
The best ND grad filters in 2021
Digital Photographer is the ultimate monthly photography magazine for enthusiasts and pros in today’s digital marketplace.
Every issue readers are treated to interviews with leading expert photographers, cutting-edge imagery, practical shooting advice and the very latest high-end digital news and equipment reviews. The team includes seasoned journalists and passionate photographers such as the Editor Peter Fenech, who are well positioned to bring you authoritative reviews and tutorials on cameras, lenses, lighting, gimbals and more.
Whether you’re a part-time amateur or a full-time pro, Digital Photographer aims to challenge, motivate and inspire you to take your best shot and get the most out of your kit, whether you’re a hobbyist or a seasoned shooter.
