Learn how to capture creative compositions
Flowery fields in bloom make wonderfully colorful landscape photos.
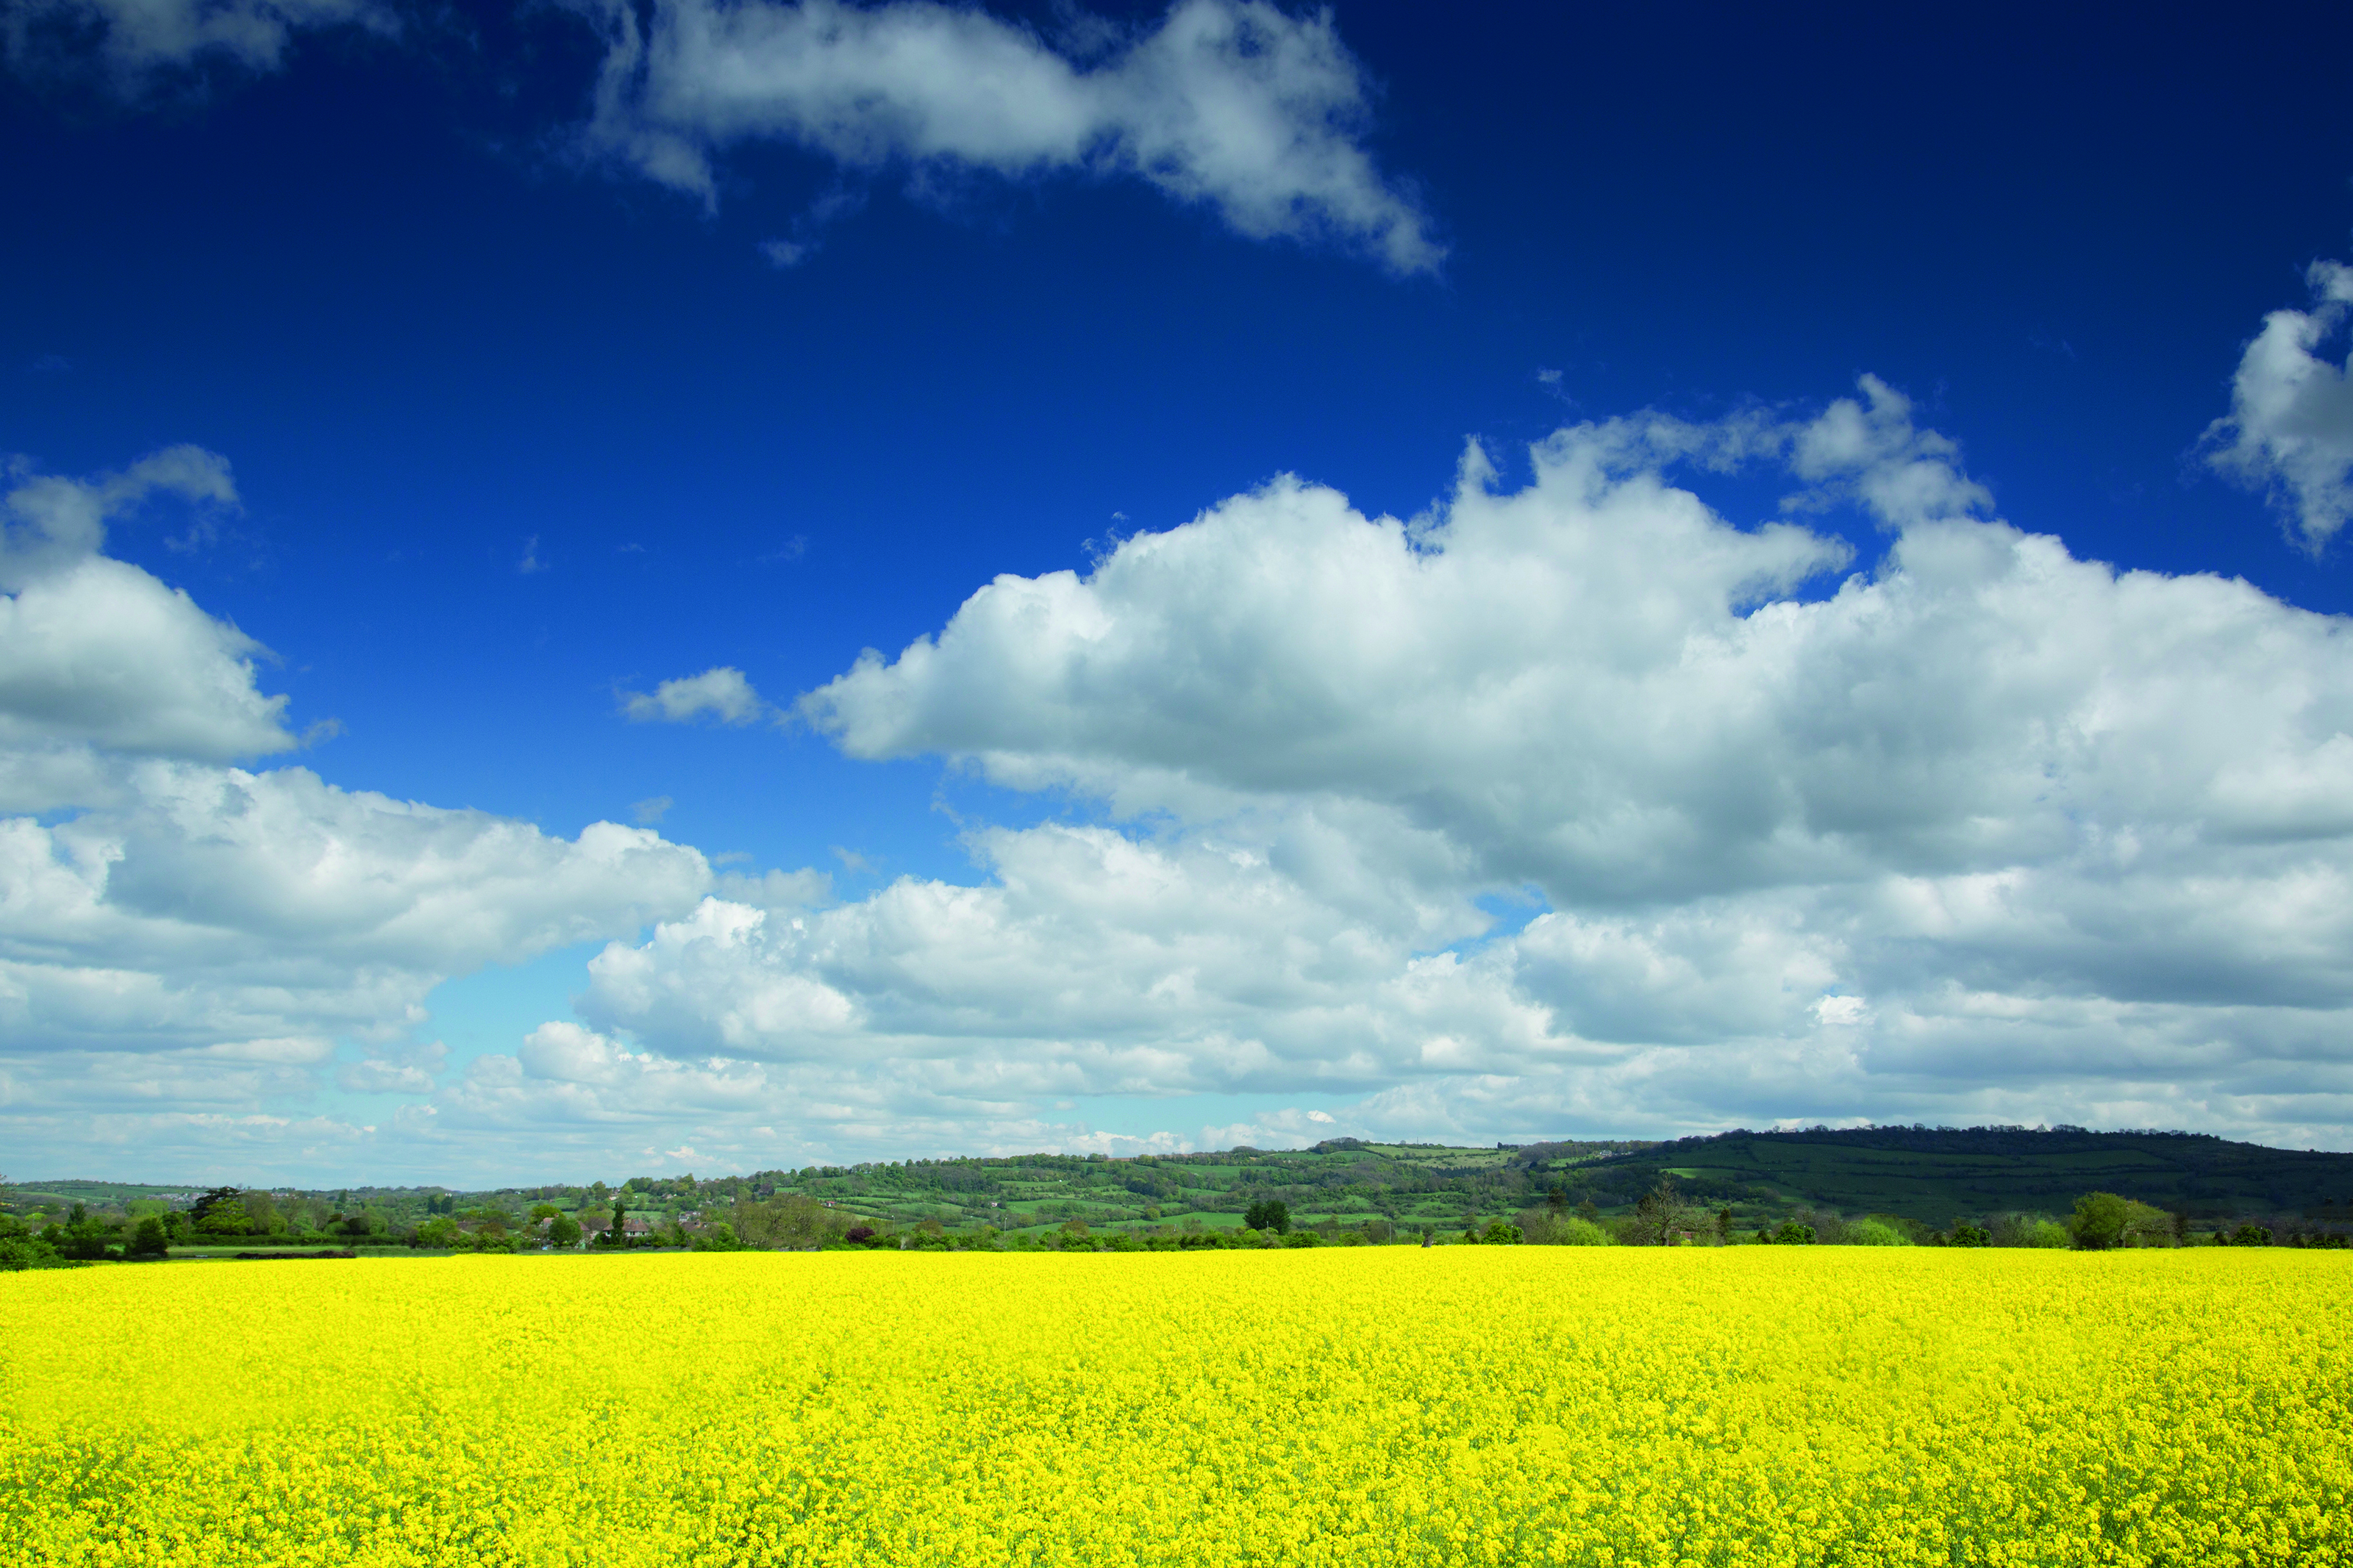
Photography tips for capturing colorful photos of rapeseed flower fields
Time needed: 45 minutes
Skill level: Beginner
Kit needed: Standard zoom lens • Polarizing filter
When farmers’ fields are full of yellow rapeseed, or canola, flowers in full blossom, they offer a great photographic opportunity, especially when contrasting brilliantly against bright blue skies. Let’s take a look at the best techniques to help you capture some great results.
As we’re shooting in bright daylight, we can shoot handheld as our shutter speeds are fairly quick. Just make sure your shutter speed is faster than your effective focal length to overcome potential camera shake issues: so if you’re using a focal length of 60mm, your shutter speed needs to be faster than 1/60 sec.
As we’re exposing for the brighter flowers in the field, lit by the midday sun, this automatically ensures the sky appears darker and bluer for a more dynamic photo. To further enhance this effect, we’ve used a polarizing filter to boost the colors for a really punchy shot – these filters darken blues in skies, making clouds pop out and the contrast against the sun-lit yellow flowers in the field even more dramatic.
Bear in mind that a polarizer will reduce the light reaching your sensor by around two stops and therefore slow down shutter speeds. If they drop too low, increase your ISO from 100 to 200 or 400 to avoid blurry shots when shooting handheld.
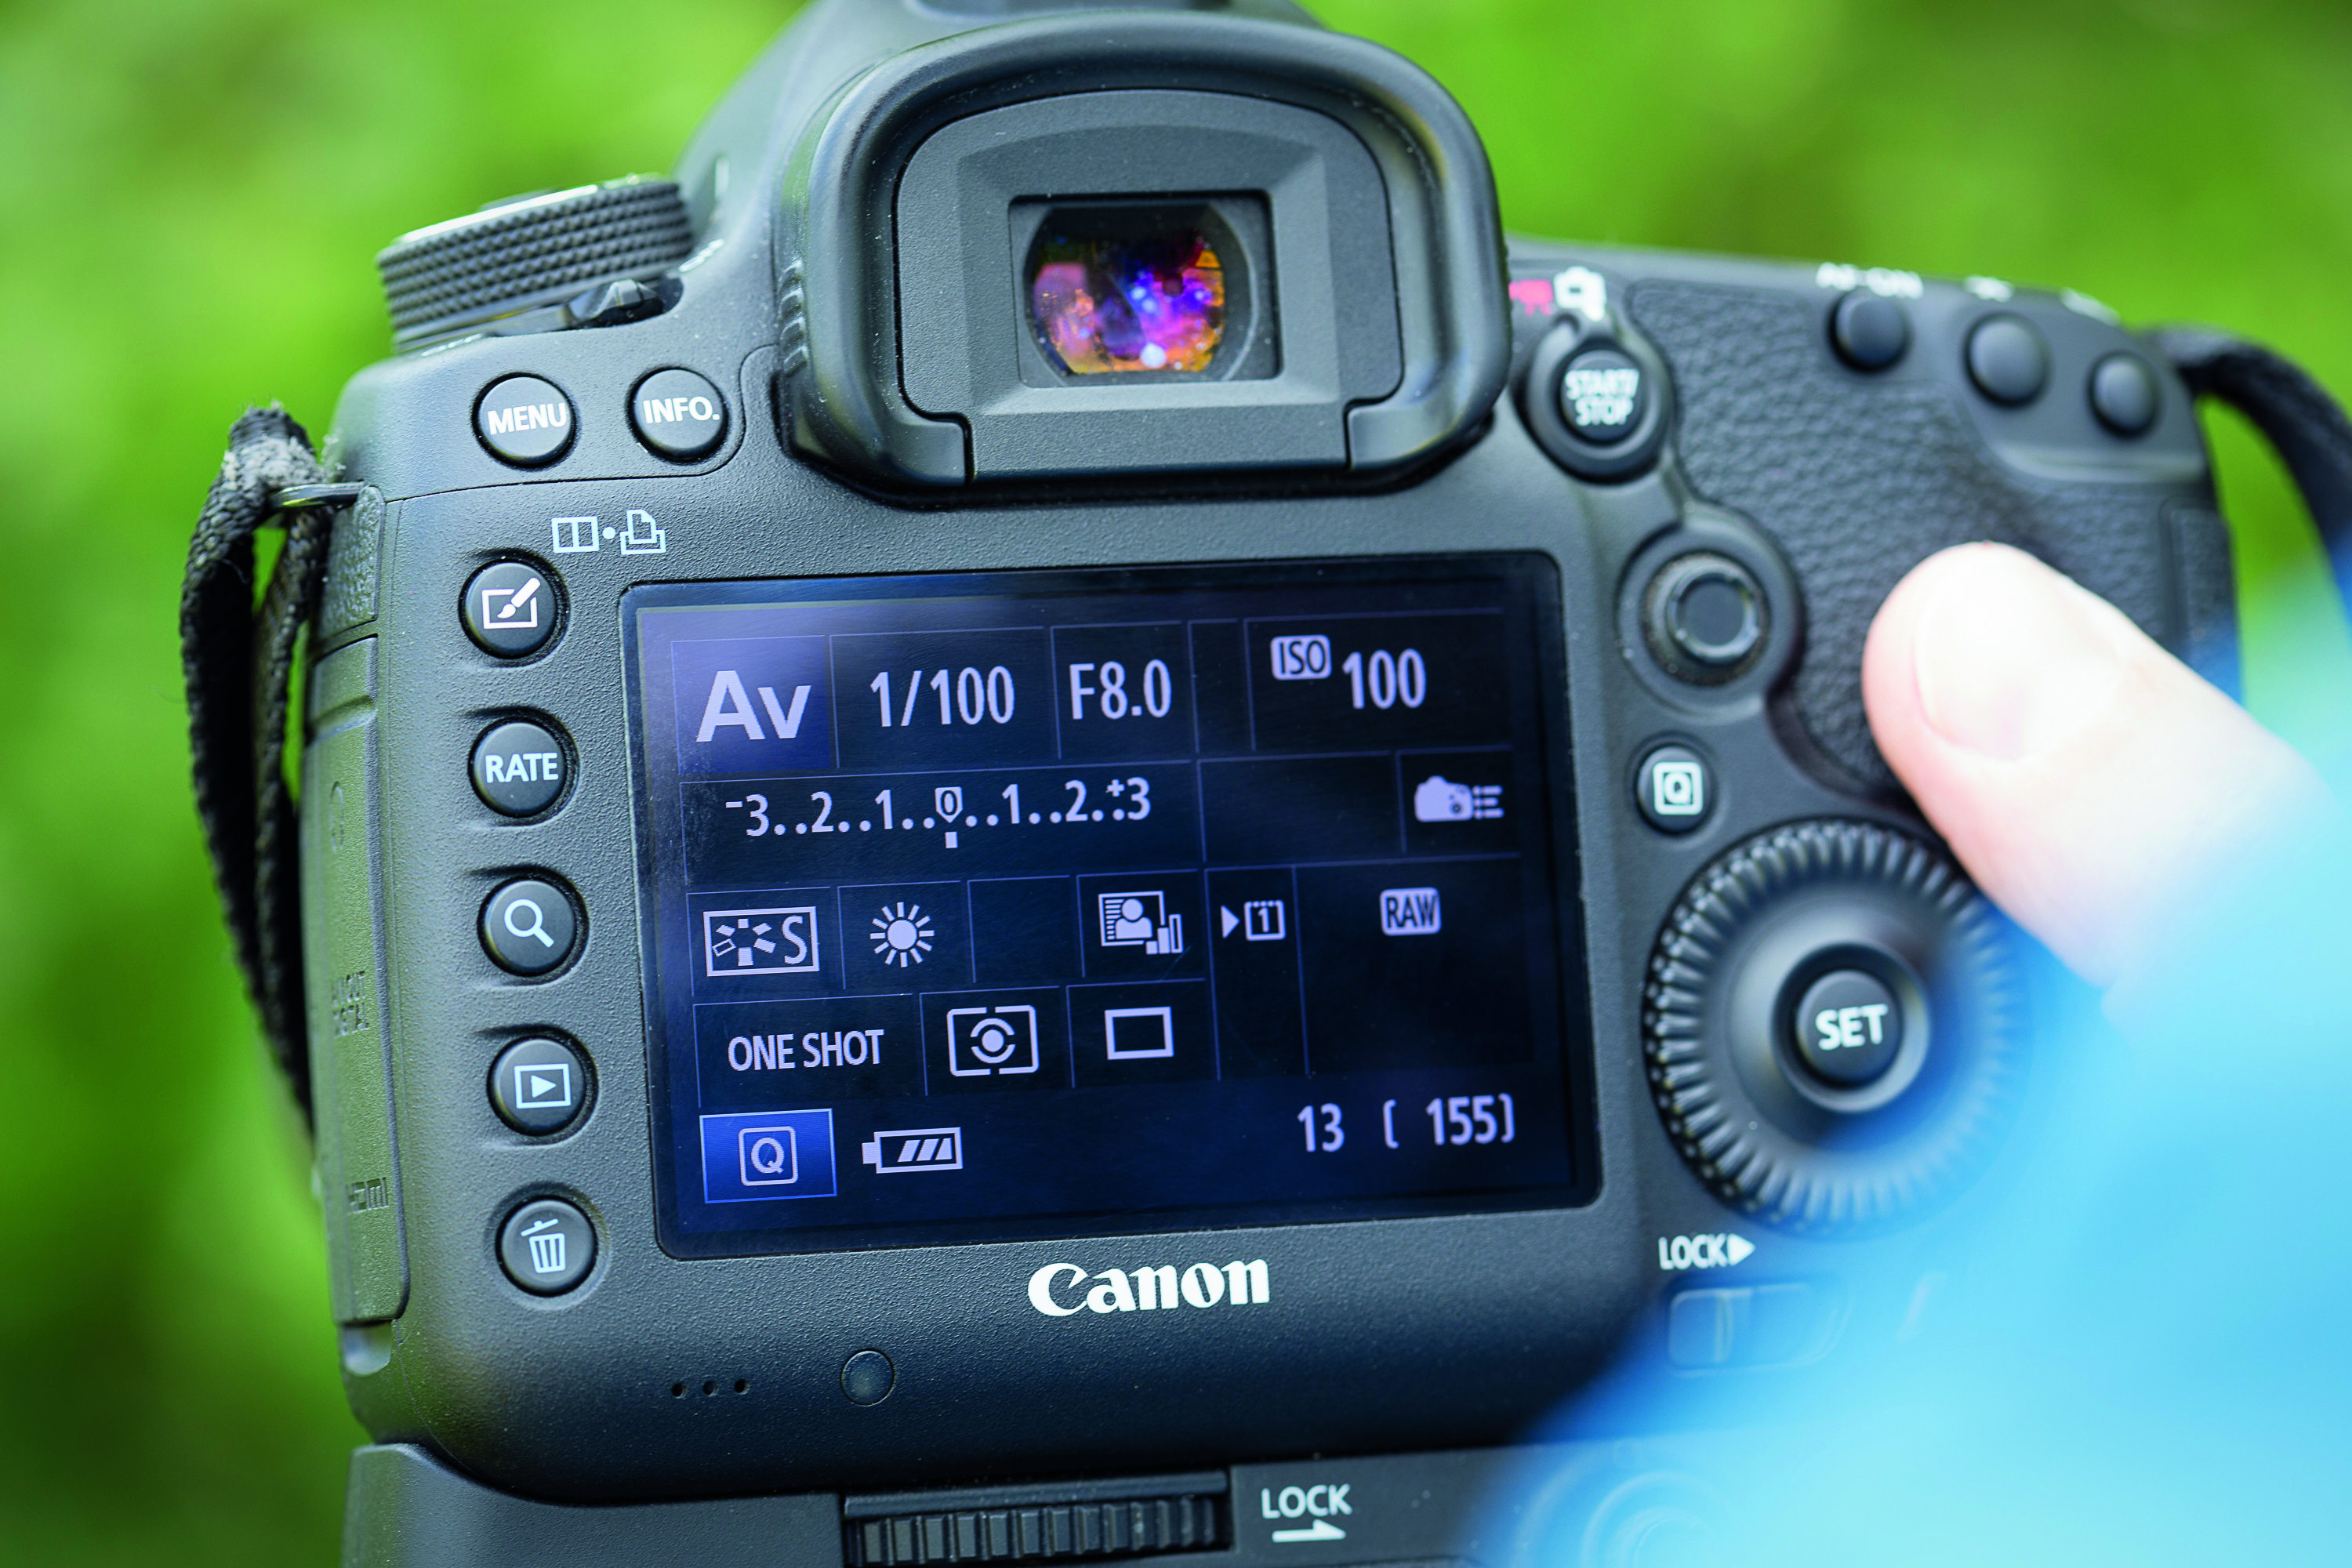
We shot in Av mode to take control of our aperture. With the polarizer attached and turned for its full effect on a bright sunny day, our exposure was f/8 at 1/100 sec and ISO100.
For this scene, we’re after a minimalist composition to show off the blocks of yellow fields and blue sky. We’ve composed so the rapeseed field fills the bottom third of our frame, and the sky fills the top two thirds. It makes for a much more arresting image than if the horizon was central.
How close you get to the fields and your focal length will determine how the flowers appear in the frame. Standing back and shooting from a slightly higher vantage point then zooming in and pointing your camera down will help you to see more of the rapeseed field, and the flowers will look more dense.
The best camera deals, reviews, product advice, and unmissable photography news, direct to your inbox!
We took our photos at the end of April, but if you’ve missed the rapeseed flowers in full bloom, not too worry, May and June are great times for shooting poppy fields instead…
STEP BY STEP: Flowery fields forever
Key camera settings, lens setup and using filters to capture the best results
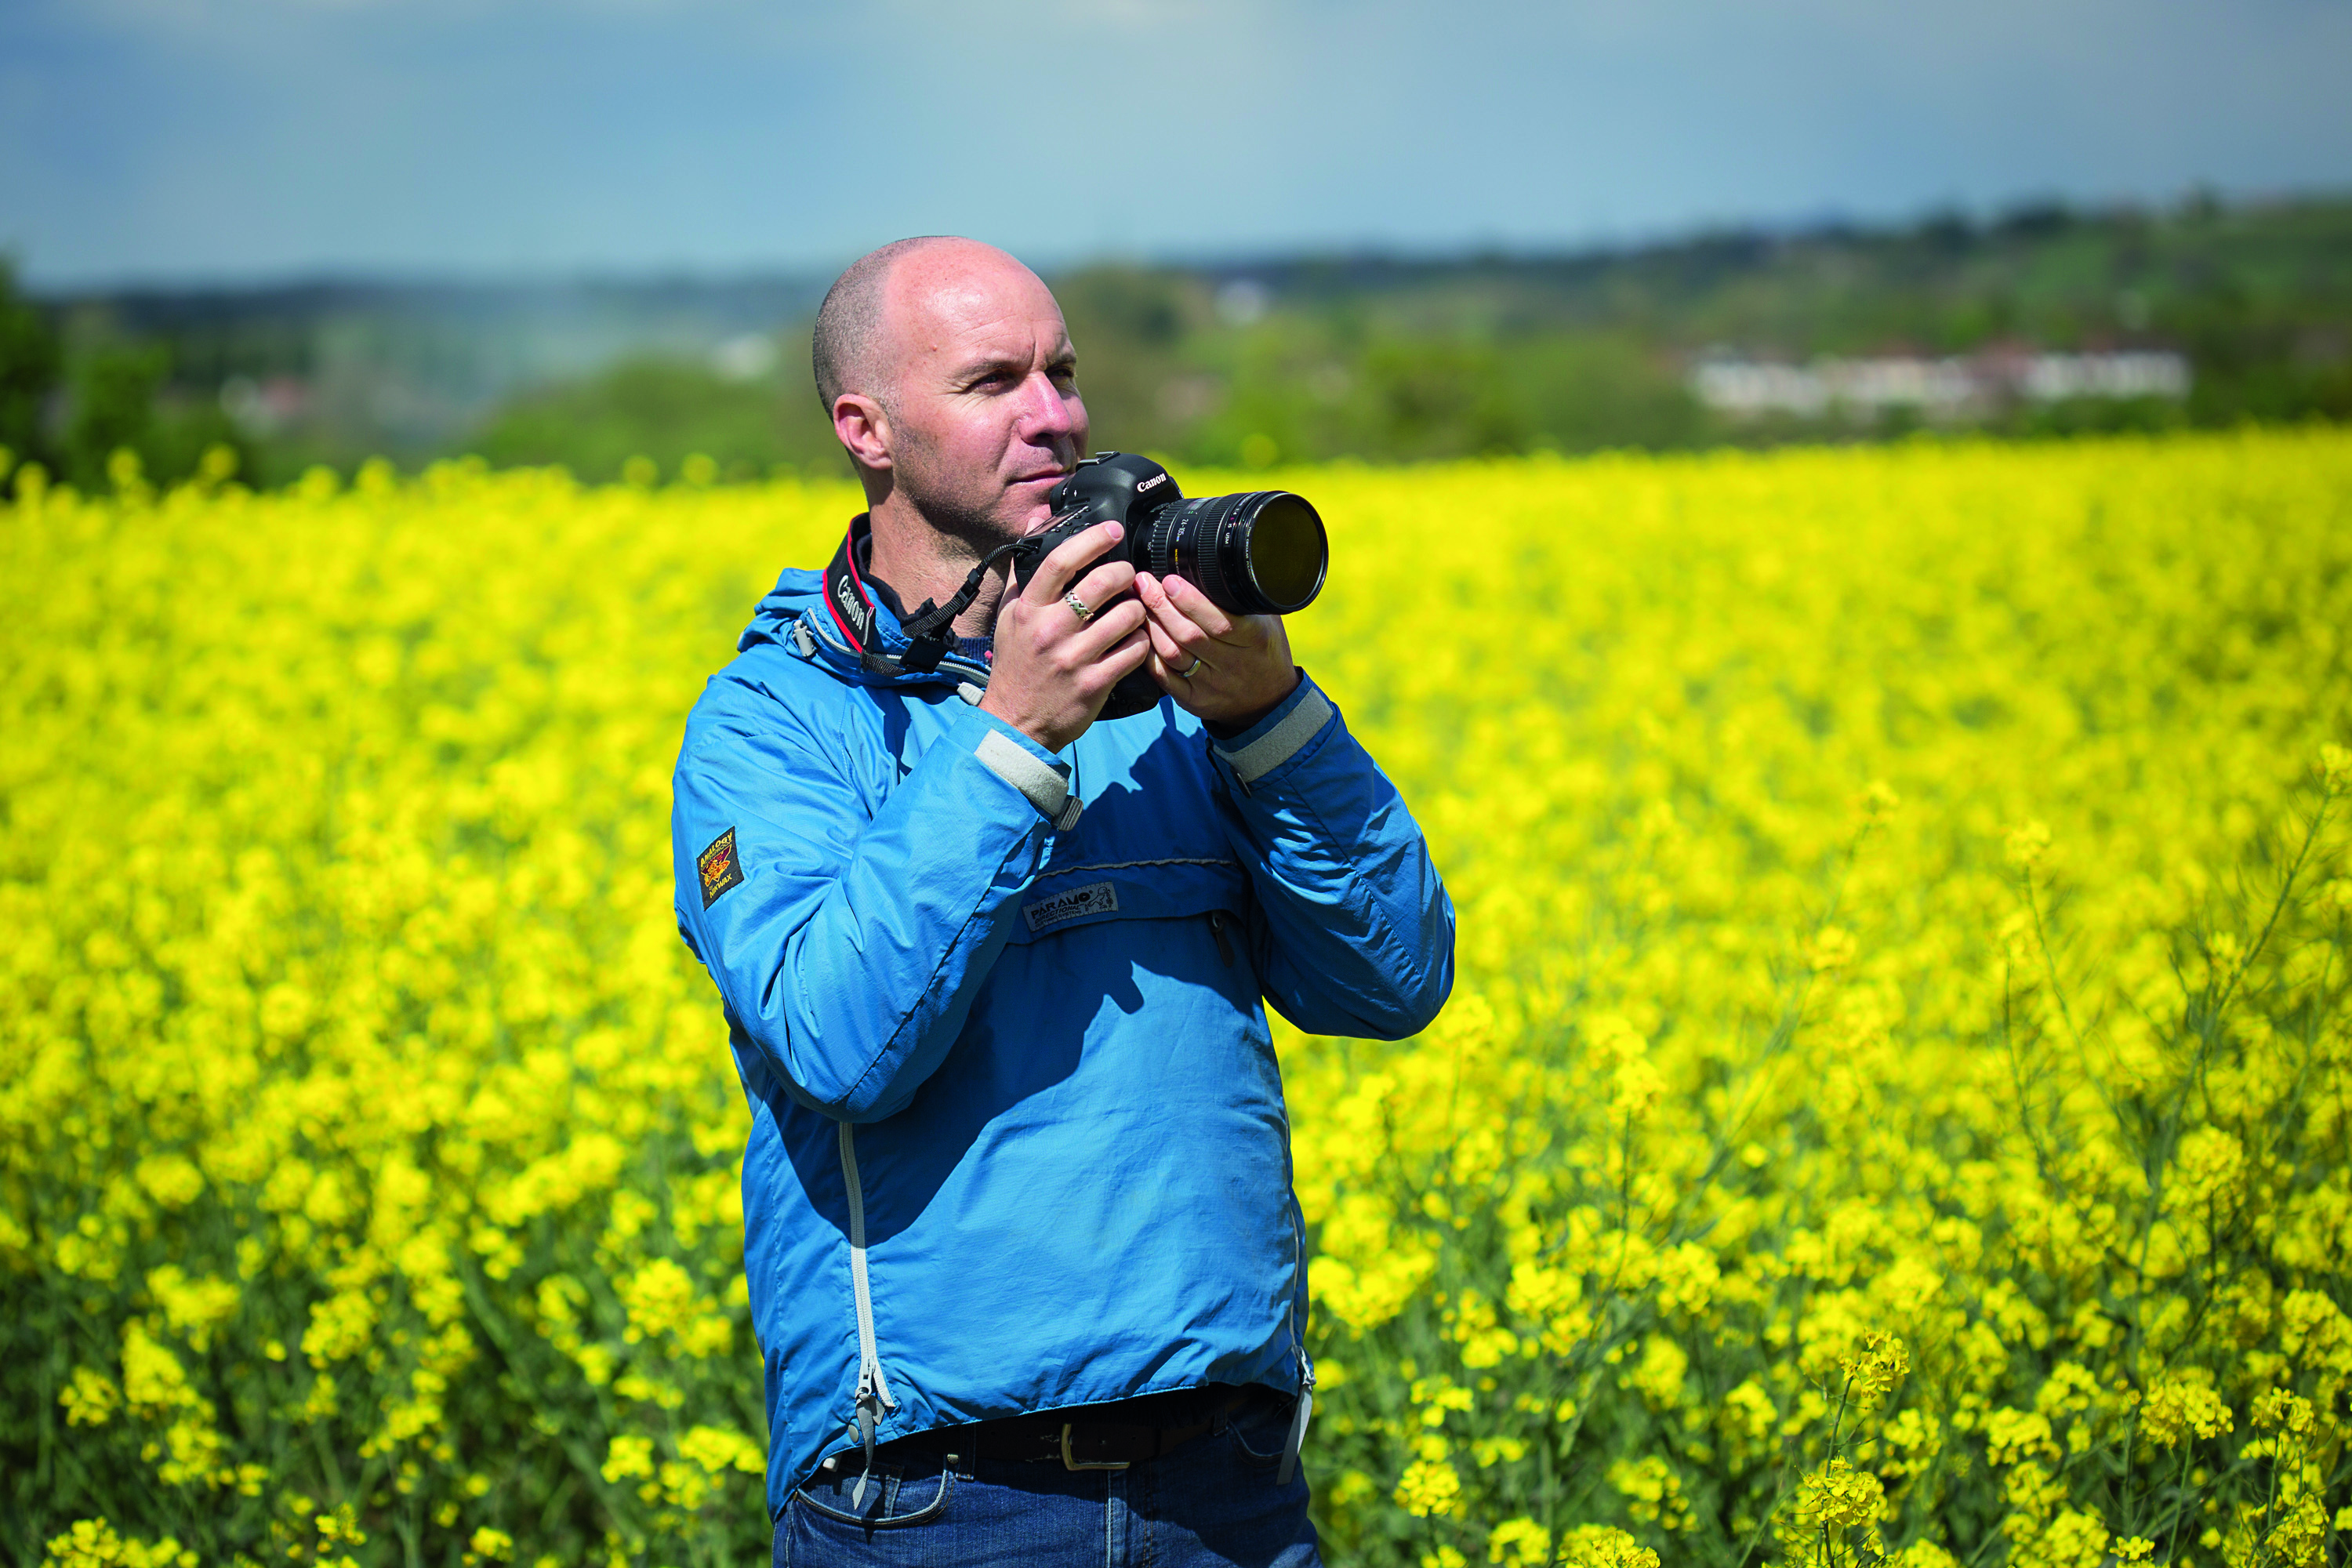
Step back from the edge of the field and zoom in with your lens to make the flowers appear more densely packed
01 GET ORF MY LAND!
Before starting shooting, please be respectful of farmers and their land. Shoot from public footpaths and bridleways around the edges of the rapeseed fields, rather than wading in and damaging their crop. You’ll find the best compositions from these spots at the perimeter and further back anyway.
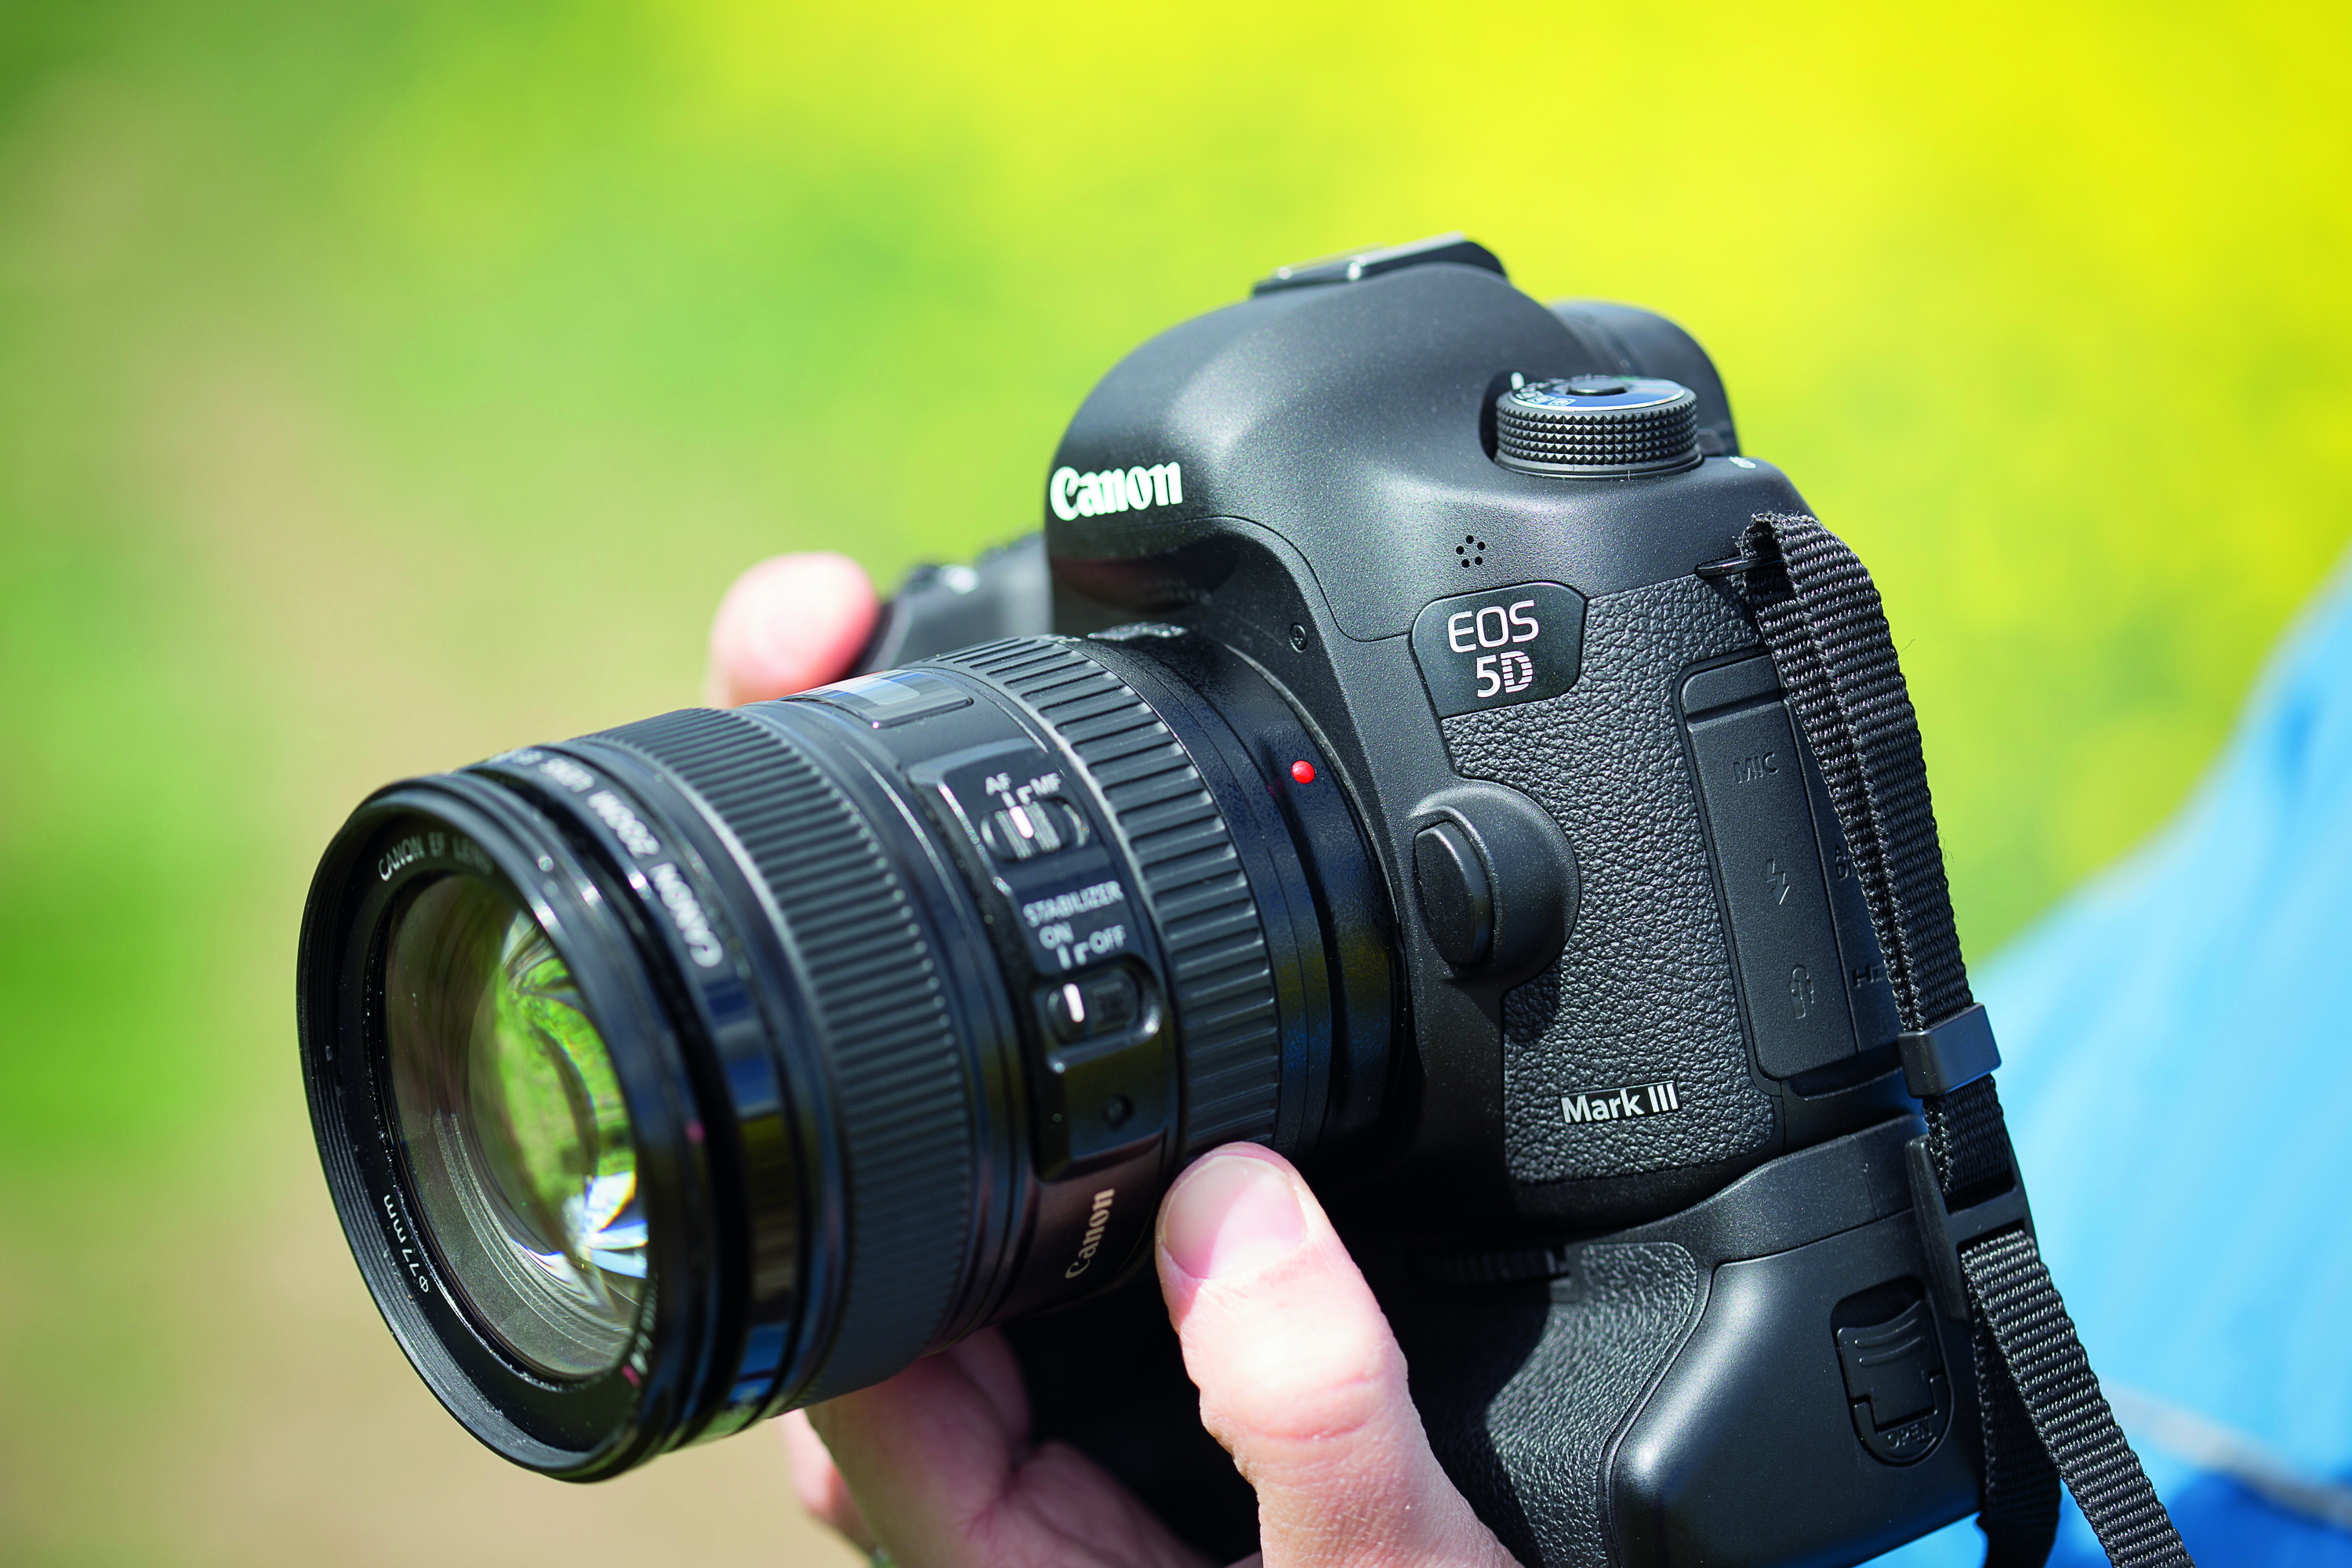
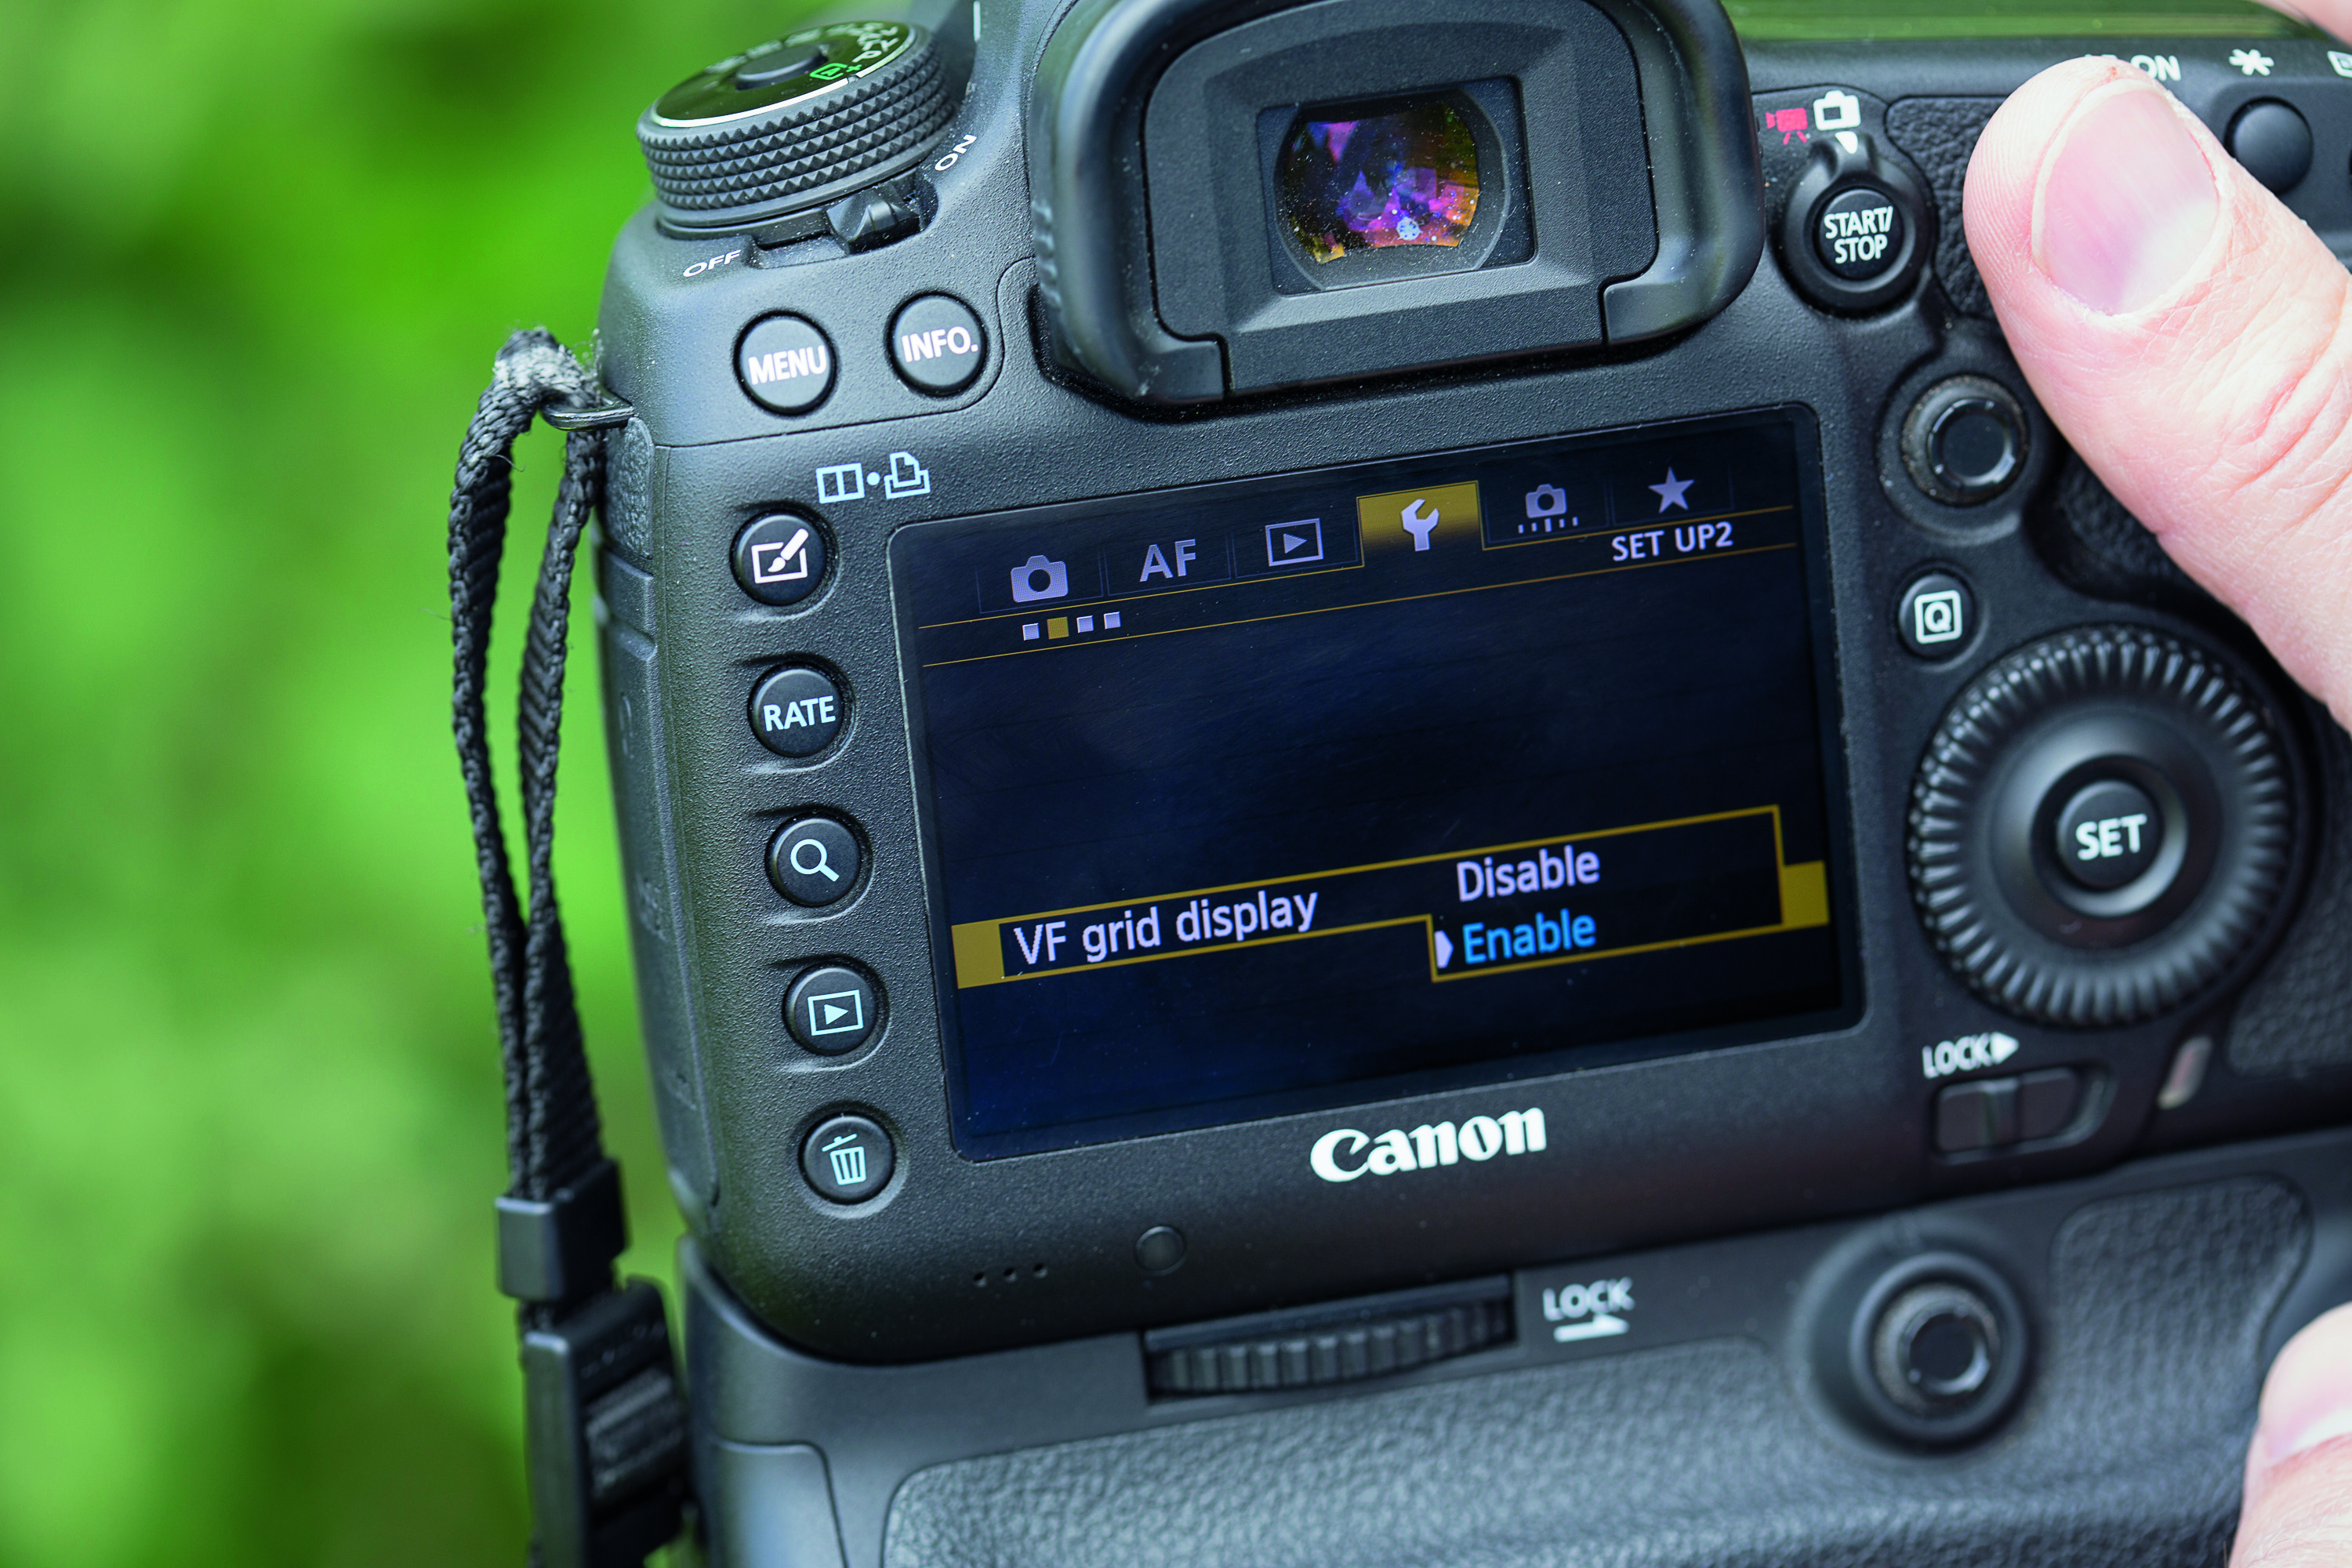
Enable the viewfinder grid display (labelled VF Grid Display in the menu)and you can ensure the camera is level by lining up the horizon with the grid lines in the viewfinder. Some cameras, such as the 5D Mark III, also offer an electronic level in the viewfinder via custom functions. Or use a tripod and Live View and press Info until the level appears on your rear LCD.
02 DSLR & LENS
We’re using our DSLR with a standard zoom lens for our photos, but any kit lens will work for these simple scenic photos. We’re shooting in Av mode, so we set the aperture, and our camera sets the shutter speed for a good exposure.
03 DEPTH OF FIELD
We’ve set an aperture of f/8 and are using a focal length of 60mm on our lens. When focusing a third into our scene – towards of the back of the rapeseed field for us – these settings give us enough depth of field so the whole scene is sharp. This midrange aperture also captures the optimum image quality.

04 POLARIZING POWER
We’re also using a polarizing filter – these are great for darkening the blue skies and boosting contrast for an even more dramatic shot. The effect is most pronounced when you shoot at right-angles to the sun (so the sun falls on your shoulder); twist the outer rim of the filter to enhance the polarizing effect.
DSLR TECHNIQUES: Creative compositions
Don’t be lazy with your composition! Try these more interesting framing methods
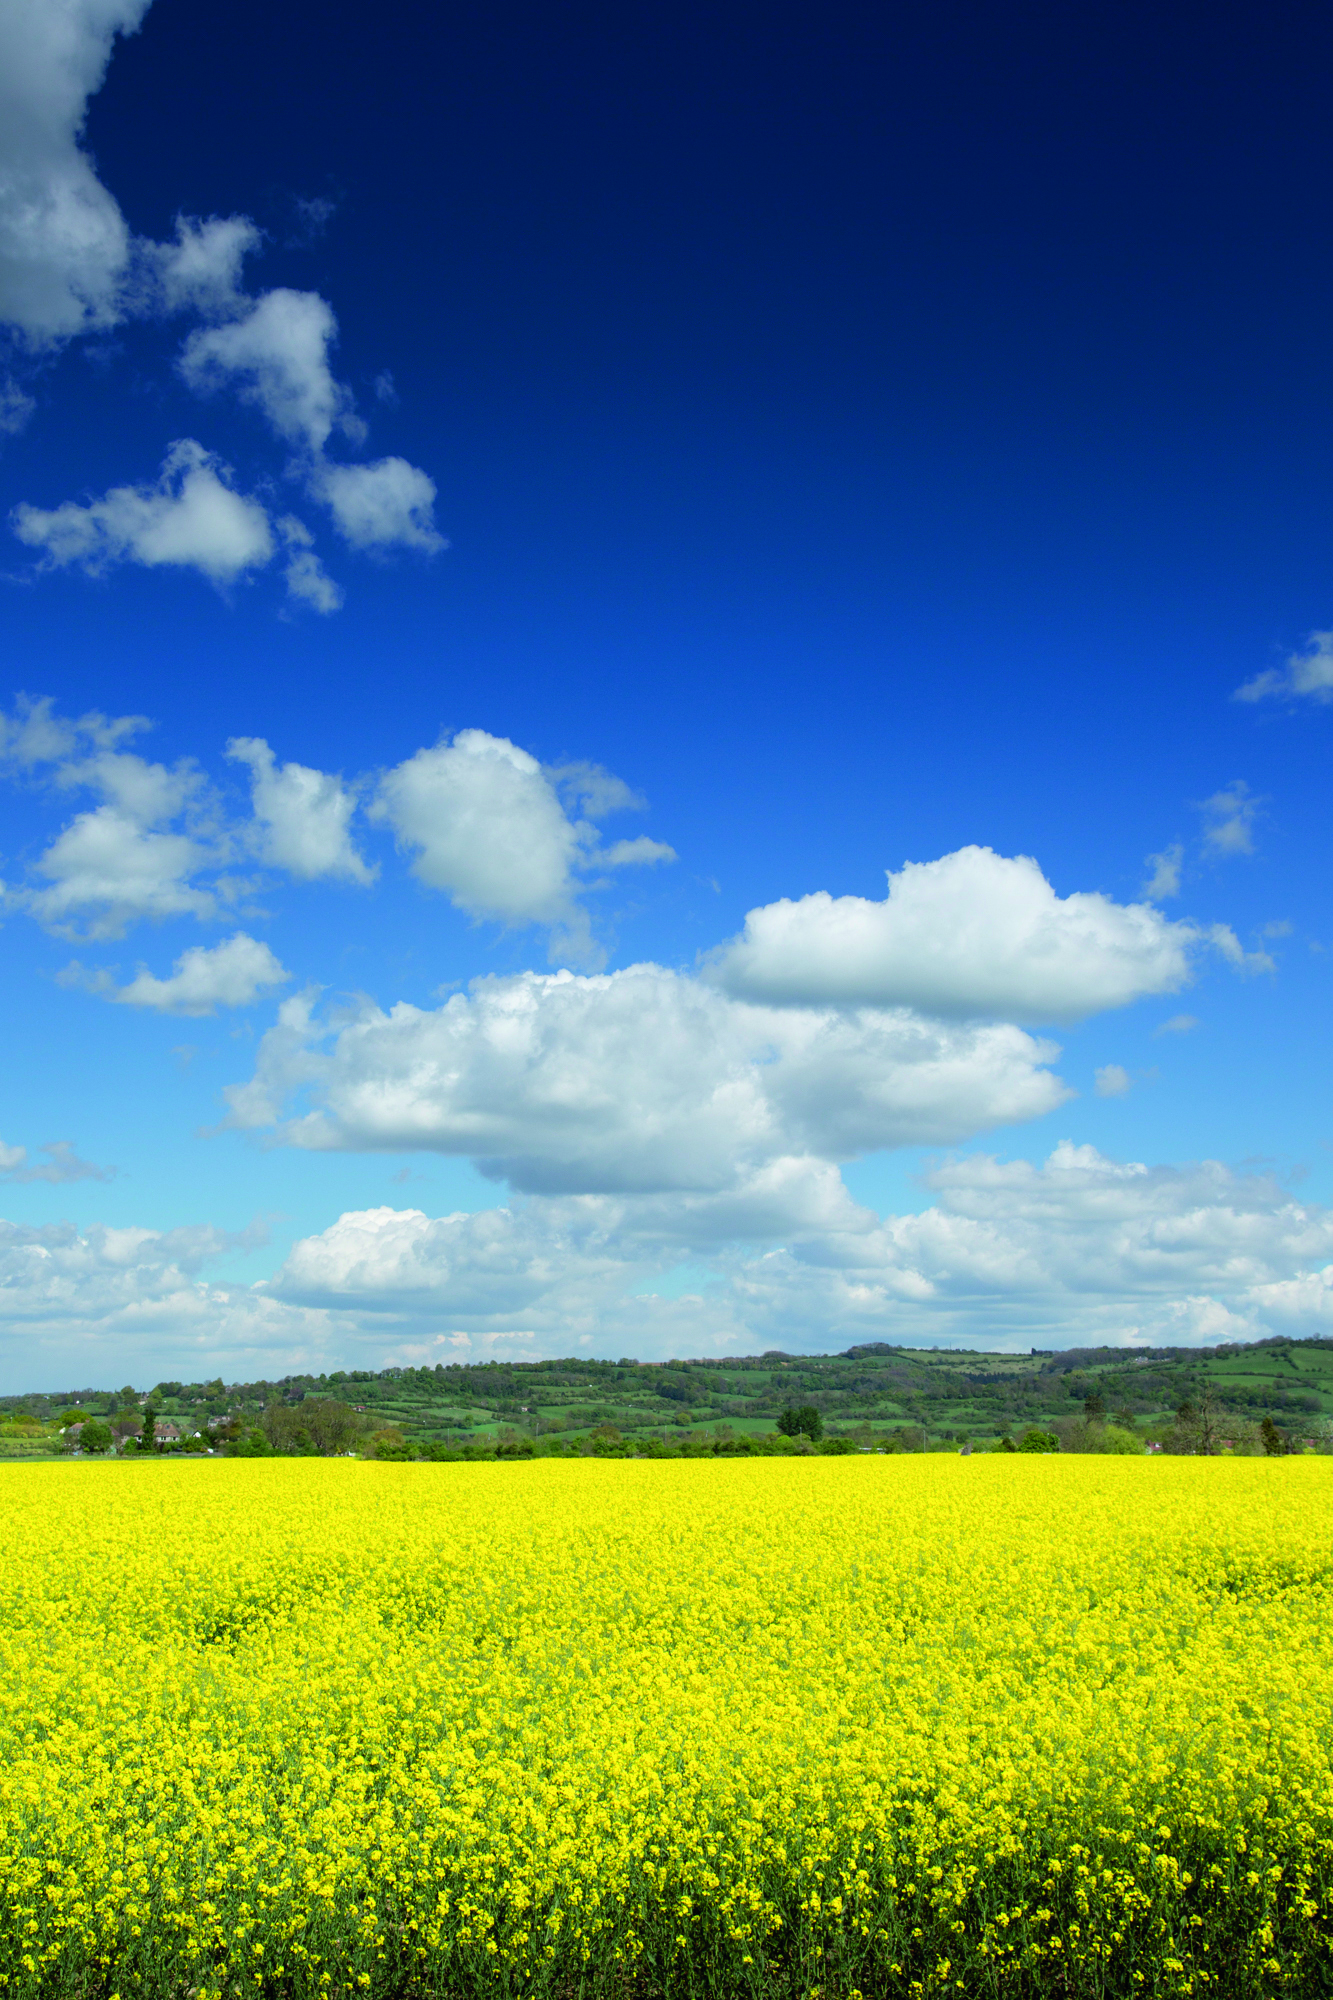
Rather than in the classic ‘landscape in landscape’ format, also try shooting vertically for a more creative composition. You’ll need to consider which section of your scene you focus on, and how you position clouds in the sky to fit the vertical shape frame. Experiment and you will be rewarded.
01 AVOID CENTRAL HORIZONS
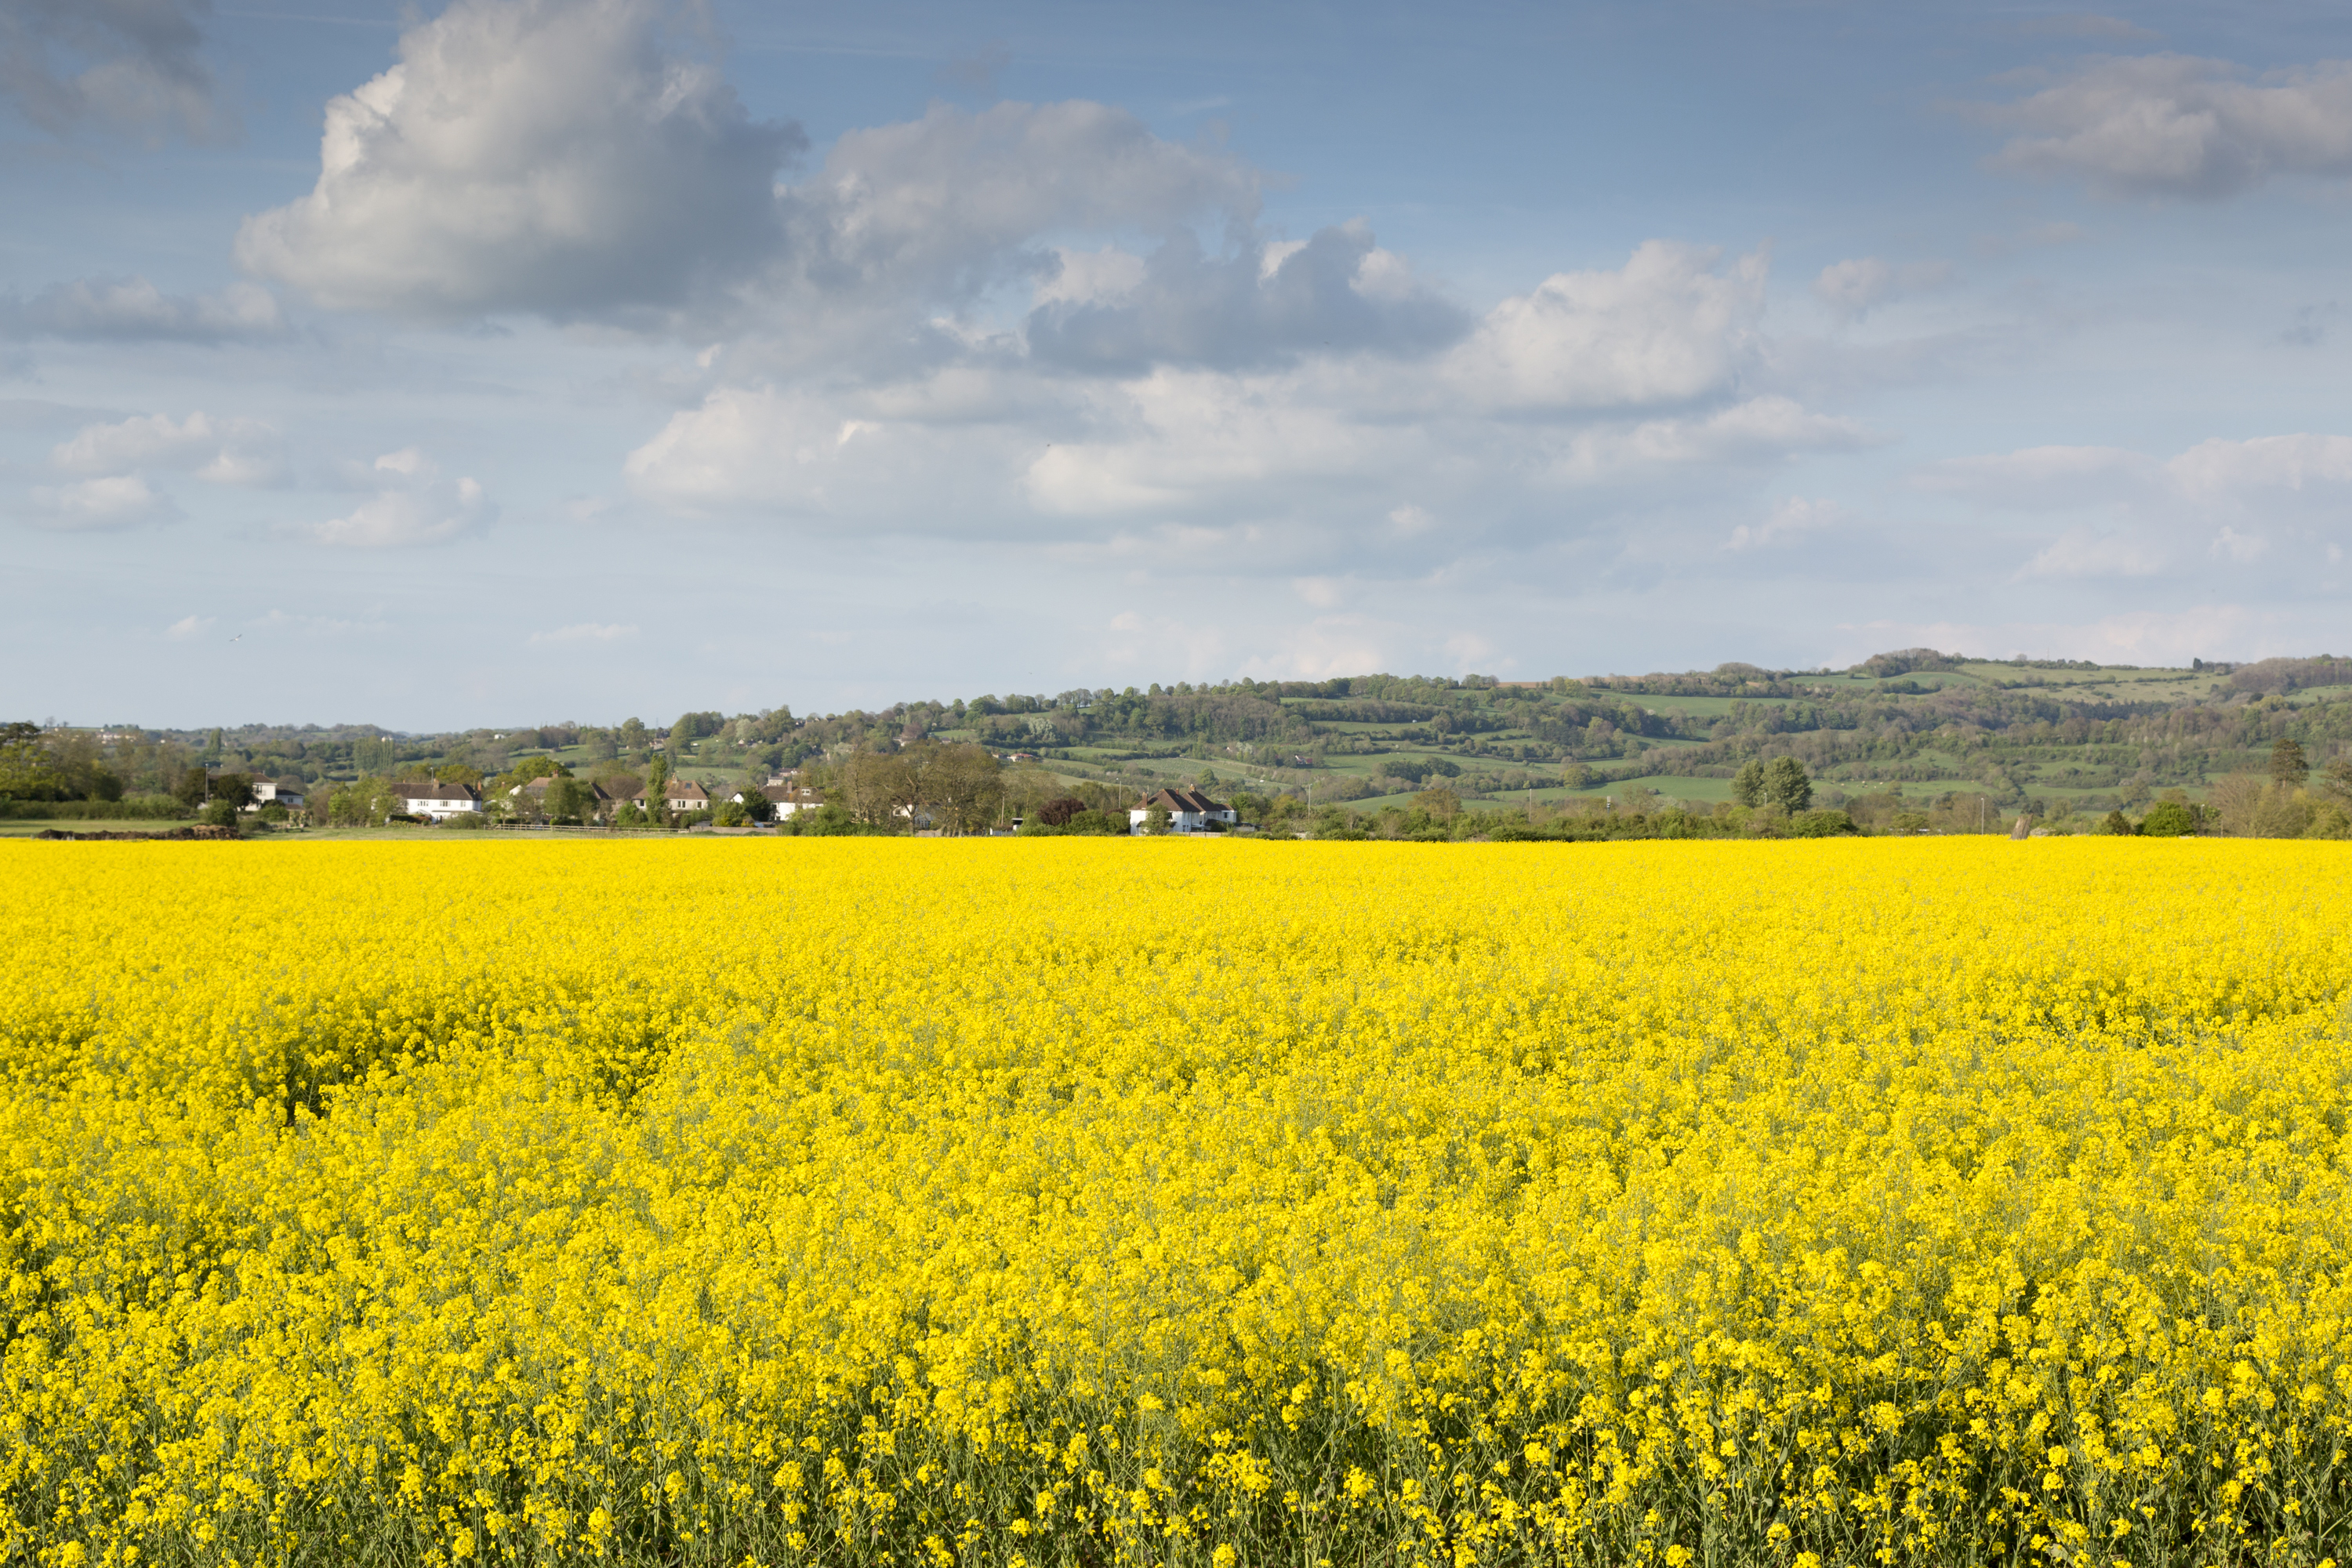
Think about where to position the horizon for more creative shots. Rather than simply putting the horizon in the centre of the frame as here, for our main image, on the previous page, we’ve used the rule of thirds to position the horizon. The improvement is instant.
02 GET IN CLOSE
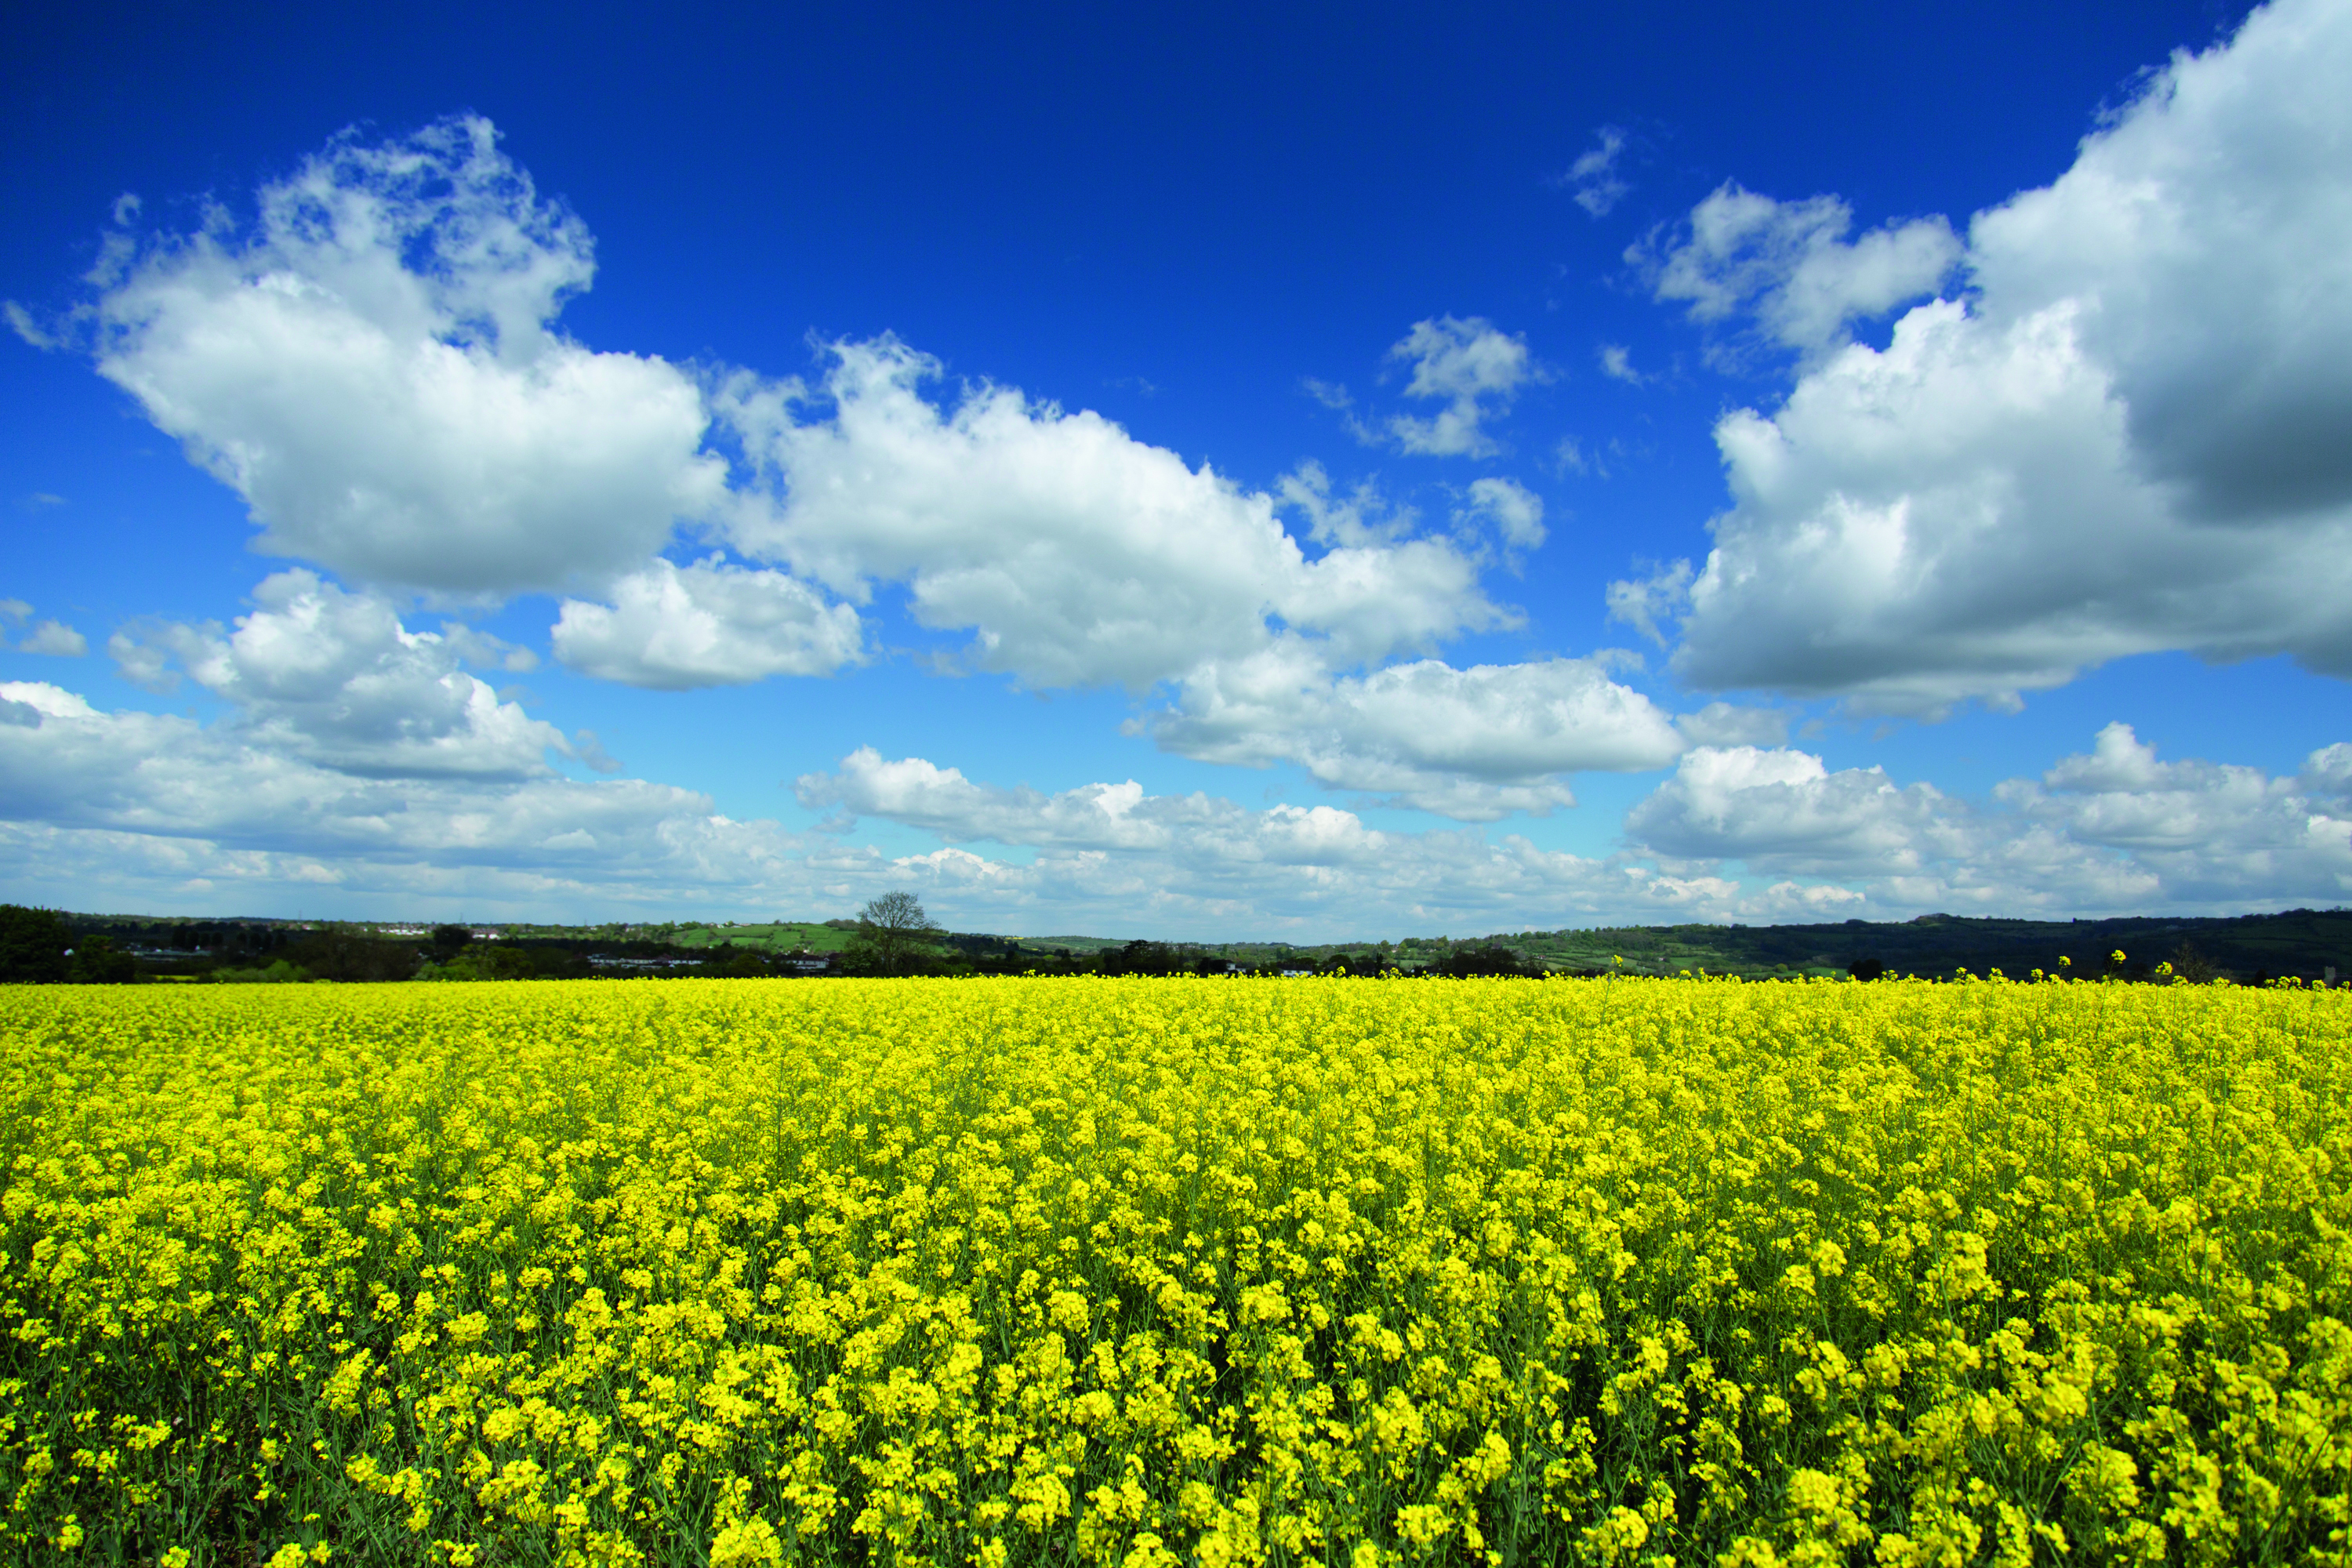
Getting closer to the edge of the flowers and shooting with a wide-angle focal length (24mm in our example) captures a different perspective, with the horizon further in the distance. We were lucky we had blue skies with white clouds to add a little extra interest.

03 SHOOT THROUGH FOLIAGE
Look for overhanging branches and leaves for framing and for a different point of view. Any foliage that is in shadow will appear darker compared to the brighter scene – use this to your advantage so the eye is drawn to prettier scene we can see beyond.
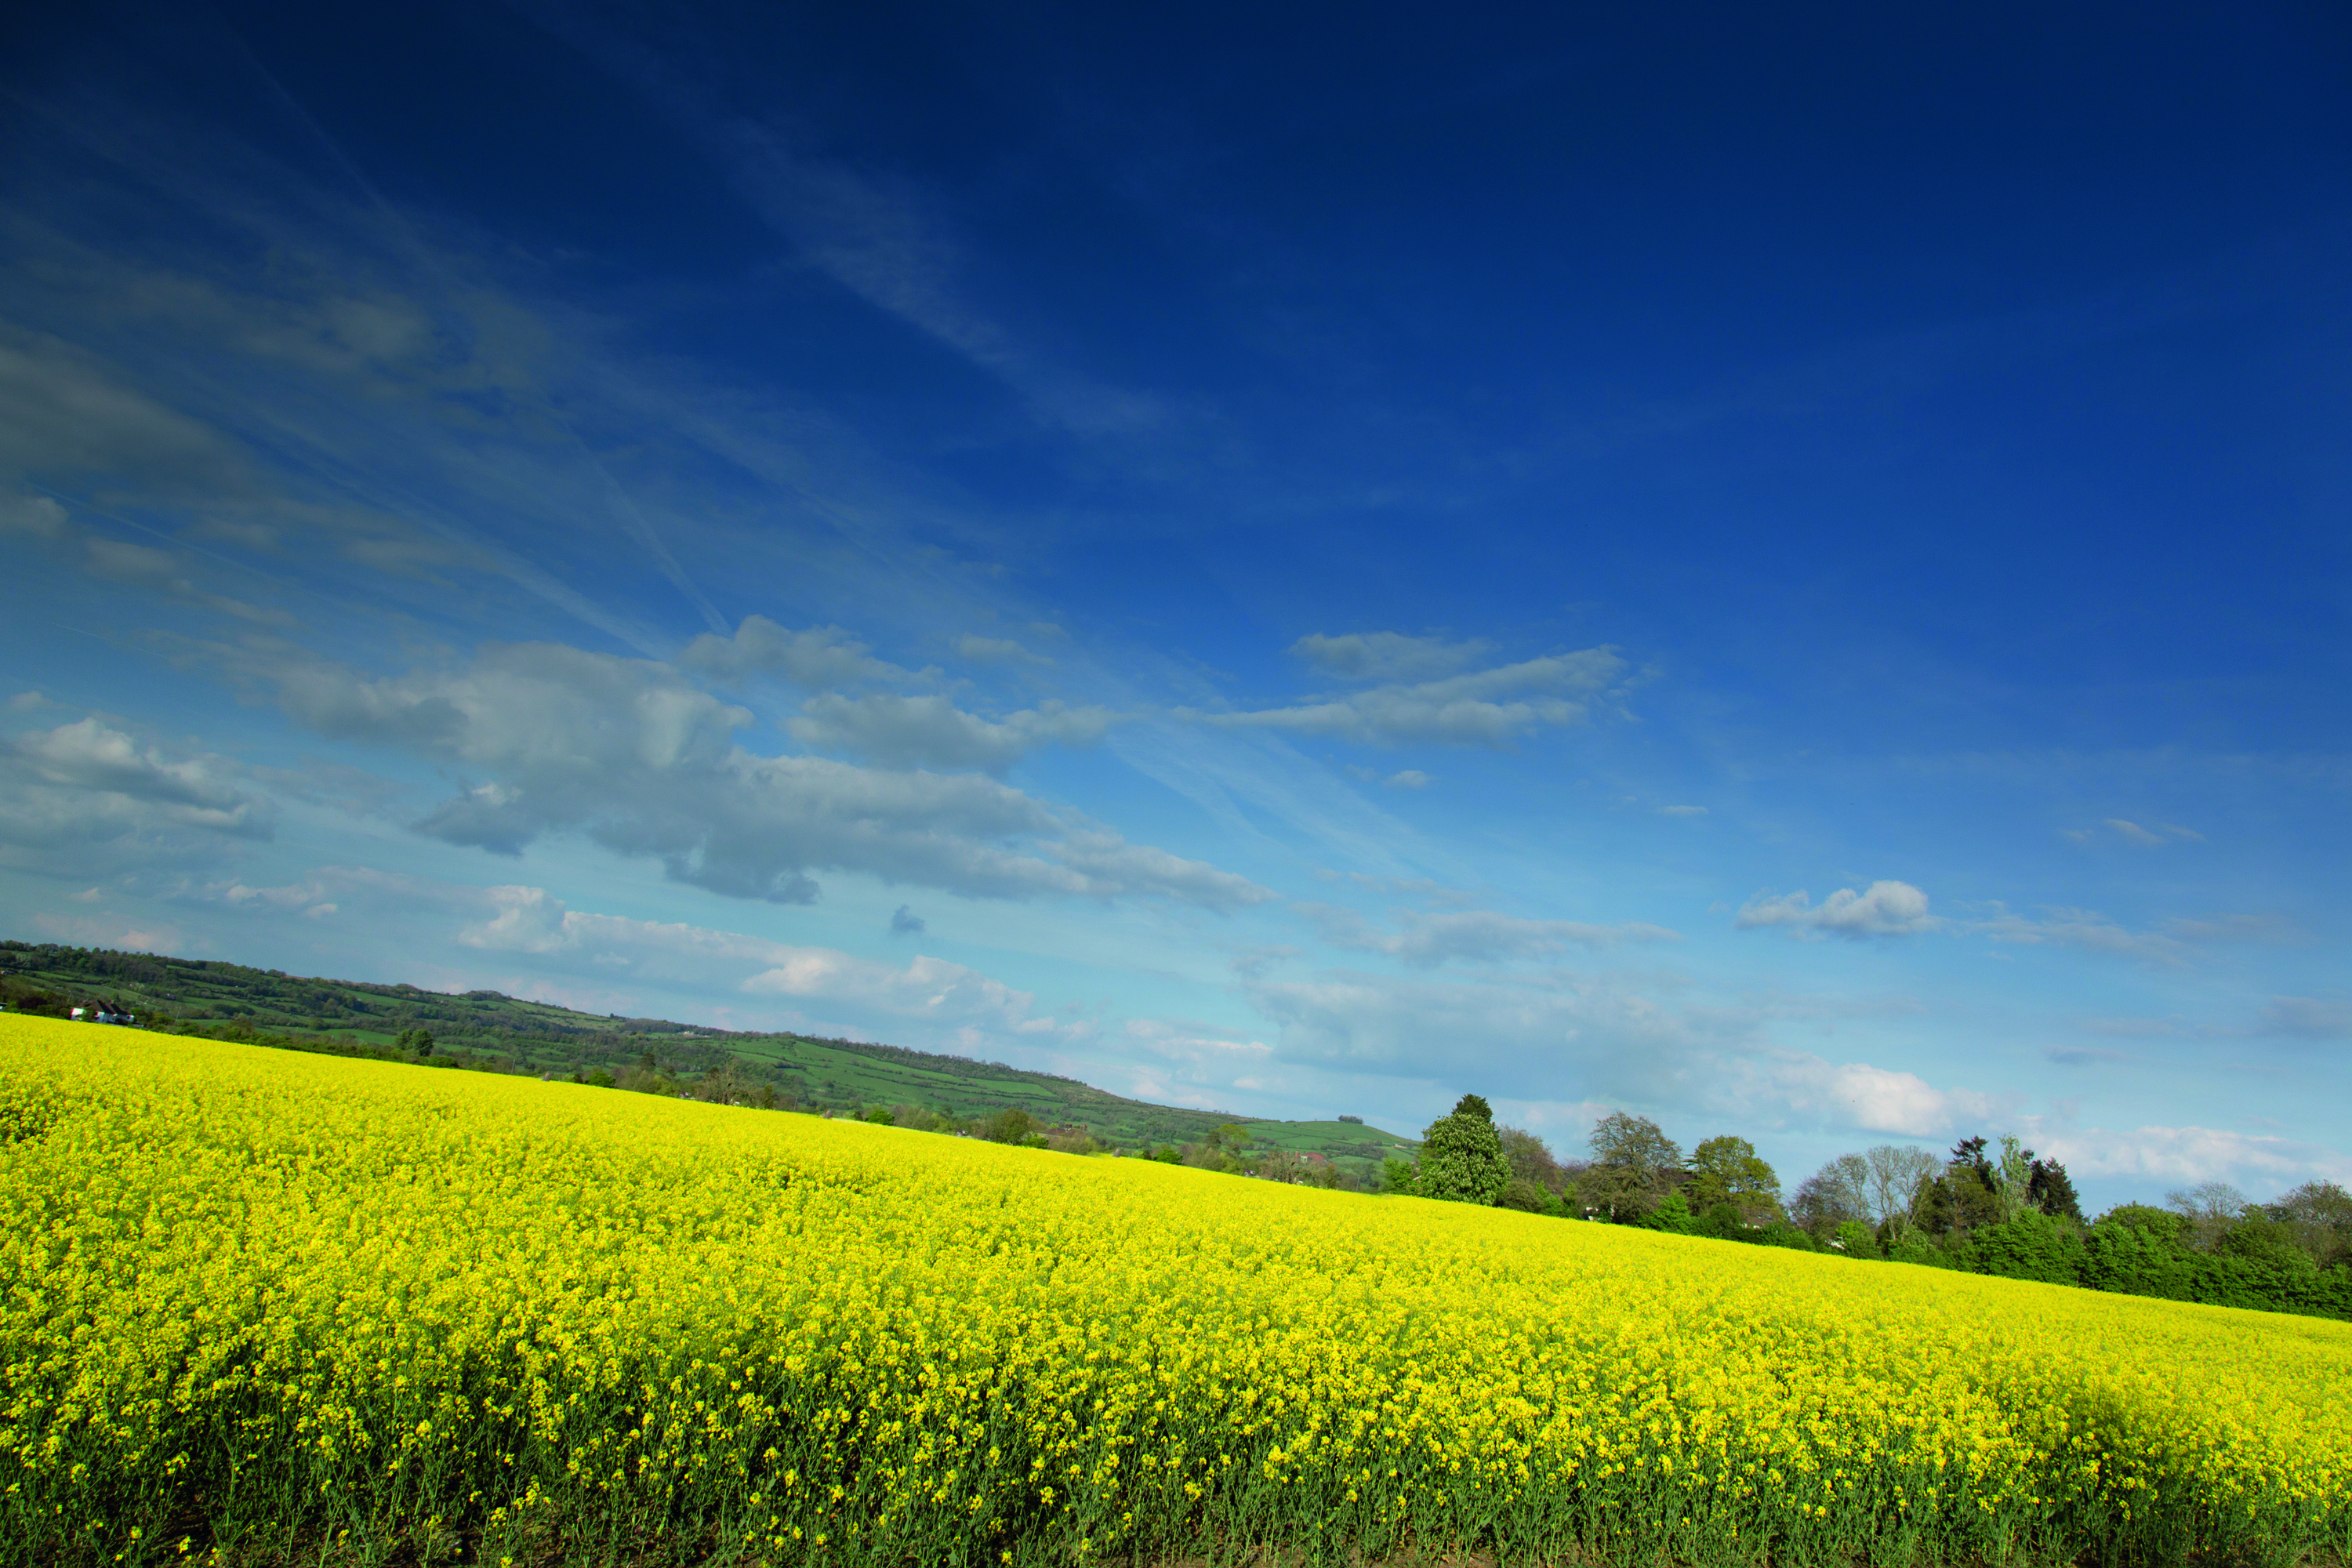
04 DUTCH TILT
Go wild and tilt your camera, following the edge of the rapeseed fields. This technique breaks all the normal rules, but can work out well for shots that feature distinctive lines and horizons like this. Streaky clouds in skies can add to the effect.
THREE TIPS: Go vertical, get artistic & go blurry
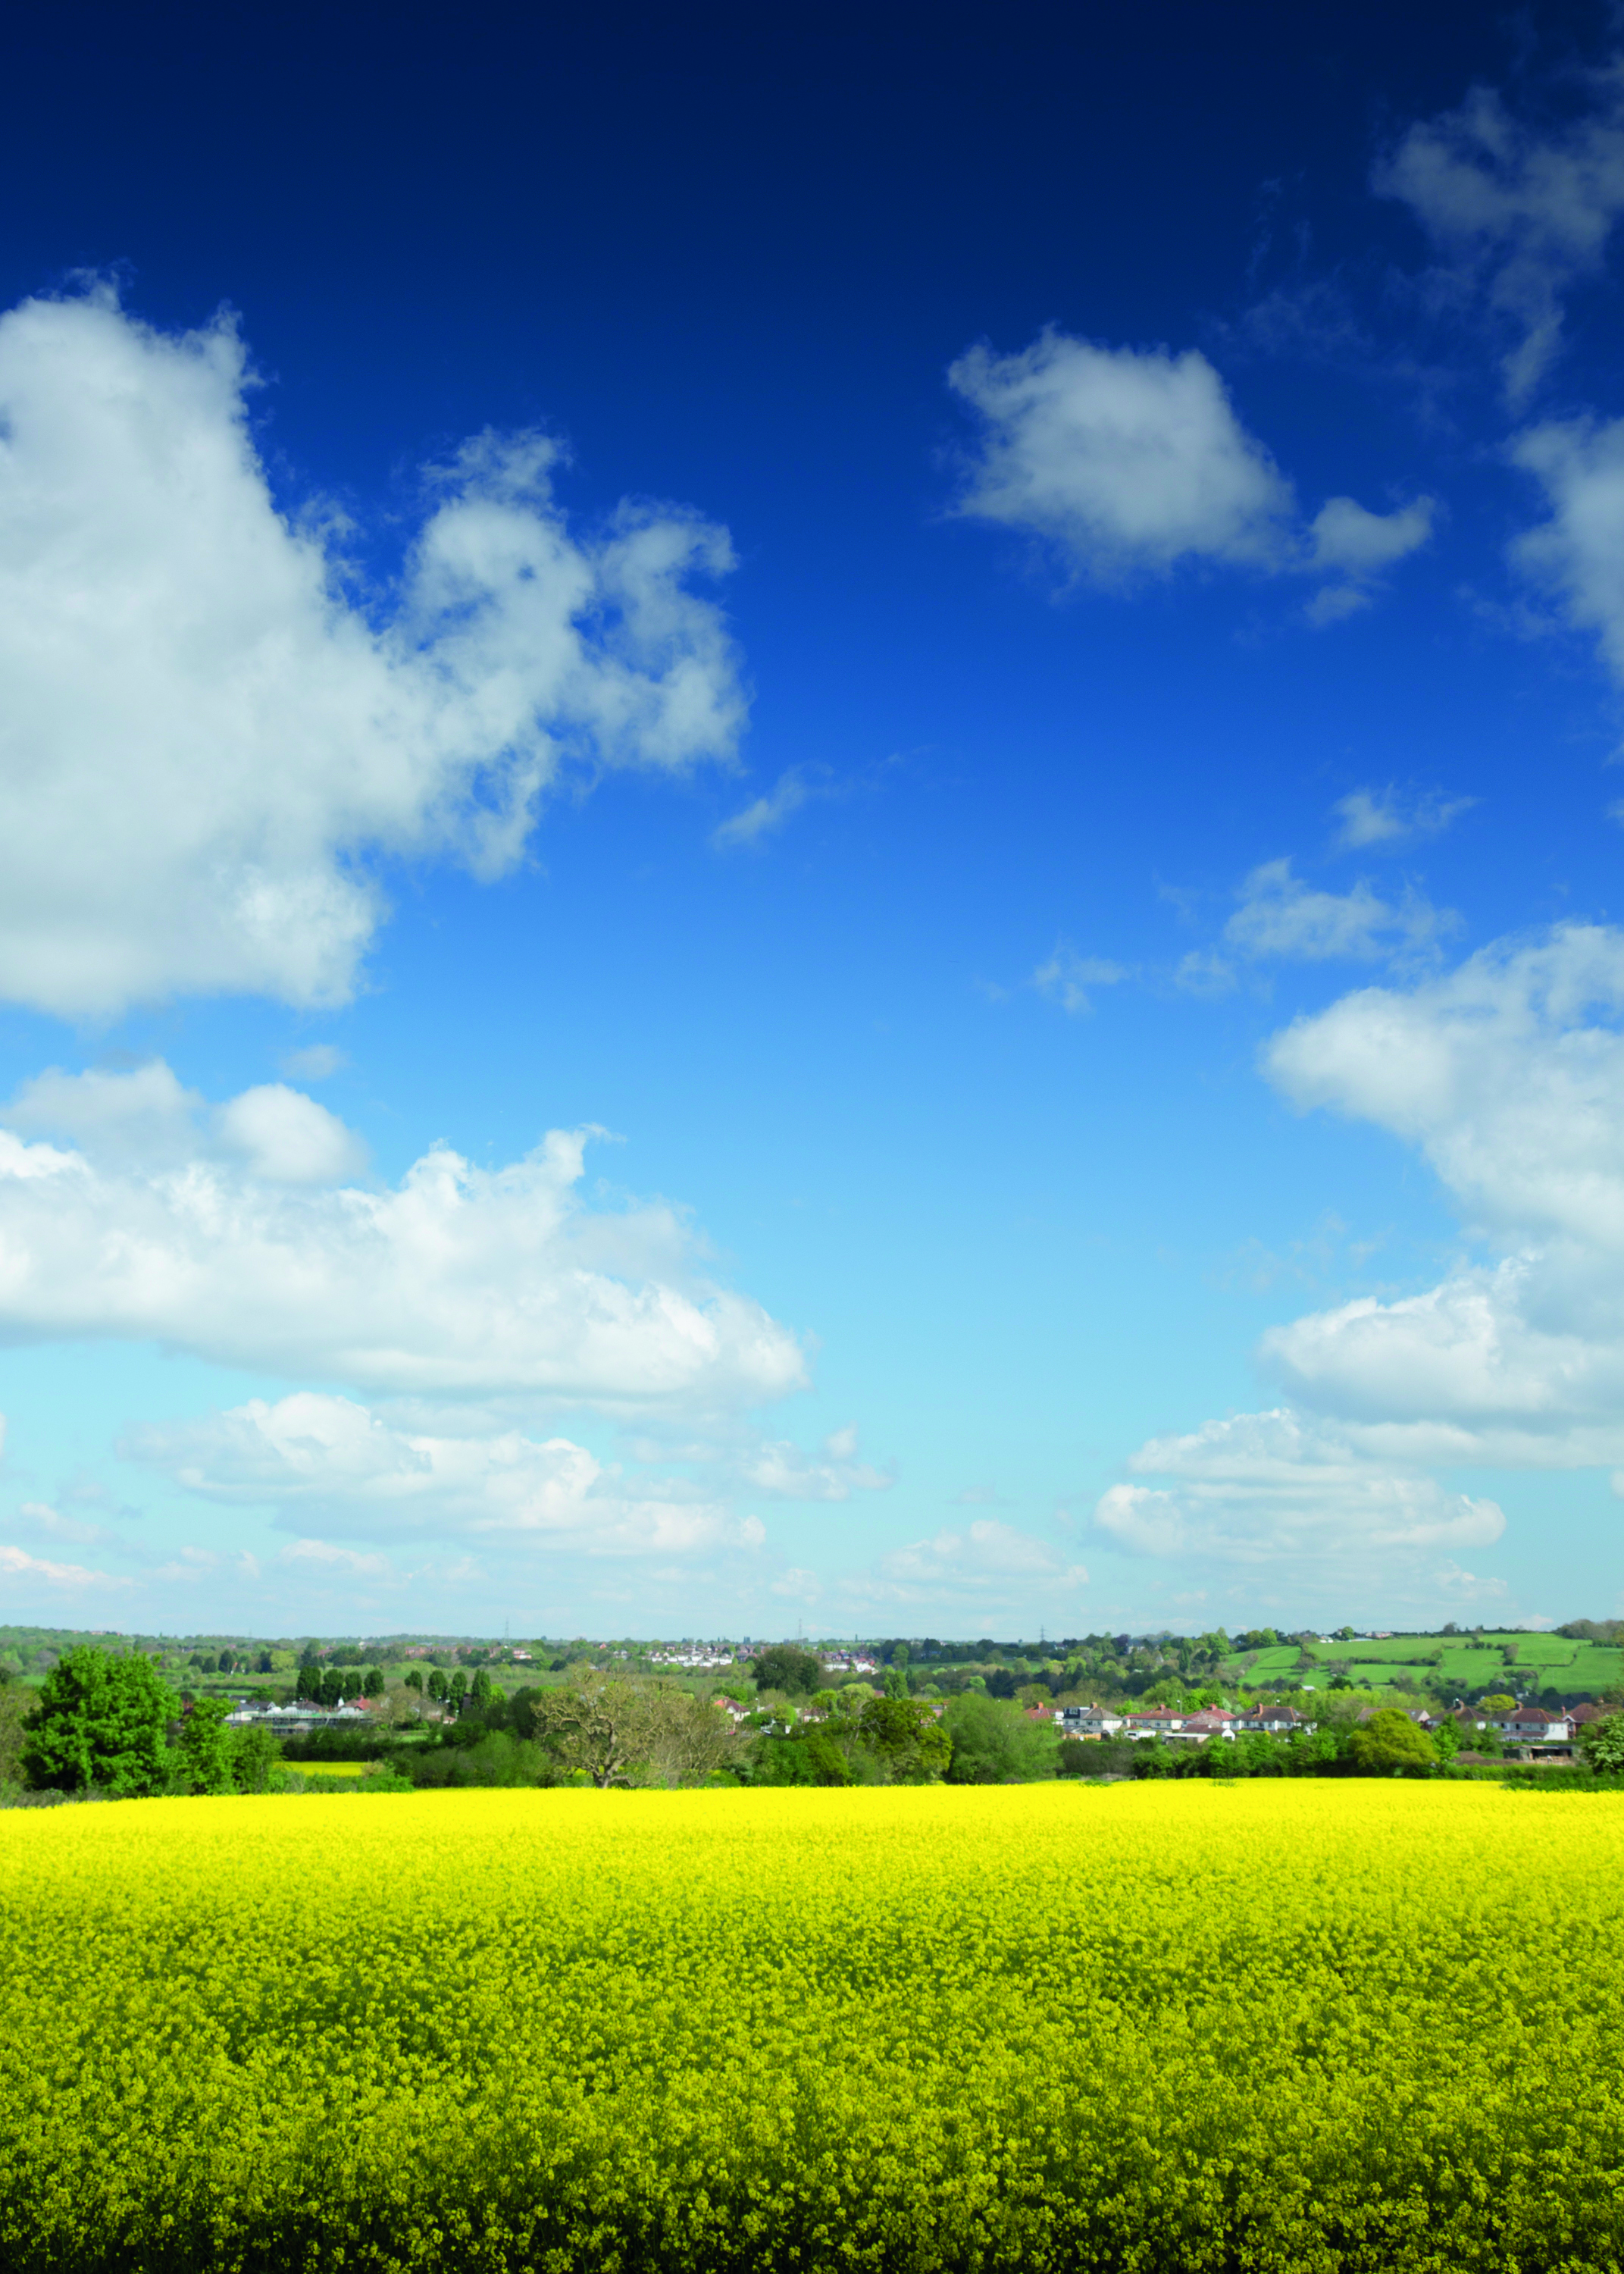
WAIT FOR THE SUN As clouds block the sun this can leave strong lines across the fields. Time it right and you can take a winning shot like this! Embrace the changing weather and make the most of it for cool results.
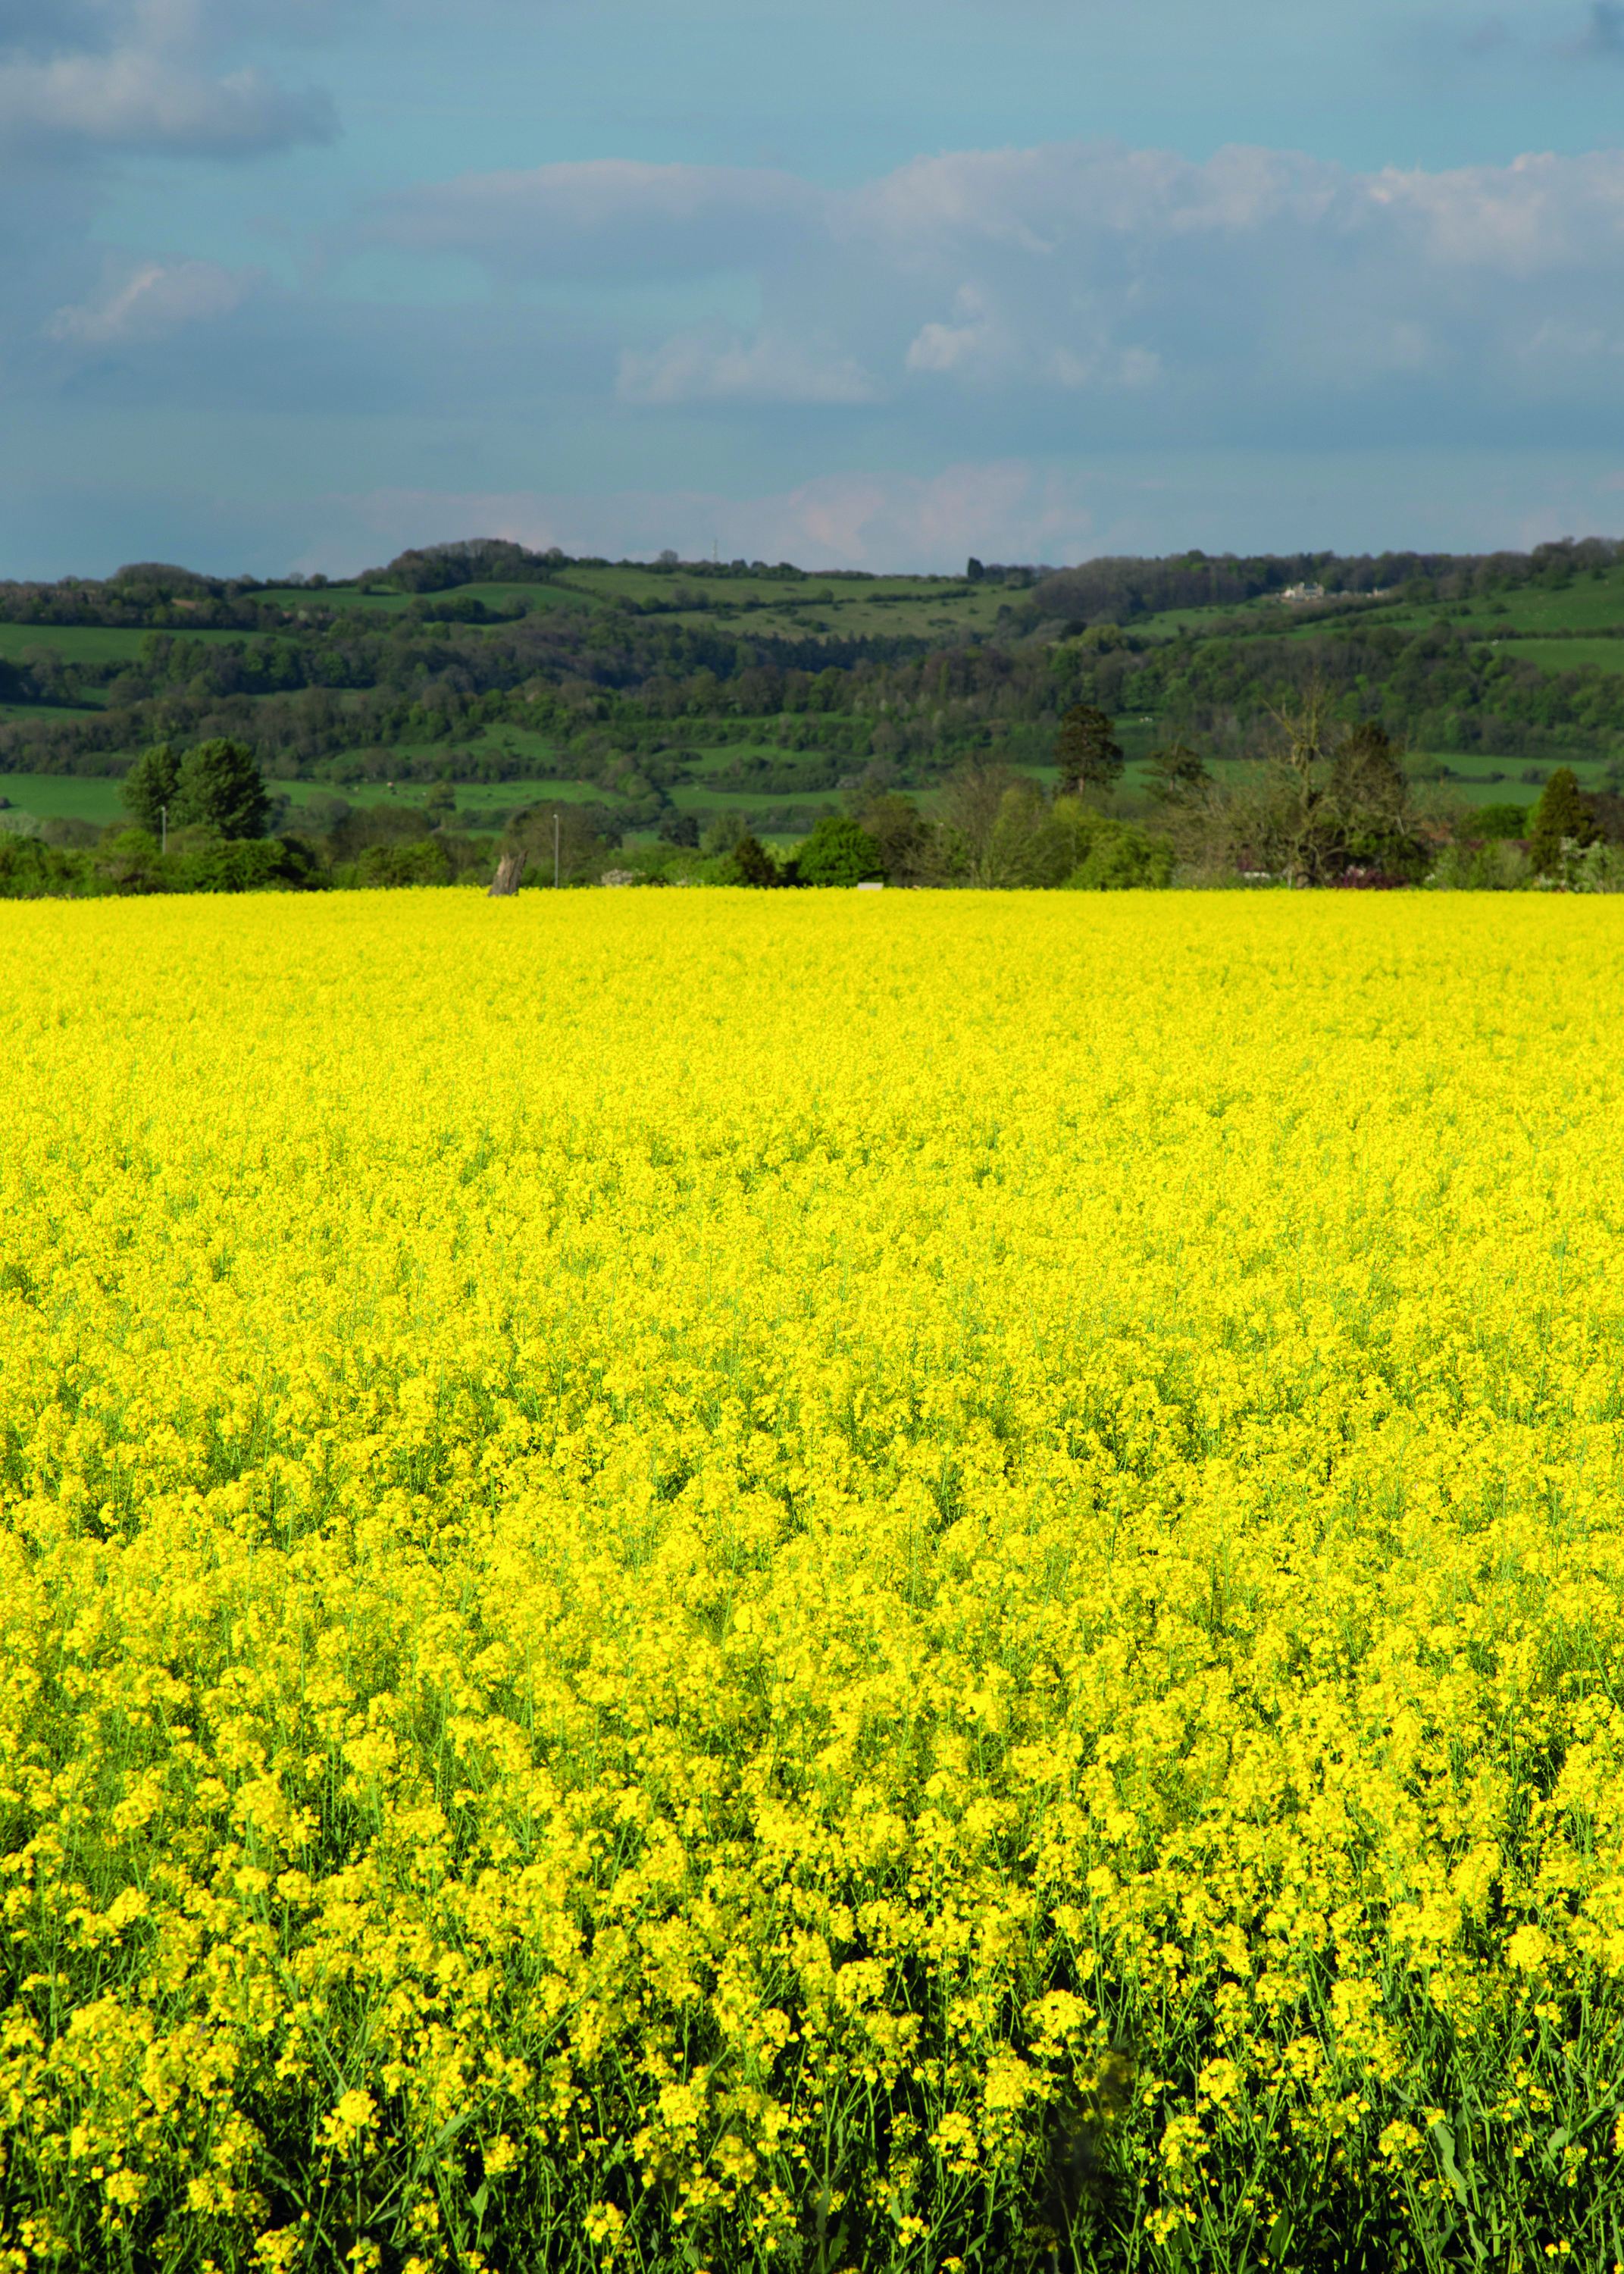
EMPHASIZE THE FIELDS Include more flower fields than sky in the shot, so instead of filling your frame with two-thirds sky/one-third flowers, try the reverse. This works well if the sky isn’t that inspiring on the day.
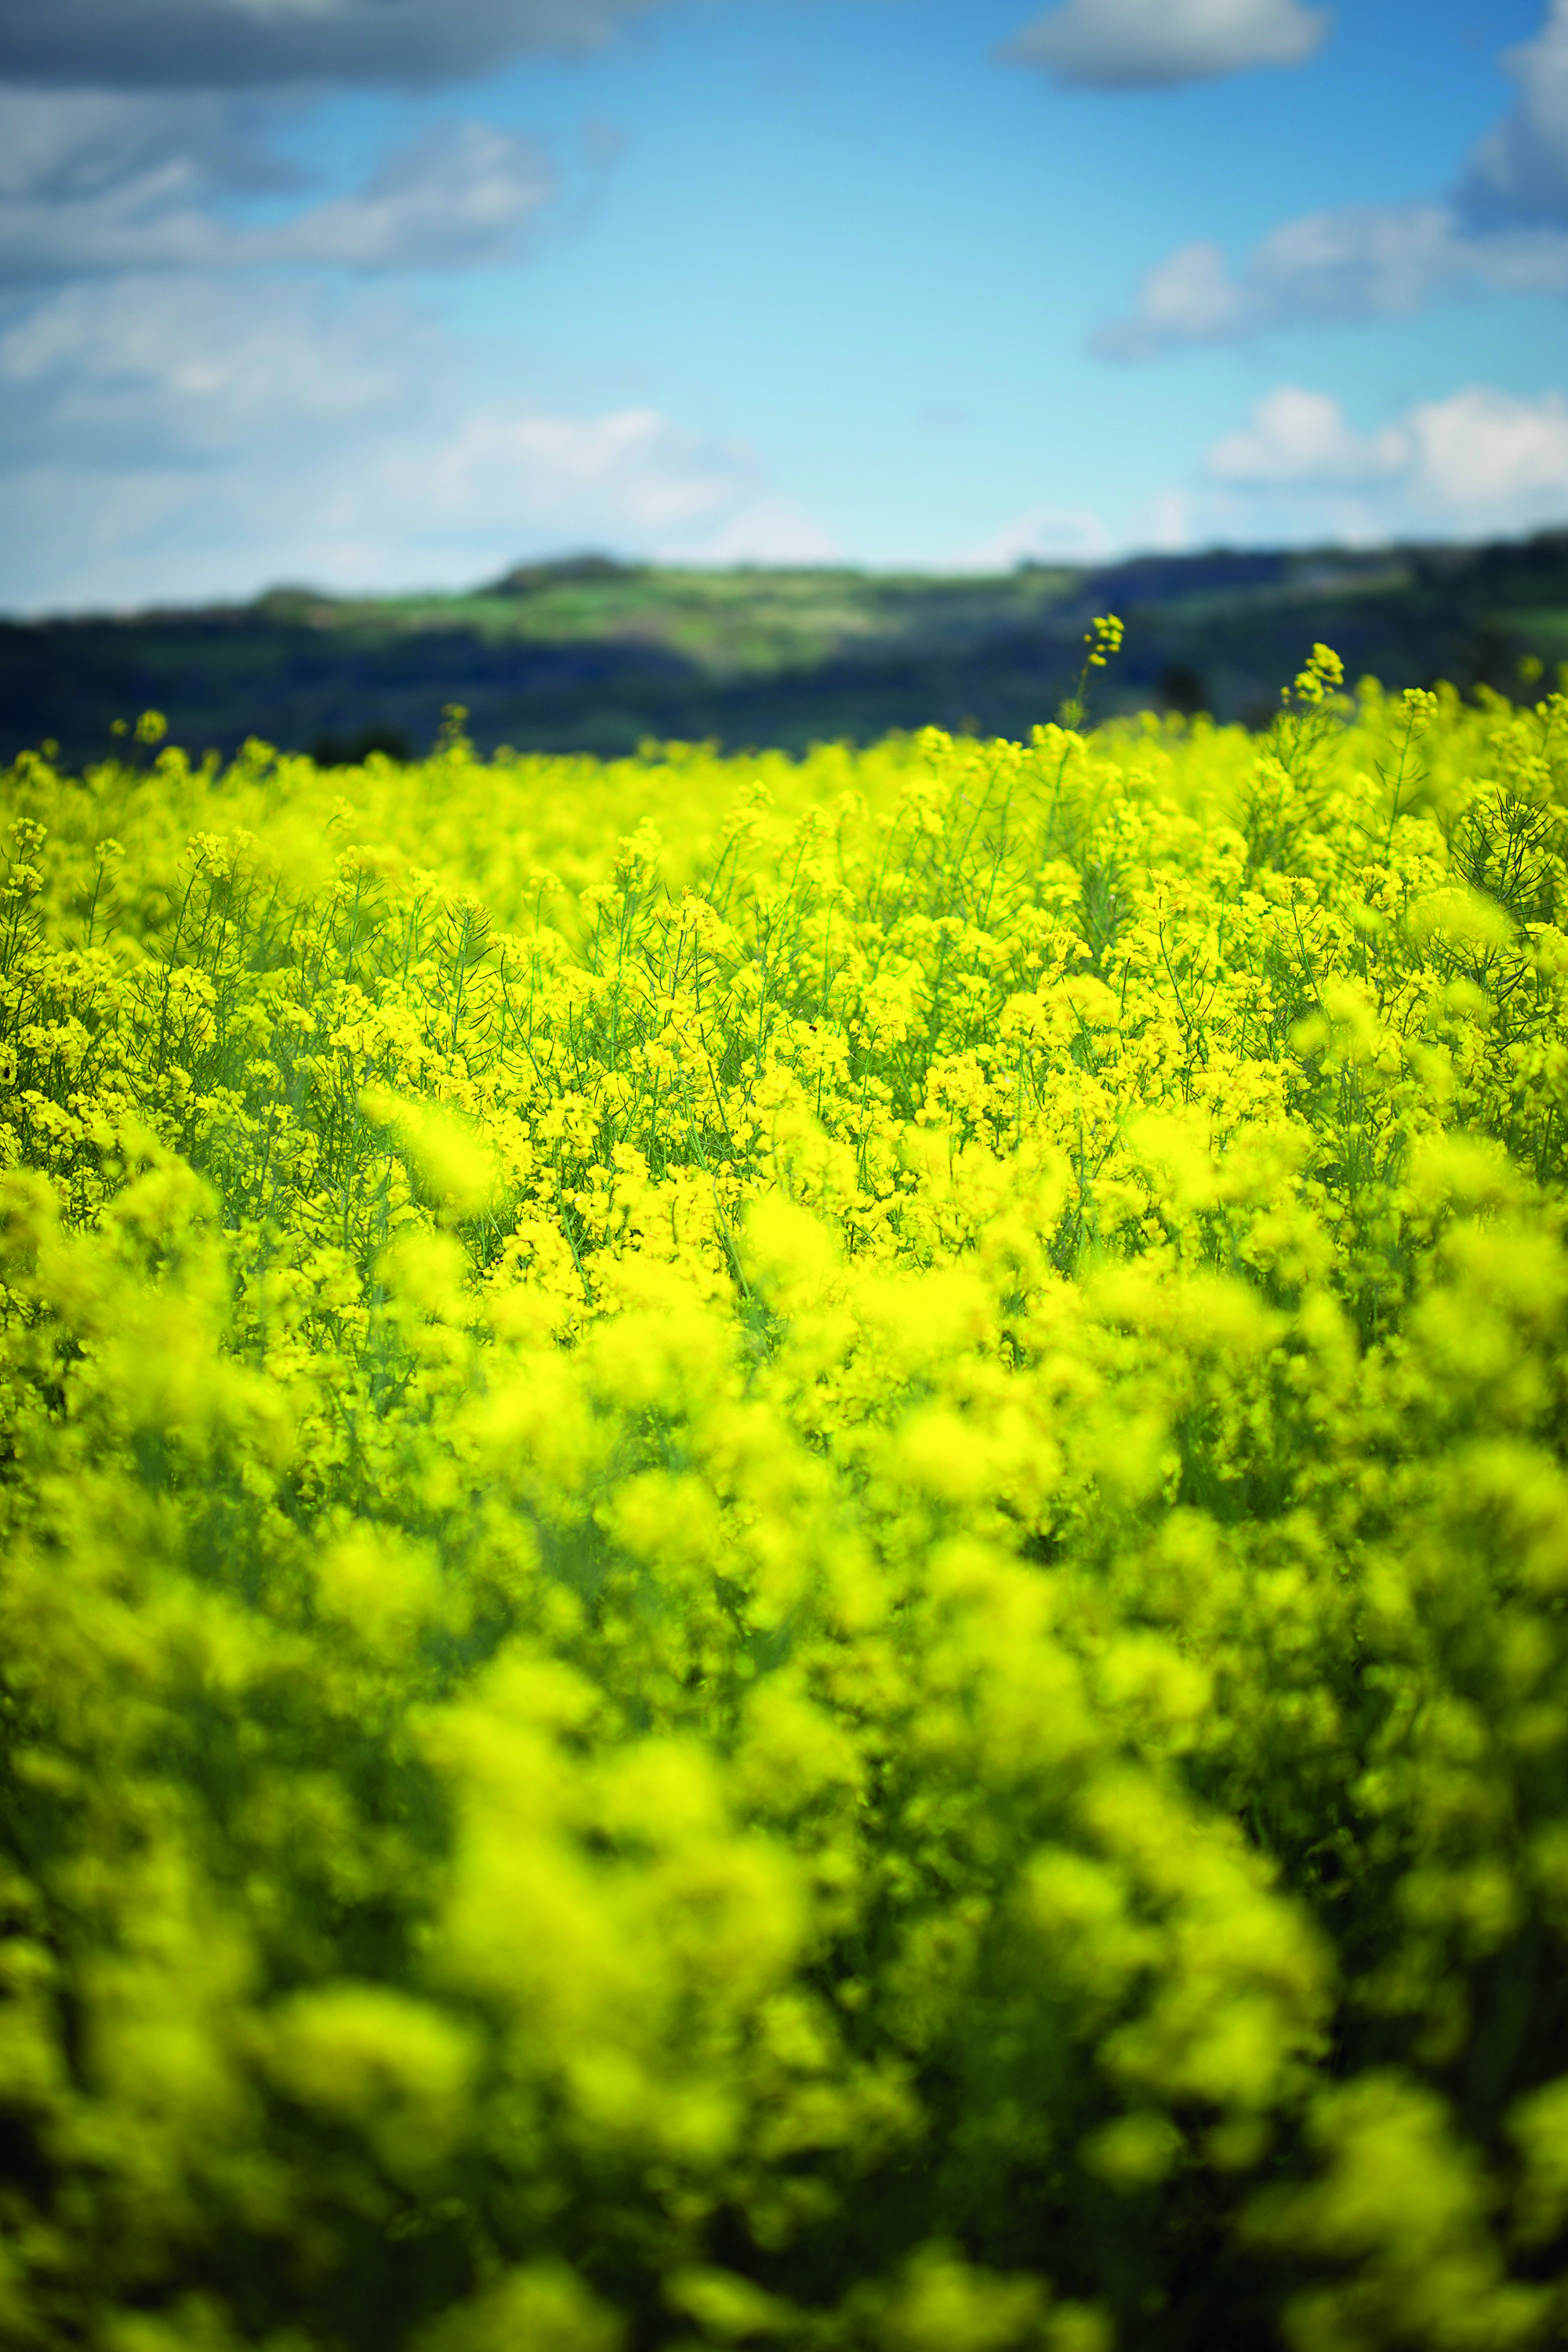
EMBRACE THE BLUR Scenic shots don’t always have to be shot on a wide lens at narrow apertures for front-to-back sharpness. We shot this at f/2.8 on a 100mm macro lens, blurring the foreground and background nicely.
The former editor of PhotoPlus: The Canon Magazine, Peter has 18 years of experience as both a journalist and professional photographer. He is a hands-on photographer with a passion and expertise for sharing his practical shooting skills. Equally adept at turning his hand to portraits, landscapes, sports and wildlife, he has a fantastic knowledge of camera technique and principles.
He is the author of several published photography books including Portrait Photographer's Style Guide, and The Complete Guide to Organising and Styling Professional Photo Shoots with fellow portrait pro Brett Harkness.
Peter remains a devout Canon user and can often be found reeling off shots with his Canon EOS DSLR and EOS R mirrorless gear. He runs Peter Travers Photography, and contributes to Digital Camera magazine.

