Shoot a striking silhouette photo with minimal camera kit
Silhouettes are a simple yet stunning photographic technique – and you don't need reams of kit!
The best camera deals, reviews, product advice, and unmissable photography news, direct to your inbox!
You are now subscribed
Your newsletter sign-up was successful
Watch video: How to shoot striking silhouettes
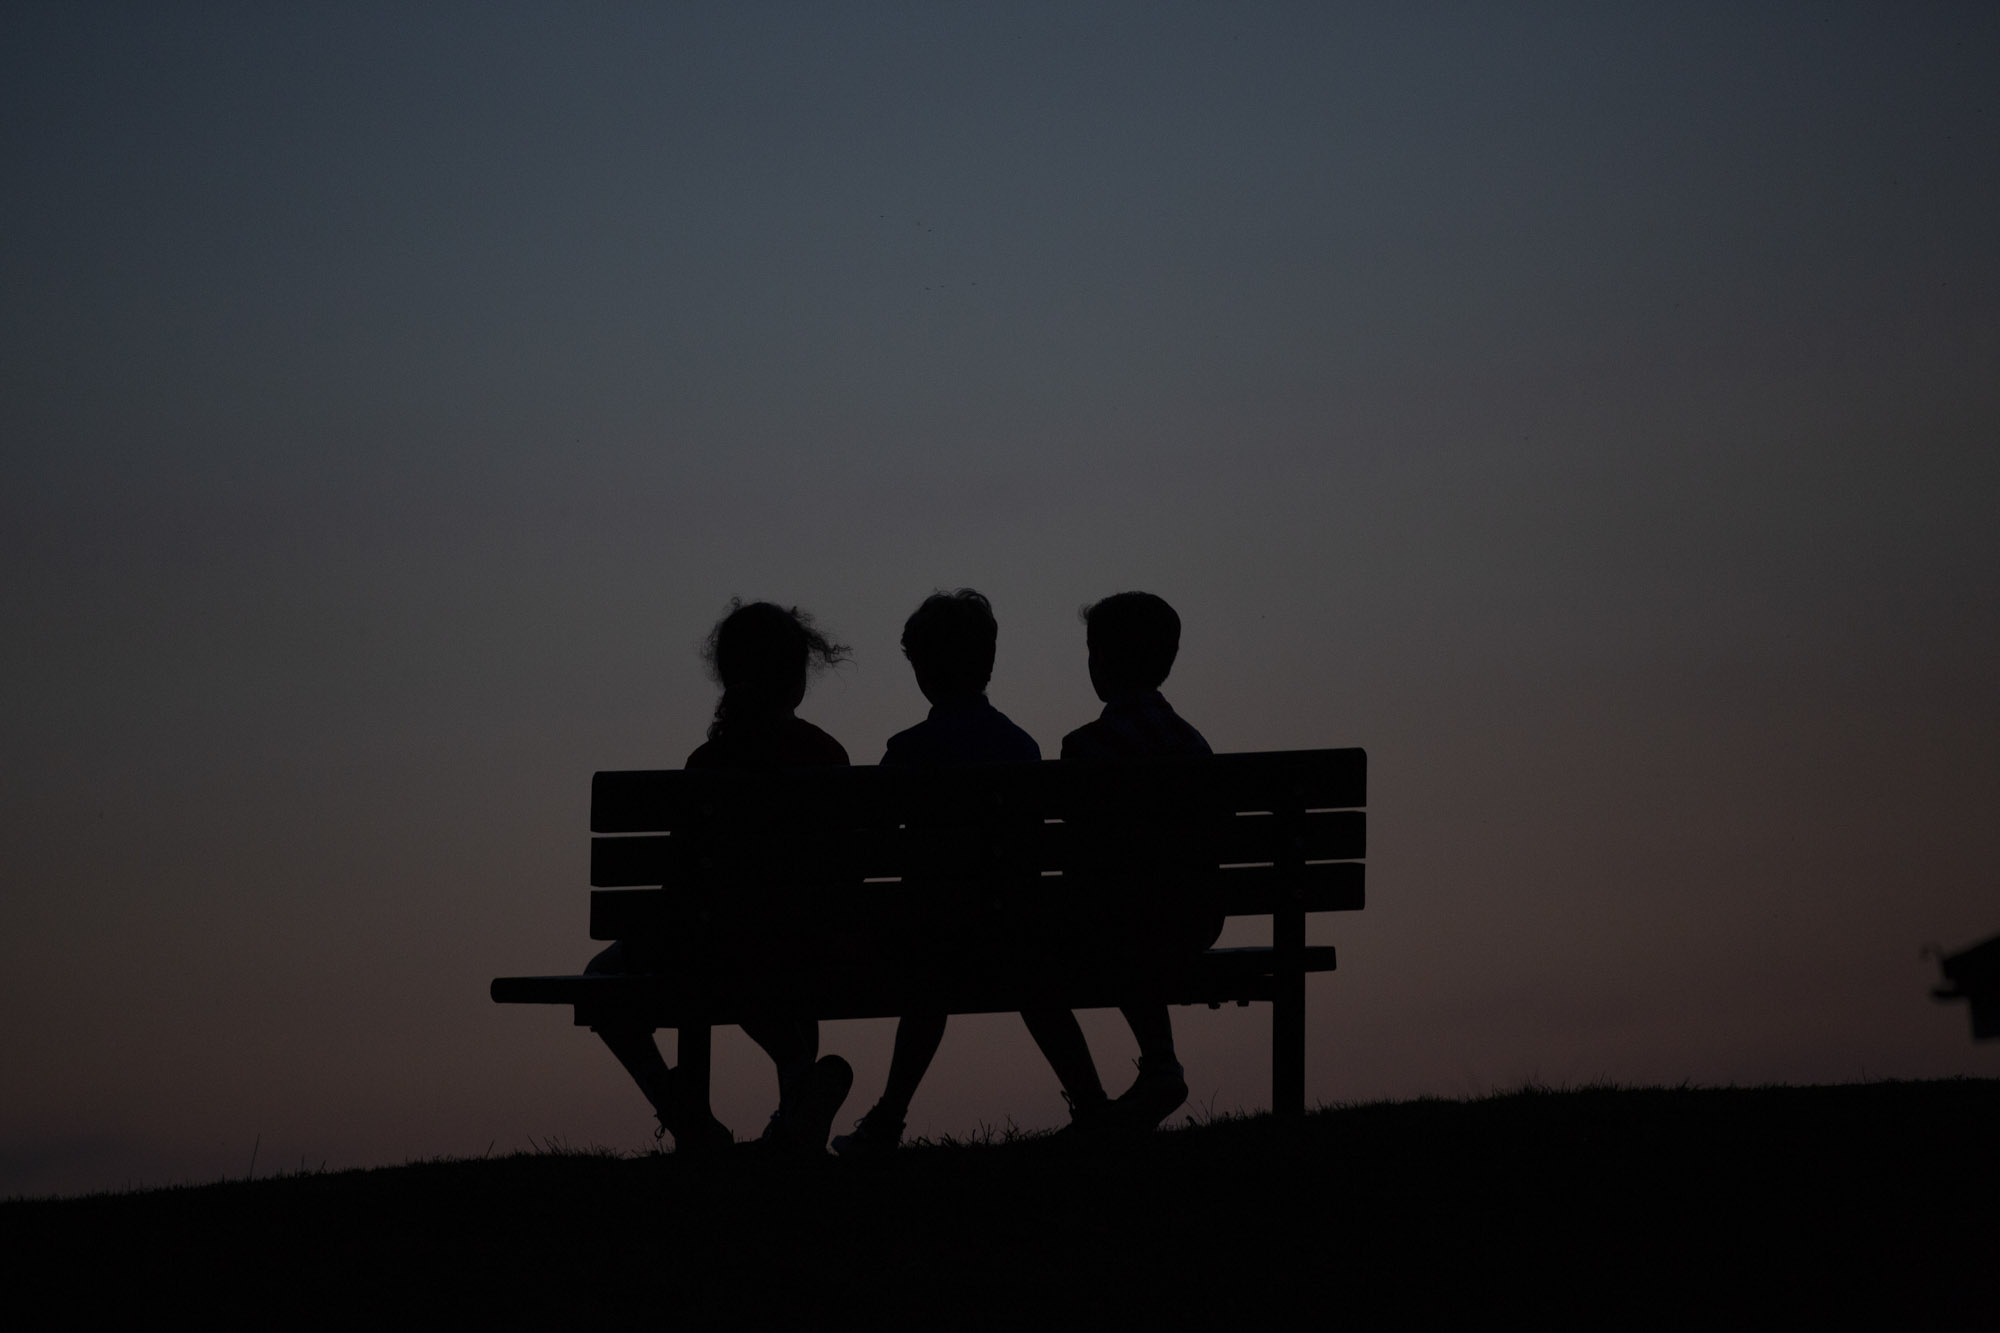
In this photo project I’ll show you how easy it can be to shoot silhouettes with your camera gear. The main aim of shooting a silhouette is to expose for the brighter sky to capture a stunning sunset, with a strong subject – such as people, trees or buildings – shown as dark black outlines on the horizon.
In the high-contrast lighting when shooting at sunsets, the dynamic range of your camera’s sensor isn’t capable of capturing detail in the dark landscape or subject, as well as the colors of the much brighter sky in one shot. While this is usually a hindrance, for silhouettes, this is actually a big help! We went for a portrait silhouette as the children make clear, atmospheric and graphic shapes on the horizon.
The trick is to use subjects that are recognizable by their outline above the land, and to keep the scene simple by zooming in and composing to concentrate on single elements rather than wide scenes. See the steps below.
01 Use a long lens
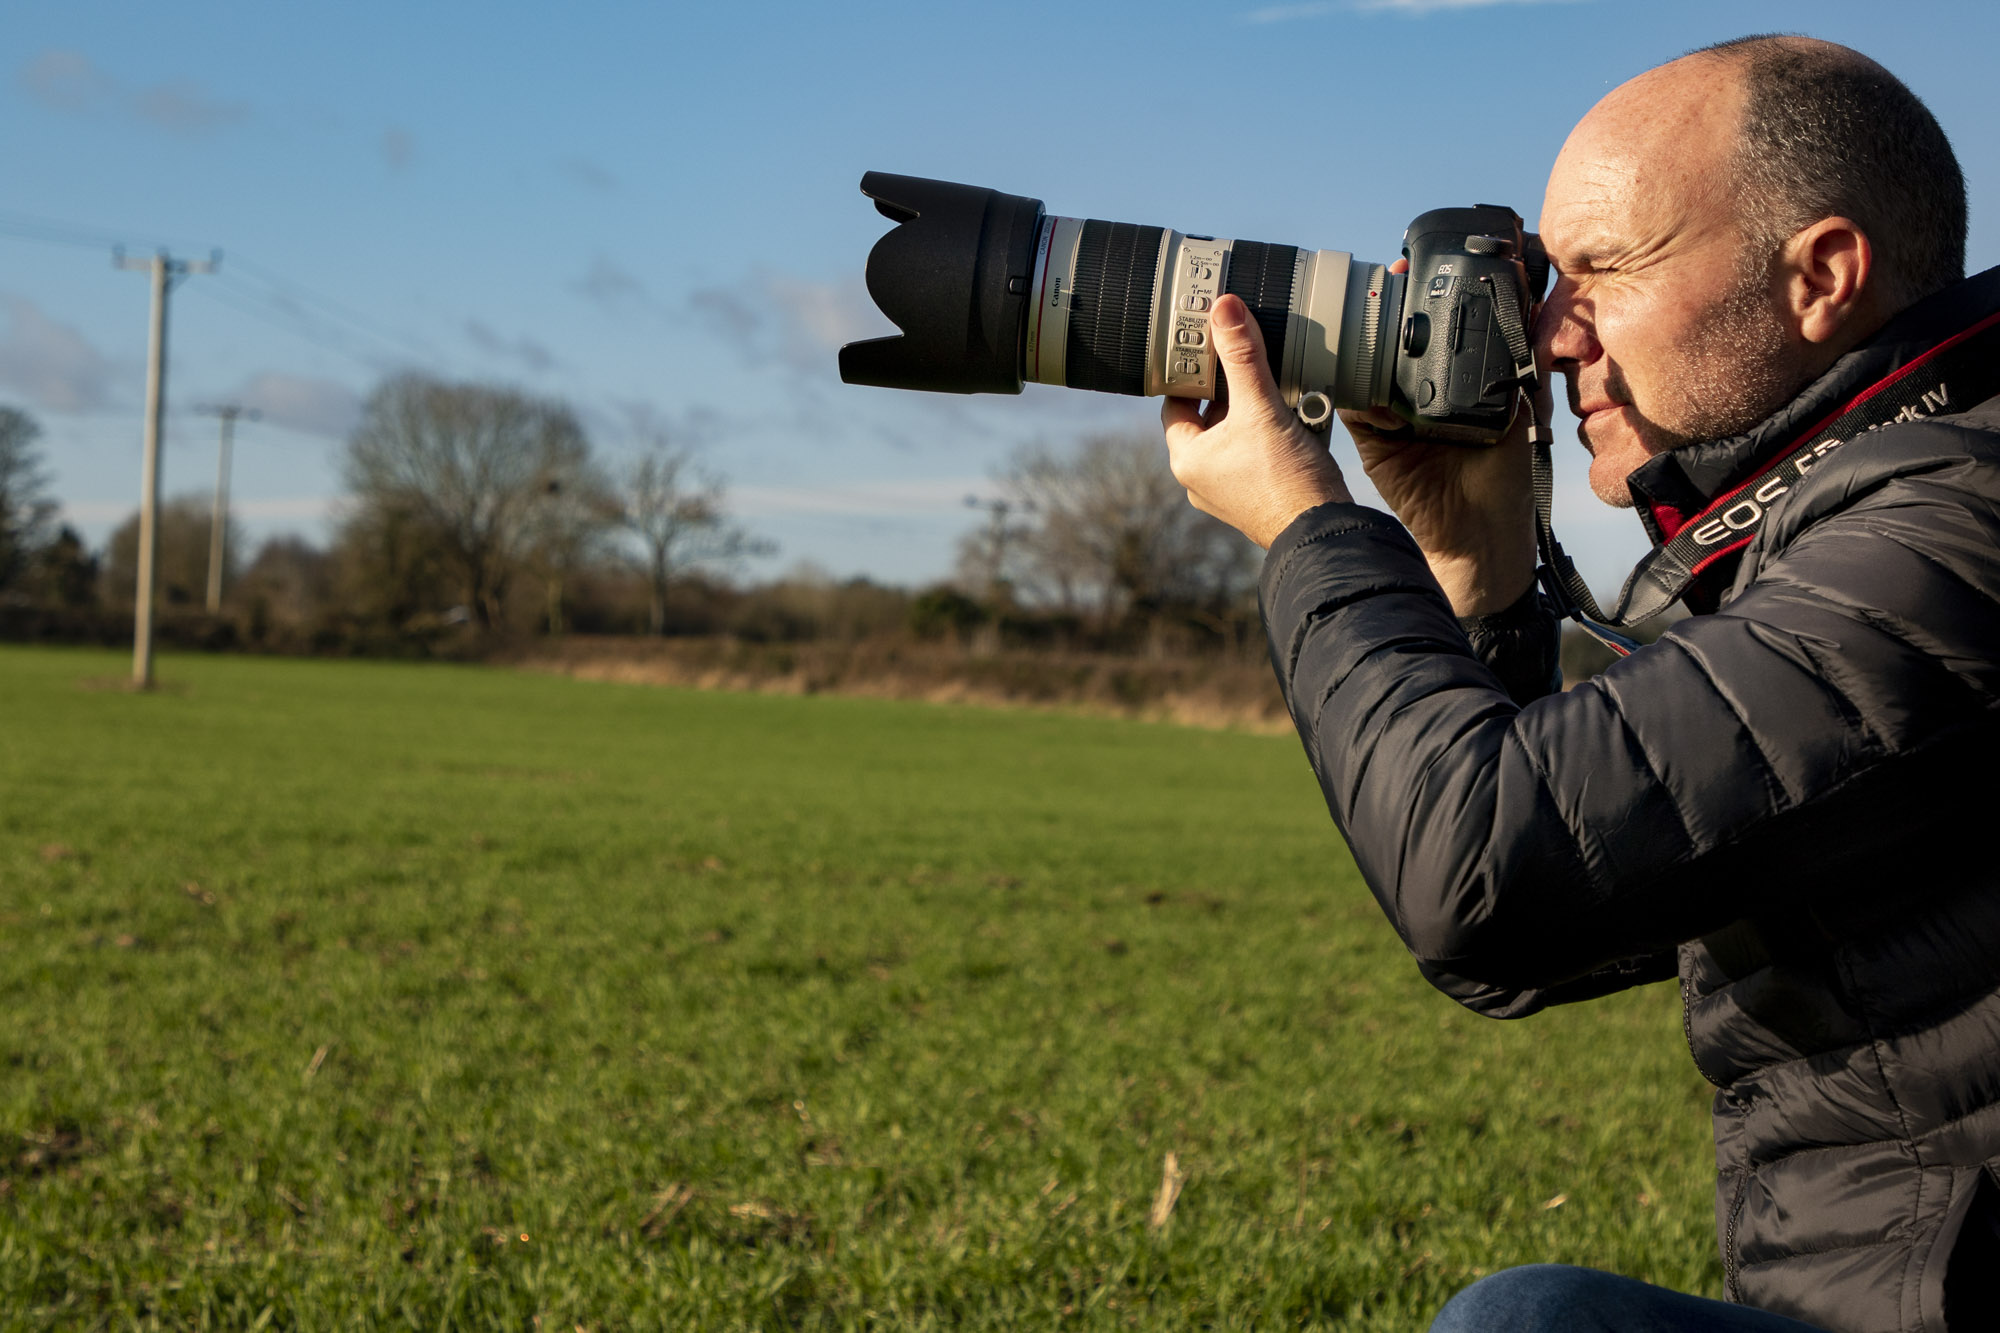
Any camera and telephoto zoom lens will work for these silhouette portraits. We used a full-frame Canon EOS 5D Mk IV and a focal length of 155mm on our Canon EF 70-200mm f/2.8L to frame and isolate our subjects against the sky.
02 Shoot at sunset
We need a bright, clear and spectacular sky to contrast against our silhouetted subjects. The best time to shoot is just after sunset, to make the most of the warmer colors. Don’t worry if the sky in your images doesn’t look very colorful in-camera.
03 Aim high
We used a park bench on top of a hill for the best angle to show the clean outlines of the children, with the bright sunset sky behind. You can also just get down low to point the lens up. We composed to have one-third for horizon, two-thirds sky, accommodating the rule of thirds.
The best camera deals, reviews, product advice, and unmissable photography news, direct to your inbox!
04 Expose for the sky
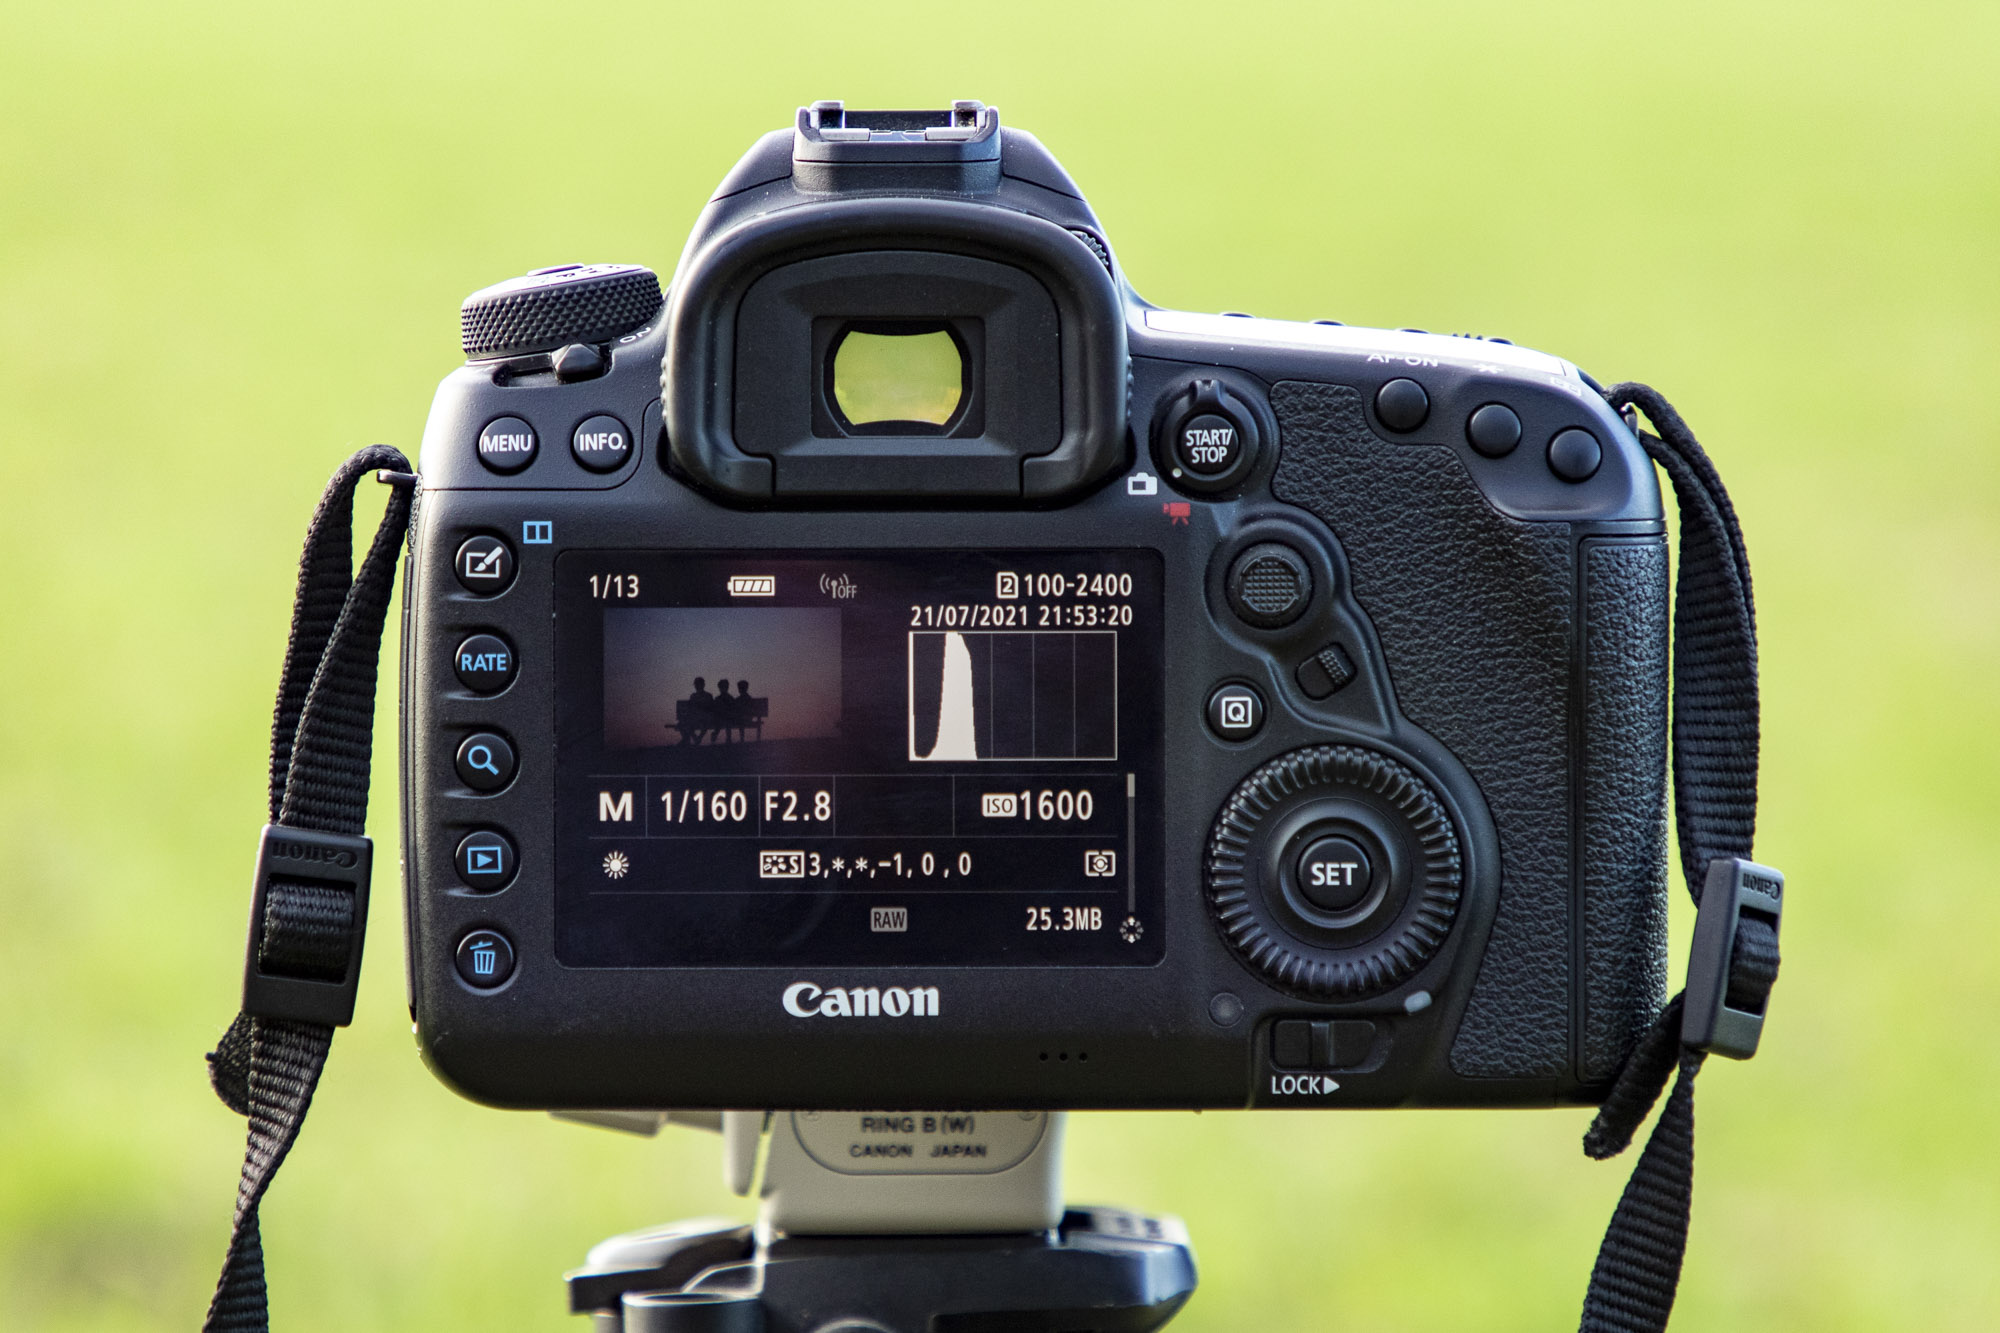
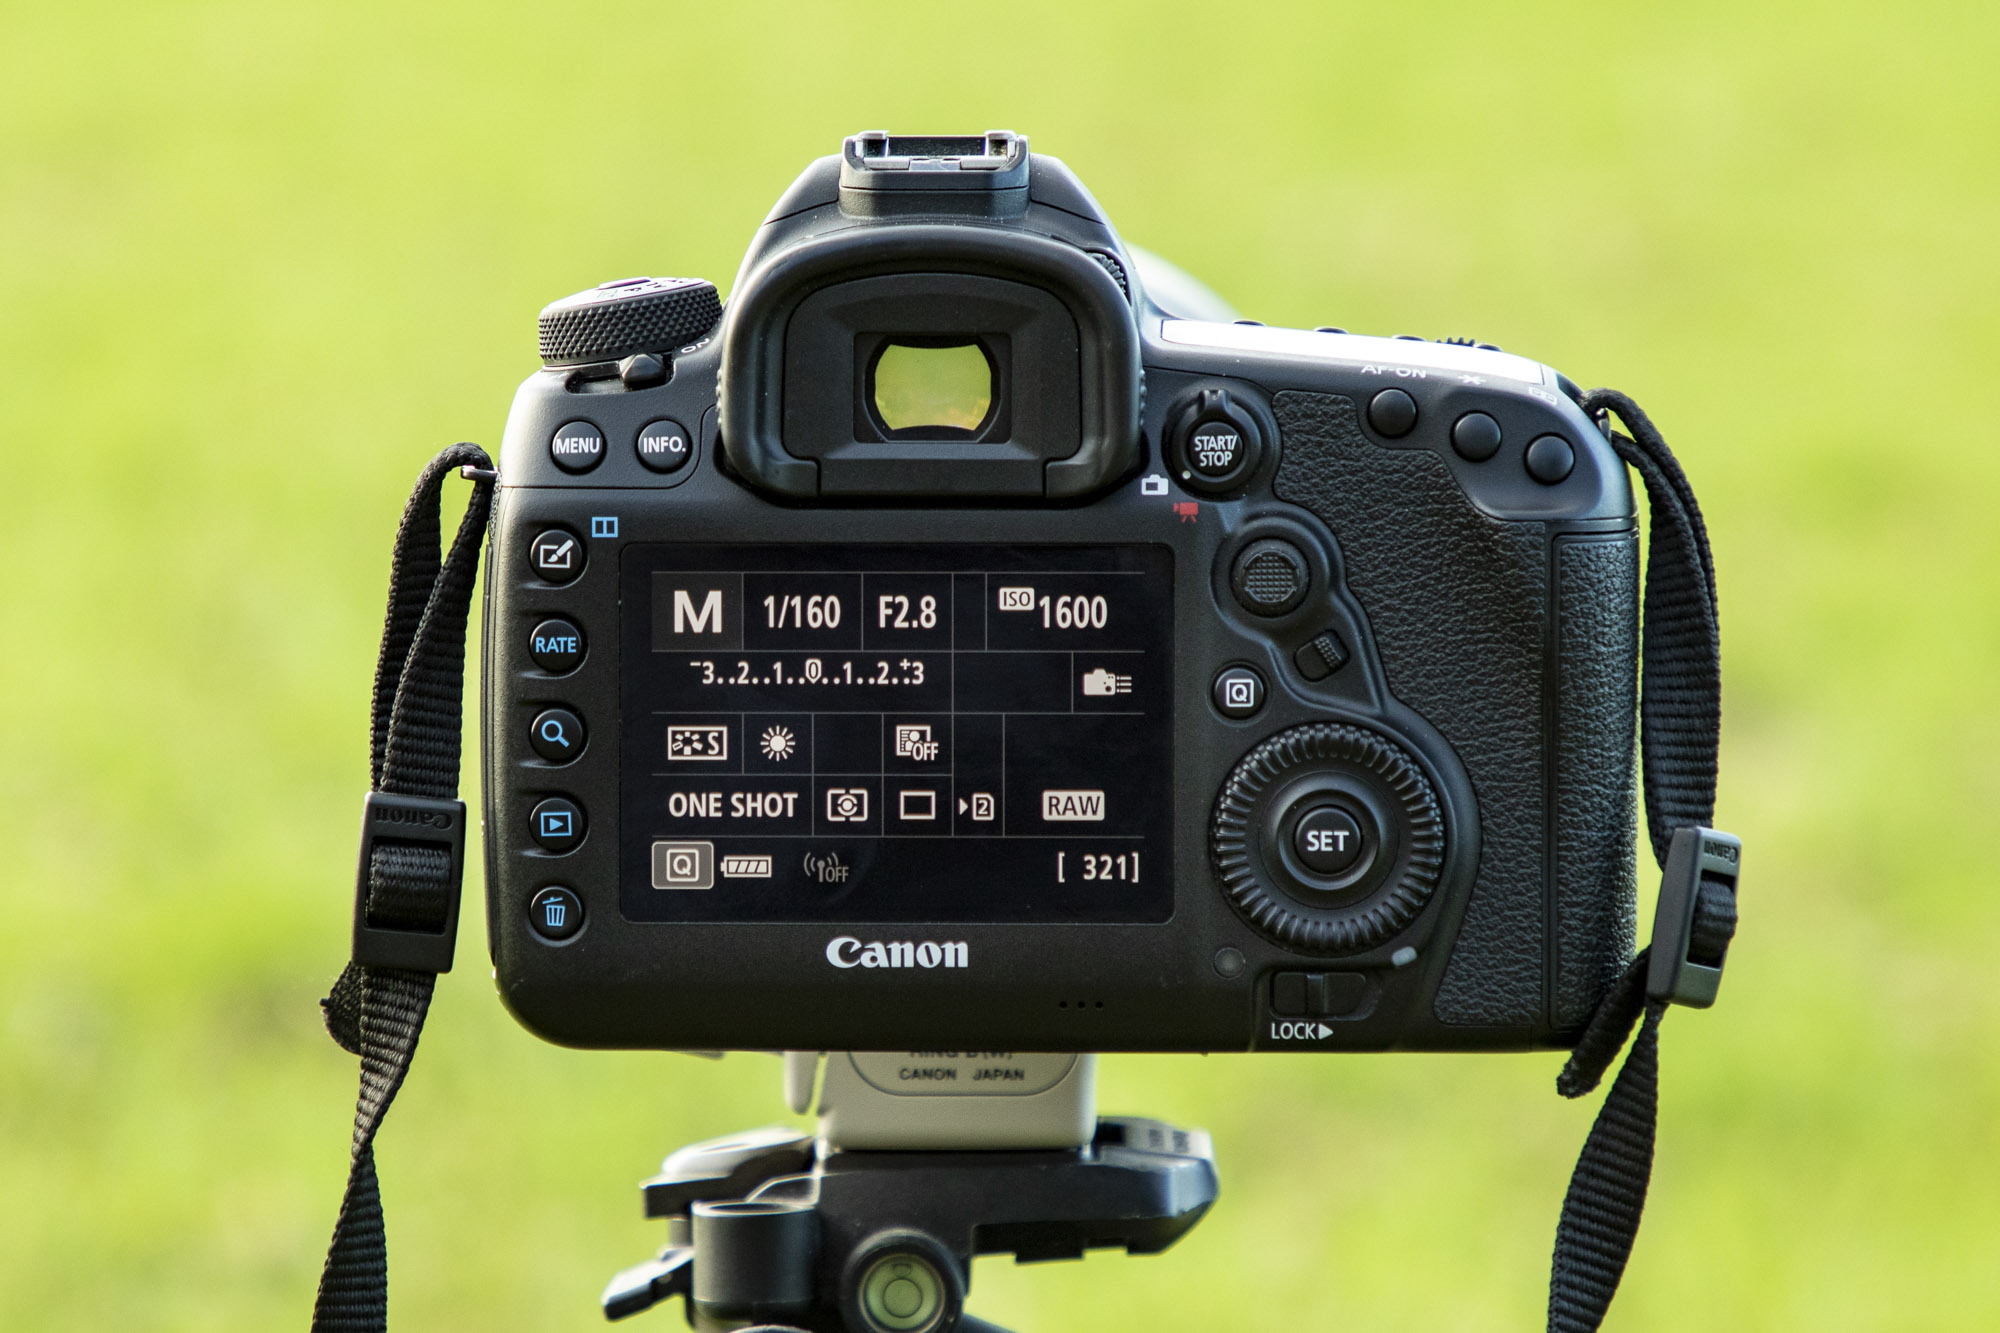
Manual mode is best as we want to override the camera’s meter and expose for tones in the bright sky, which then captures subjects in totally black silhouette. In manual you can lock in the aperture, shutter speed and ISO; we shot at f/2.8, 1/160 sec, ISO1600.
05 Raw image enhancements
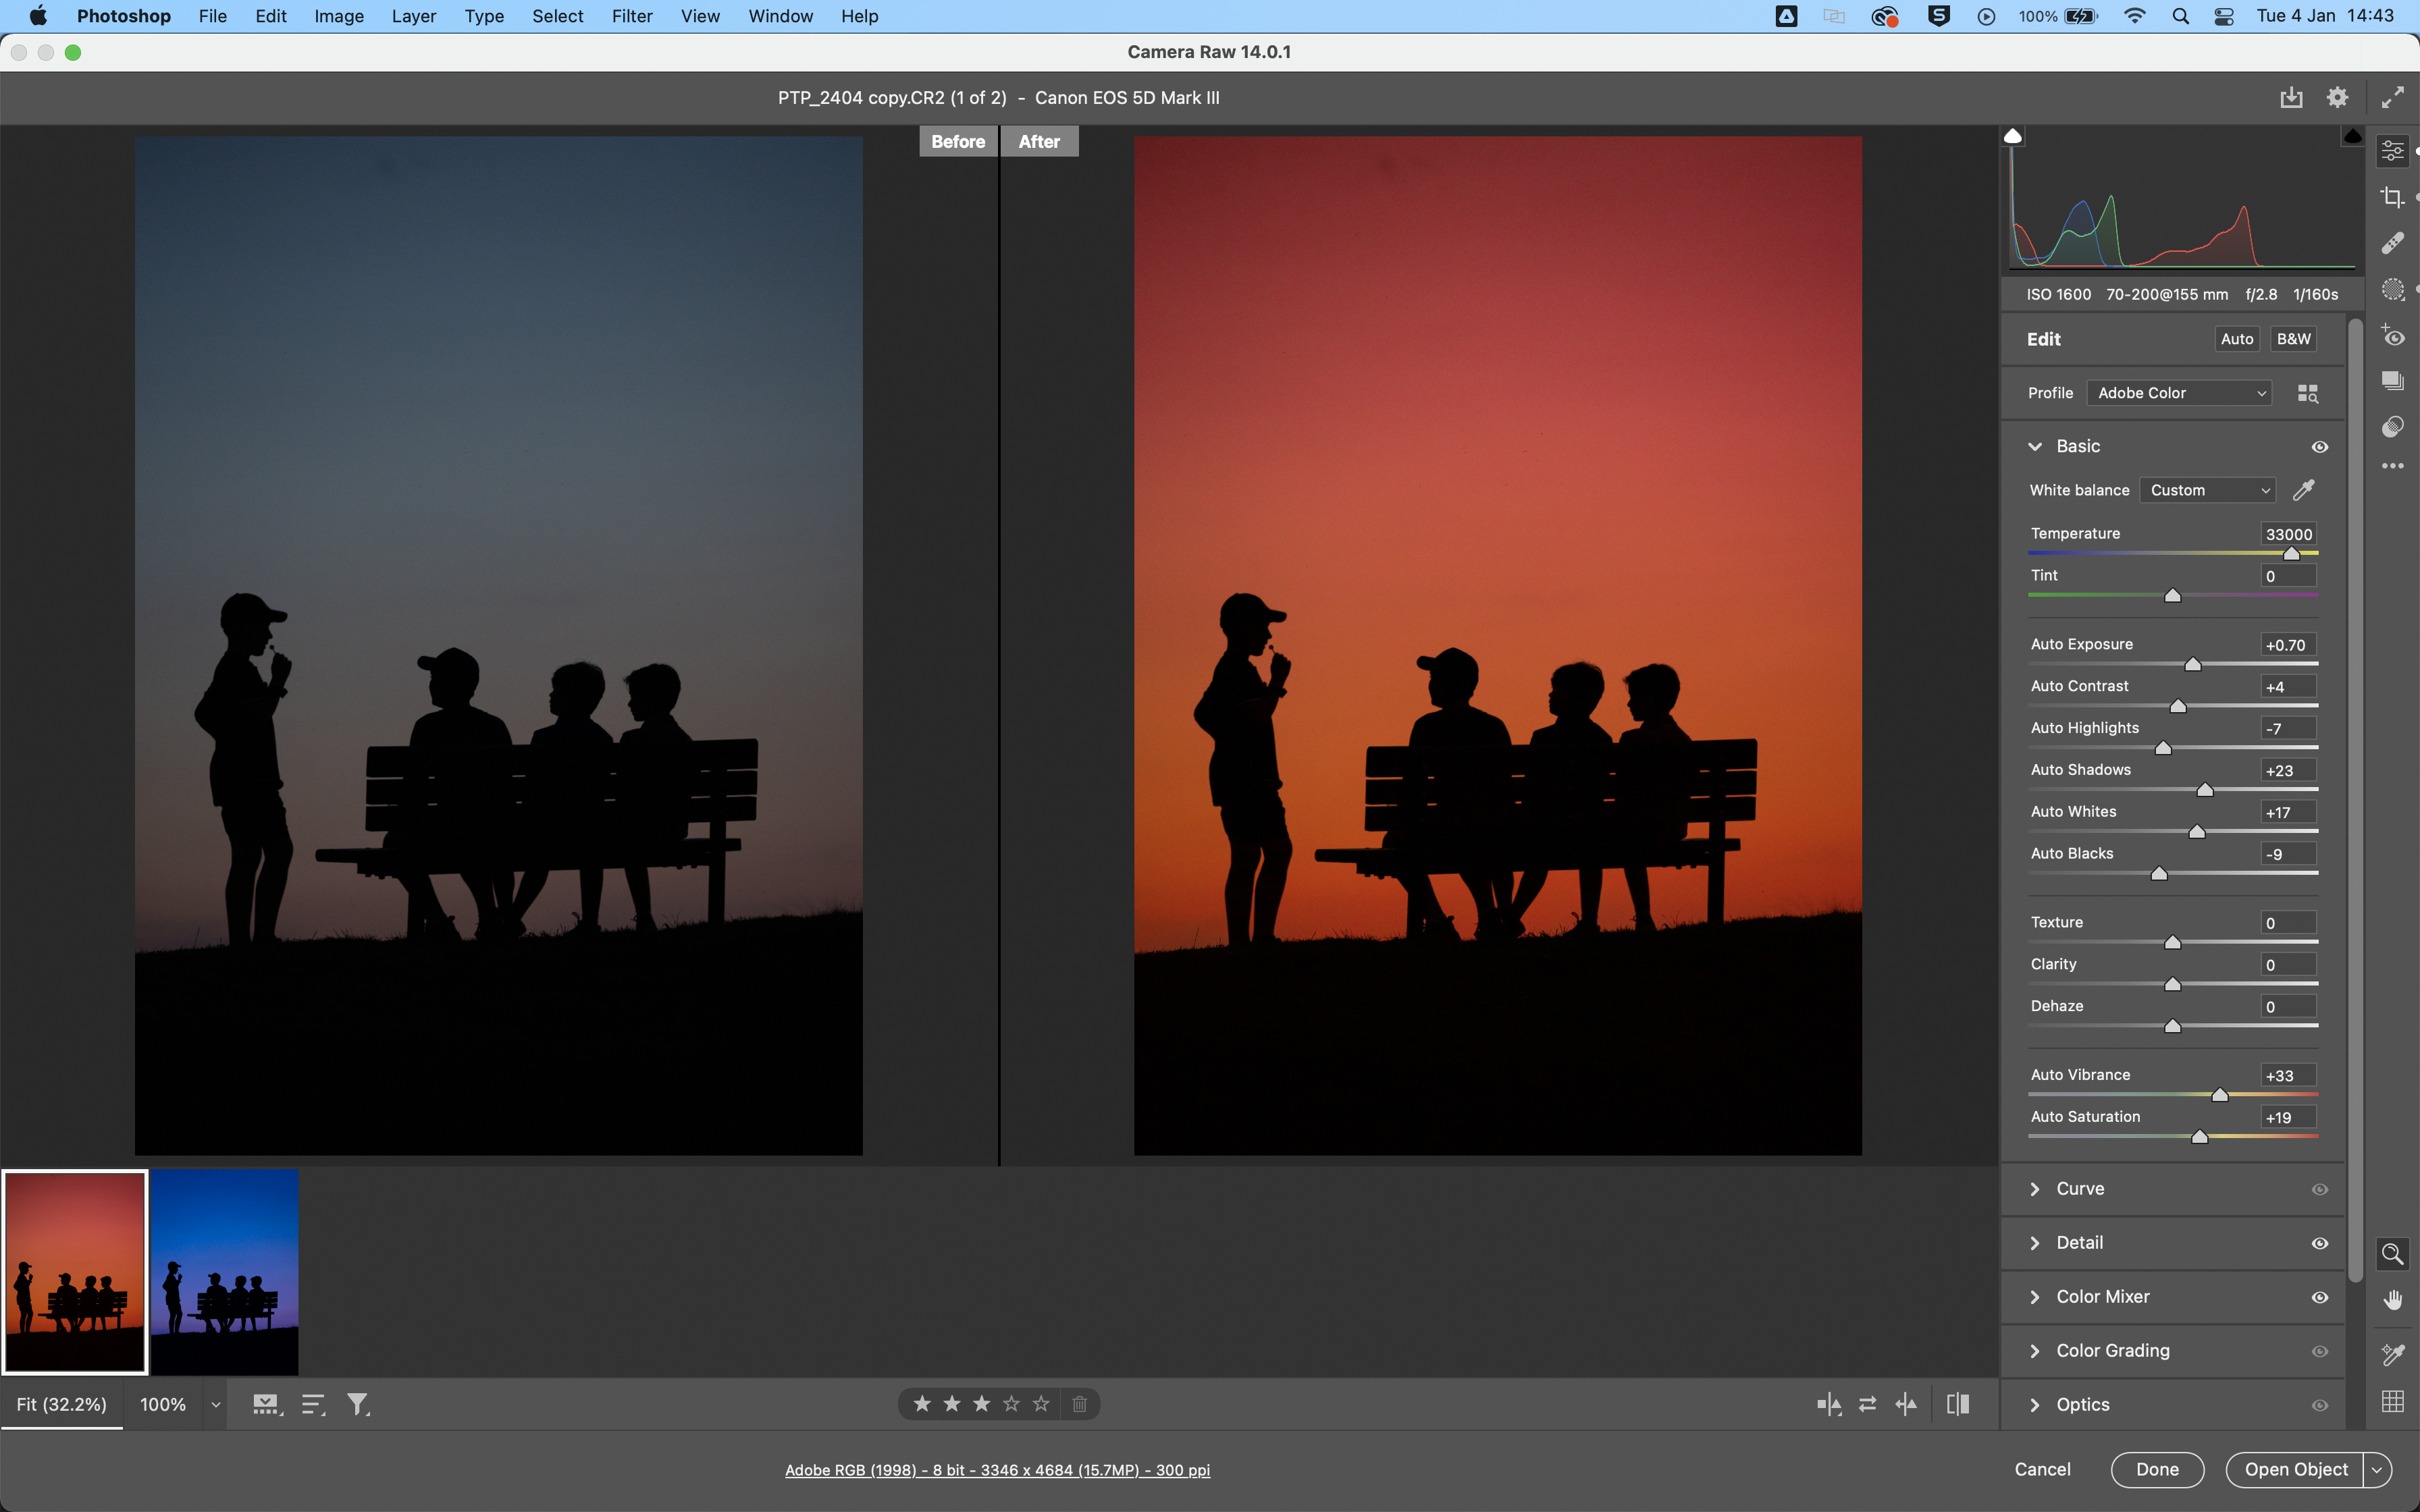
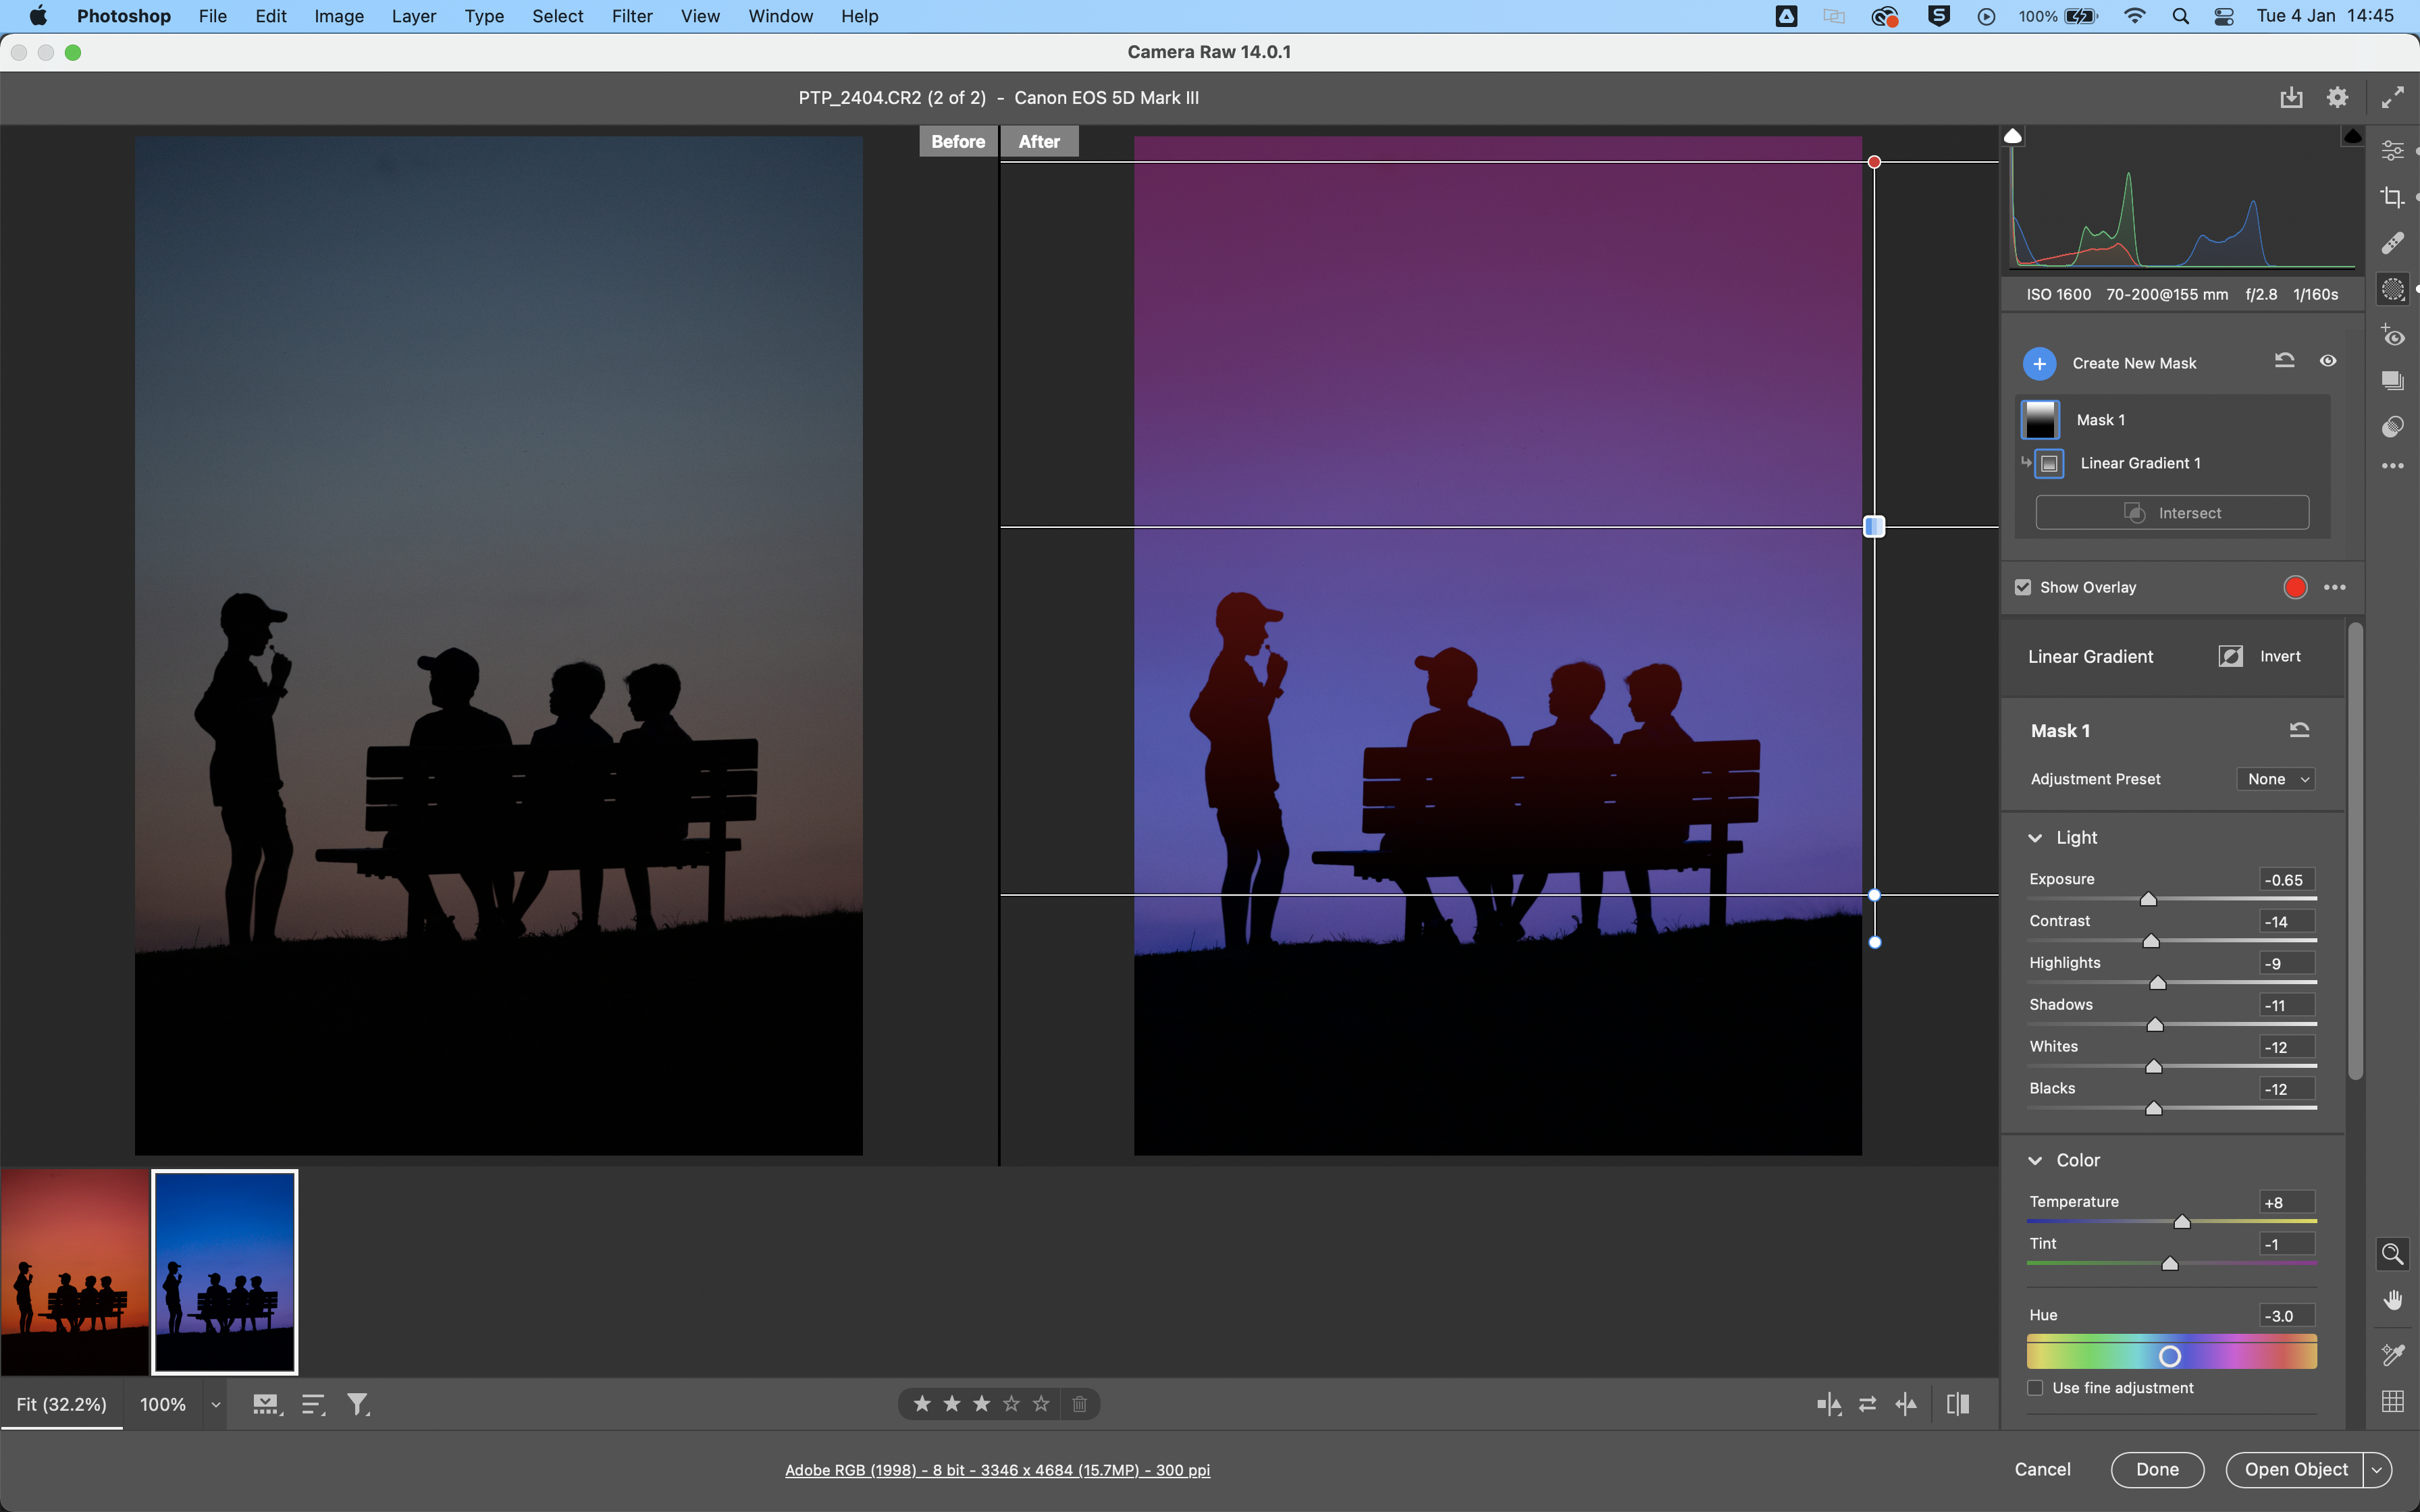
We edited our Raw image in Adobe Camera Raw to bring out the colors in the sky, and render our silhouettes perfectly black. We boosted Vibrance, reduced Highlights and Blacks, and used a Grad Filter on the sky to emphasize what colors were at sunset.
06 Colorful edits
Although we often see sunsets that are orange and red in color, which can be exaggerated with a warm white balance and warm digital Grad Filter, we’ve gone for a blue hour-type atmosphere with a cooler white balance and blue/purple colors.
PhotoPlus: The Canon Magazine is the world's only monthly newsstand title that's 100% devoted to Canon, so you can be sure the magazine is completely relevant to your system.
Read more:
Best cameras for portraits
Best portrait photography tips
The best photo editing software: image editors for novices through to pros
The best photo-editing laptops: top laptops for photographers
10 best online photography courses – from beginner guides to masterclasses
The former editor of PhotoPlus: The Canon Magazine, Peter has 18 years of experience as both a journalist and professional photographer. He is a hands-on photographer with a passion and expertise for sharing his practical shooting skills. Equally adept at turning his hand to portraits, landscapes, sports and wildlife, he has a fantastic knowledge of camera technique and principles.
He is the author of several published photography books including Portrait Photographer's Style Guide, and The Complete Guide to Organising and Styling Professional Photo Shoots with fellow portrait pro Brett Harkness.
Peter remains a devout Canon user and can often be found reeling off shots with his Canon EOS DSLR and EOS R mirrorless gear. He runs Peter Travers Photography, and contributes to Digital Camera magazine.
