DIY photography hack: add camera stabilization to ANY camera body!
Got a camera without in-body image stabilization? This DIY photography hack adds camera stabilization to ANY camera!
The best camera deals, reviews, product advice, and unmissable photography news, direct to your inbox!
You are now subscribed
Your newsletter sign-up was successful
Watch the video: DIY photography hack: add stabilization to ANY camera!
There are still many cameras that don't possess in-body image stabilization (IBIS). If you’ve ever tried to handhold a shot with a slow shutter speed, or you’ve tried to expose an image at night with minimal light and no tripod, you’ll no doubt have ended up with plenty of camera shake in your images.
In-body image stabilization enables you to shoot without those wobbles, whether you’re trying to take a handheld shot or you want to keep your shutter speed as low as possible to let more light into your frame. Thankfully, we’ve got something that’s better than in-body image stabilization: YBIS – your body image stabilization!

Whereas IBIS uses a magnetic field to stabilize the sensor itself, with YBIS you’re going to use your own body to stabilize the entire camera. By screwing a D-ring (which will cost you next to nothing online, or you can pinch one from your tripod mounting plate) to your camera, you can then tether it to your belt using a length of shock cord or bungee cord.
You then simply loop the cord and fasten your belt through the middle, then attach the hook to the D-ring. Your belt will now act as an anchor point, enabling you to pull the cord taught as you raise it to your eye; this tension will keep the camera steady (especially if the viewfinder is pressed against your eye socket), enabling you to as much as double your handheld shutter speed!
01 Put a ring on it
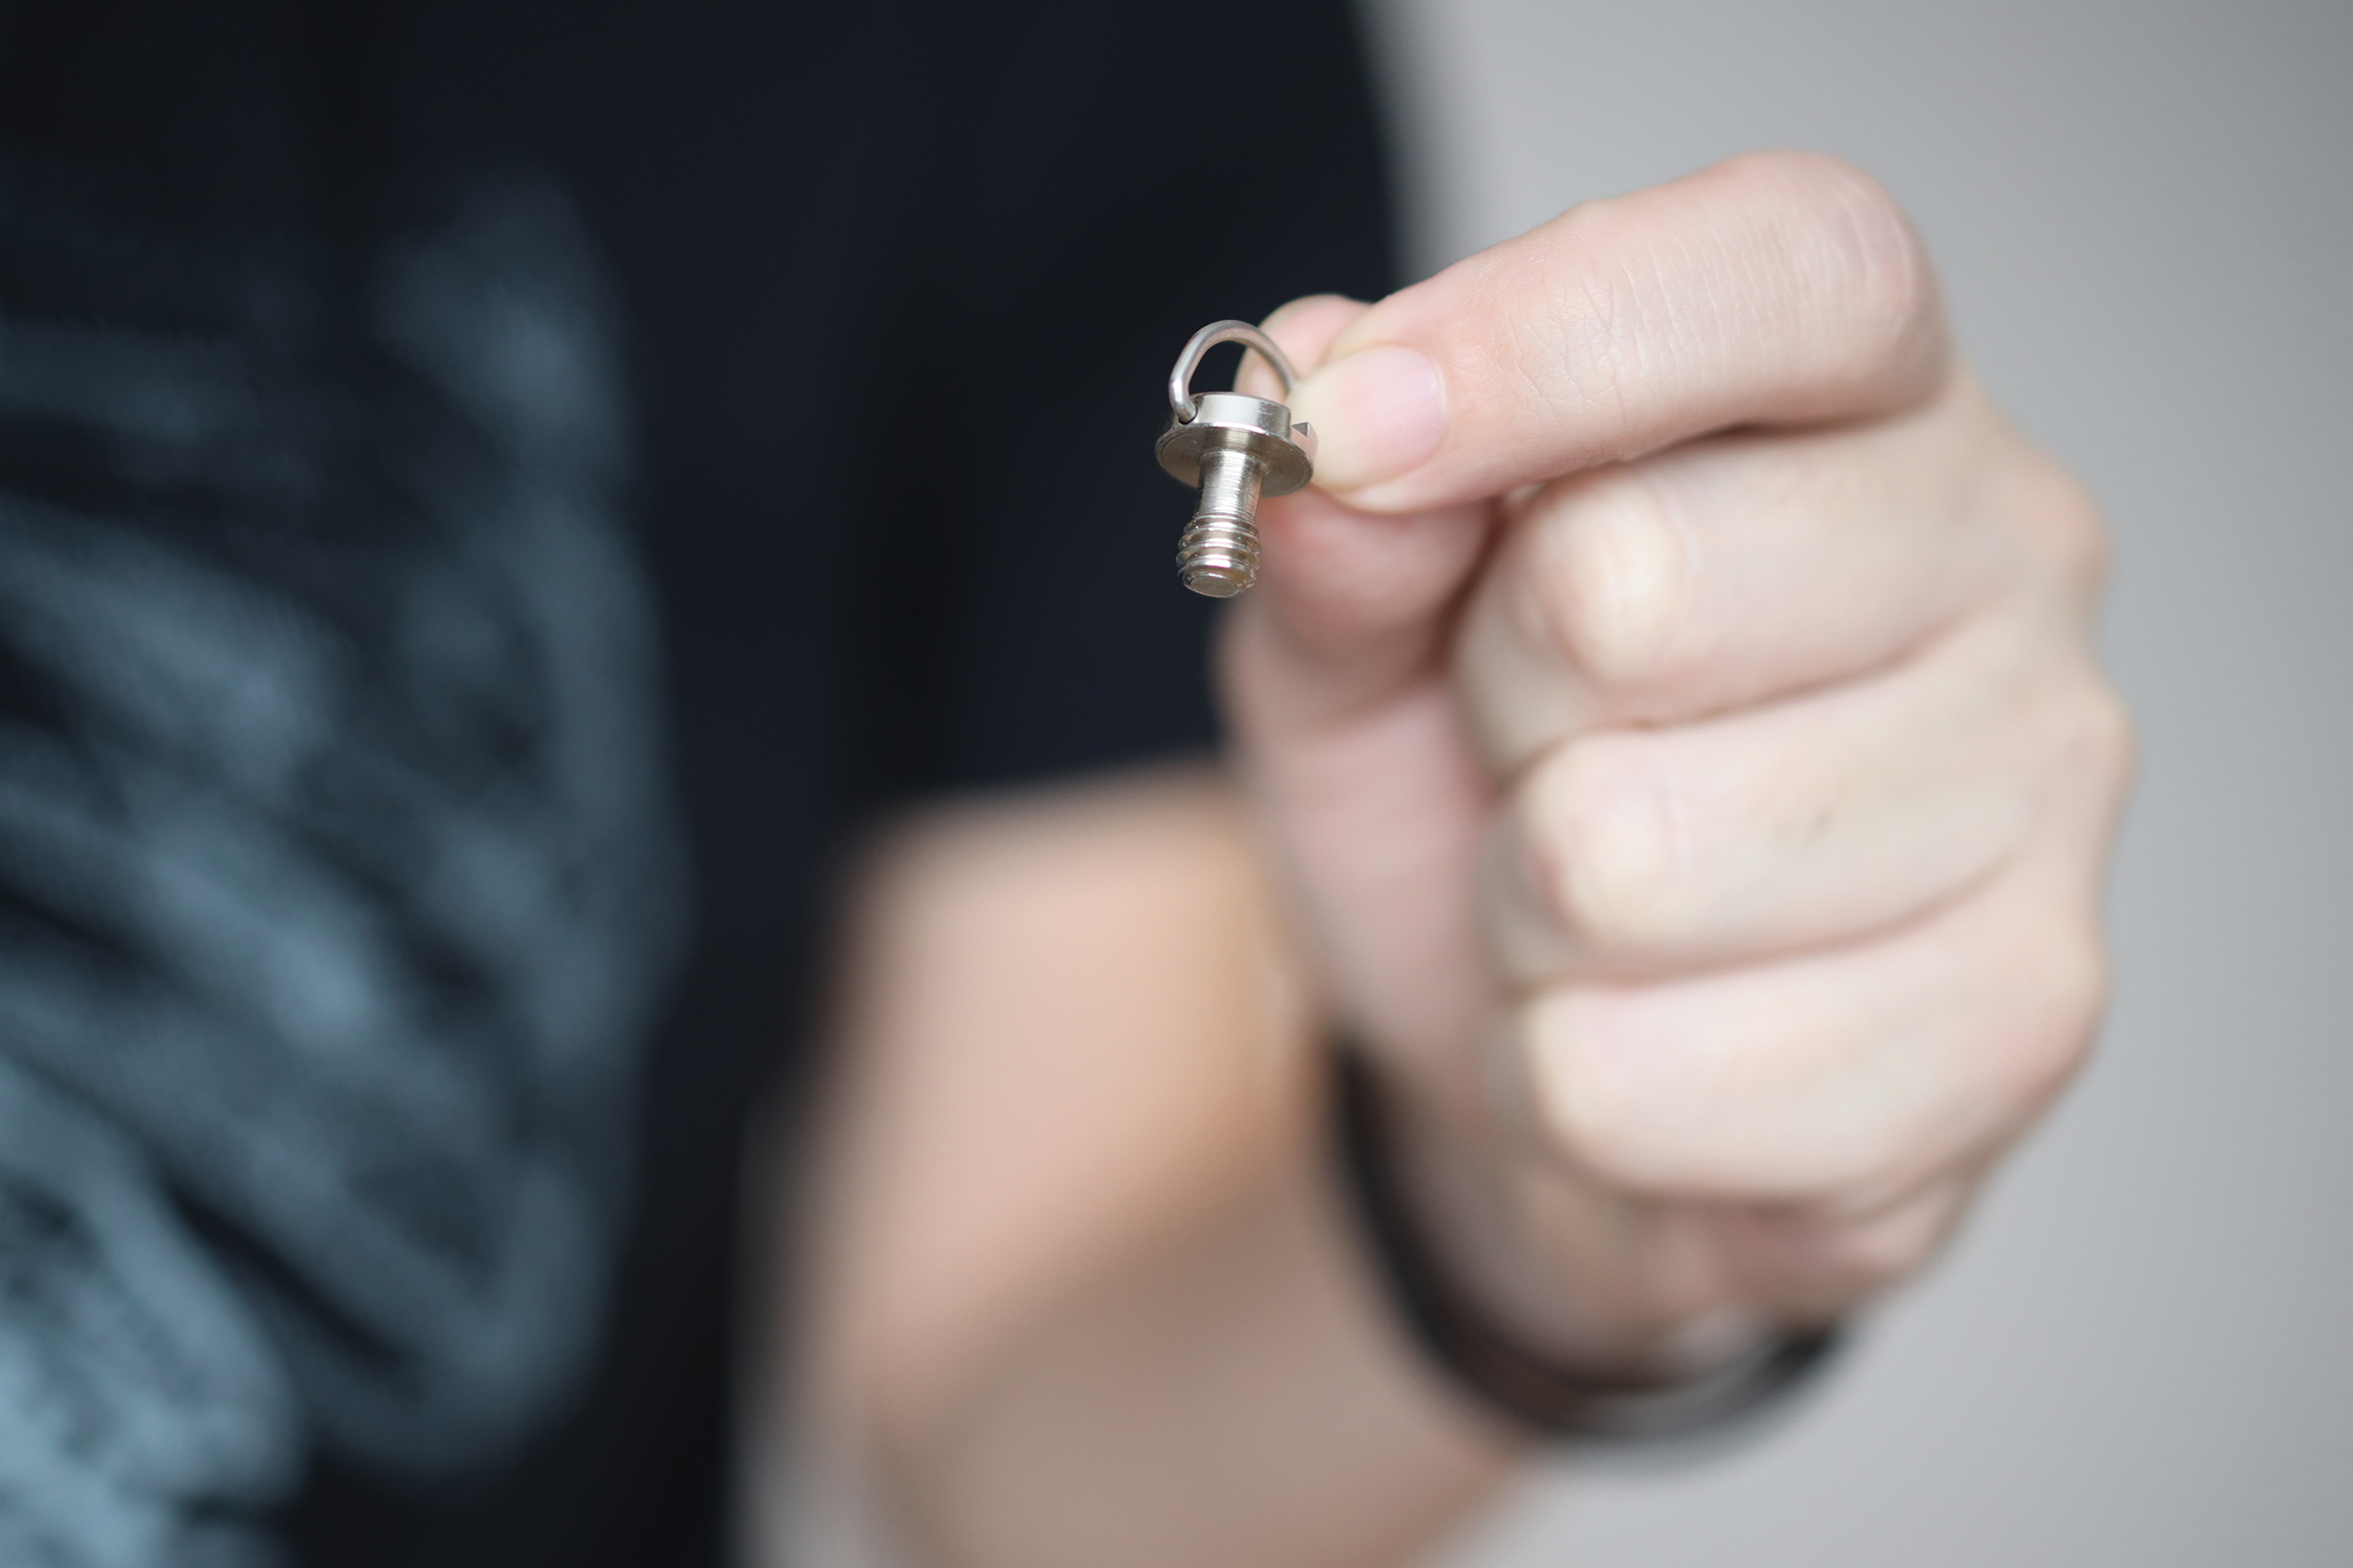
First of all, you’ll need a 1/4-inch hinged D-ring screw. These are available for about £1 / $1 or so on sites like eBay, or alternatively you could just remove one from the mounting plate on your tripod – keeping it all nice and simple from the start.
02 Twist and turn
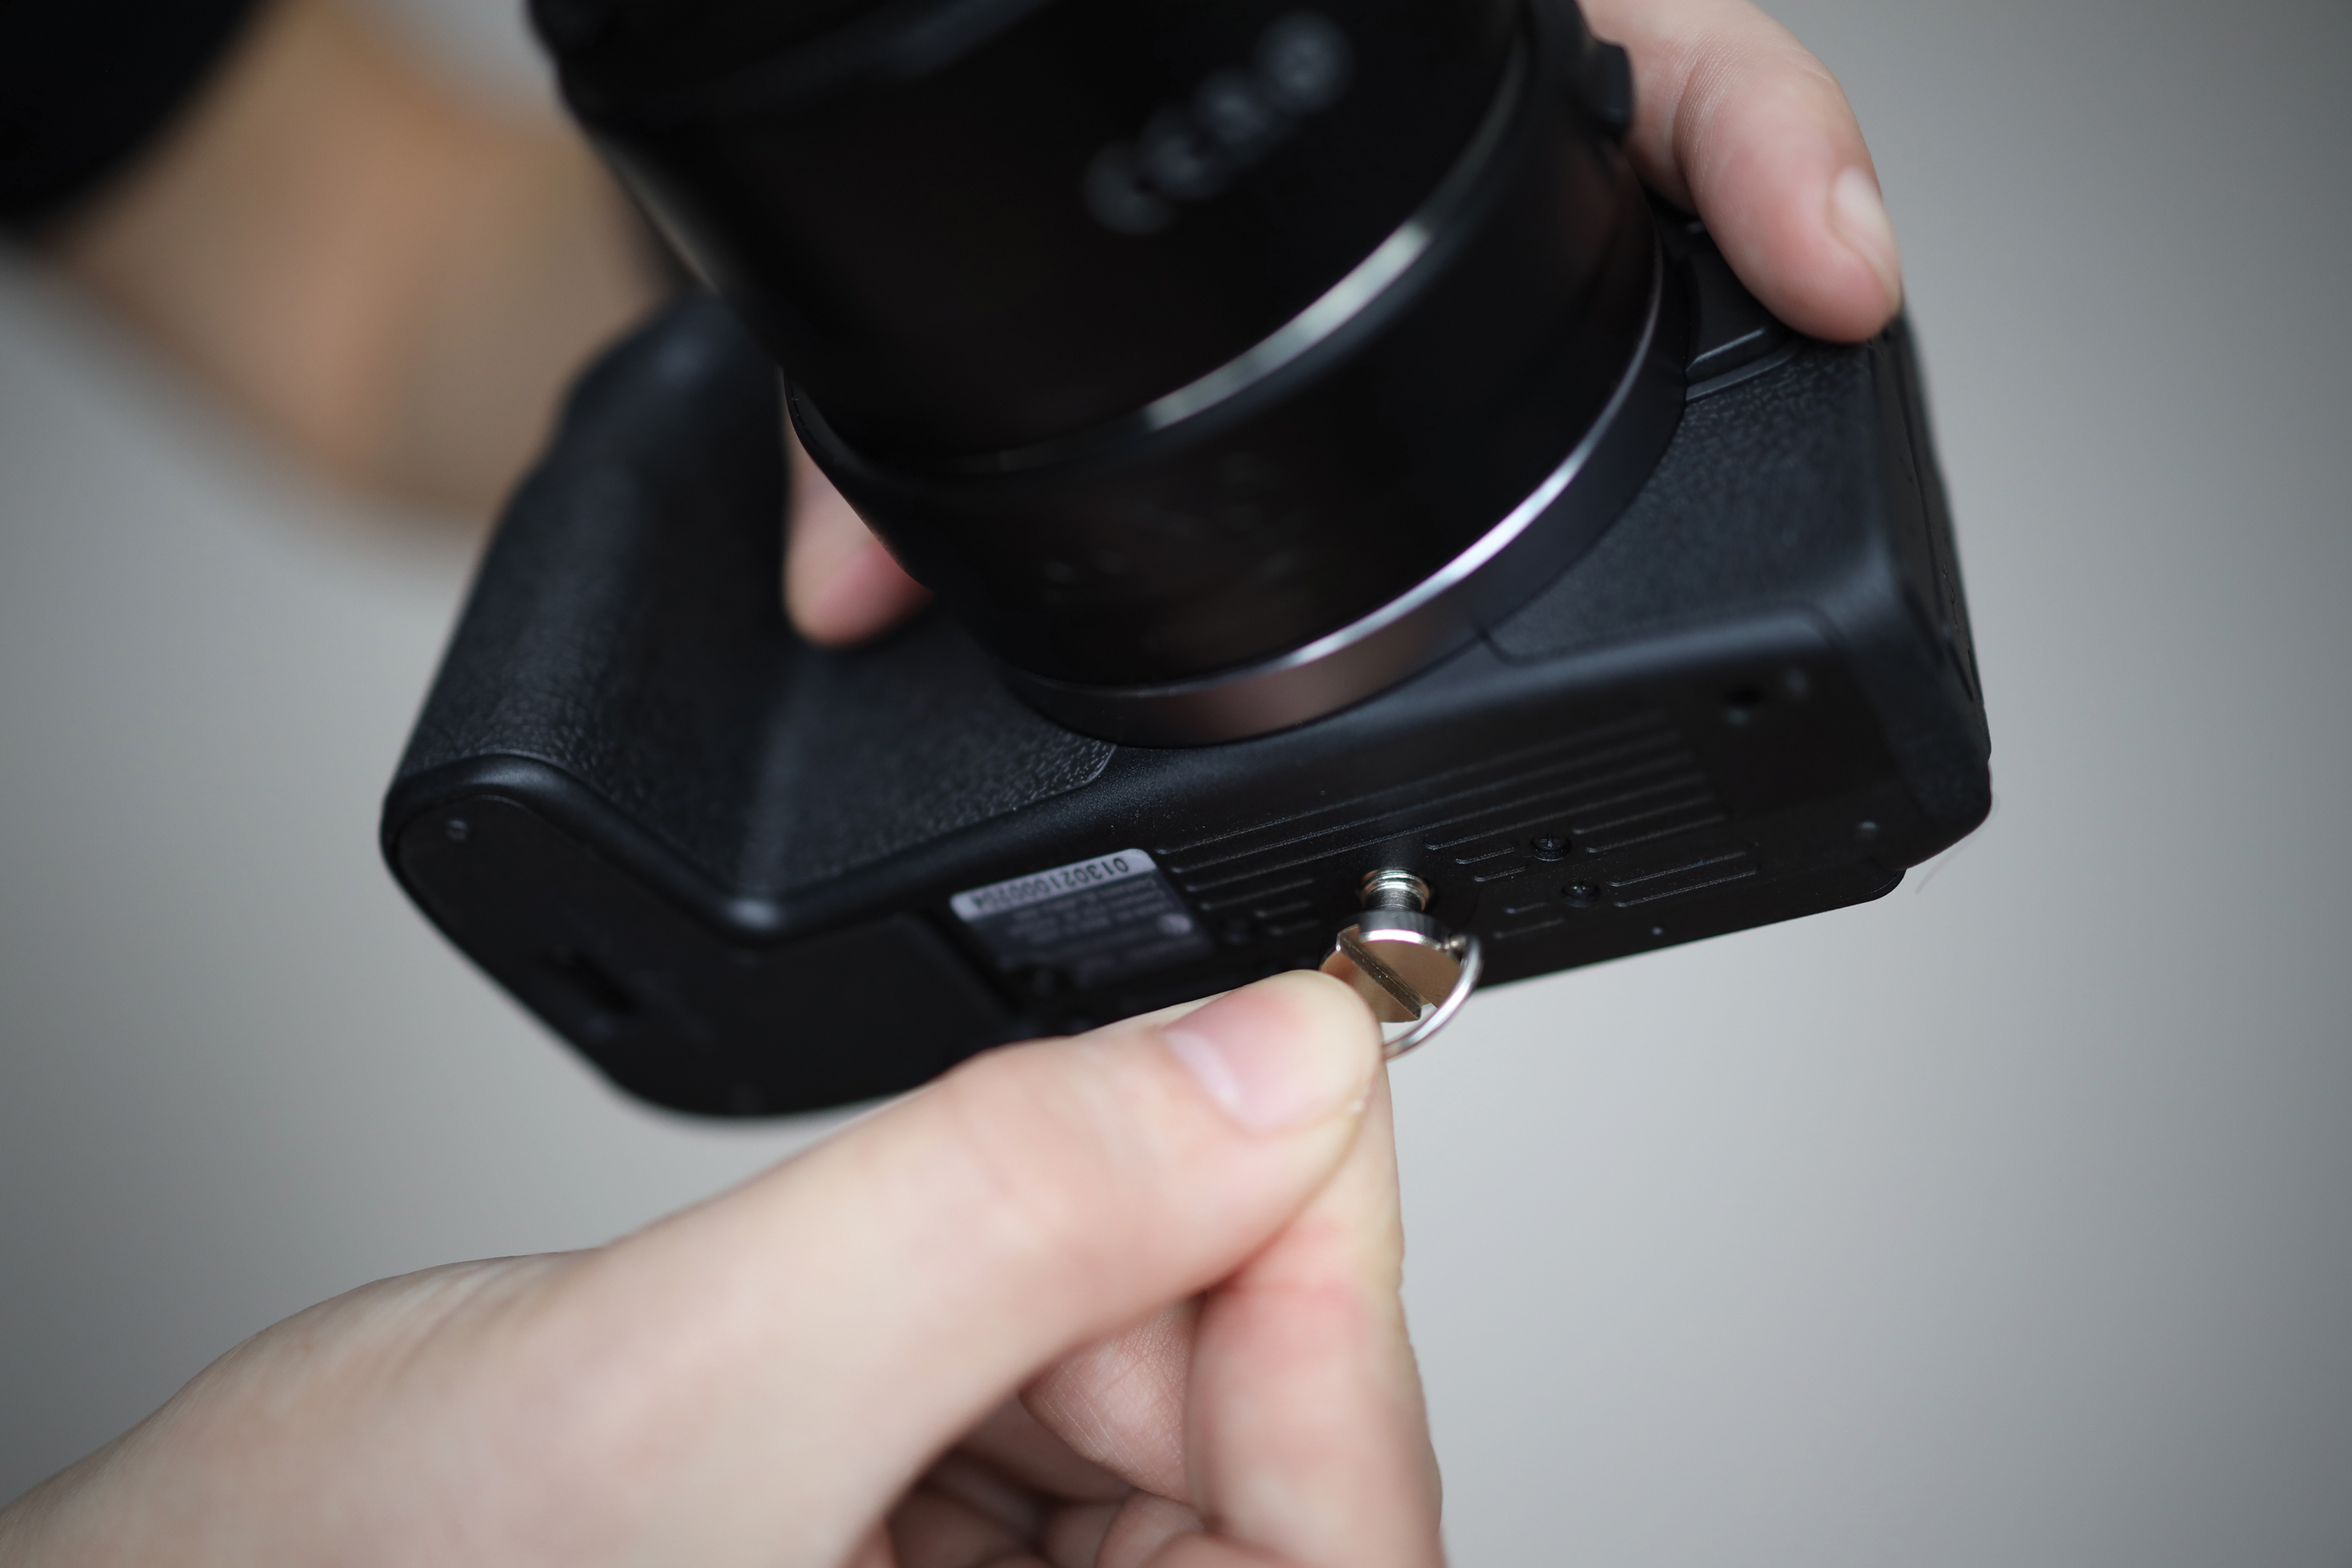
Screw the D-ring into the mounting thread on the bottom of your camera body. Obviously do it up as tightly as you can, to ensure that it doesn’t come loose (it’s liable to get turned and twisted when you attach the hook, so screw it in well).
The best camera deals, reviews, product advice, and unmissable photography news, direct to your inbox!
03 Rope-a-dope
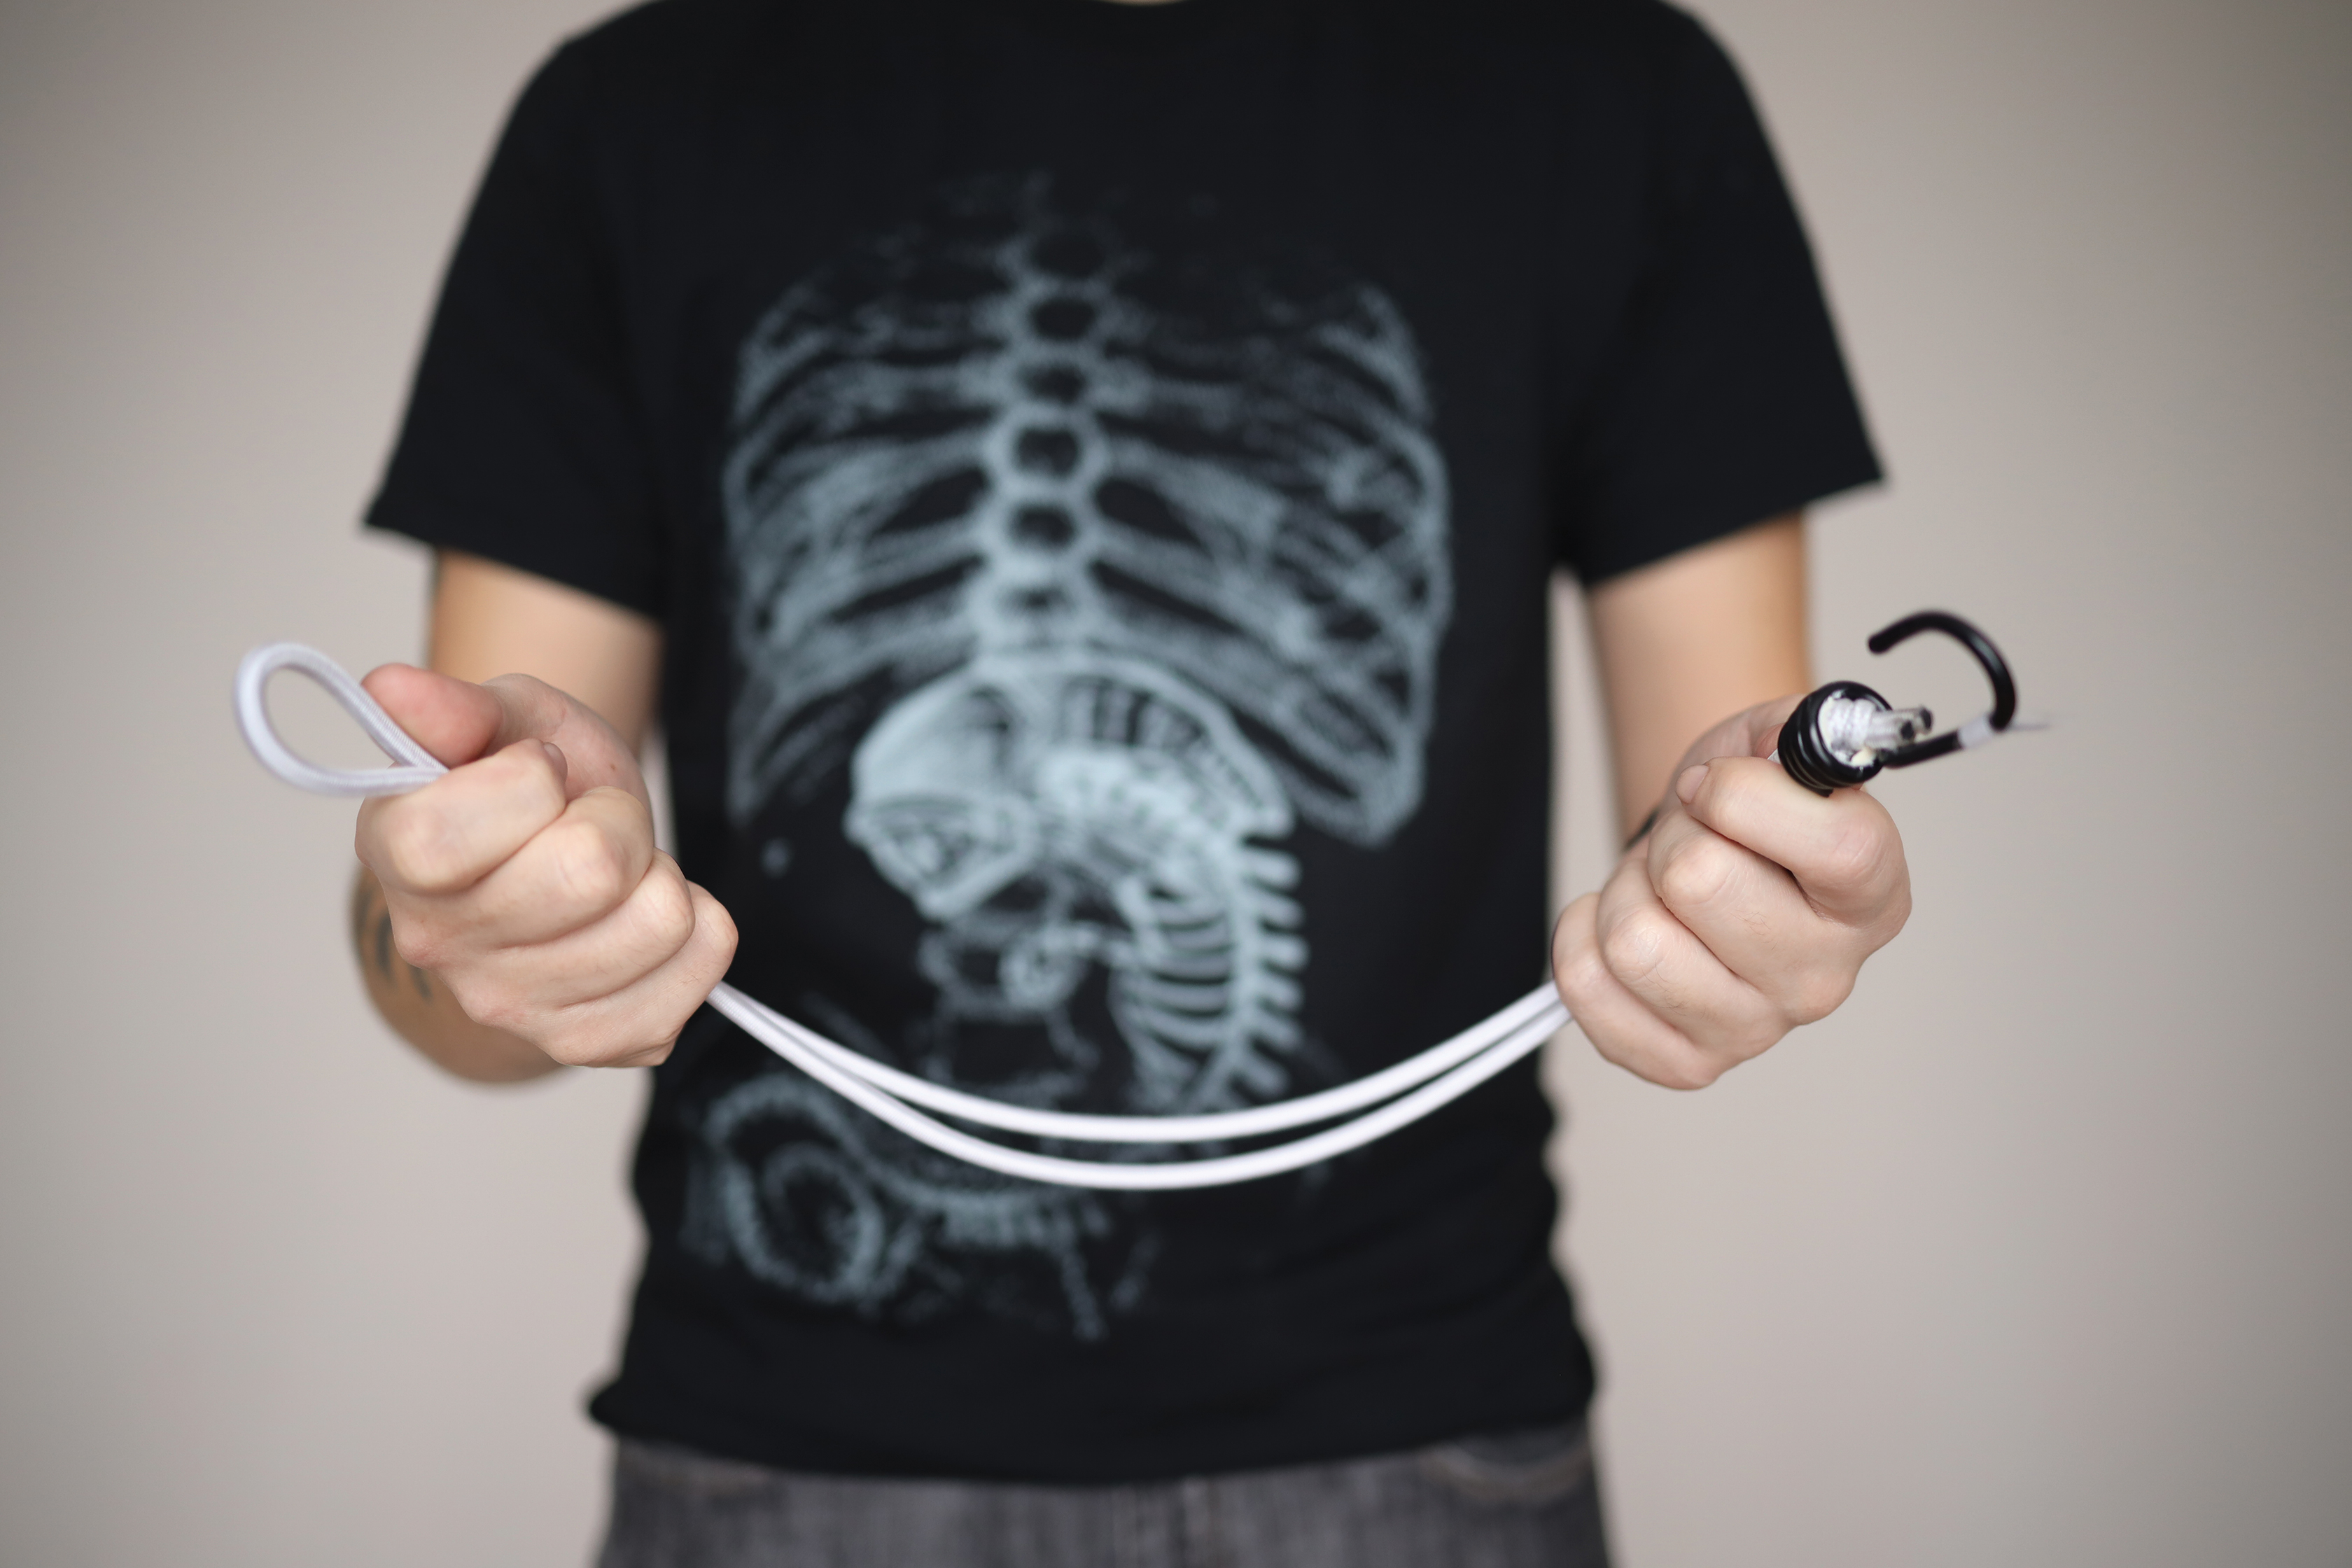
Now you’ll need a travel bungee cord – which costs less than a fiver, and comes pre-looped with a hook attached – or a length of shock cord, to which you can attach your own plastic hooks. Between 25cm and 35cm should suffice, depending on how tall you are.
04 Cord blimey, guvnor
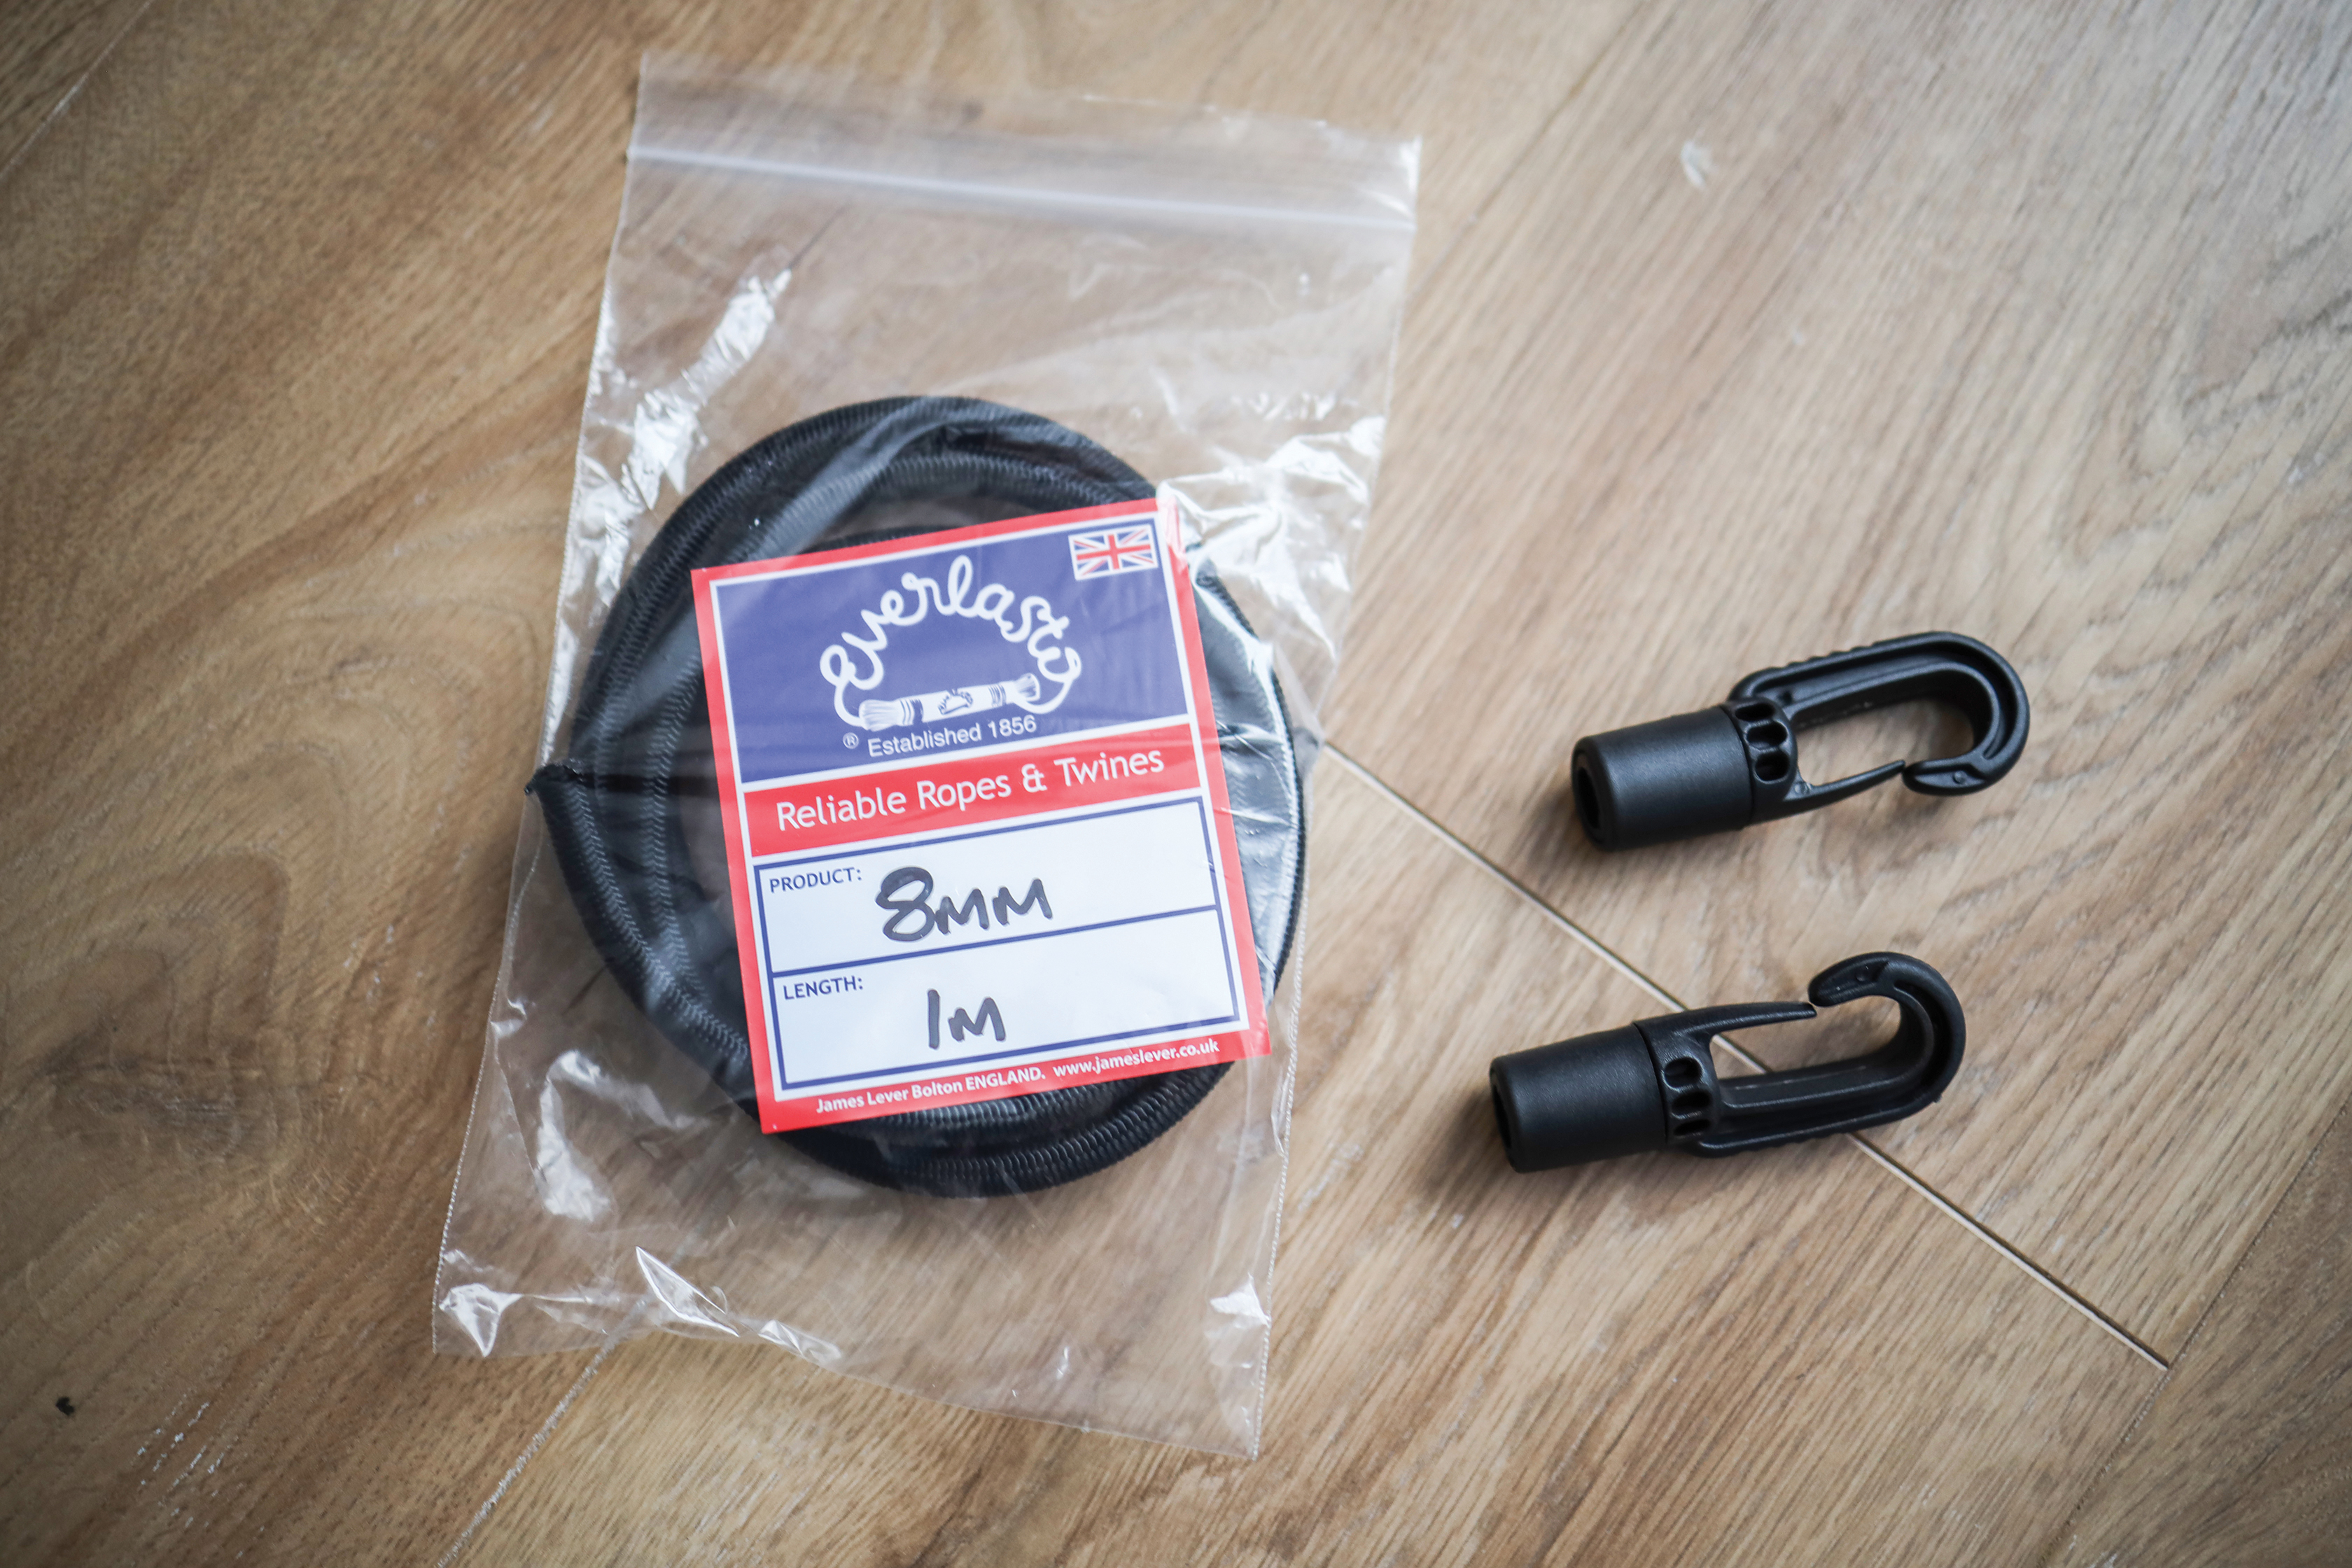
If you can’t find a pre-made bungee cord, or you can’t find one that’s the right length, you can pick up a length of shock cord and some plastic hooks to assemble your own. A meter or yard of cord and a pair of hooks costs less than £5 / $5. We recommend cord that’s a maximum of 8mm in diameter, otherwise the hooks will be too big for the D-ring.
05 Belt up
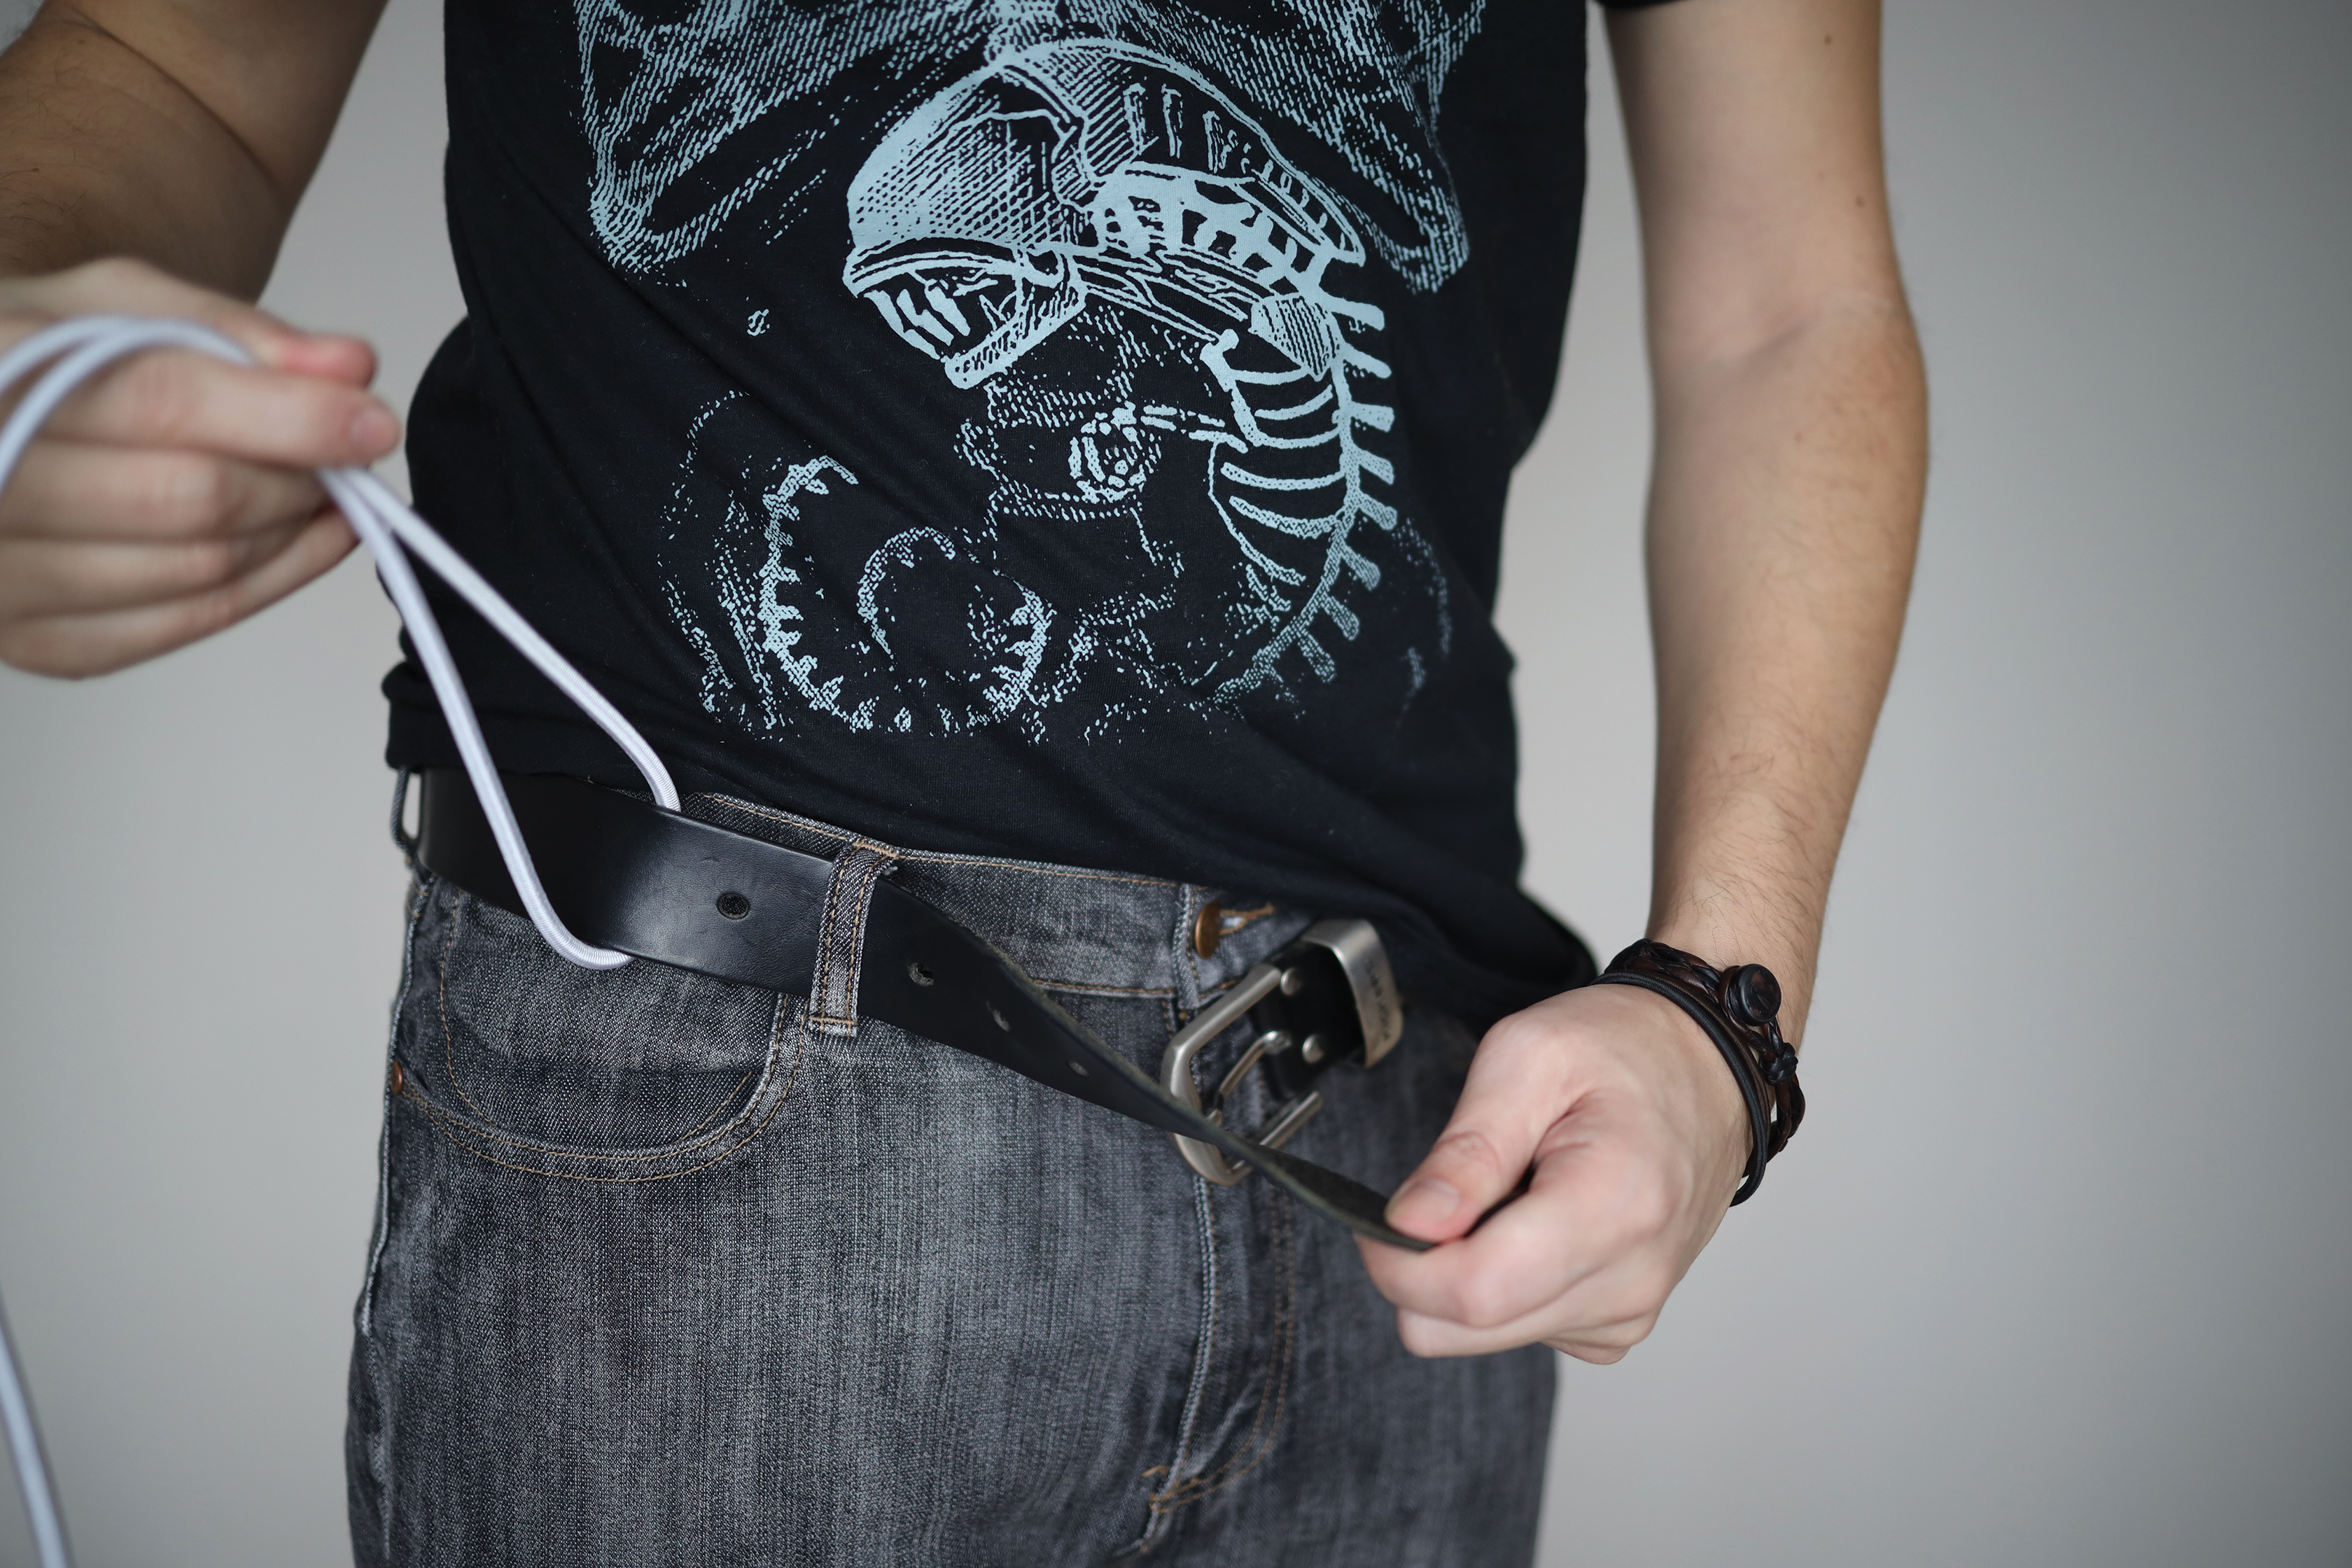
Undo your belt and remove the end with the holes from the first loop on your trousers. Thread your belt through the cord, then do up your belt again as normal. (If you are left eye-dominant, attach the cord on the opposite side of your belt / trousers.)
06 Captain hook
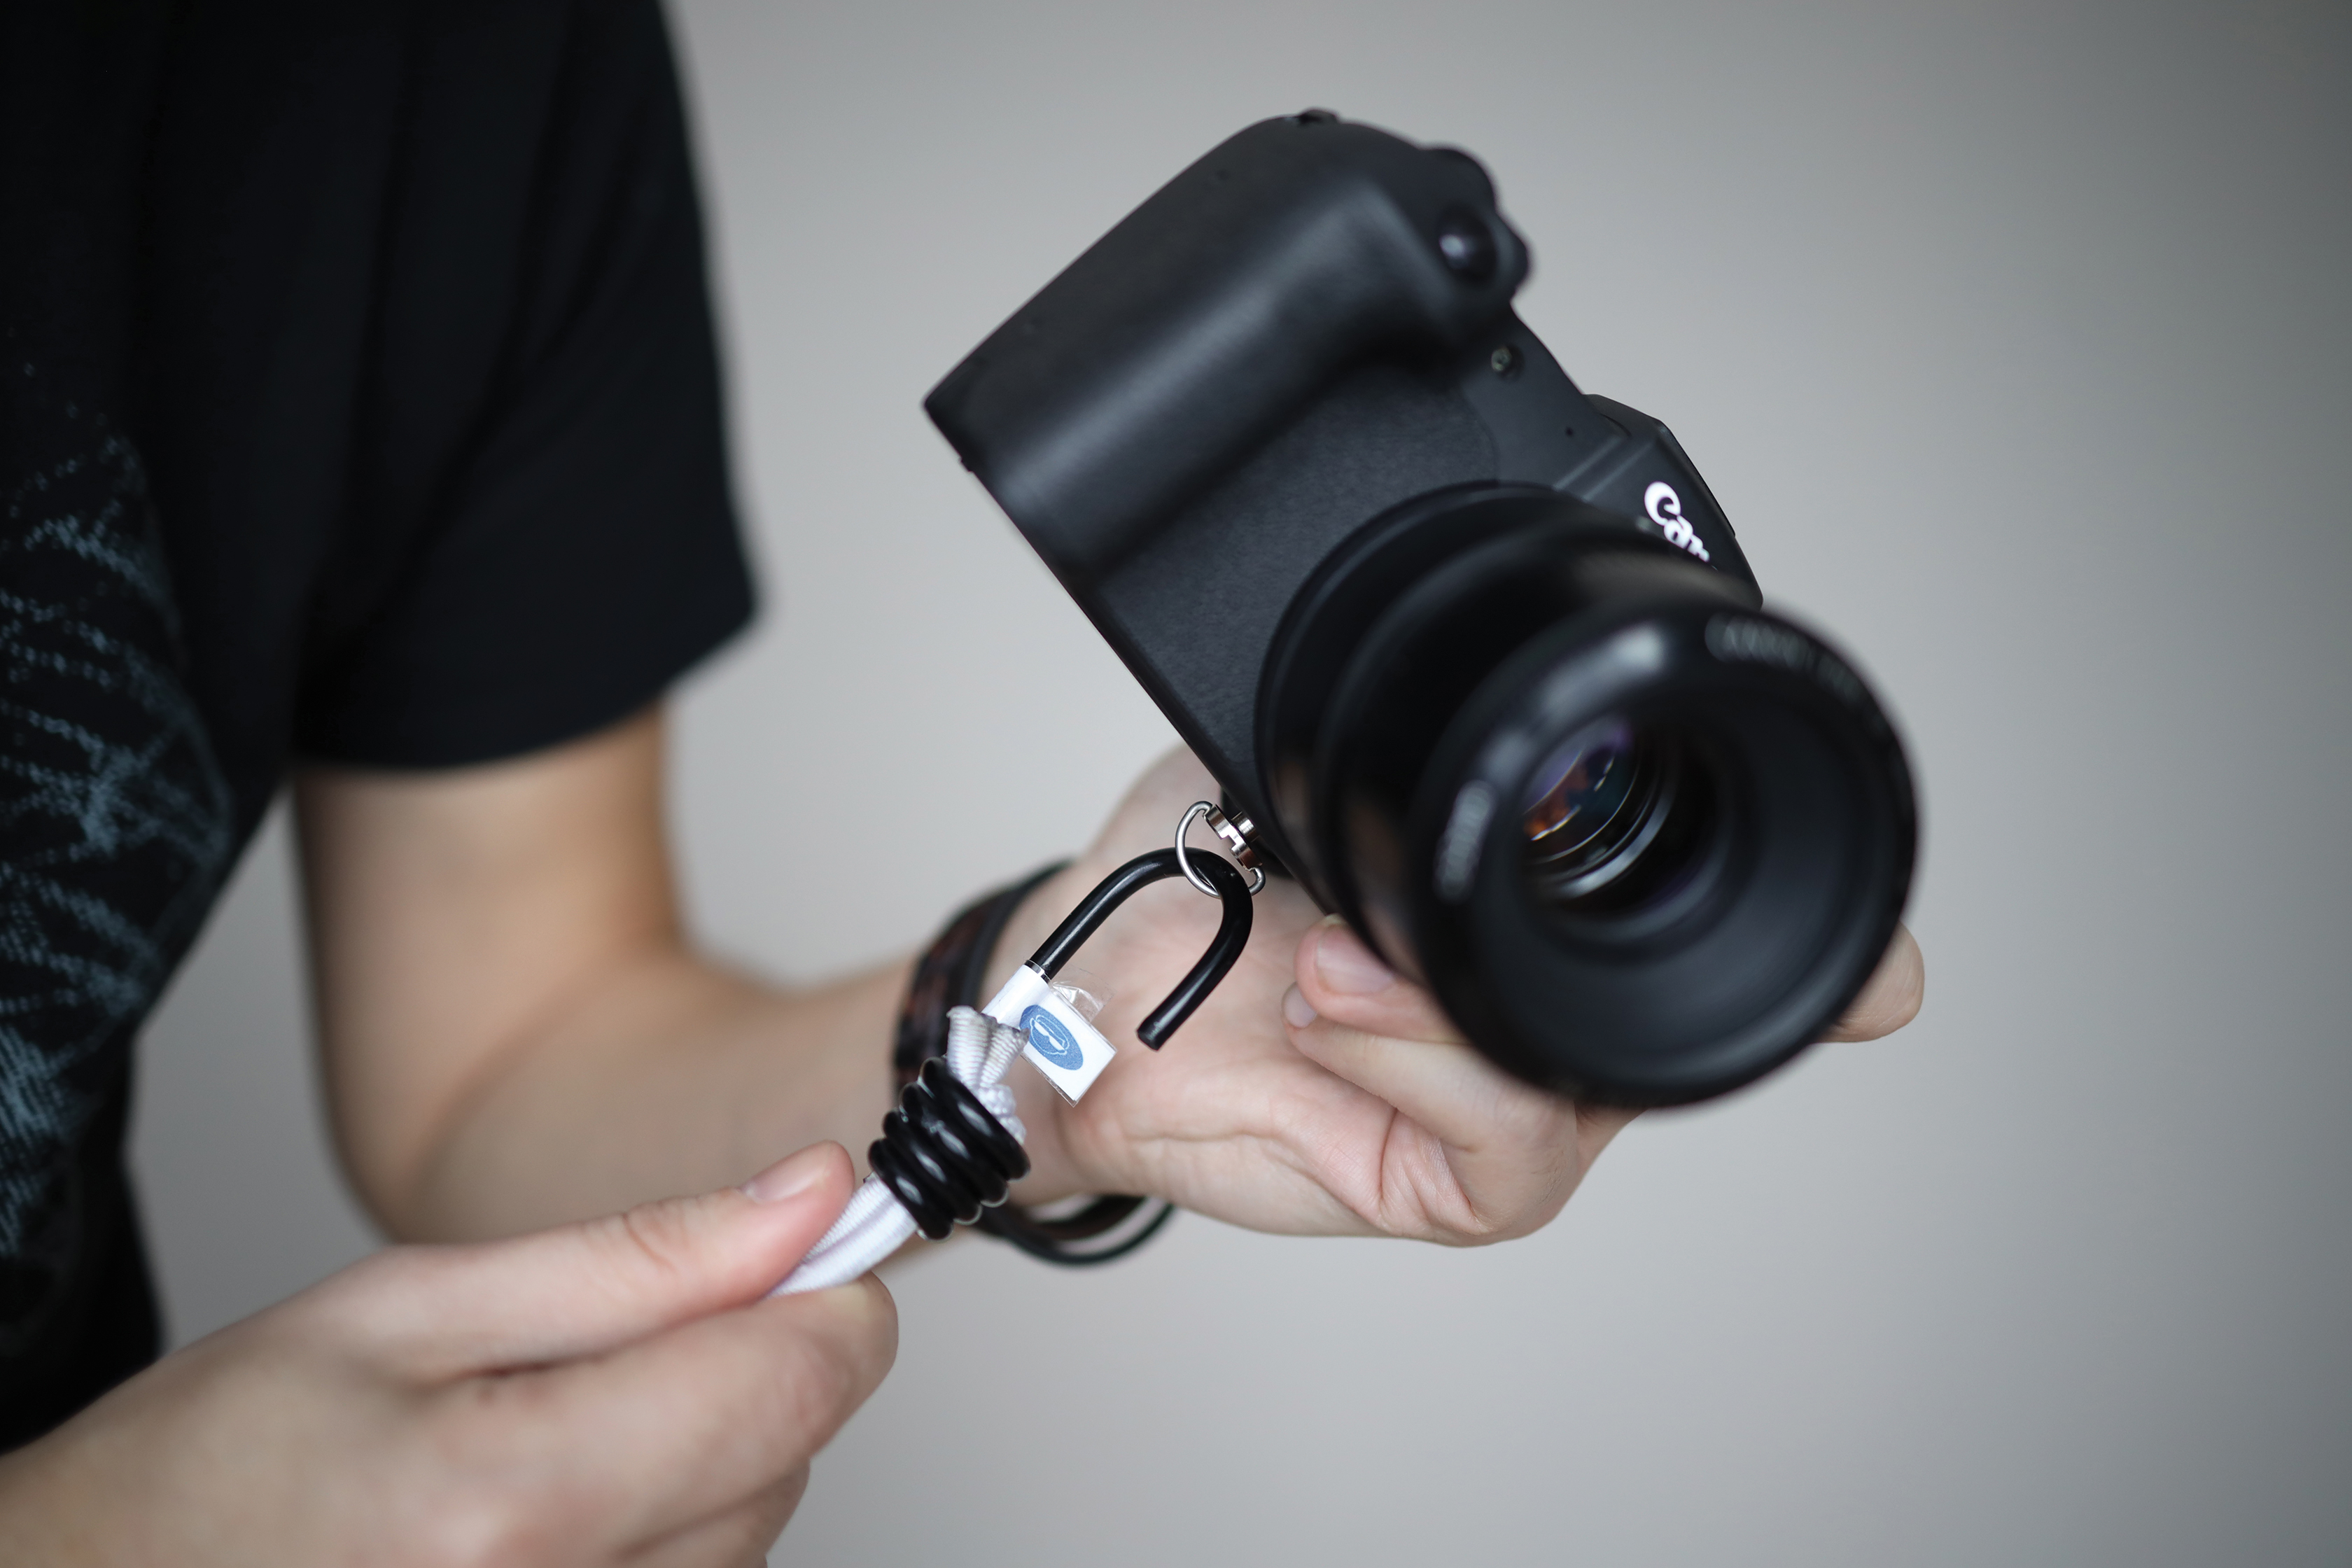
Now all you have to do is simply attach the hook on the end of your length of bungee cord to the D-ring that you screwed into the bottom of the camera. Et voilà – you have successfully constructed the your budget body image stabilization system!
07 Strong and stable
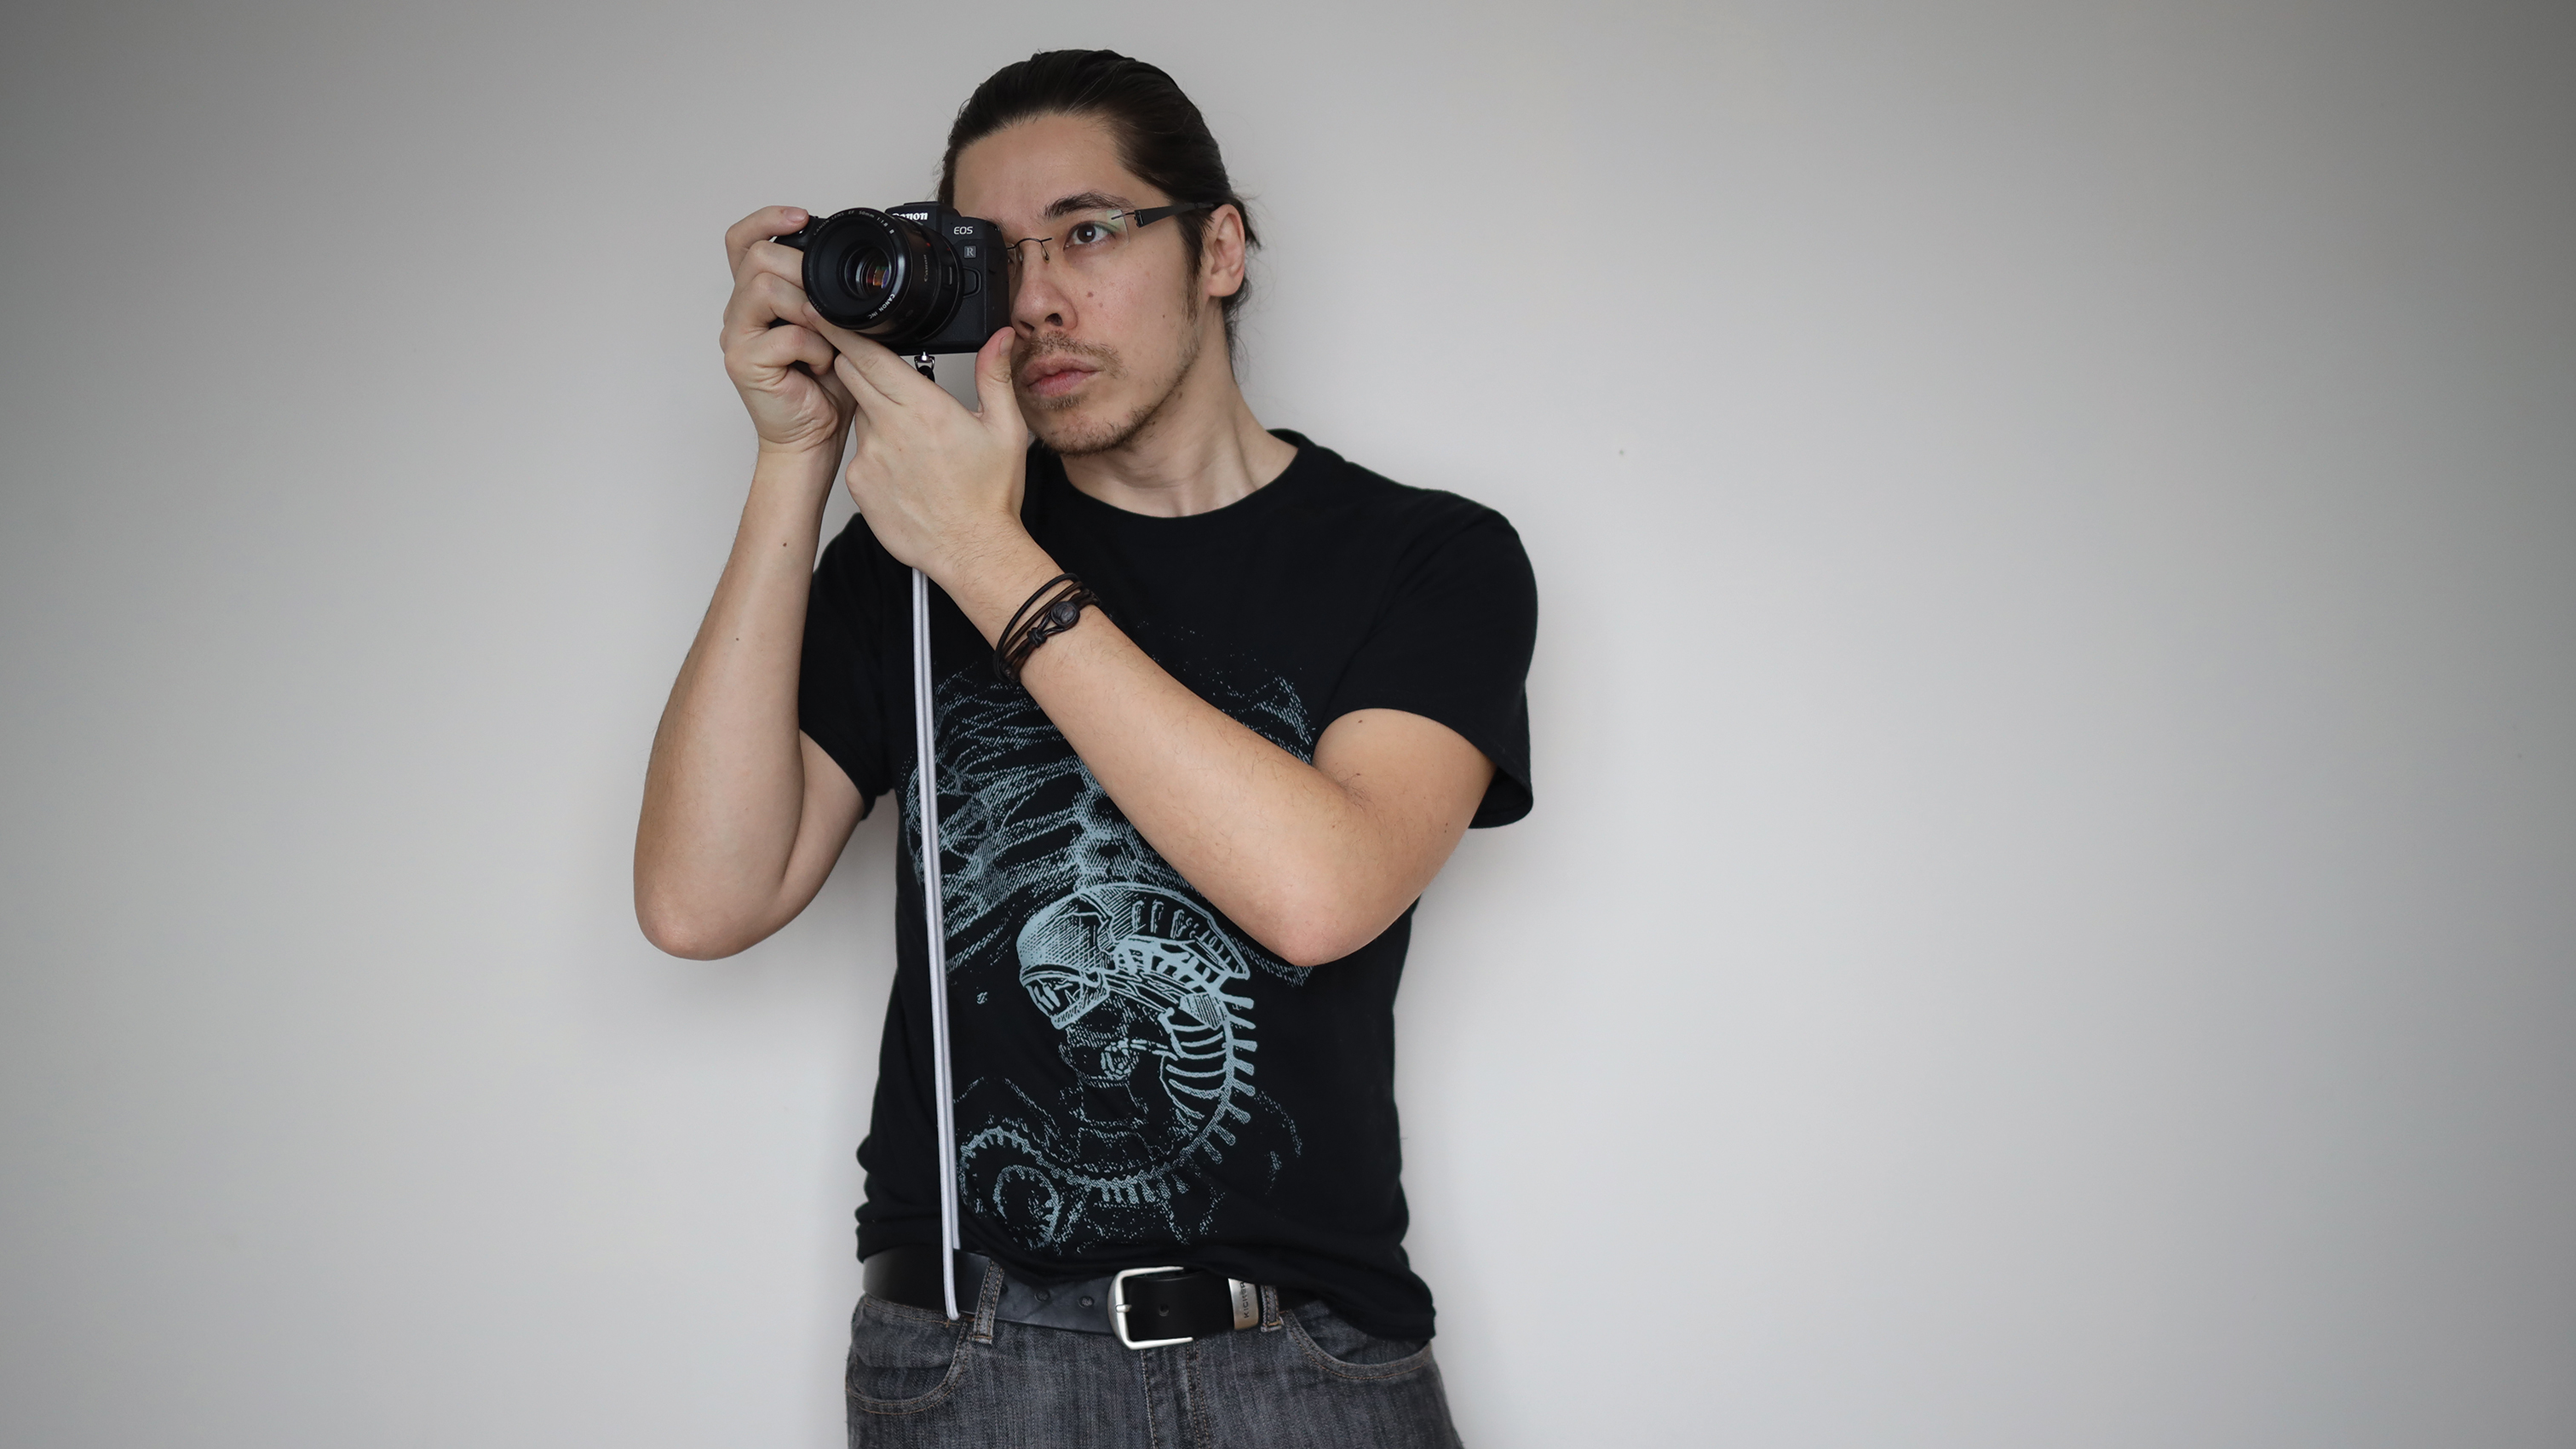
When you raise the camera to your eye (or out in front of you, if composing using the back screen – you will stretch the cord. The tension between the base of your camera and the anchor point on your belt will steady your shot and enable you to slow your shutter much lower than before without experiencing shake.
More videos:
Photography tips and techniques videos
DIY softbox: how to build your own lighting modifier
Pinhole photography: make your own pinhole camera using a body cap

James has 25 years experience as a journalist, serving as the head of Digital Camera World for 7 of them. He started working in the photography industry in 2014, product testing and shooting ad campaigns for Olympus, as well as clients like Aston Martin Racing, Elinchrom and L'Oréal. An Olympus / OM System, Canon and Hasselblad shooter, he has a wealth of knowledge on cameras of all makes – and he loves instant cameras, too.
