Astrophotography is a specialised photographic discipline concerned with taking shots of objects in the night sky. It stretches from capturing a moon shot or star-speckled vista in the backyard right through to multiple long exposures of deep sky objects.
While it even includes images captured over a computer link to a remote telescope in a far-off observatory, for most photographers, it’s about using their own camera gear to shoot the sky at night.
The most accessible form of astrophotography requires nothing more than a DSLR or mirrorless camera, a reasonably fast lens, and a tripod. If your area suffers from light pollution – where street and city lighting spills upwards and reflects off airborne dust and water droplets to create a hazy glow of unwanted light – then it’s worth travelling to a certified ‘dark sky area’ or at least out into the rural countryside.
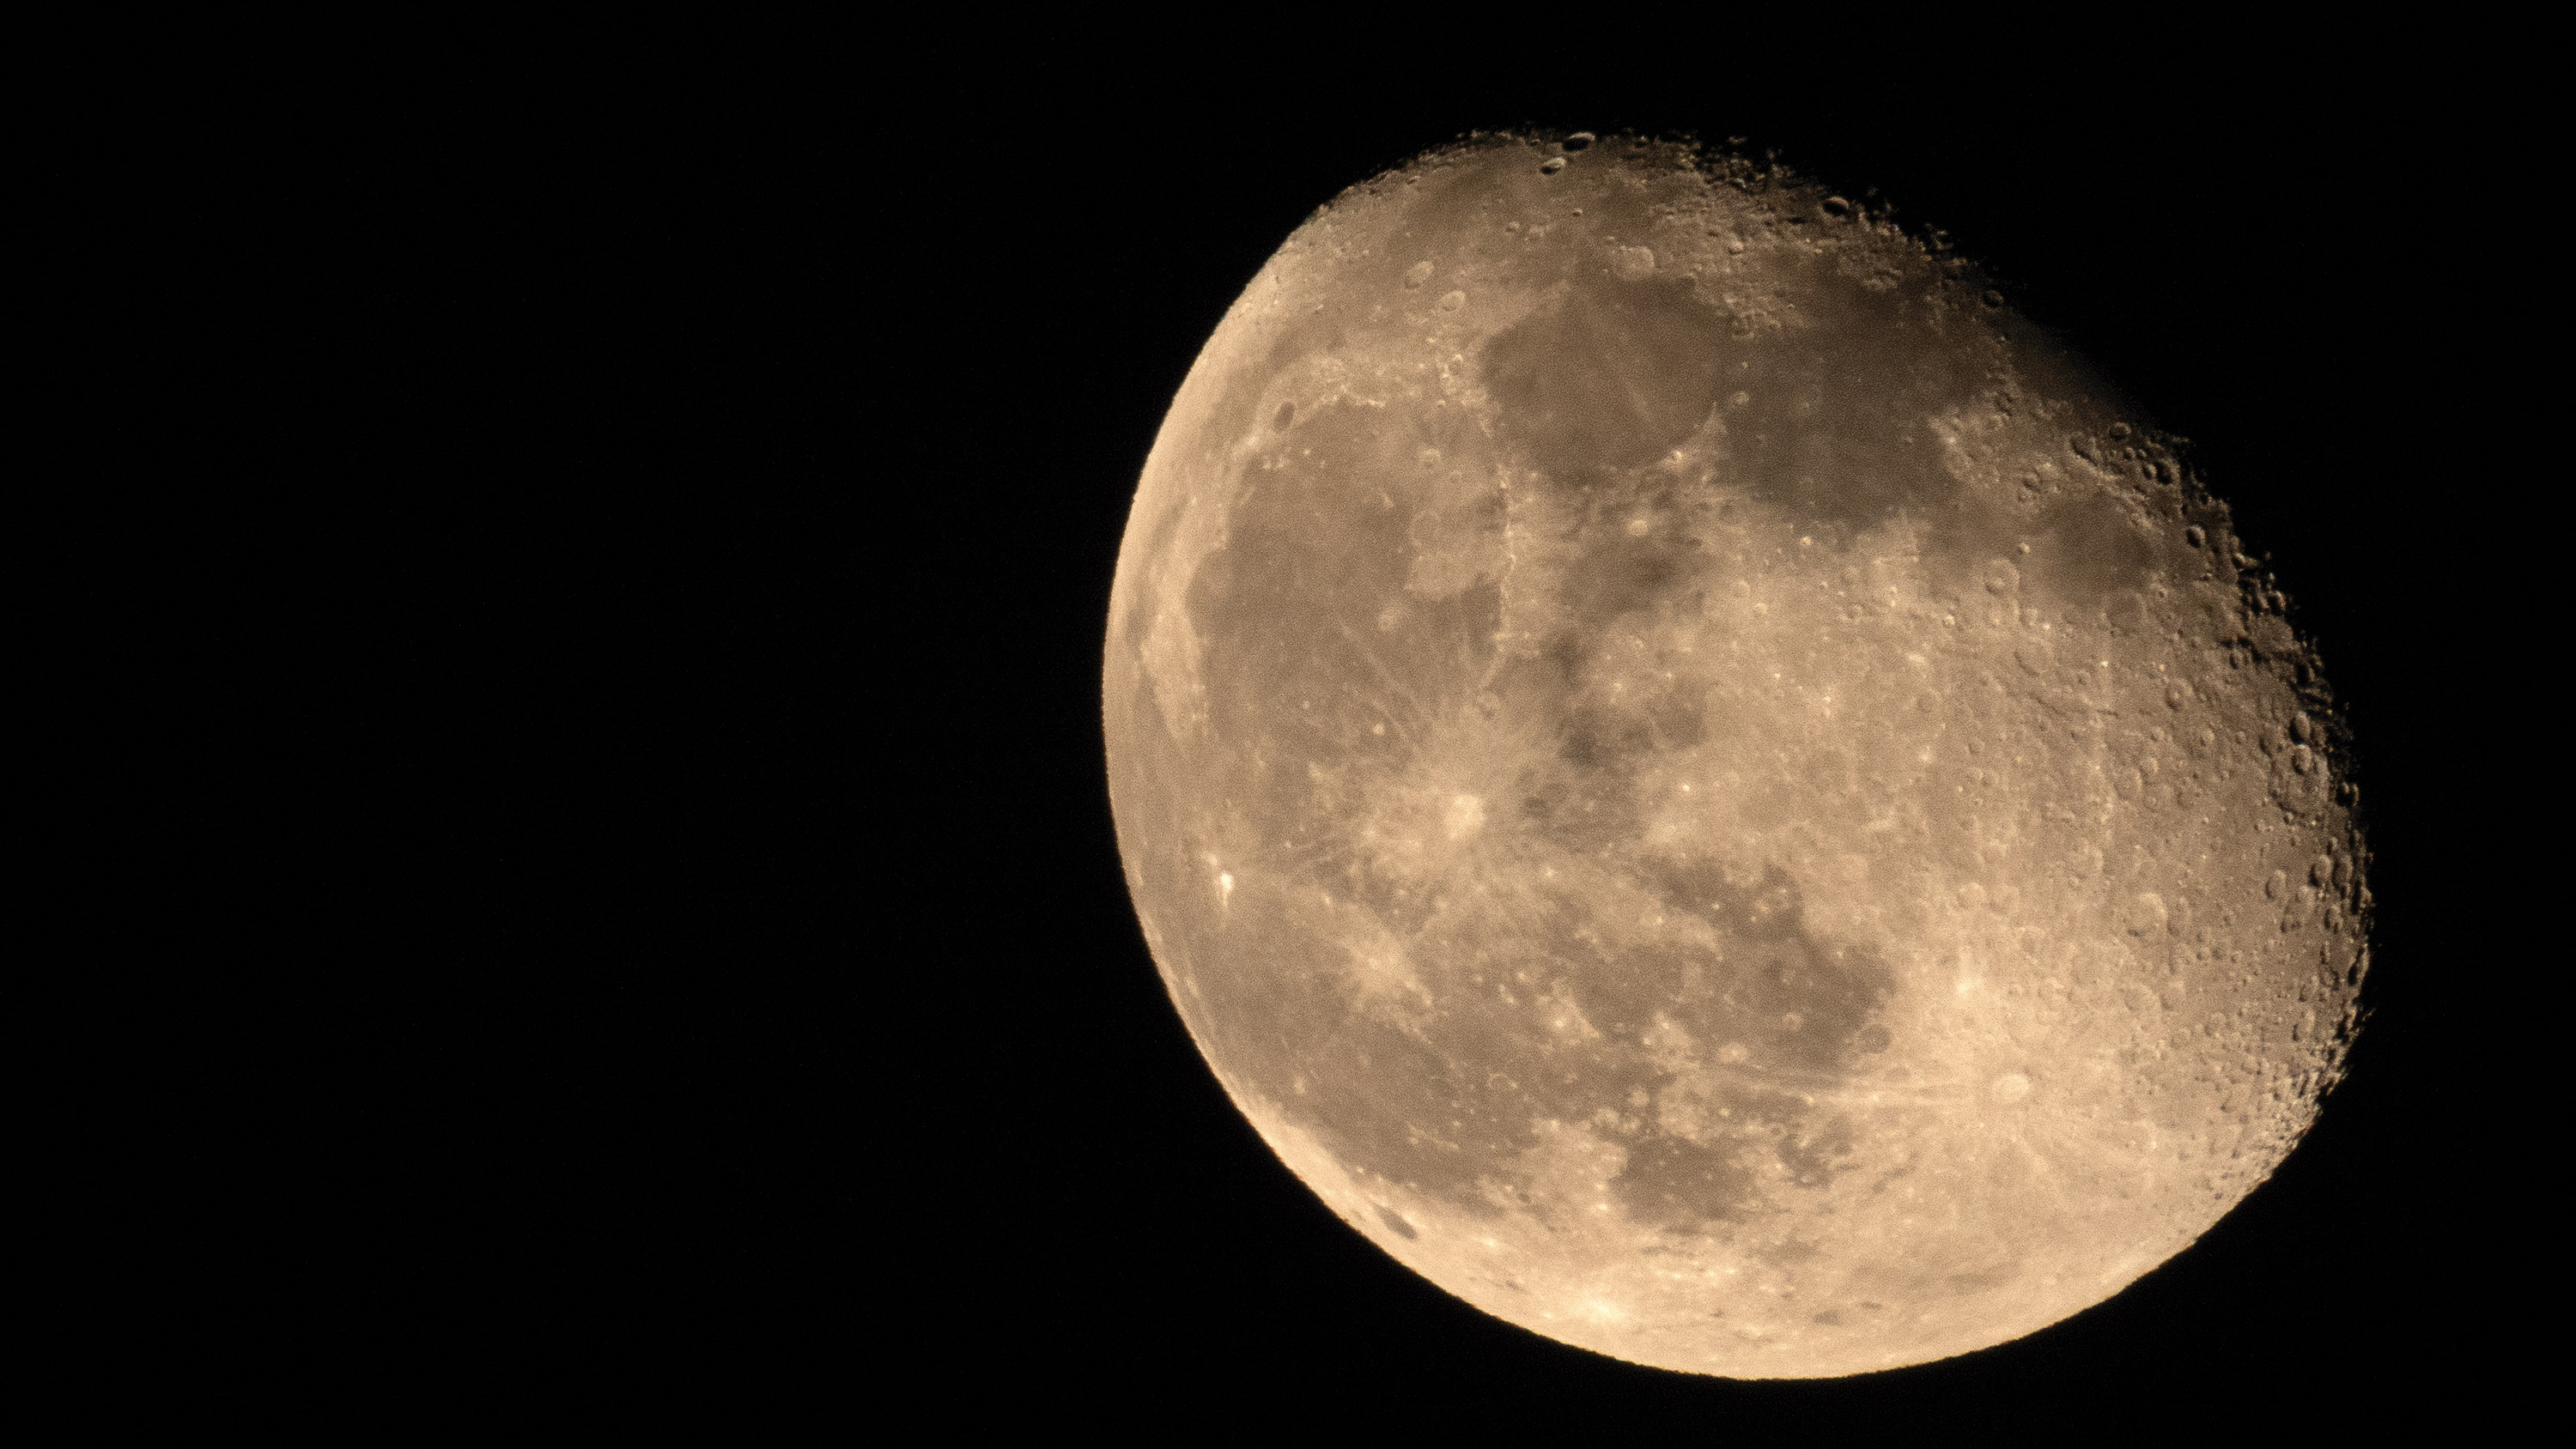
Photograph the moon
If you have a longer lens – such as a zoom that stretches to 300mm or more, then a shot of the full moon is a must on the budding astro ticklist, and is really easy to achieve. Just set your exposure mode to Manual and set ISO to 200, aperture to f/8 and shutter speed to 1/250 sec. Take a shot, using AF to focus on the moon, and check your results on screen.
Atmospheric conditions will vary the brightness, so if your shot’s too dark, open the aperture to f/5.6 and reshoot to brighten things up. You’ll need a massive focal length of around 1200mm to fill the frame – beyond the budget of most people – but provided you get a sharp result at 300, 400 or 500mm, you can crop in and still get a decent image.
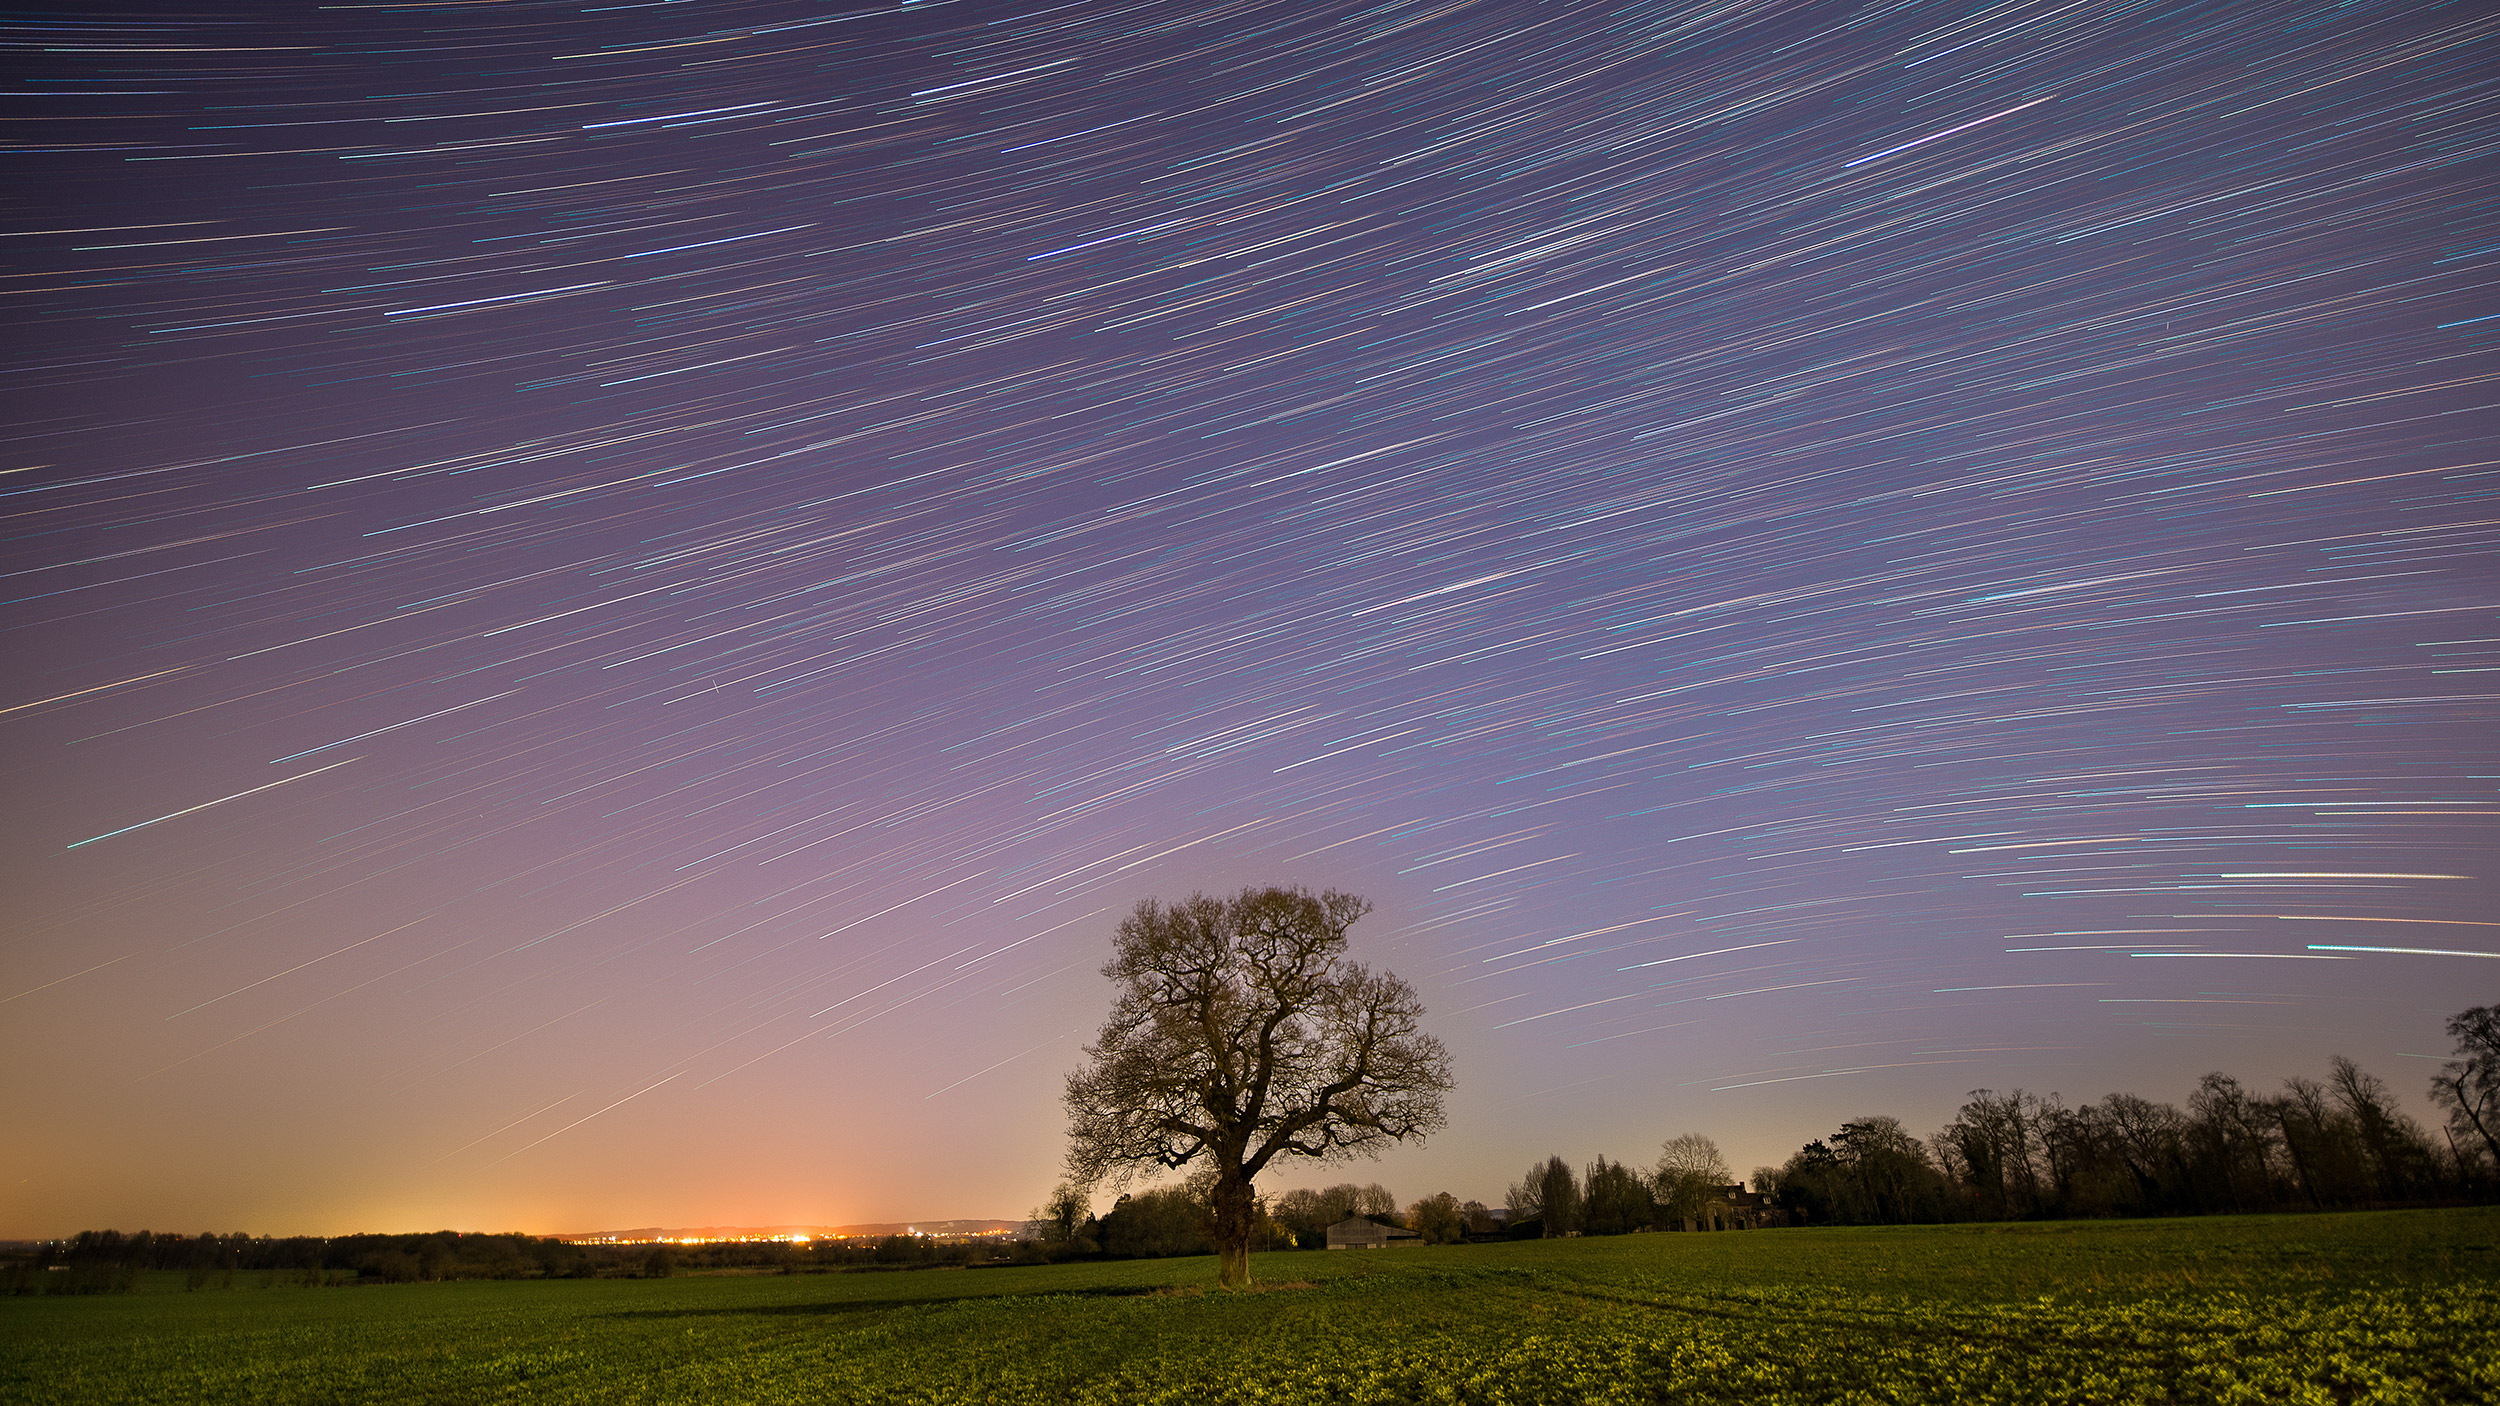
Shoot starry skies
Another great project that doesn’t require any highly-specialized kit is a wide-angle shot of the starry sky, or if you’re lucky, the Milky Way arcing over a landscape. If the Earth wasn’t moving, you could simply take a long exposure to let dimmer stars ‘burn in’, but unfortunately, the rotation of the earth will make the stars record as short streaks (or star trails) if you keep the shutter open for more than 20-30secs. For this reason you need to make your sensor very sensitive to light, so dial in an ISO of 1600 or 3200, and use your widest aperture, such as f/2.8. Again, use M mode, and try shutter speeds of 20 and 30 secs.
Focusing can be tricky, and the best bet is to use Manual focus with live view enabled. Zoom into the screen to the maximum 10x, and scroll around until you’re centred up on a star or group of stars. Then gently rotate the focusing ring to and fro until the image is at its sharpest.
The best camera deals, reviews, product advice, and unmissable photography news, direct to your inbox!
Star tracker mounts
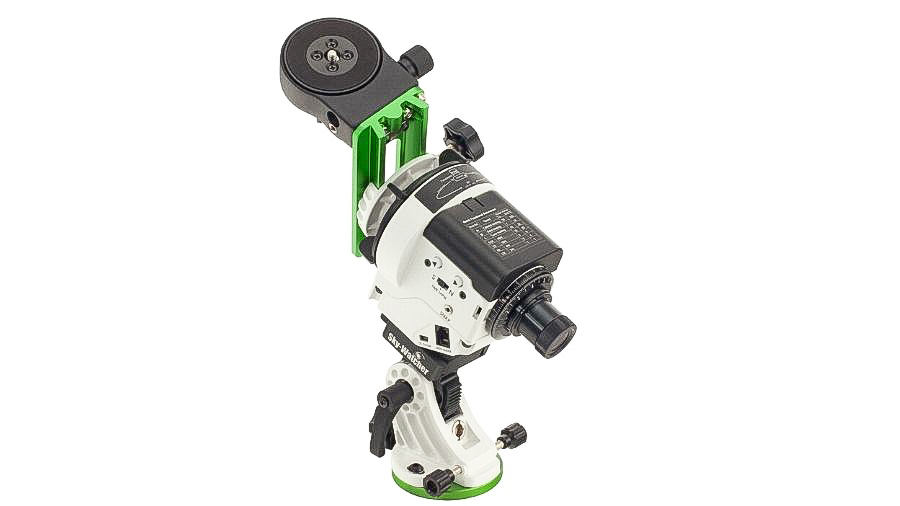
If you want to shoot constellations, then the same applies as for wide-angle starfield shots, but you’ll need a longer focal length, such as 50-100mm (depending on the size of the constellation you’re capturing). Just remember that the longer the focal length, the more you are magnifying the scene, and the shorter the shutter speed needs to be to stop the stars turning into streaks.
For shots of deep-sky objects like nebula, galaxies and star clusters, you need much longer exposures for them to record, as they are very faint. You also need to shoot several shots and stack them together to improve the signal (the light) over the background noise (the camera’s electronic gain). This means you have to track the sky over a long period to counteract the earth’s rotation, and that requires specialist kit like a smooth and accurate motor-driven equatorial mount that’s precisely set up.
On top of this, a lens long enough to magnify them (like a telescope) and an eyepiece adaptor for your camera will be required. This takes you into a more specialised field of deep-sky astrophotography that’s well worth further research if you’re hooked after trying the more accessible projects.
Read more:
• Best star tracker camera mounts
• Best light pollution filters
• Best camera for astrophotography
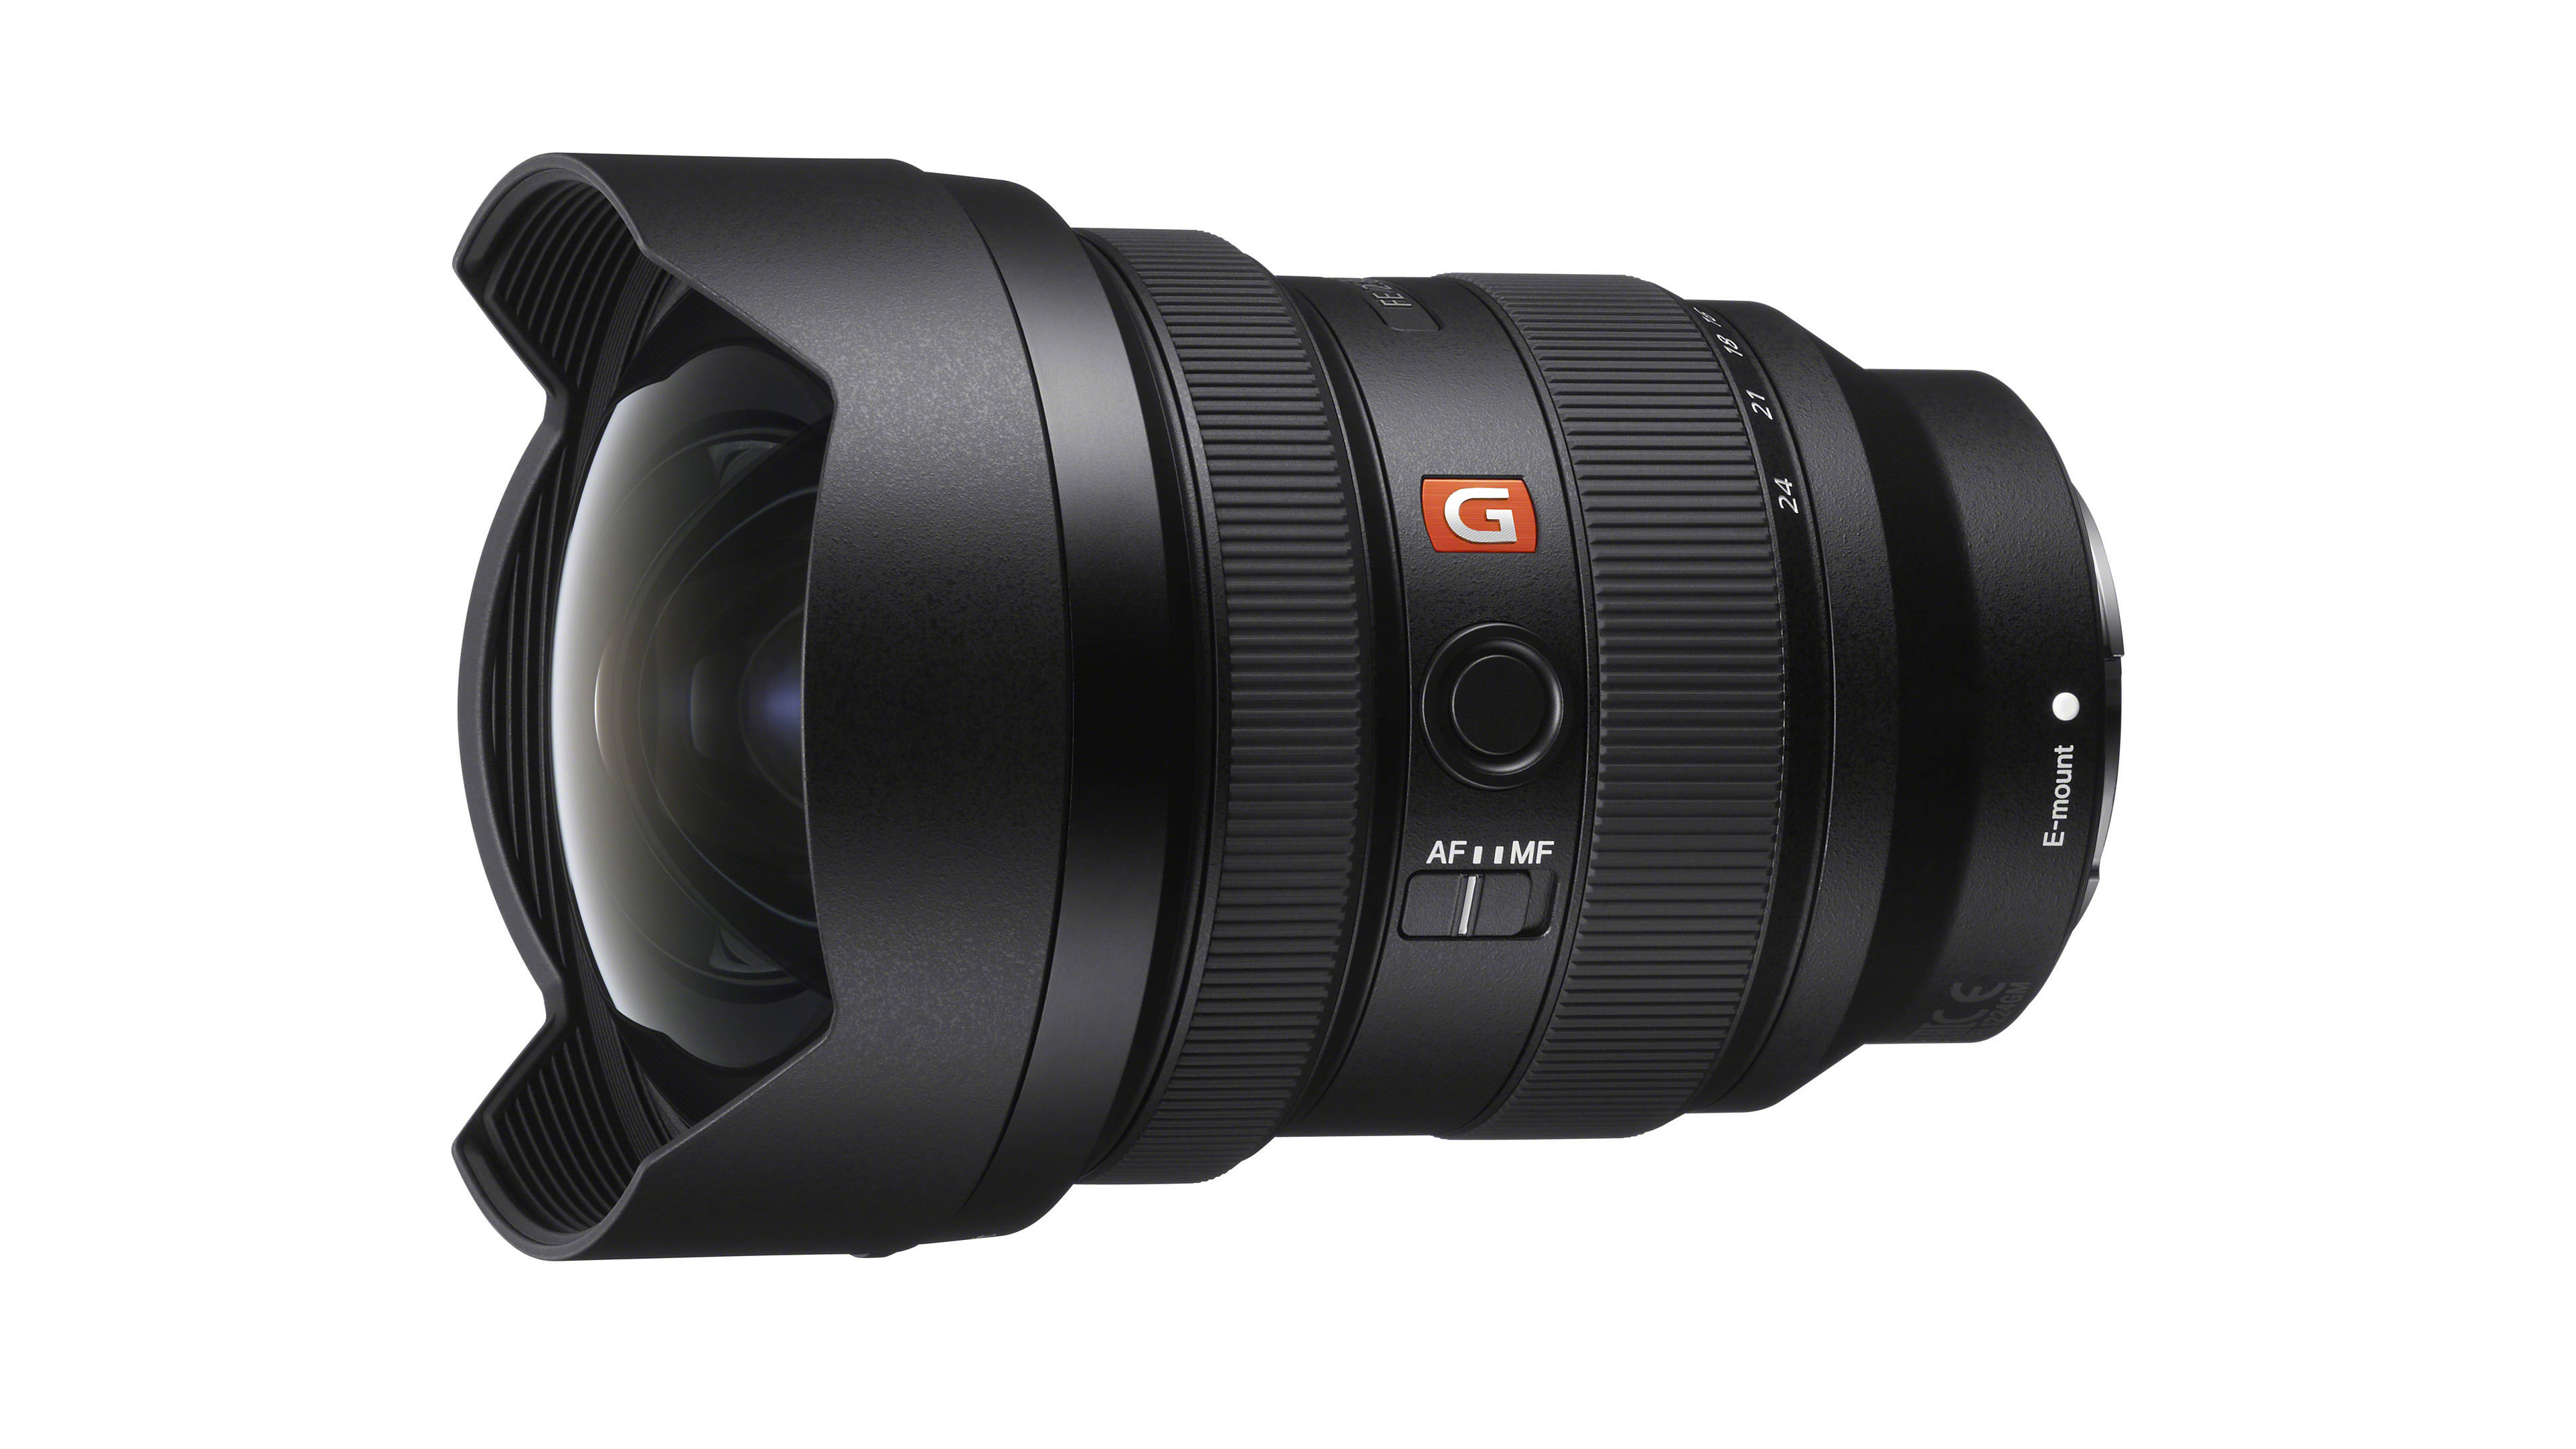
• Best lenses for astrophotography
Jon started out as a film-maker, working as a cameraman and video editor before becoming a writer/director. He made corporate & broadcast programmes in the UK and Middle East, and also composed music, writing for TV, radio and cinema. Jon worked as a photographer and journalist alongside this, and took his video skills into magazine publishing, where he edited the Digital Photo magazine for over 15 years. He is an expert in photo editing, video making and camera techniques.
