Use these free textures to create a perfect posterized portrait blend in Affinity Photo
Download your 15 free textures and blend them with your portraits using clipping skills in Affinity for abstract portraits
Watch video (above): Blend textures in Affinity Photo
Affinity Photo offers all kinds of tools for blending images together, from layer blending modes to masking and more. In this project, we’ll take advantage of clipping, which allows us to position one layer inside the shape of another. This way, we can break our portrait down into several simple shades of gray and then clip textures to each.
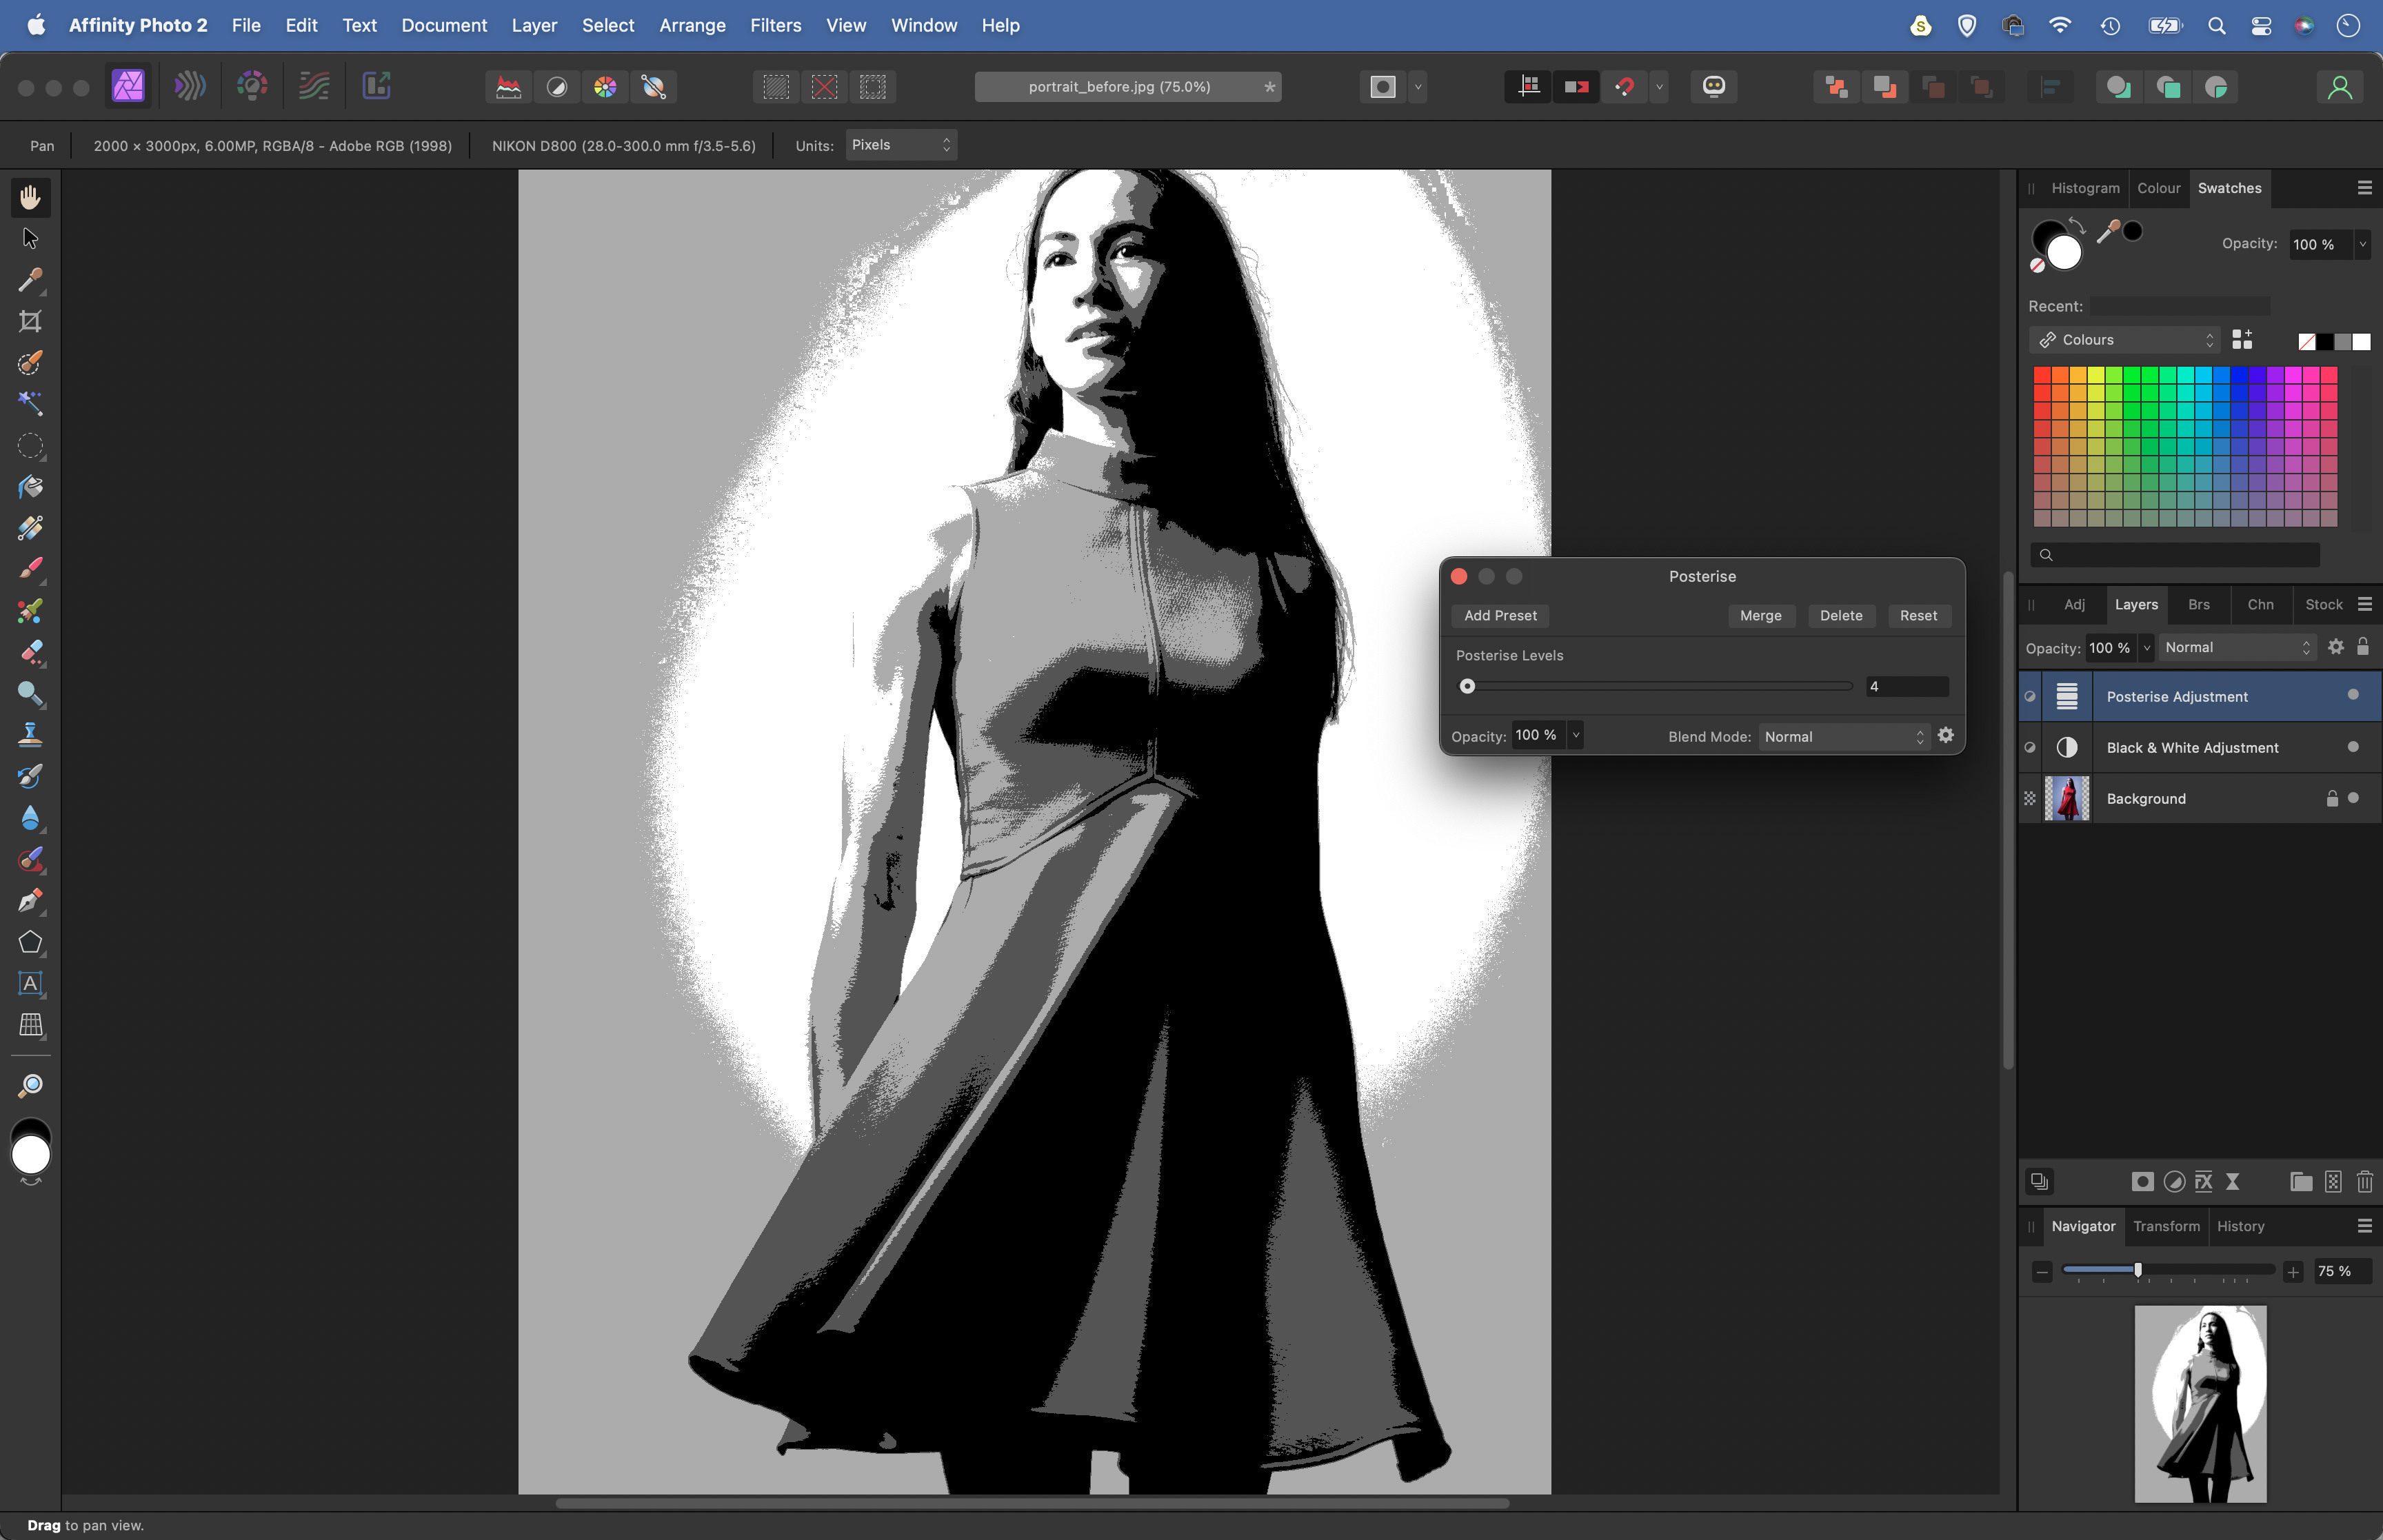
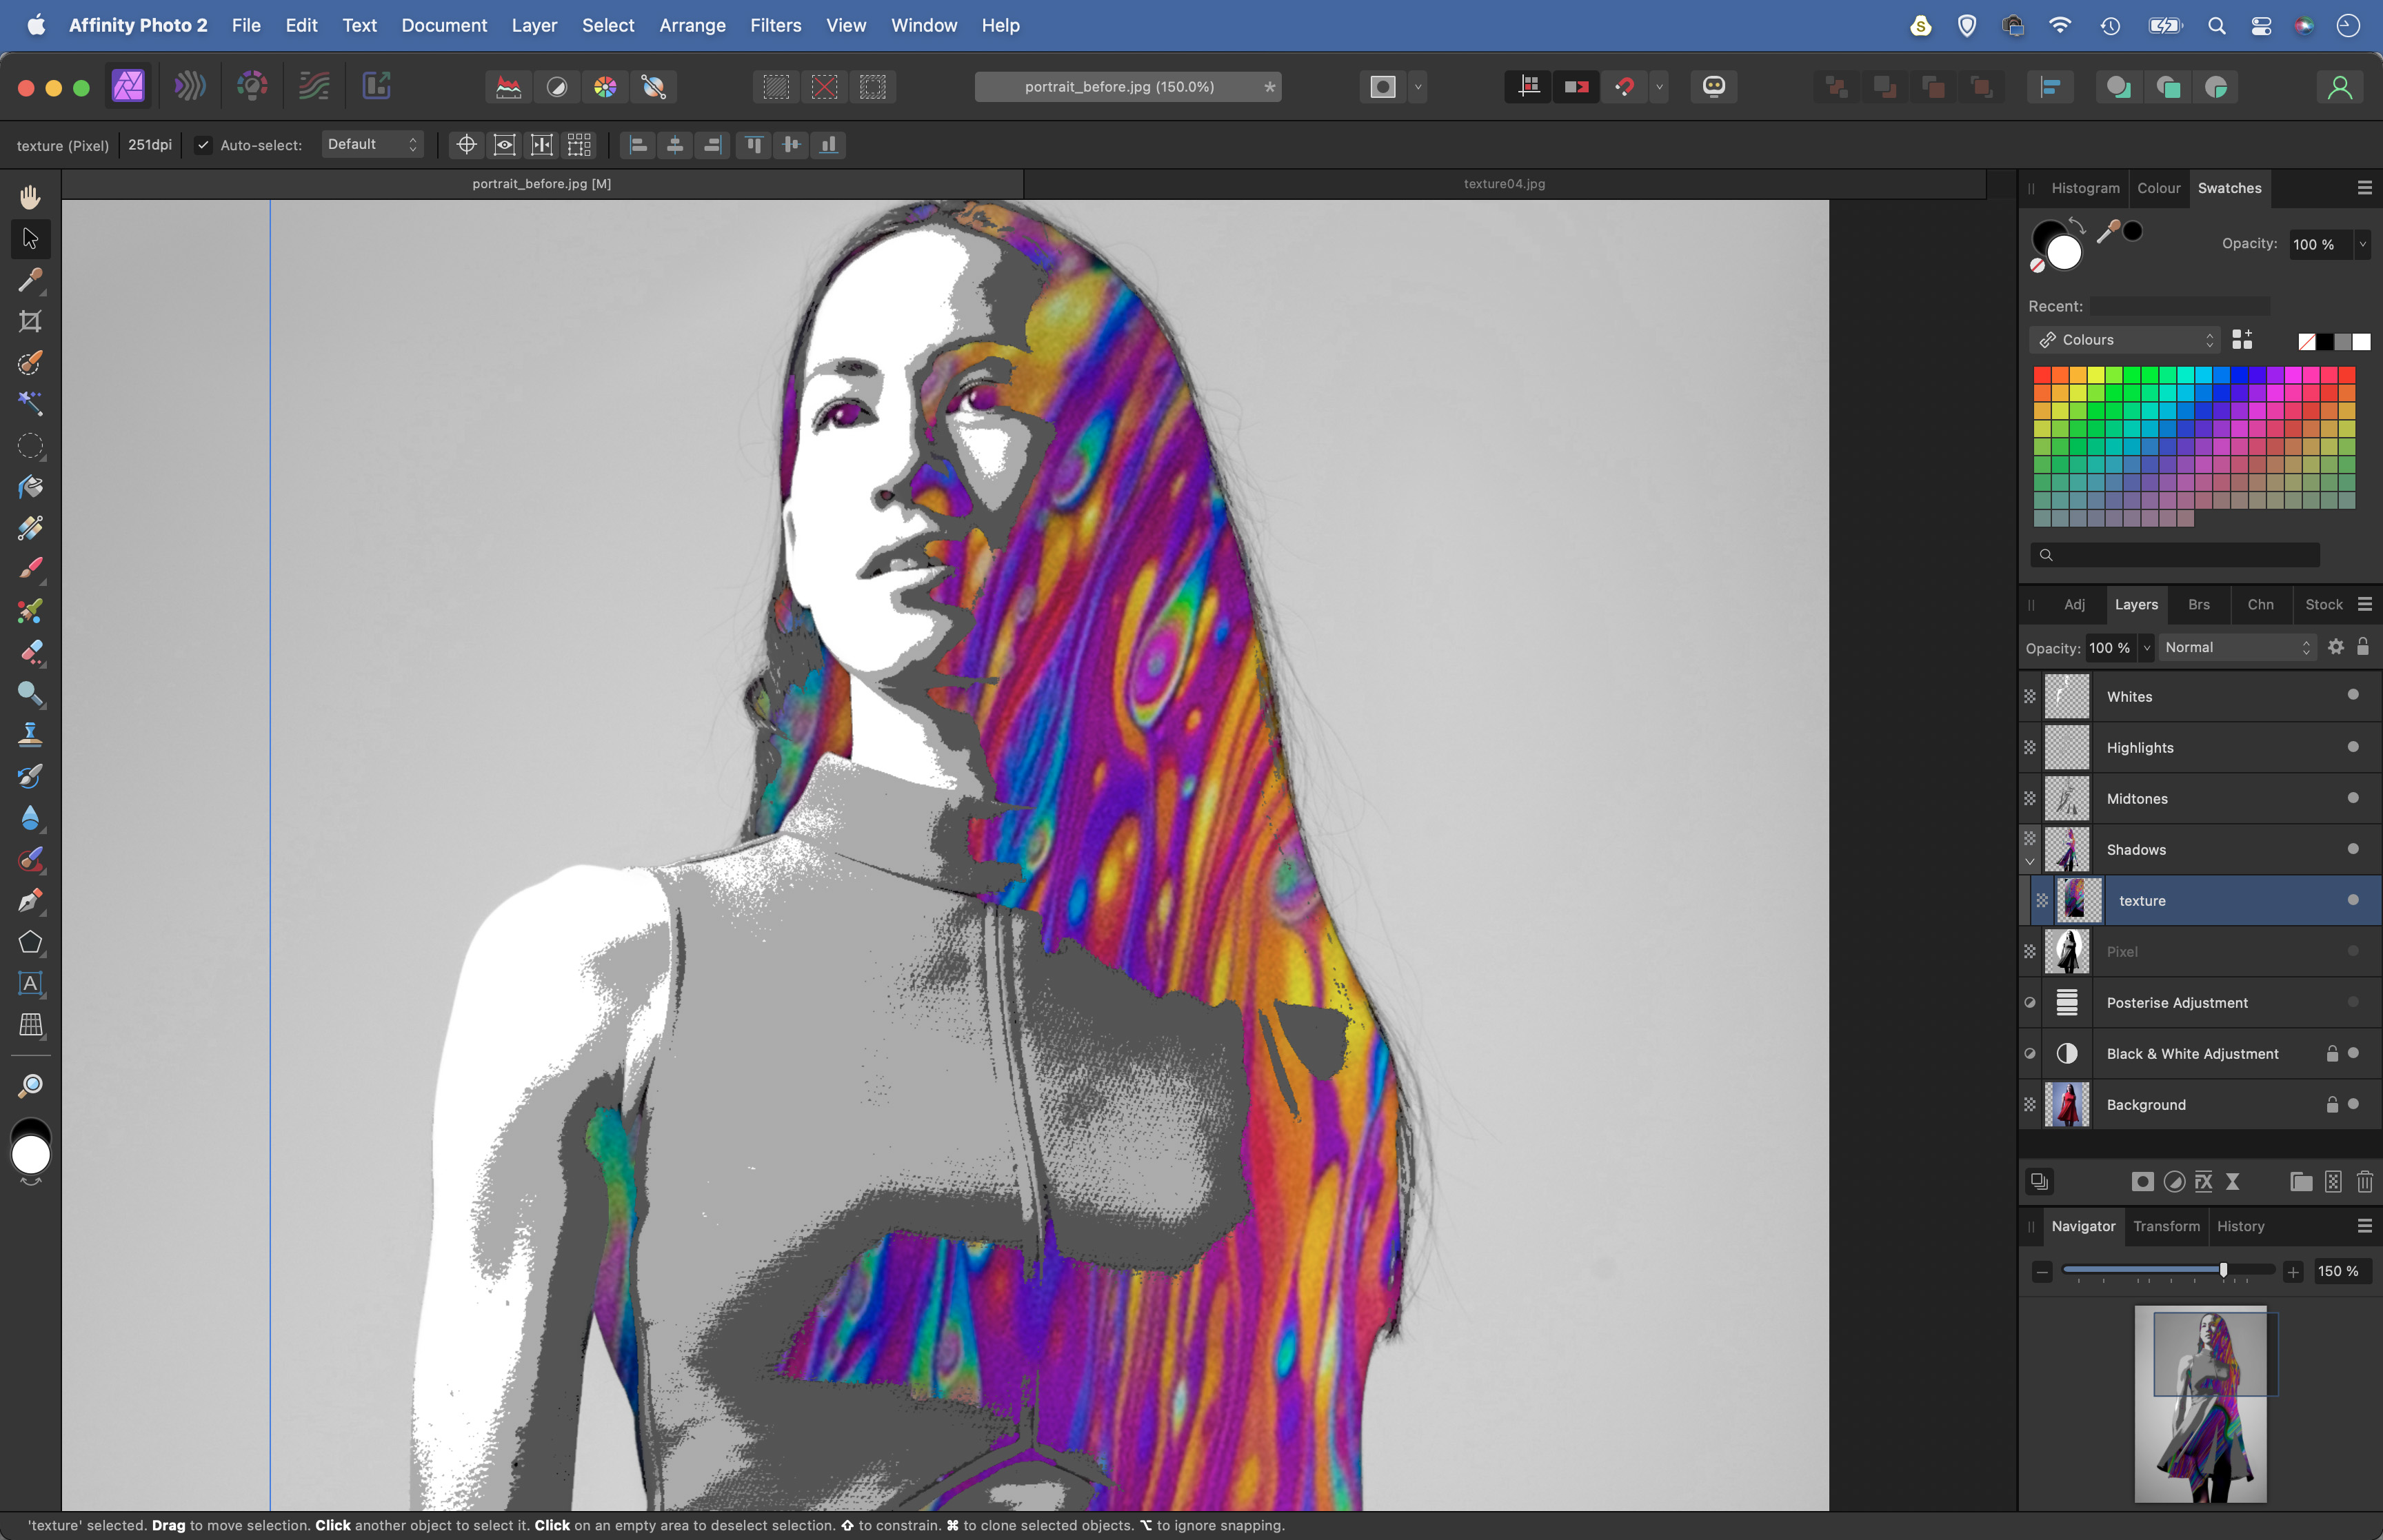
To begin by using the Posterize effect, which allows us to simplify the image into just a few shades of grey. We’ve chosen to create four levels, from white to black. From here, we can select the four areas of brightness using the Magic Wand tool and create separate layers for each.
Now the fun begins, as we can simply copy in different textures and colorful abstract images, then drag them on top of each layer so that the texture is confined to the shape of the layer. It lets us fill in each area of brightness with an image of our choice. We’ve supplied a free set of 15 textures for you to experiment with – download here to your computer.
There’s colorful soap bubble images, rusty trays and close-up details. Not only are textures like this useful for this effect, they’re also a fun way to get creative with image blending for all sorts of interesting results. Try copying a texture on top of any photo then simply go to the Layers Panel and experiment with the layer blend modes. The Overlay, Multiply and Screen modes often work well.
1. Posterize the portrait
Open the Portrait_before.jpg start image into Affinity Photo. Go to the Layers Panel, click the Adjustment icon and choose Black and White. Tweak the sliders to control the mono conversion. Next click Adjustment again and choose Posterize. Set the Levels to 4. This divides the image into four levels of brightness.
2. Select the whites
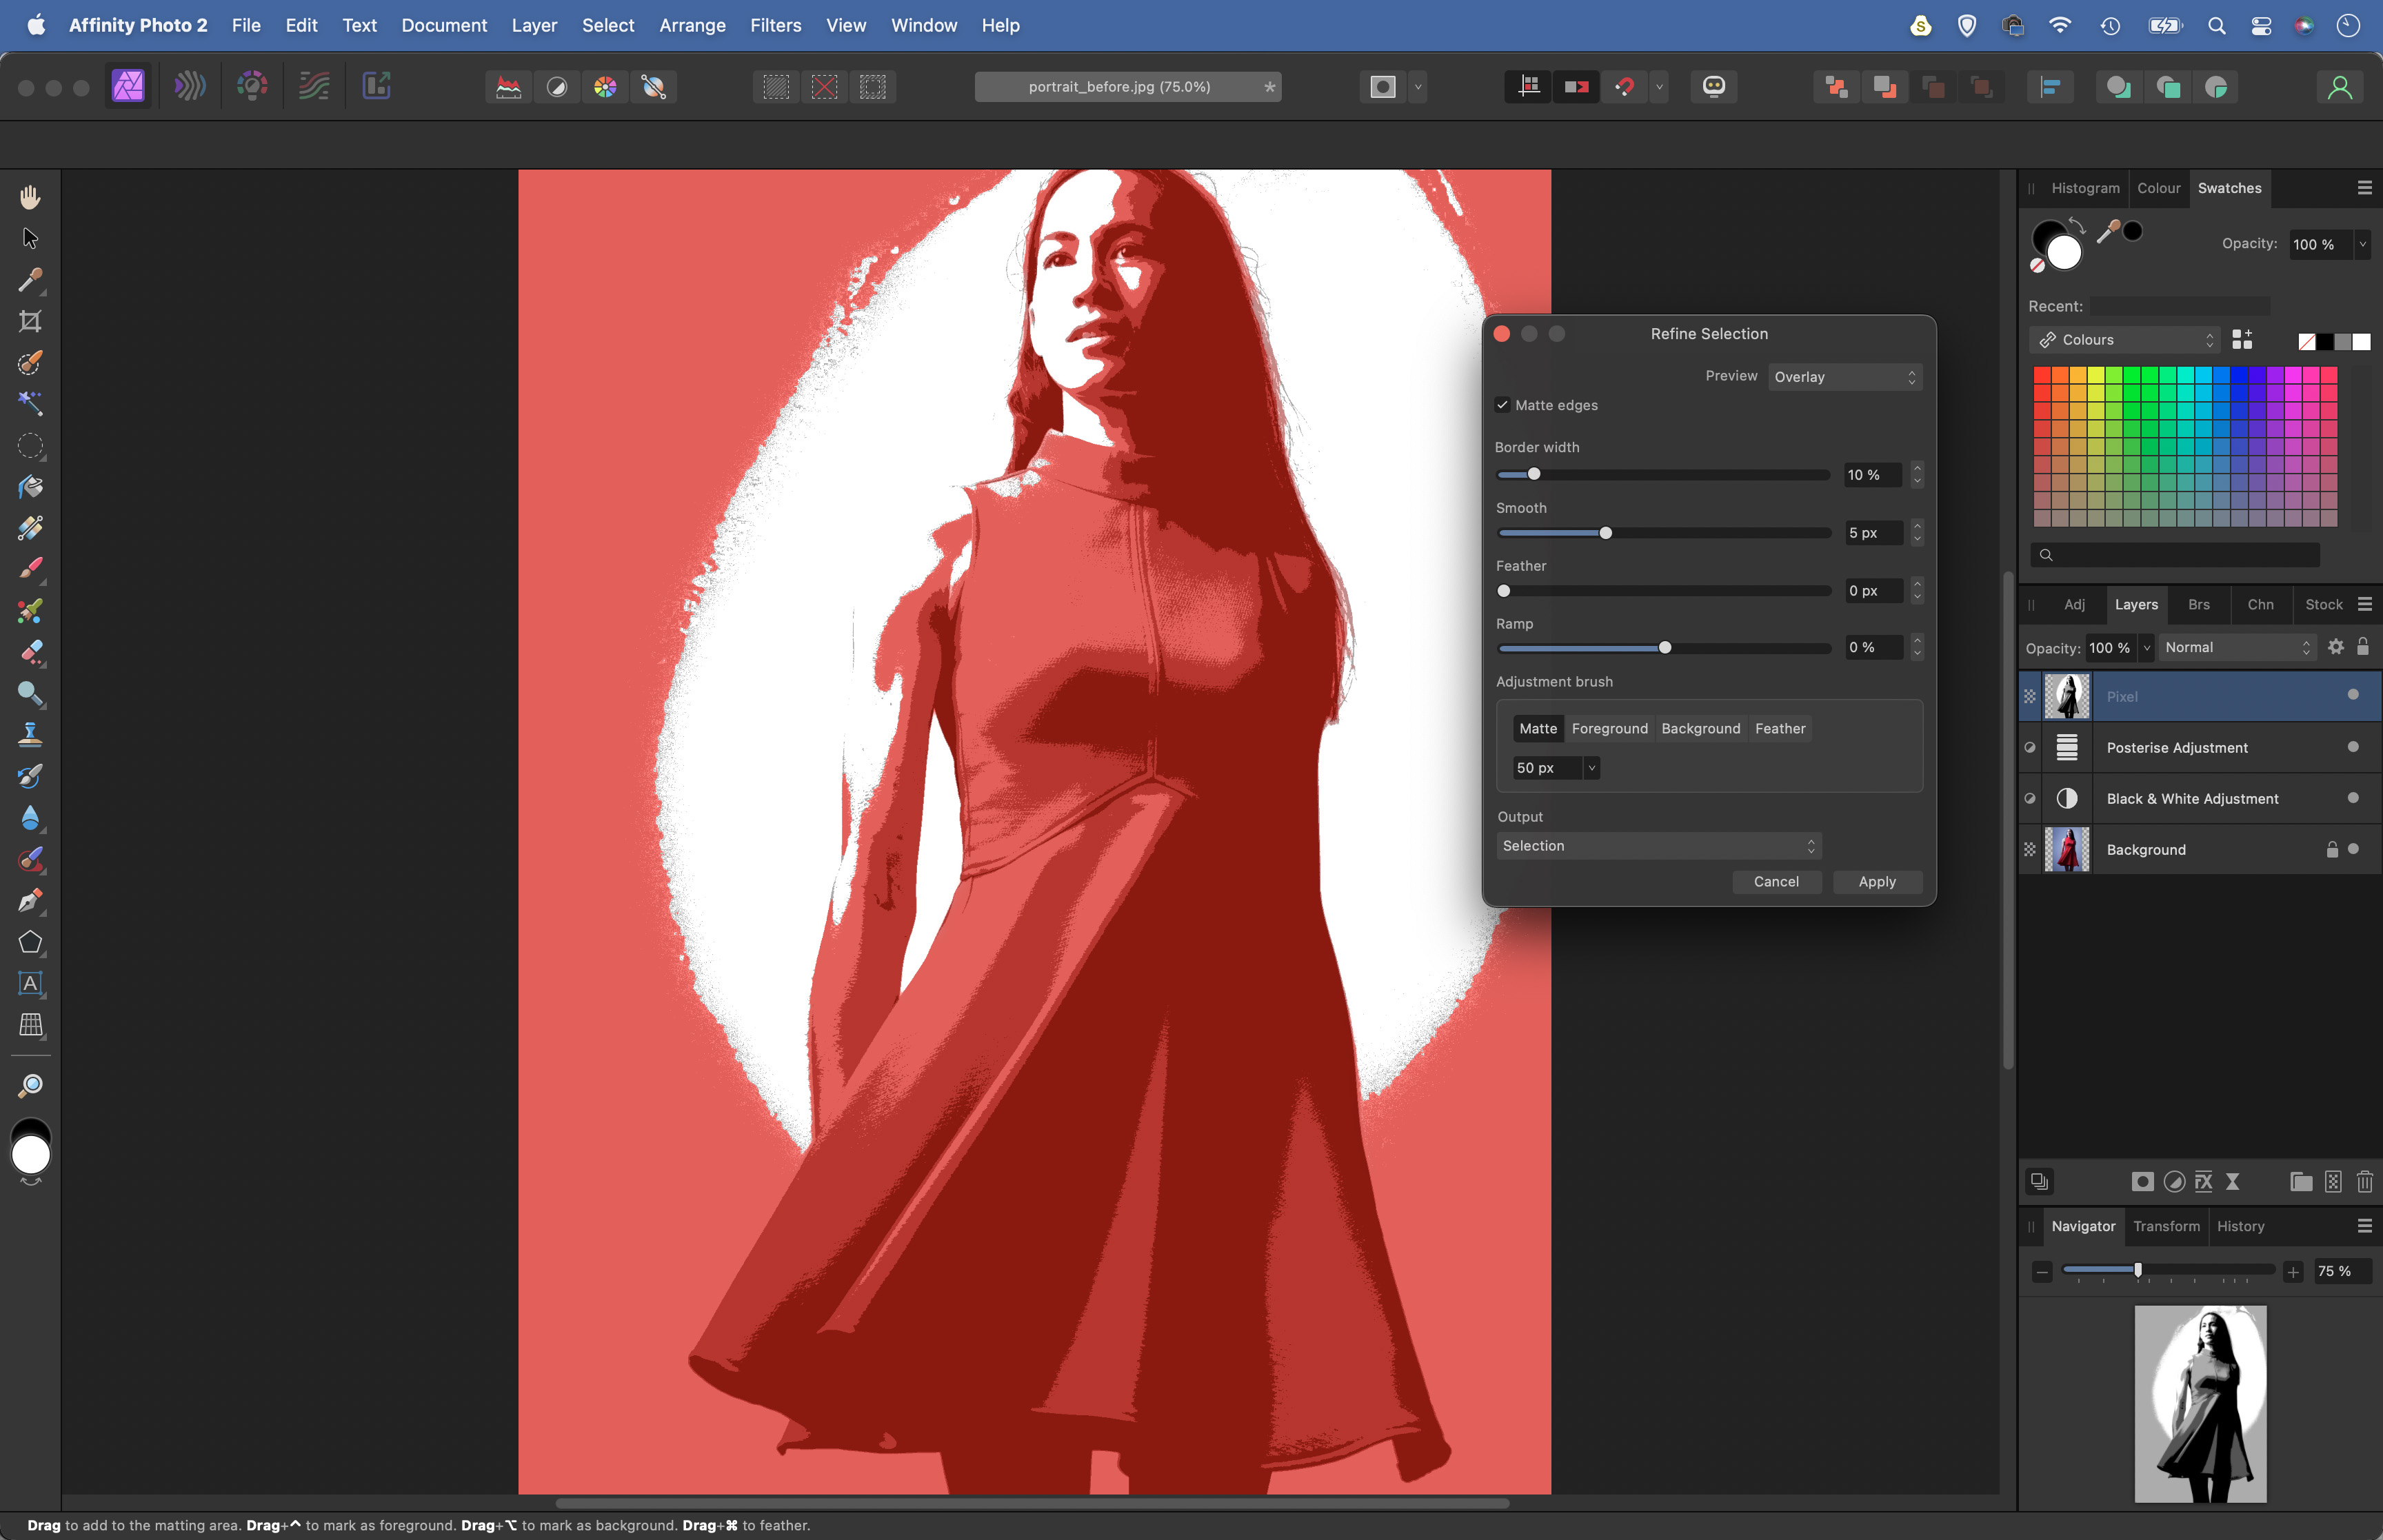
Press Cmd/Ctrl+Shift+Alt+E to merge a copy of all the layers. Grab the Magic Wand from the toolbar. Set Tolerance to 20% and uncheck Contiguous in the tool options. Click on the whites to select them. Click the Refine button and increase Smooth to 5px. Hit Apply, then hit Cmd/Ctrl+J to copy to a new layer.
The best camera deals, reviews, product advice, and unmissable photography news, direct to your inbox!
3. Make layers for each
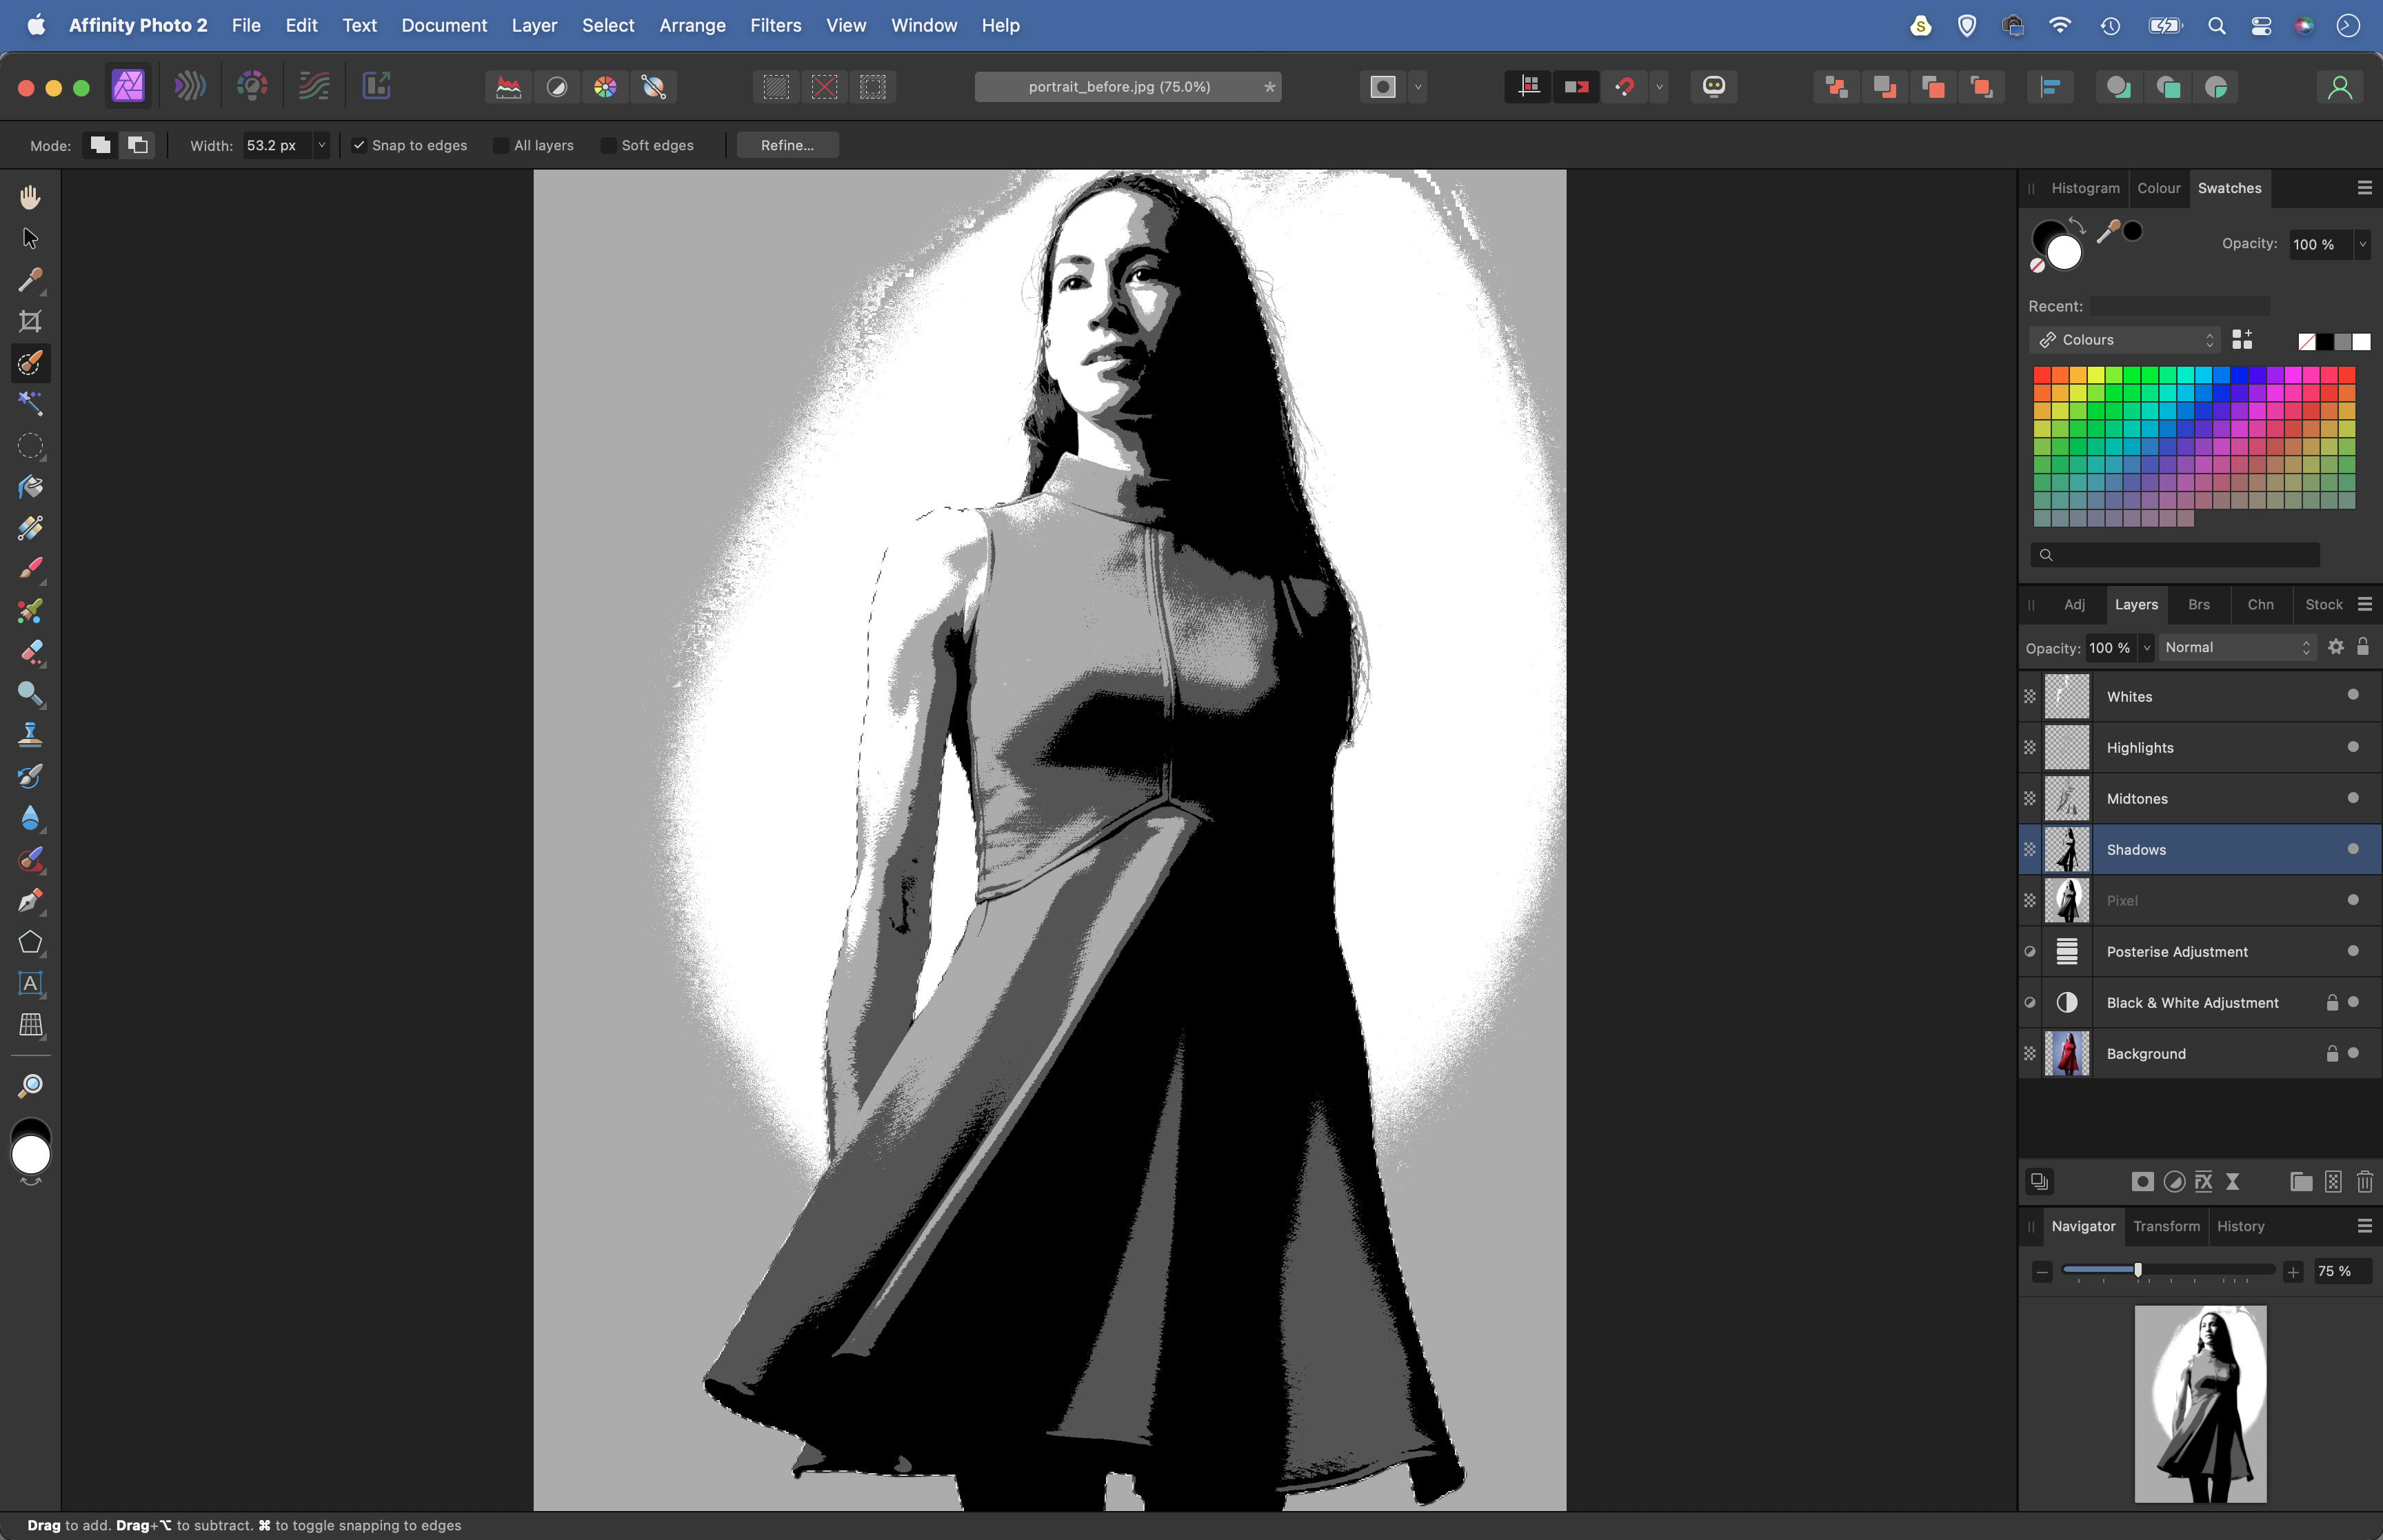
Double-click the layer name and rename it Whites. Hit Cmd/Ctrl+D to deselect then highlight the merged layer below. Use the Magic Wand to select the next brightest range of tones, then repeat the process to make separate layers for the highlights, midtones and shadows. Proceed to rename each.
4. Remove the background
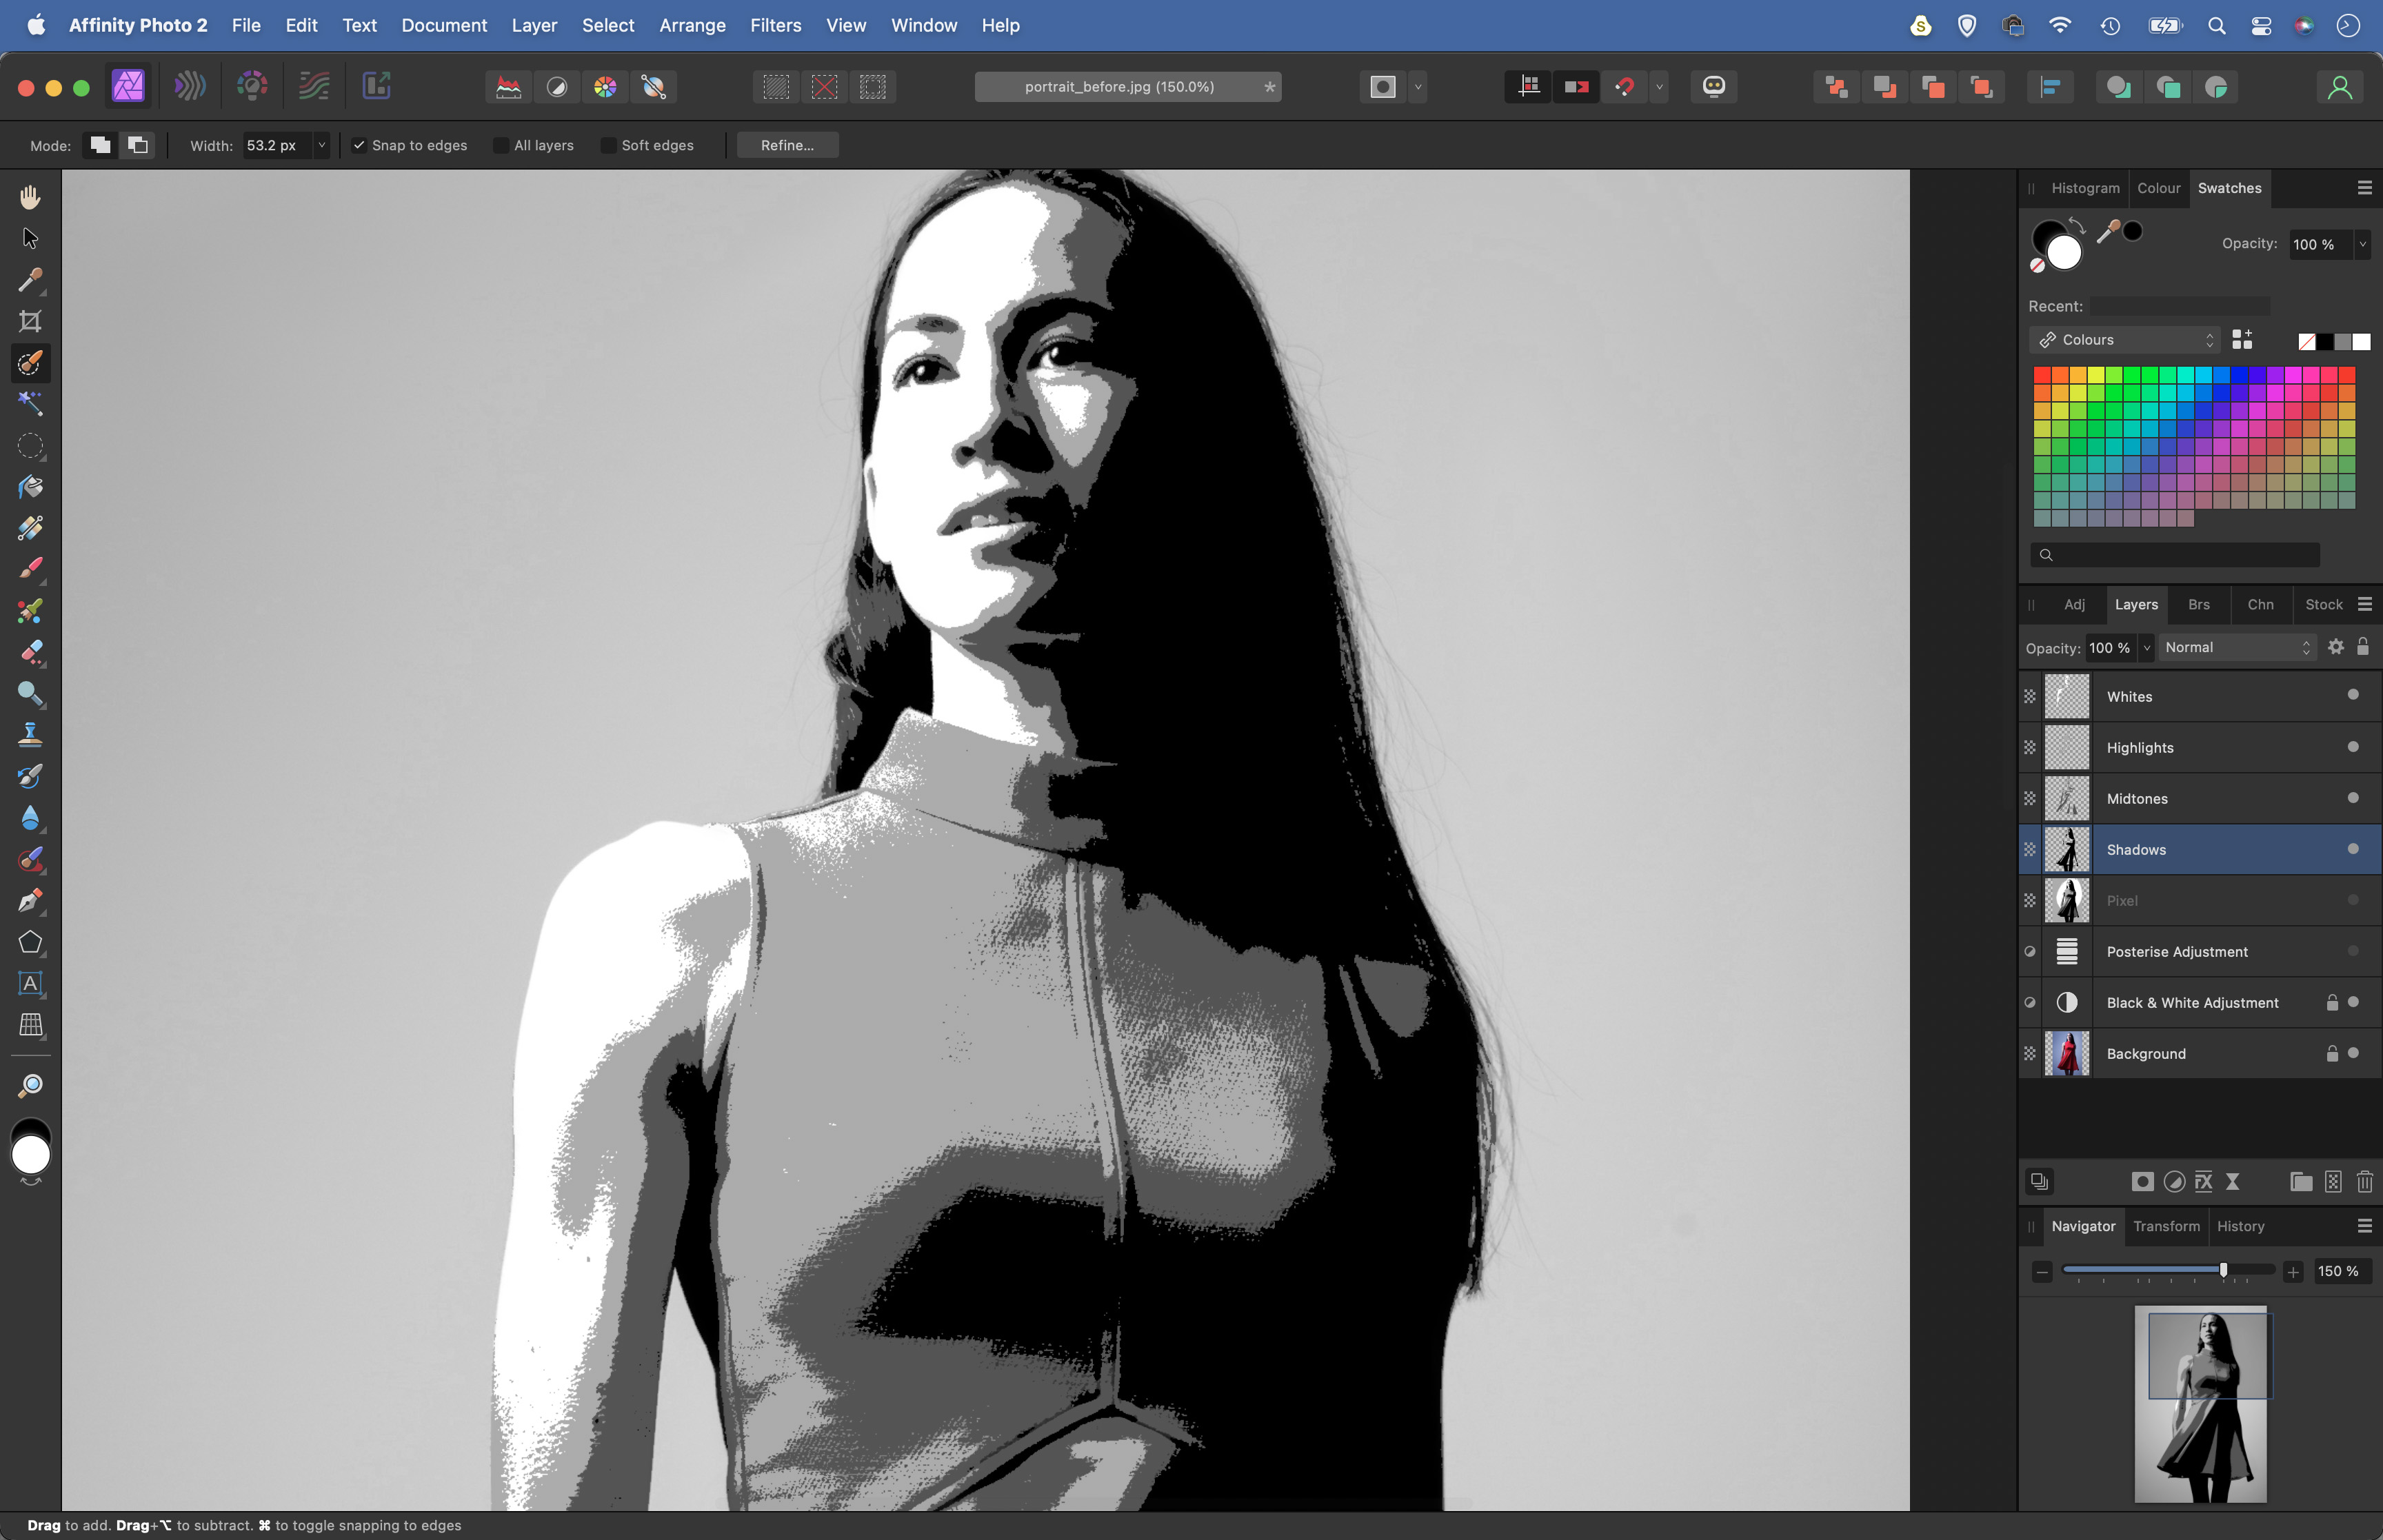
For the next step, we need to remove the background layers from the effect. First highlight the bottom layer, grab the Selection Brush, click ‘Snap to Edges’ in the options and paint over the background to select it. Click on the top layer and hit Delete, then repeat for the four layers below.
5. Add a texture
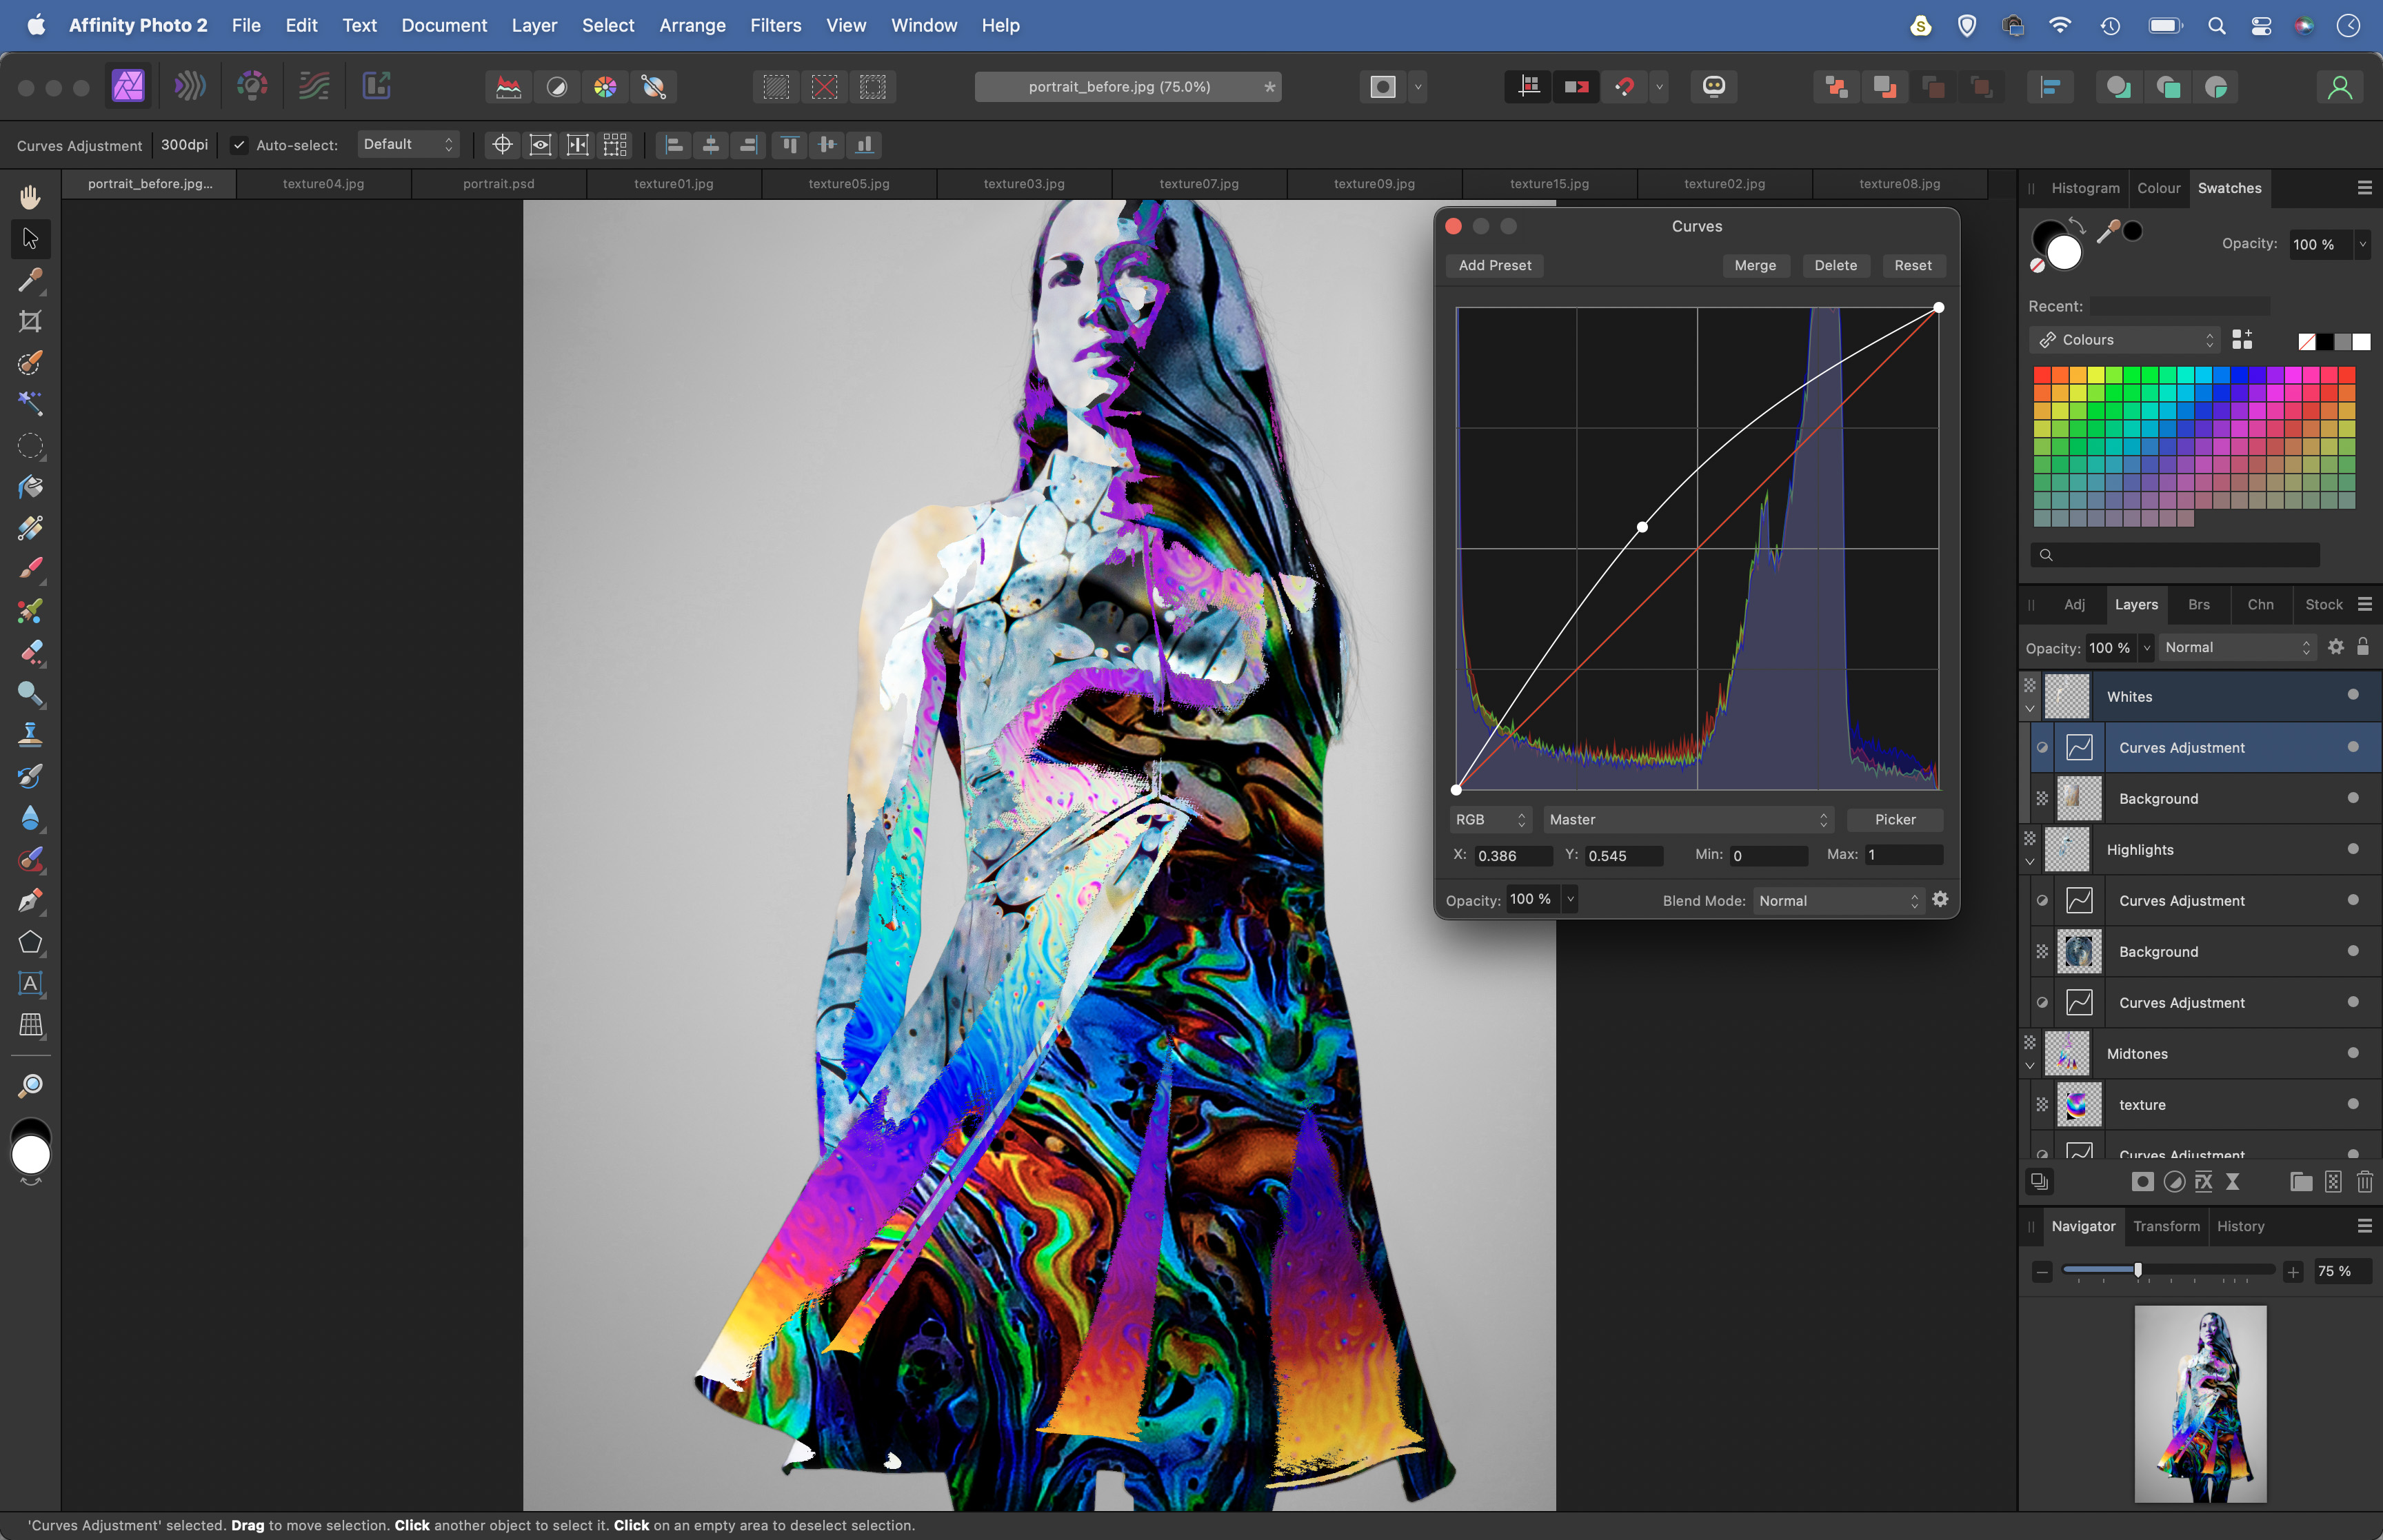
Open a texture image from your free download file, hit Cmd/Ctrl+C to copy then go to the portrait and hit Cmd/Ctrl+V to paste. Drag the layer on top of one of the layer names – Whites, Highlights, Midtones, Shadows. This will clip the texture to the layer so that the shape of the layer confines the texture.
6. Finish it off
Experiment by moving the layer around with the Move tool to find the best position, or use the bounding box to resize it. Copy in more textures and drag onto the other layers to build it up. You might want to lighten or darken the textures with Curves (Cmd/Ctrl+M) to fine-tune the tones.
Check out more Affinity Photo tutorials
The lead technique writer on Digital Camera Magazine, PhotoPlus: The Canon Magazine and N-Photo: The Nikon Magazine, James is a fantastic general practice photographer with an enviable array of skills across every genre of photography.
Whether it's flash photography techniques like stroboscopic portraits, astrophotography projects like photographing the Northern Lights, or turning sound into art by making paint dance on a set of speakers, James' tutorials and projects are as creative as they are enjoyable.
He's also a wizard at the dark arts of Photoshop, Lightroom and Affinity Photo, and is capable of some genuine black magic in the digital darkroom, making him one of the leading authorities on photo editing software and techniques.
