Watch video: Macro on a budget
Macro is an amazing genre to get stuck into that allows you to magnify your subject for super-detailed close-ups, revealing a brand-new world, otherwise hidden to the naked eye.
But, if you’ve ever tried to take a close-up using a standard lens, such as an 18-55mm kit lens, you might be a bit underwhelmed.
A dedicated macro lens is usually required to take close-ups. These special optics come with reproduction ratios of at least 1:1, also called lifesize, because you can capture your subject at the same size as if it was laid across your Canon camera’s sensor.
However, macro lenses can be pricey and won’t be in budget for many in the current cost of living crisis. Luckily, in this project we take a look at a cheap and cheerful lens hack that will let you experiment with macro magic without breaking the bank. Here’s how you can reverse an old film lens for terrific close-ups.
1. Reversing ring
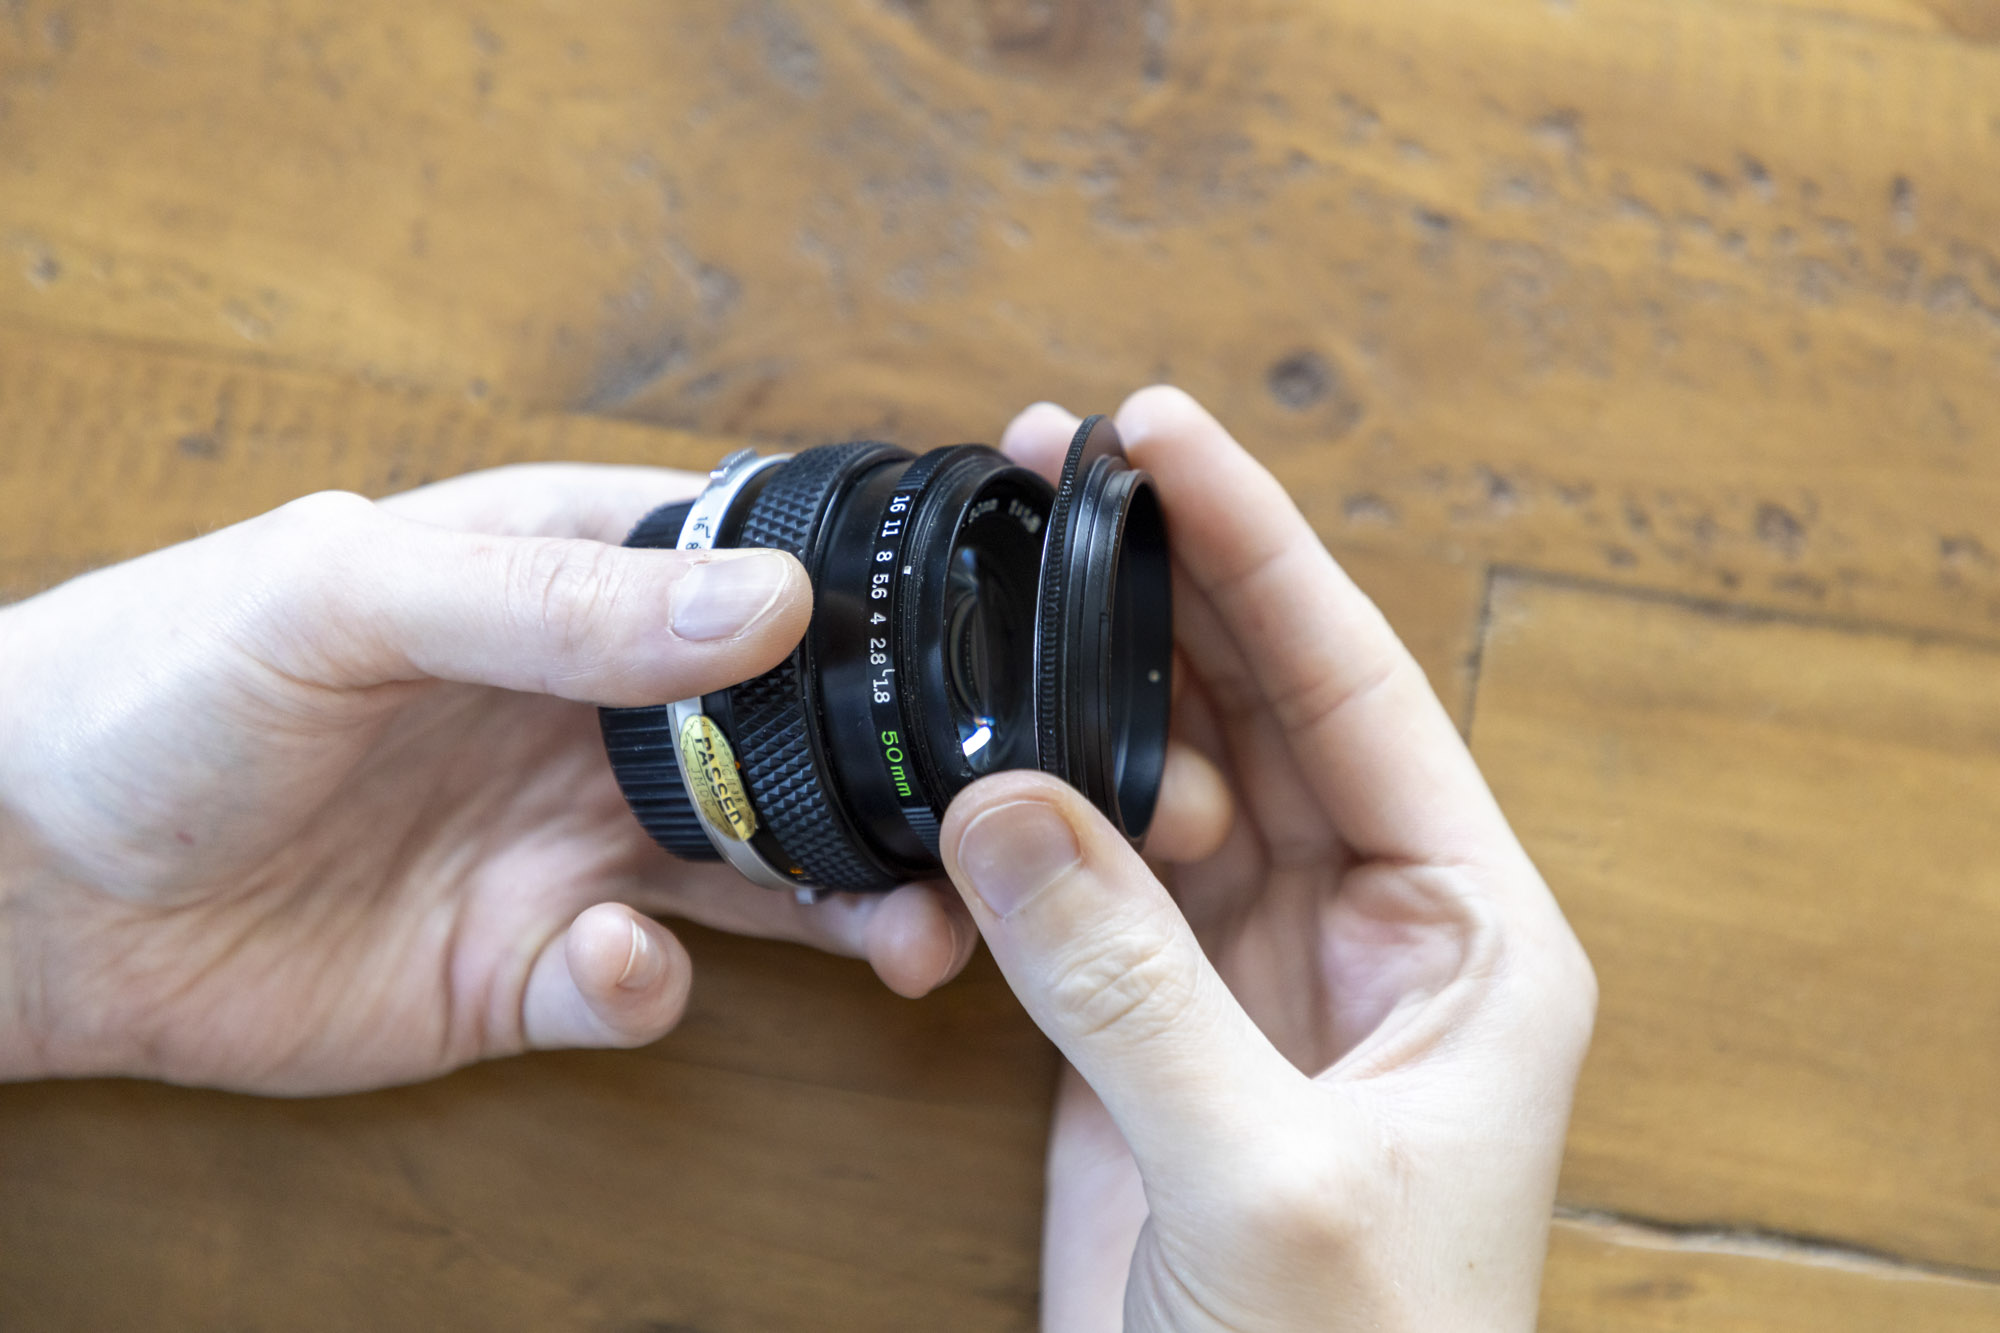
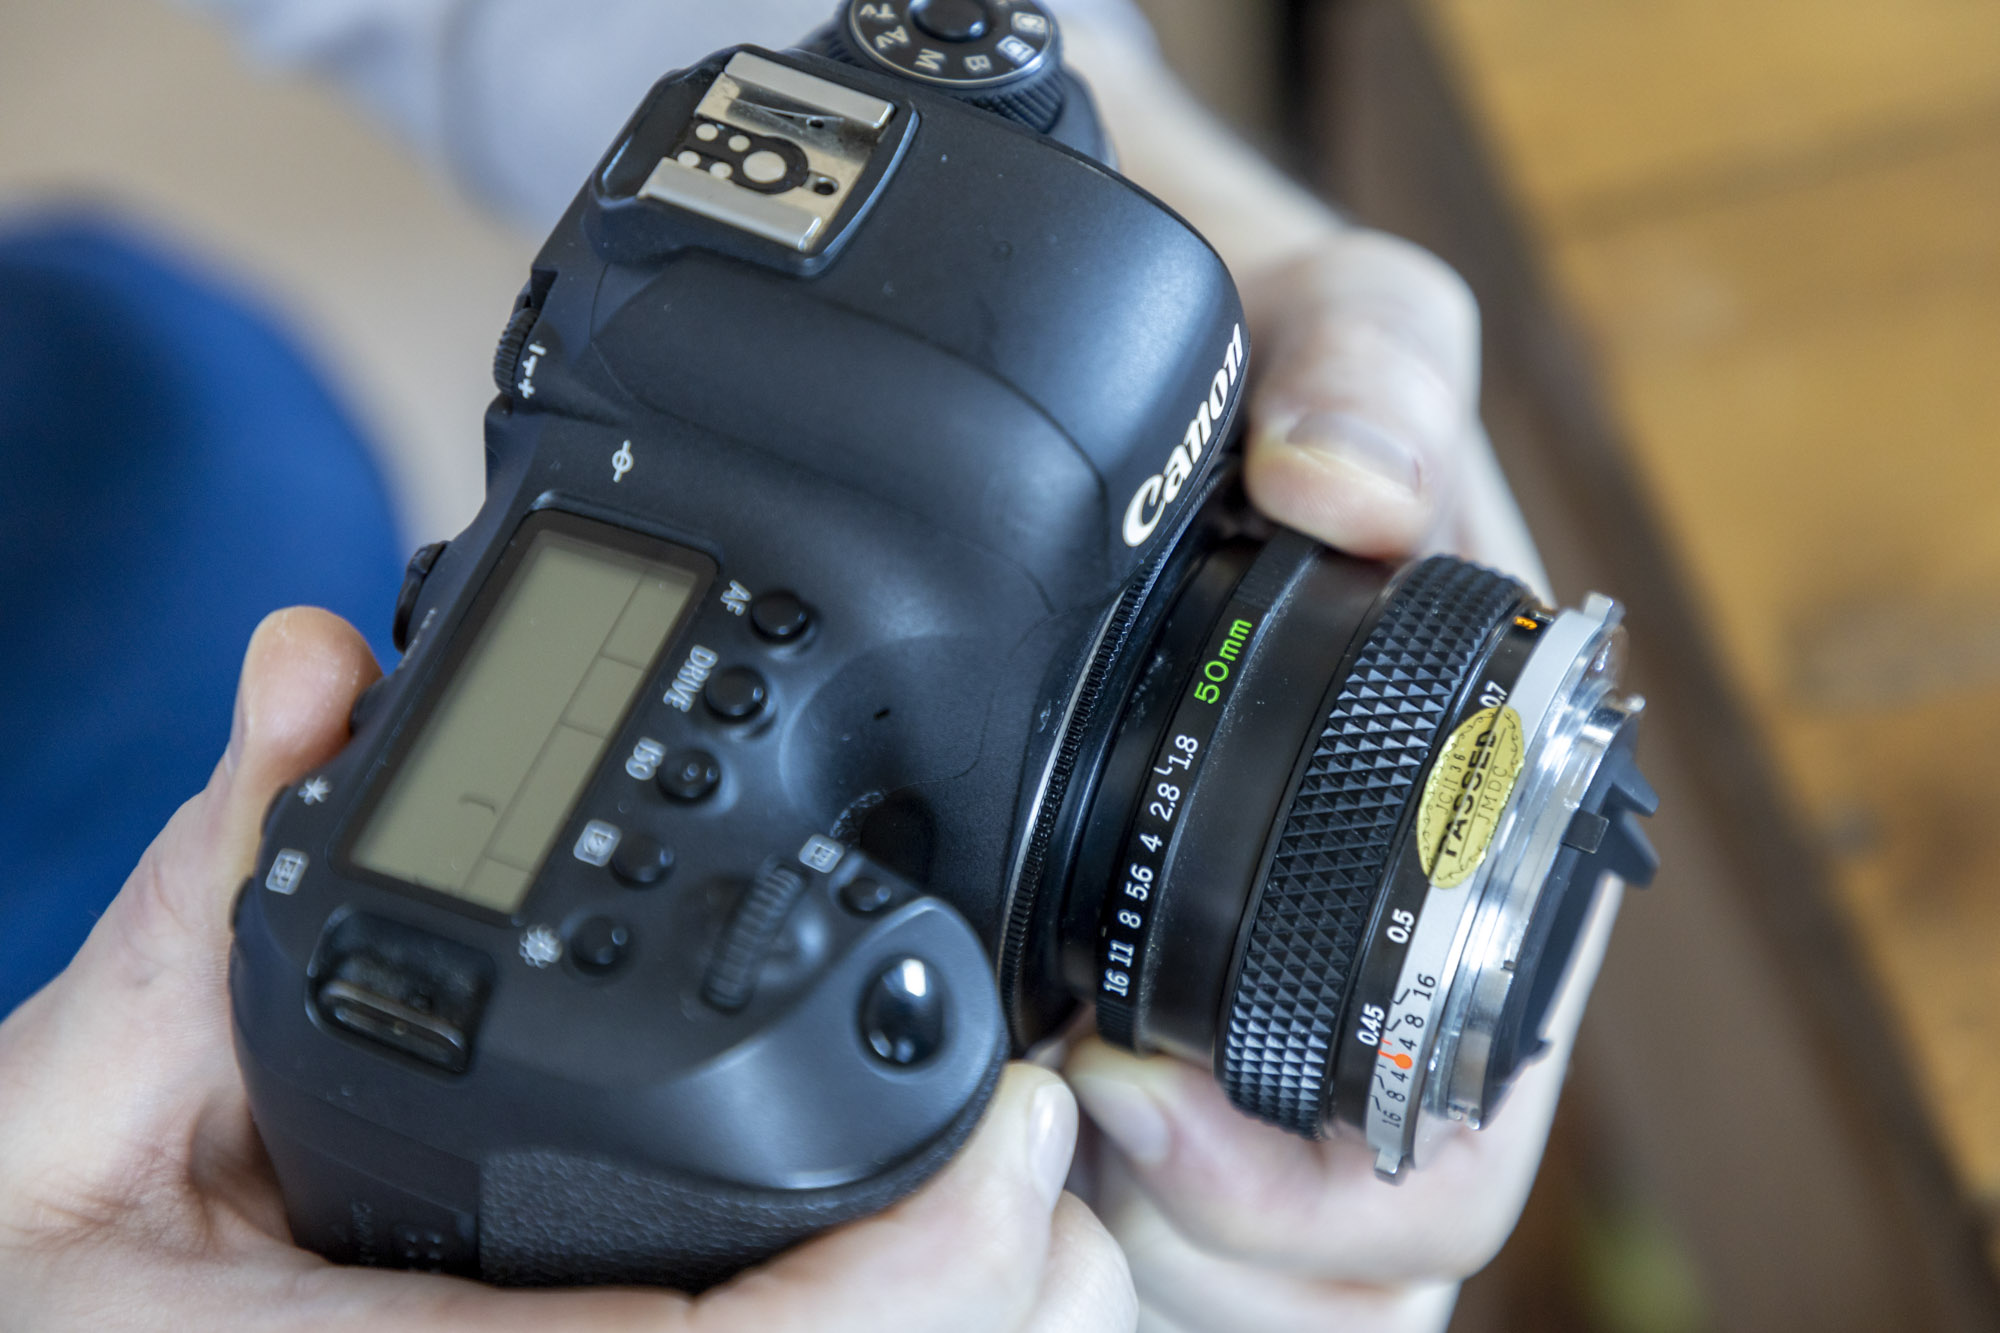
You’ll need an old prime lens from a film SLR with a physical aperture ring, as this makes it possible to dial in aperture adjustments to control depth of field when the lens is mounted backwards. Our old Olympus Zuiko 50mm f/1.8 len may not fit our Canon EF mount natively, but when reversed this doesn’t matter.
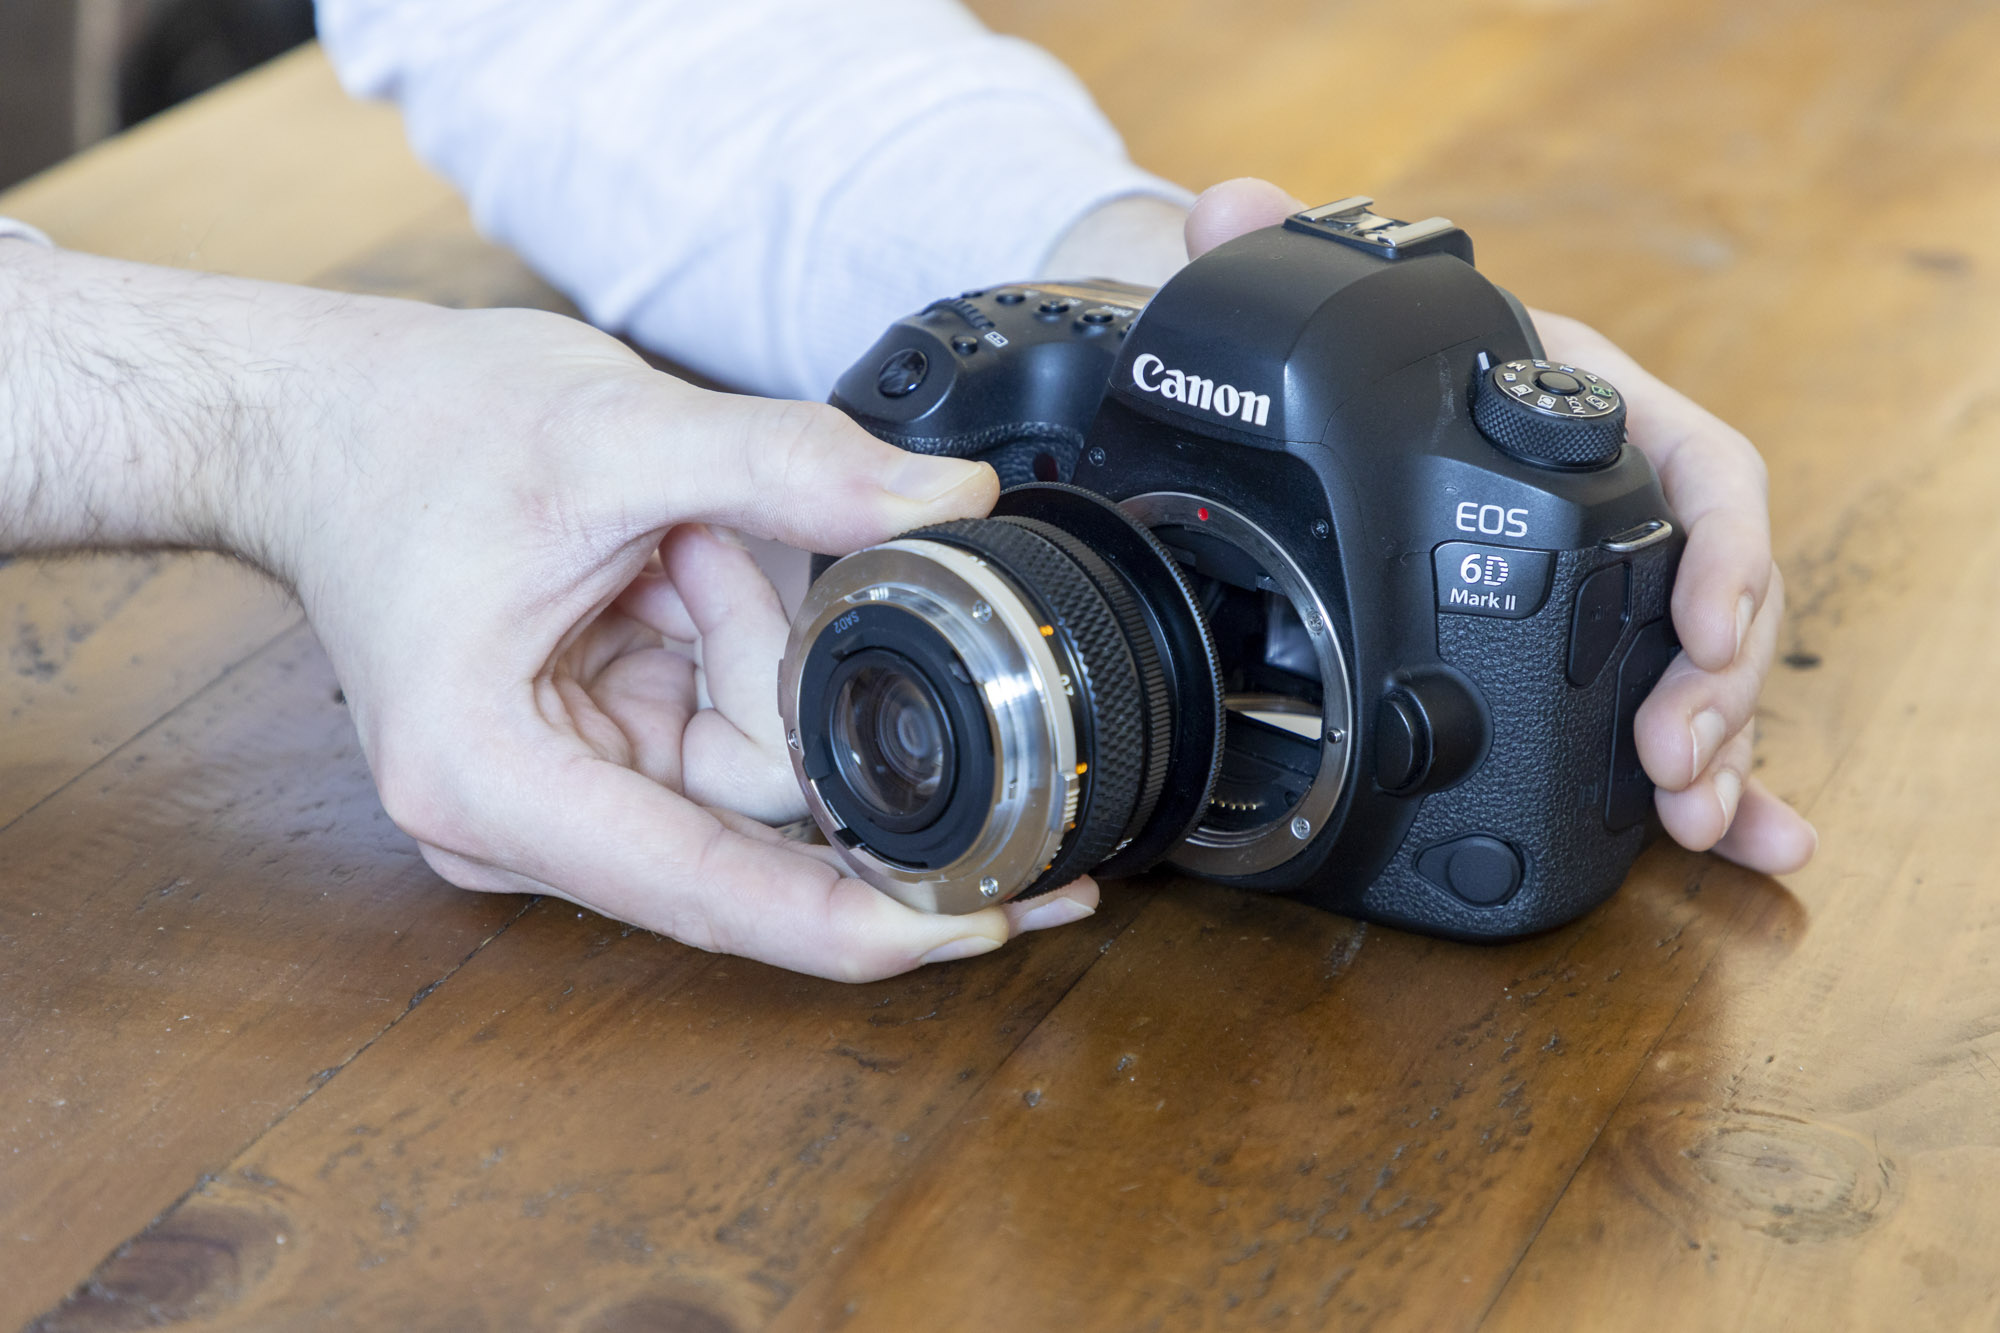
Make sure you get the right reversing ring to fit your camera mount, but also make sure the filter thread is compatible with your lens too – this can usually be found on the inside of the lens cap. Reversing rings can be found at websites such as srb-photographic.co uk. Once you have yours, all that’s left to do is to screw it into the front filter thread and mount it to the camera.
The best camera deals, reviews, product advice, and unmissable photography news, direct to your inbox!
2. Get set up
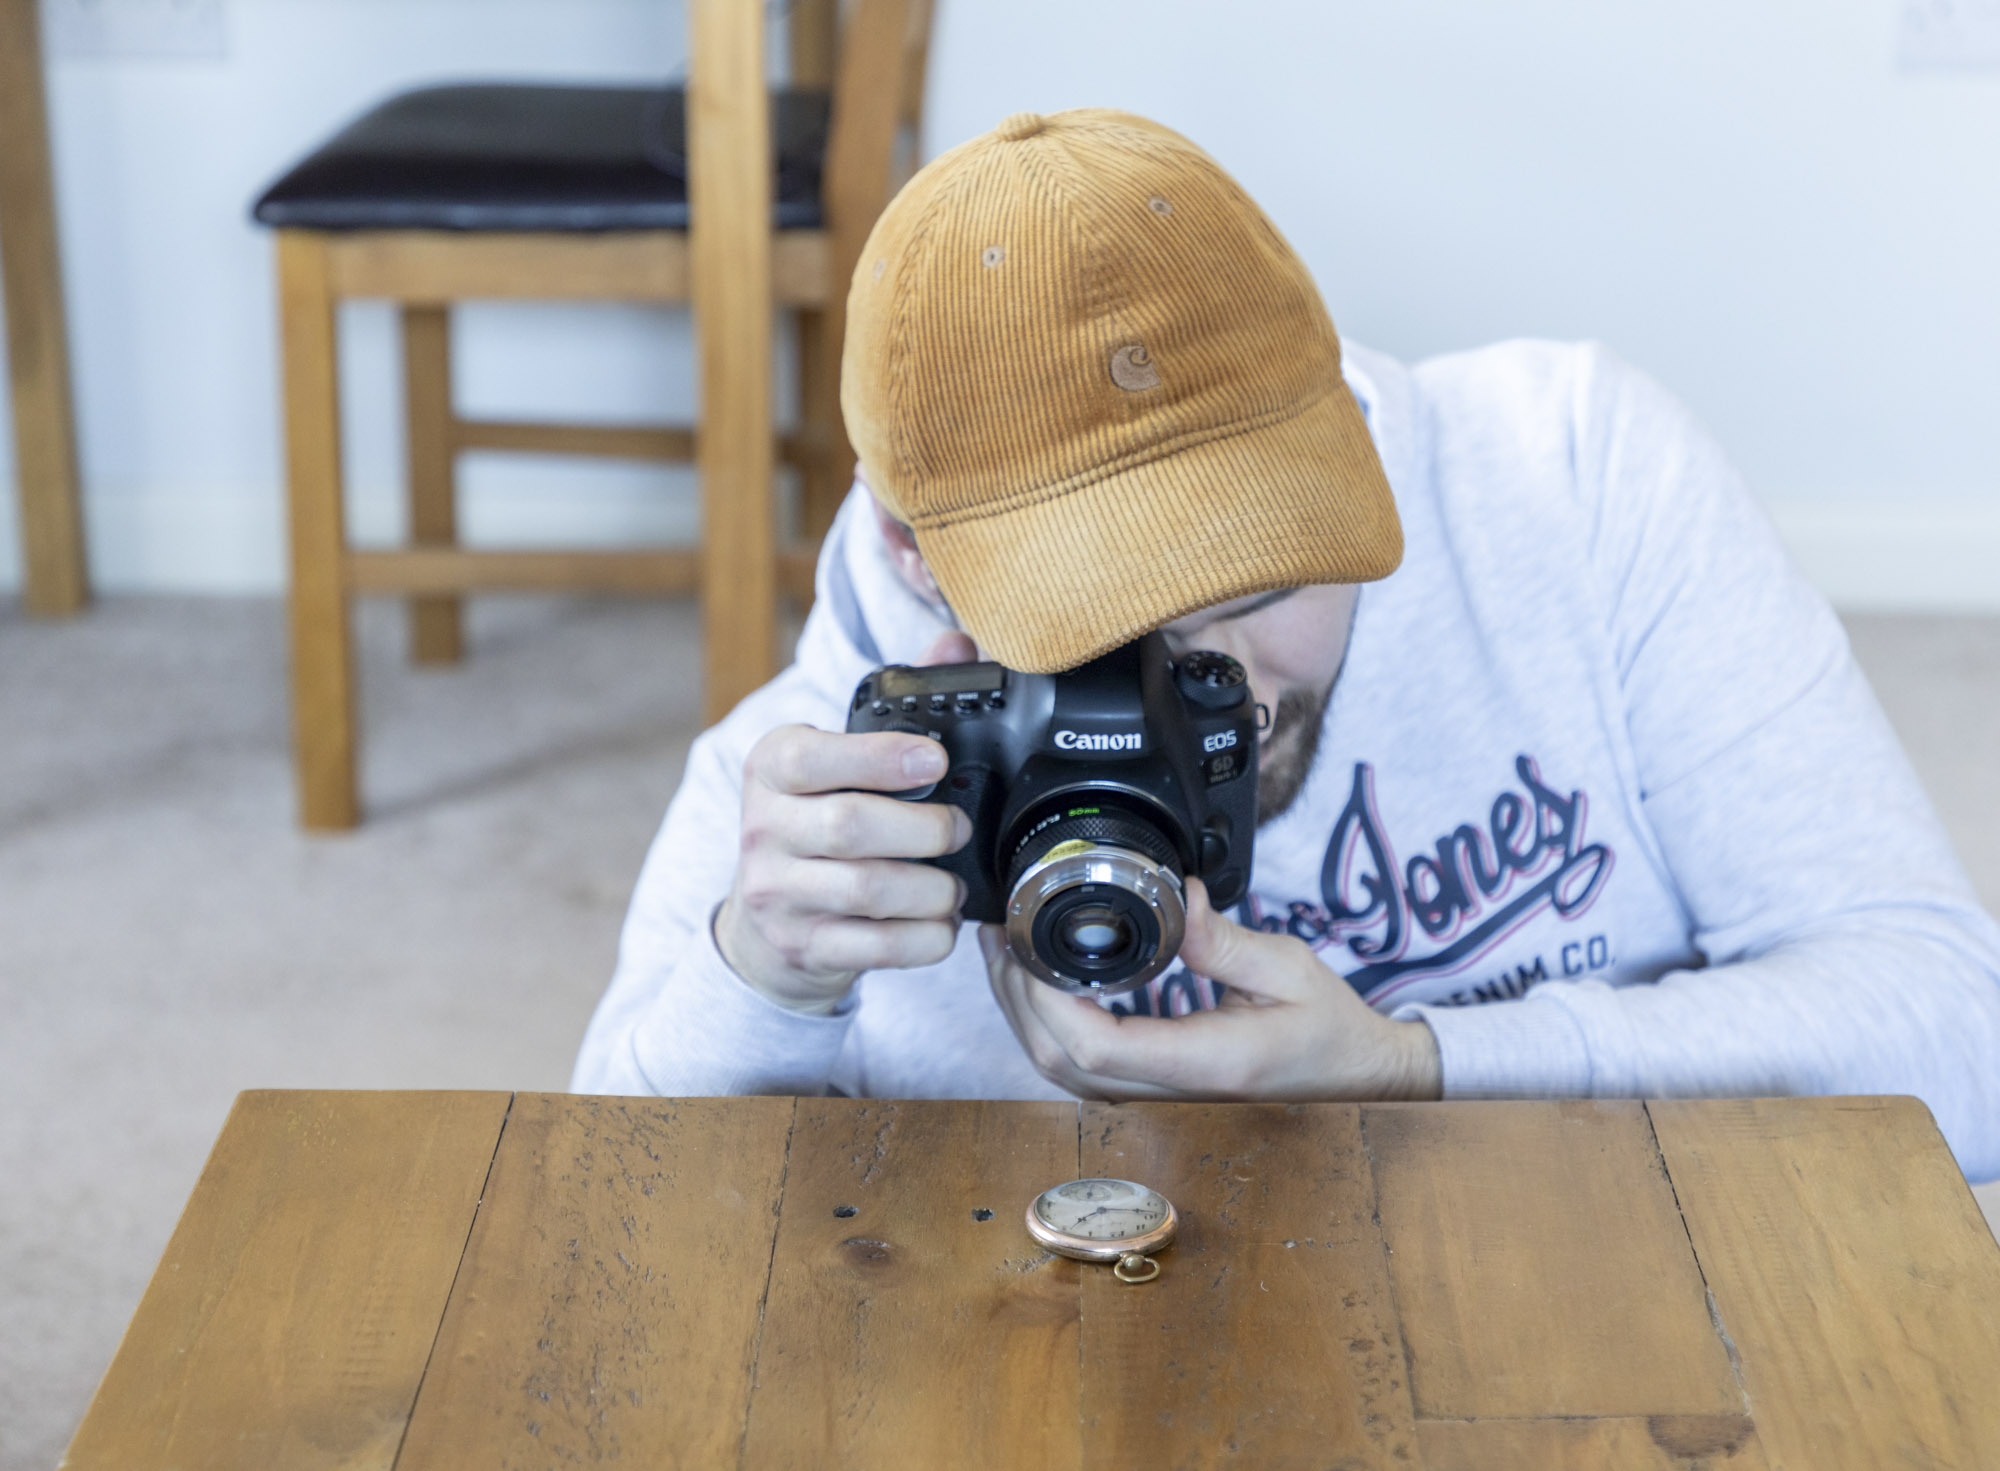
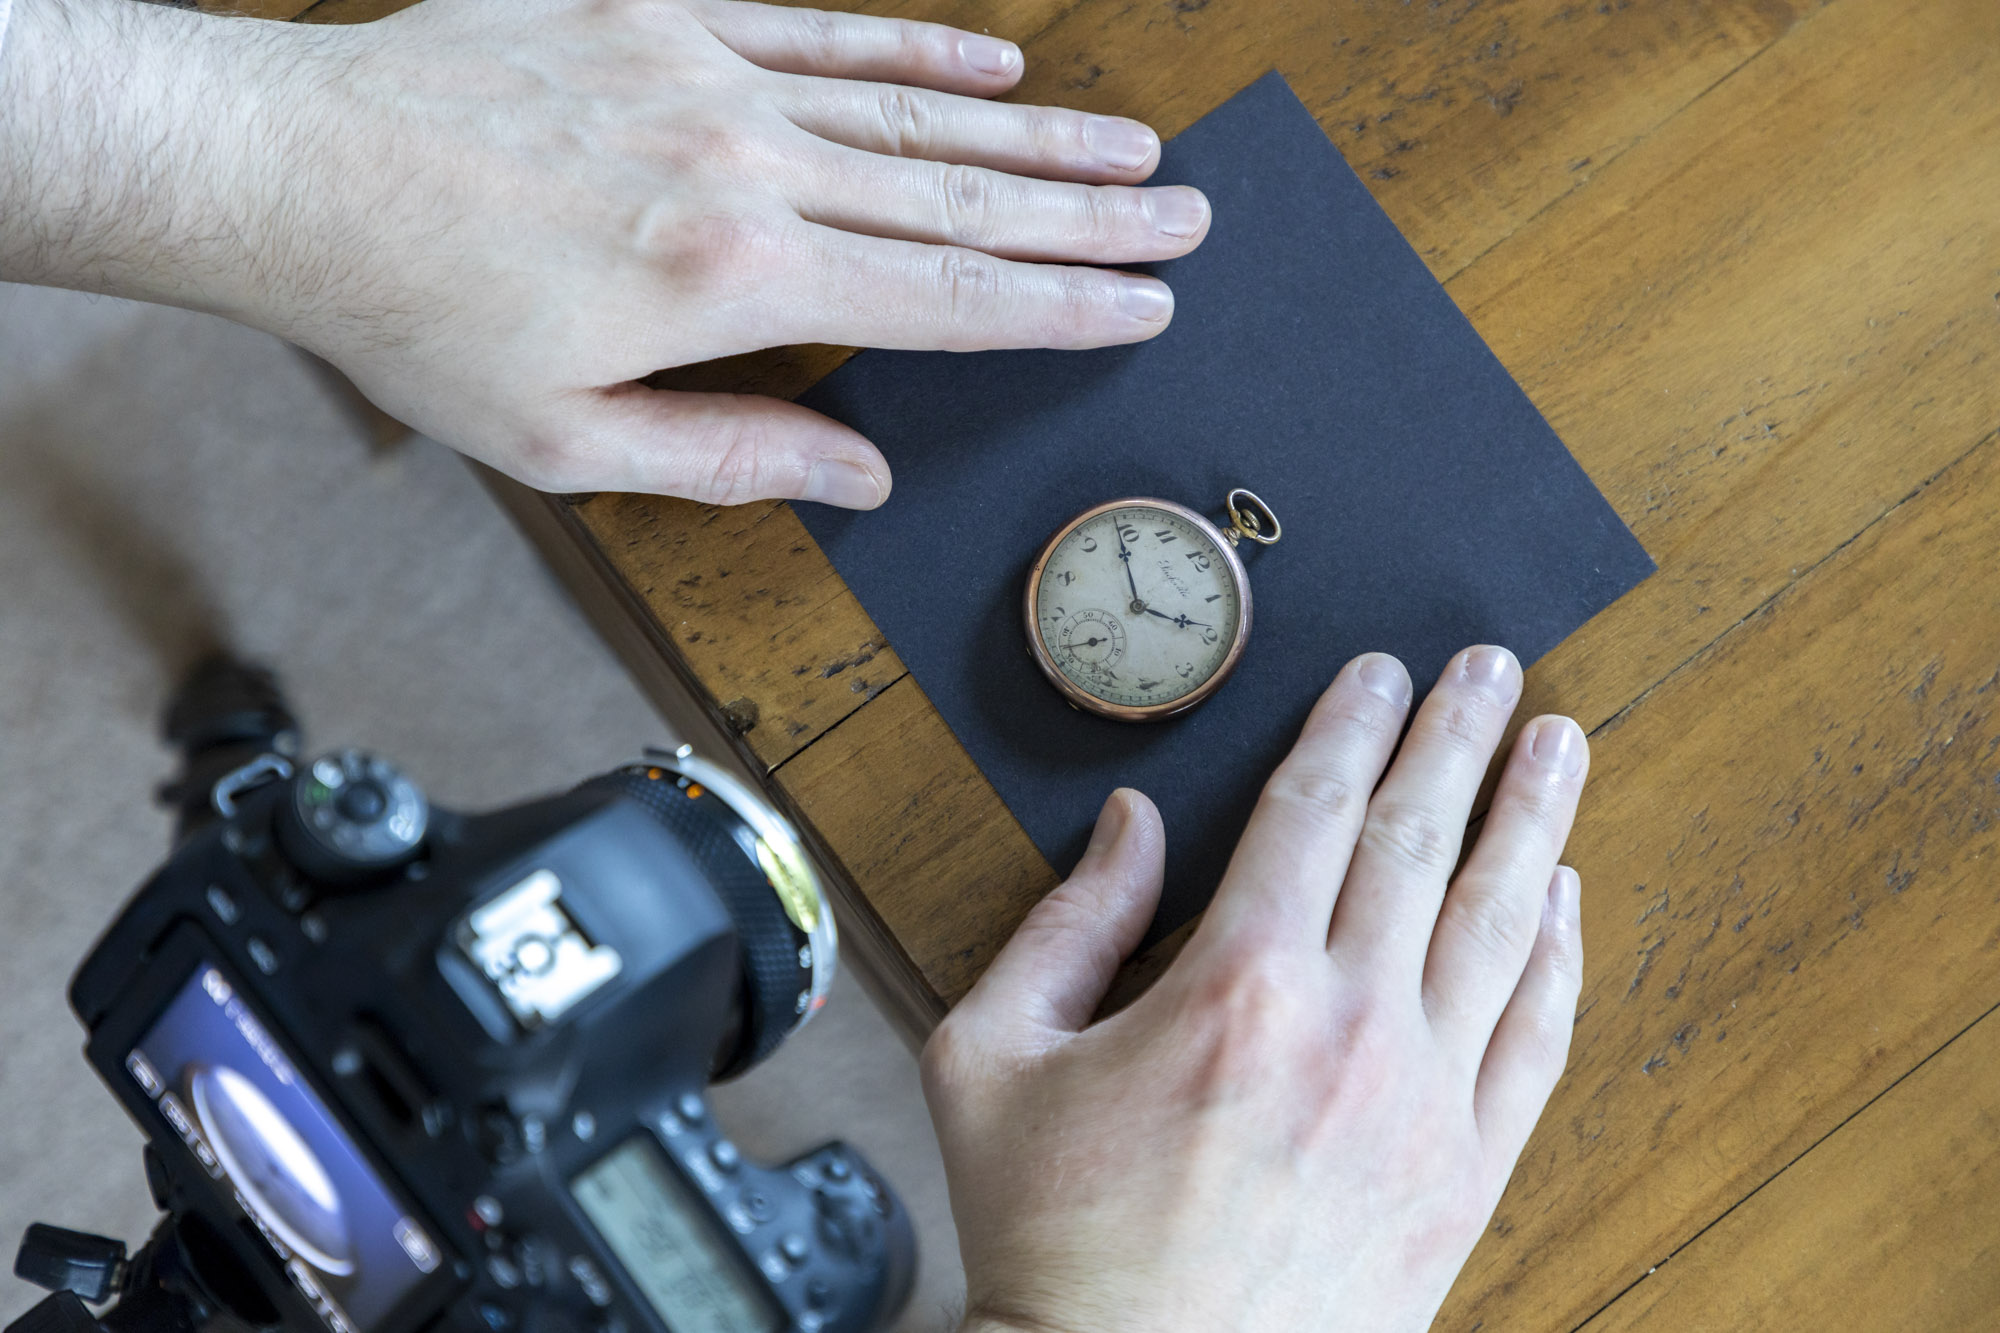
Even the smallest of movements and vibrations will be magnified when shooting macro and show up in your photos as image-softening camera shake. To give your close-up shots the best chance of turning out pin-sharp, it’s best to set up on a sturdy tripod. This will also help you nail the precise focus point, as depth of field can be particularly fiddly at such high magnifications. Firstly, set up your subject on a table and compose your image freehand (above).
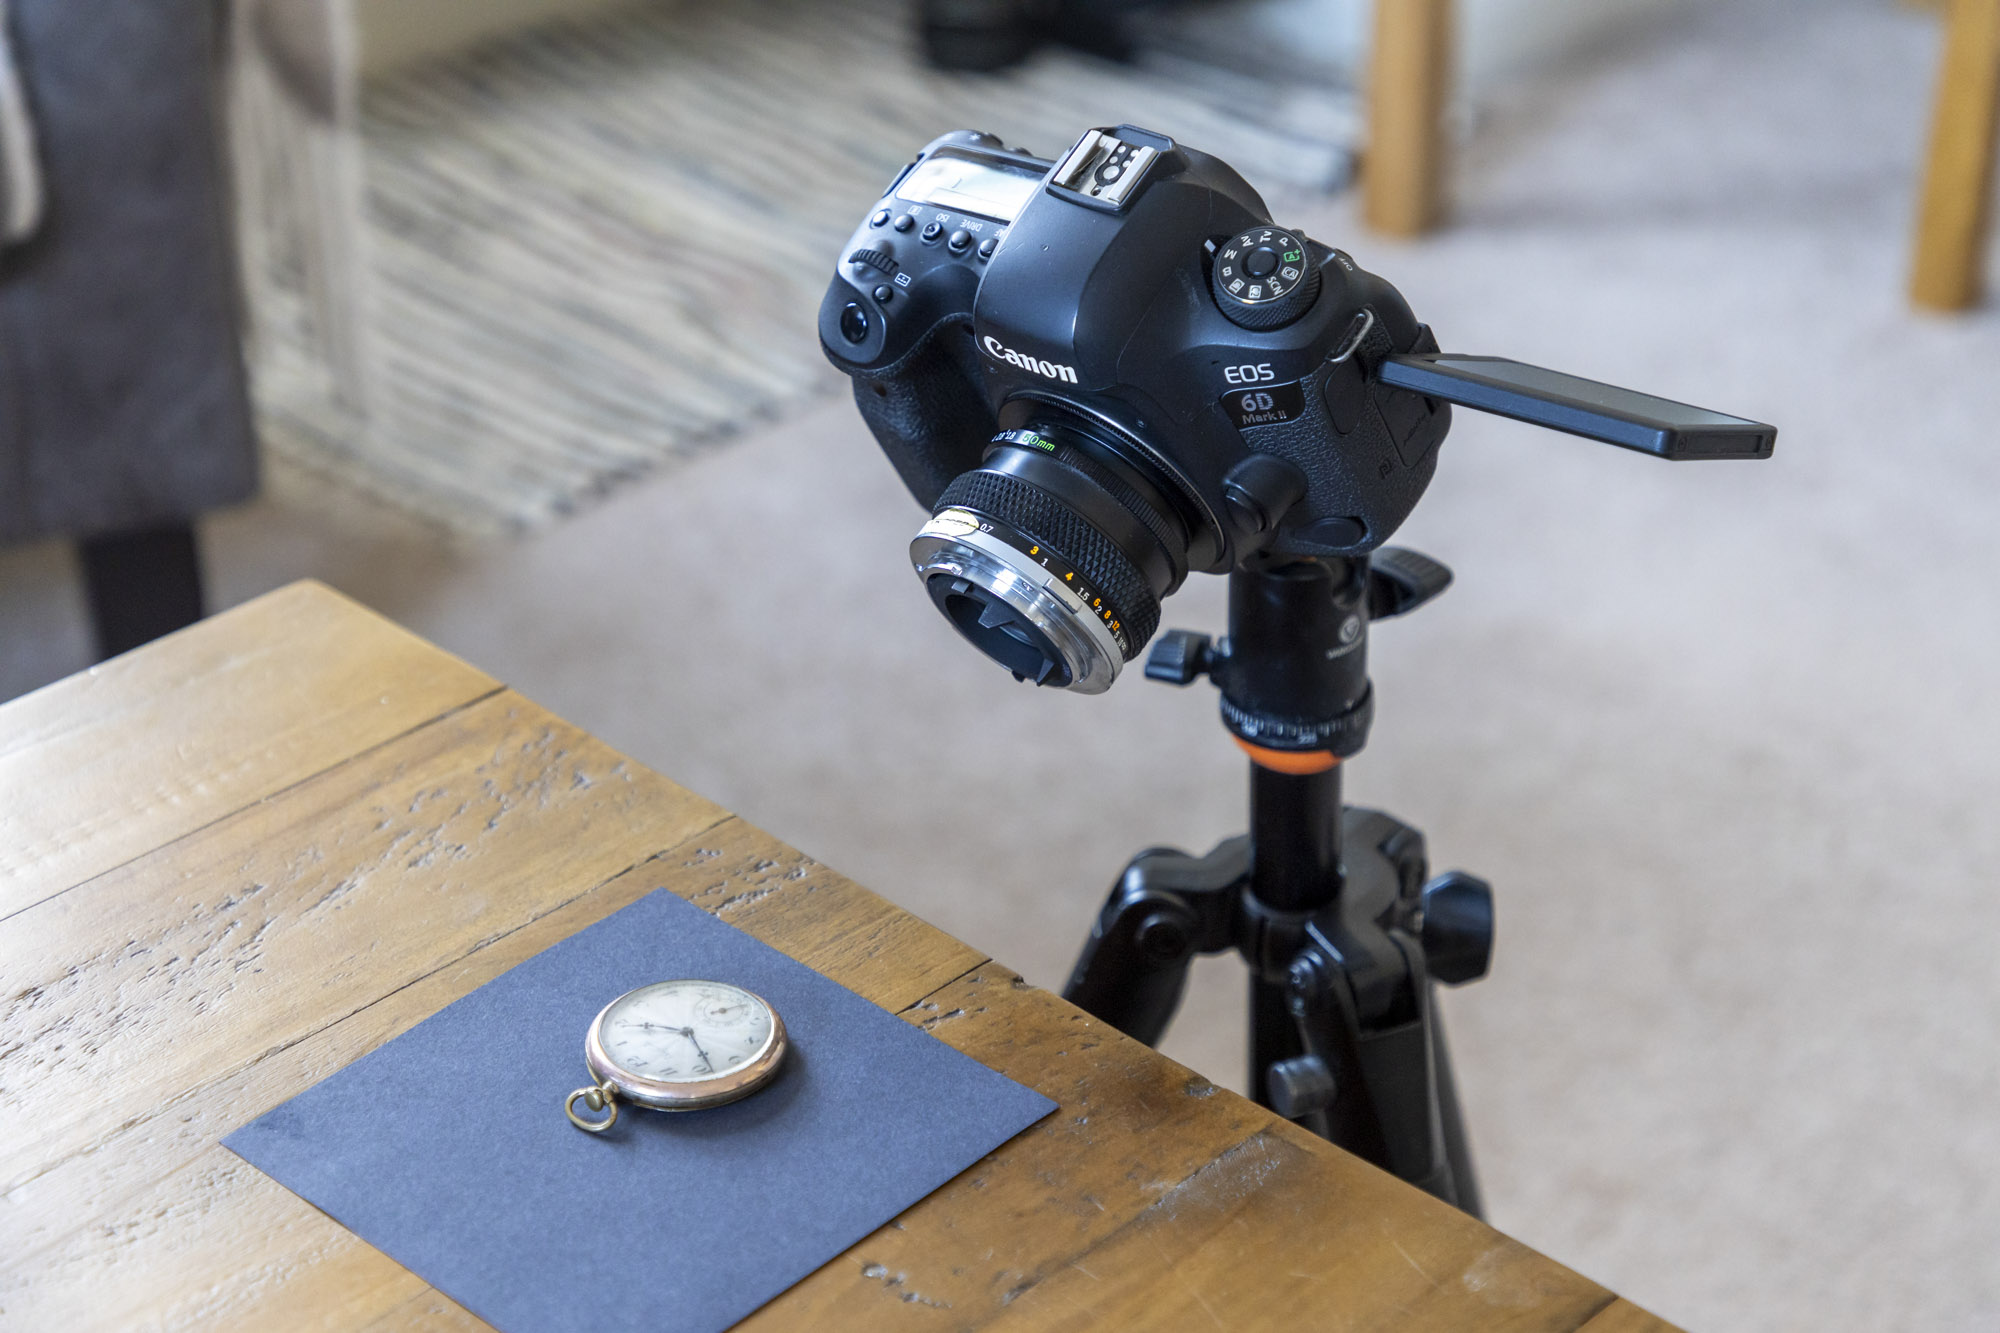
Once you’ve worked out a strong composition, you then know roughly where to set up your tripod. Use the thickest leg sections of your tripod first as they will be the sturdiest, and only use the centre column for extra height as a last resort, as they’re prone to wobble.
3. Manual mode
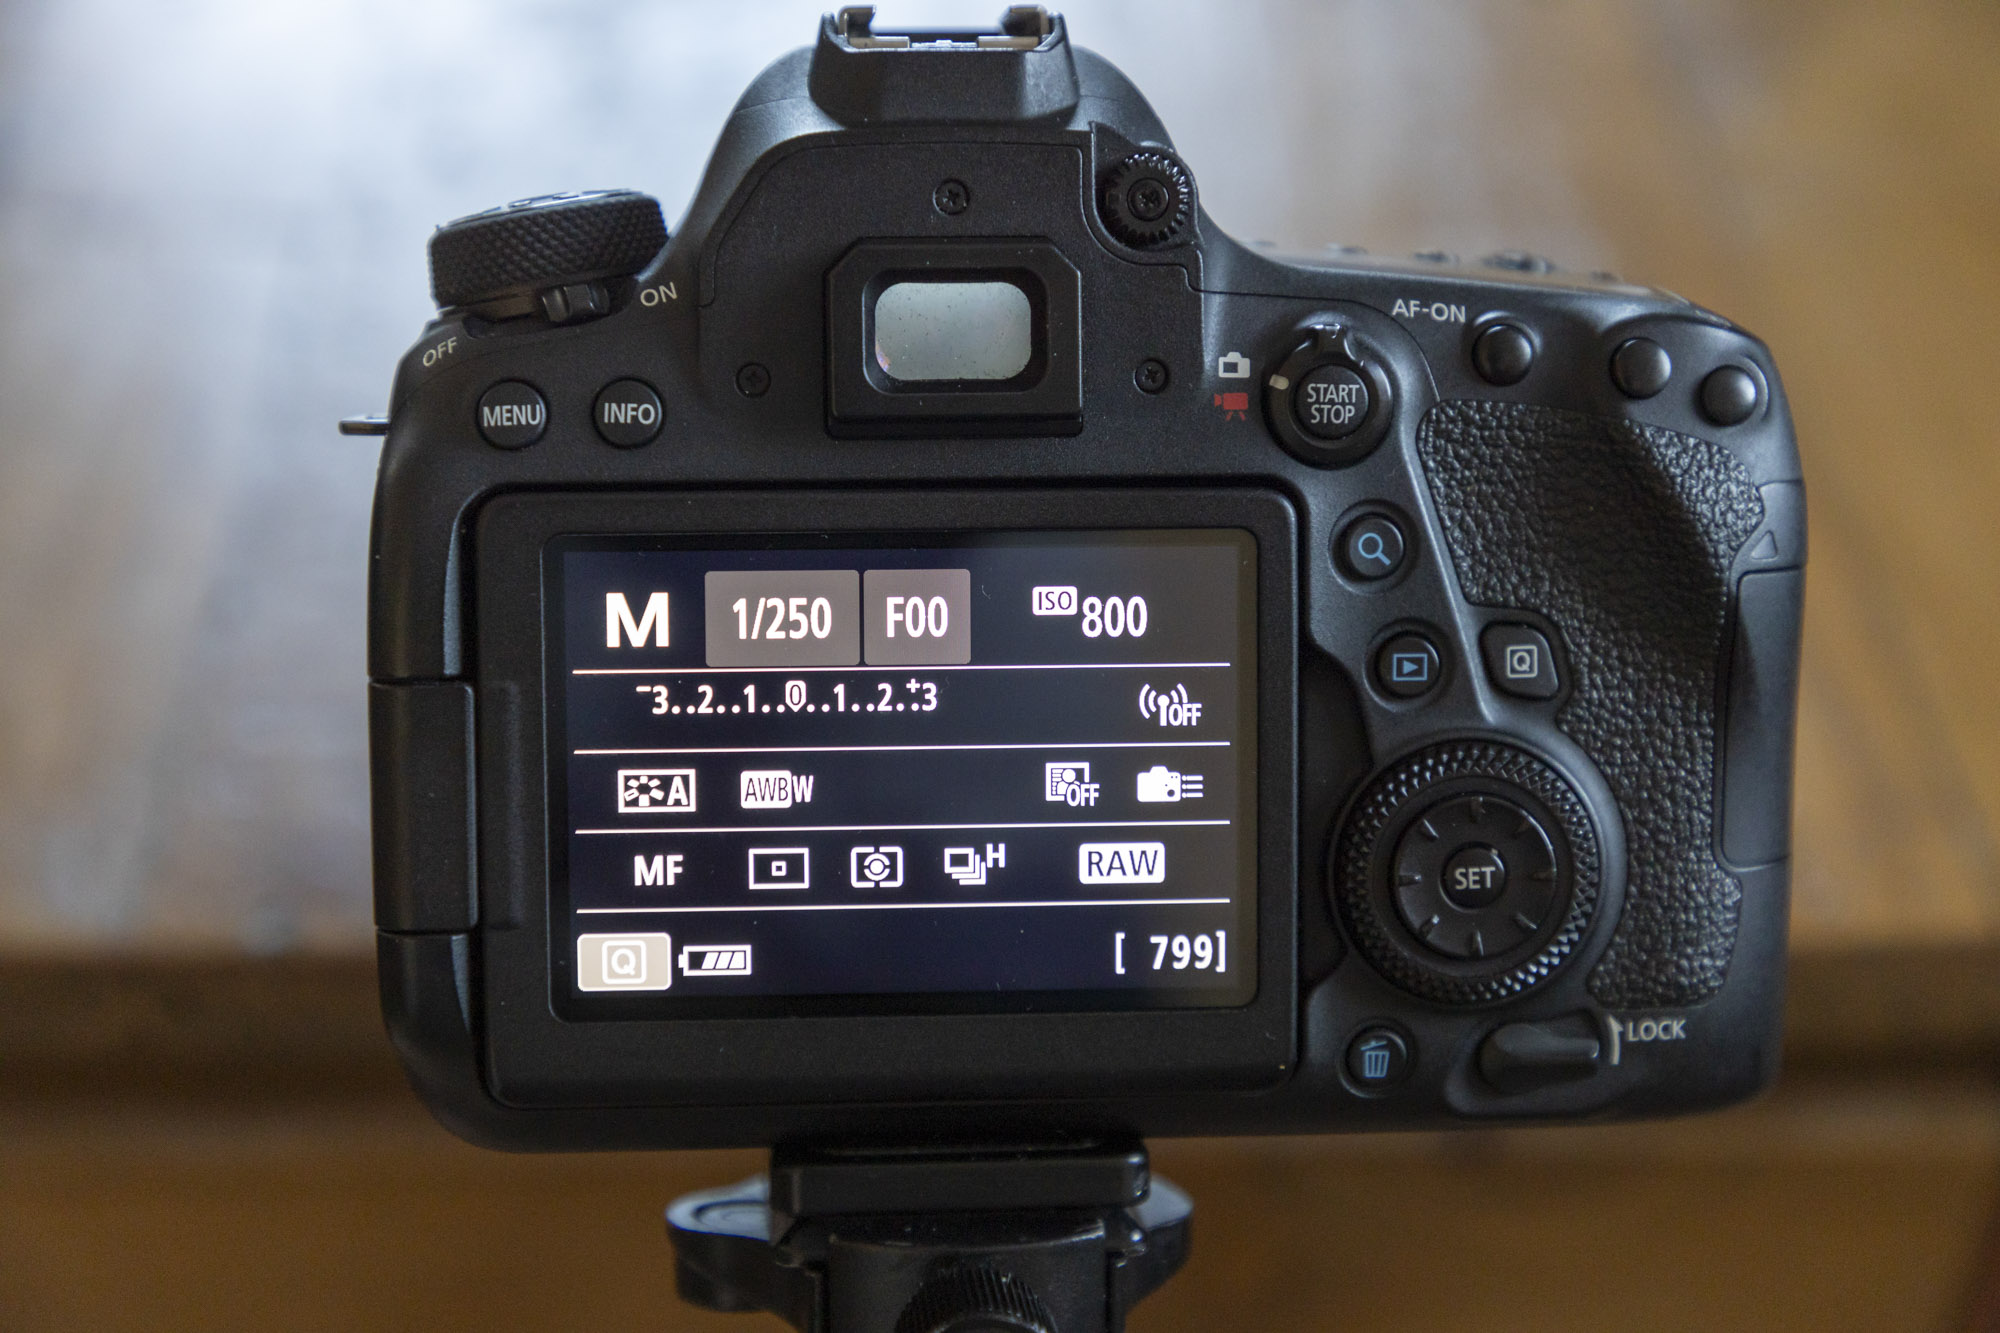
With any connections to the camera body severed, you’ll need to go into your Canon’s Manual mode (M on the mode dial) to take full control of the exposure settings. We find it easiest to use the built-in light meter as a guide and also working with exposure simulation turned on in Live View to get an accurate idea of the exposure. The aperture will need to be set manually on the lens’s aperture ring. The wider this setting – the more shallow the depth of field will be.
Although to get the aperture to close down you may need to hold down a depth of field preview button. This was found on the base of our Olympus lens, but this function will differ from manufacturer to manufacturer.
4. Focus and shoot
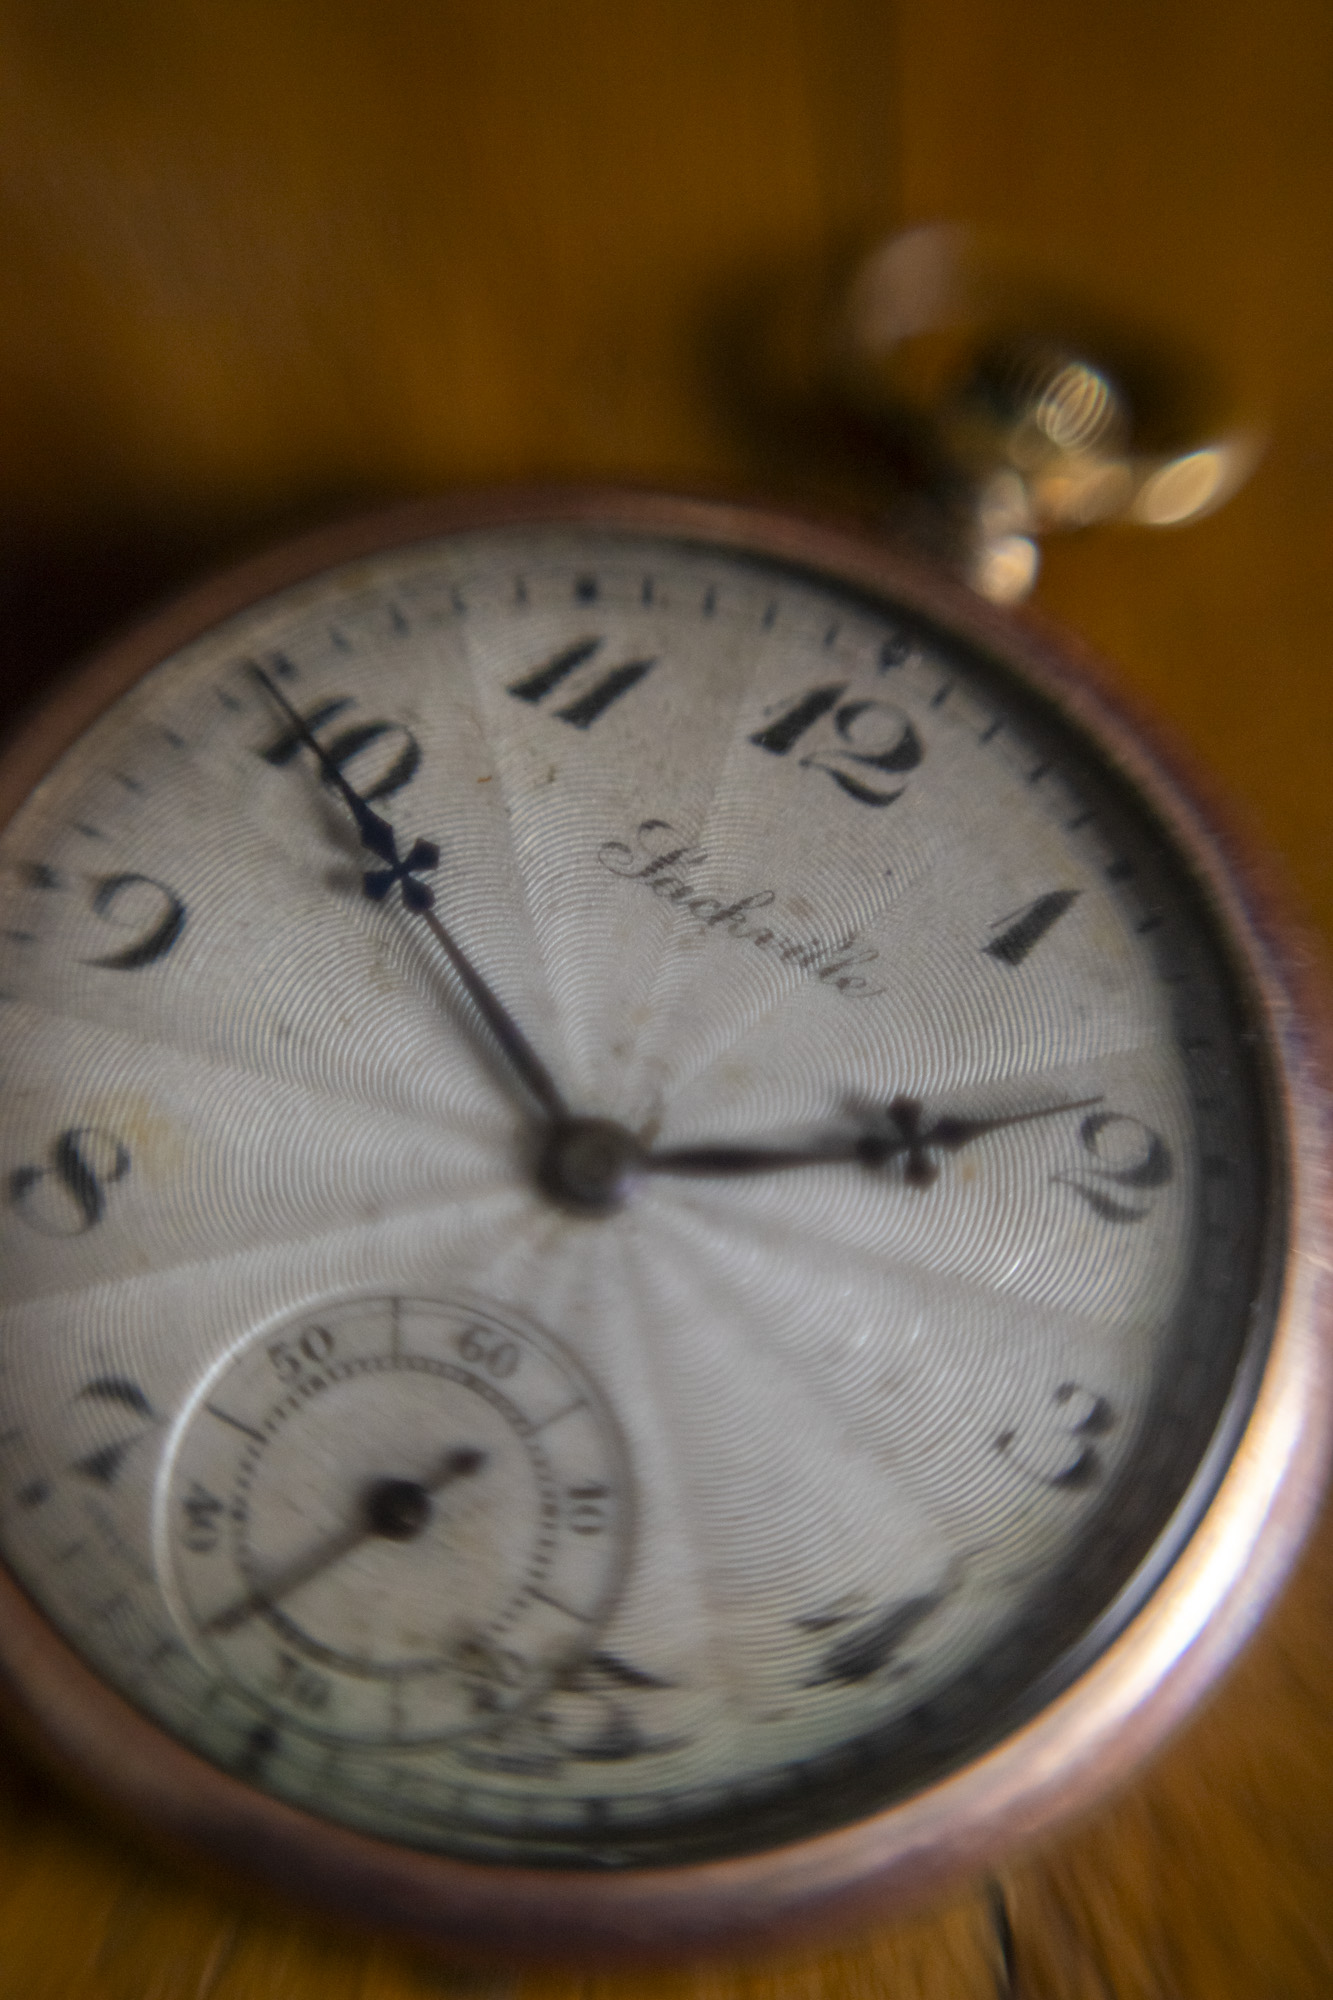
Shoot next to a large window for natural side light and use a net curtain for extra diffusion, or add you own light source with a flash or torch. Now with your camera set up on a tripod, the easiest way to focus is to move your subject rather than the camera. Place your item, such as our pocket watch, on a sheet of card. You can then move the card away from or towards your camera until it falls into the perfect zone of sharpness.
It’s then just a case of enabling the 2 Sec Self-timer to reduce camera shake, and firing the shutter. For even more magnification, you might want to attach a series of extension tubes or try using a prime lens with a wider focal length. And here are a few of our favourite macro images using this budget-friendly reversing ring lens hack.
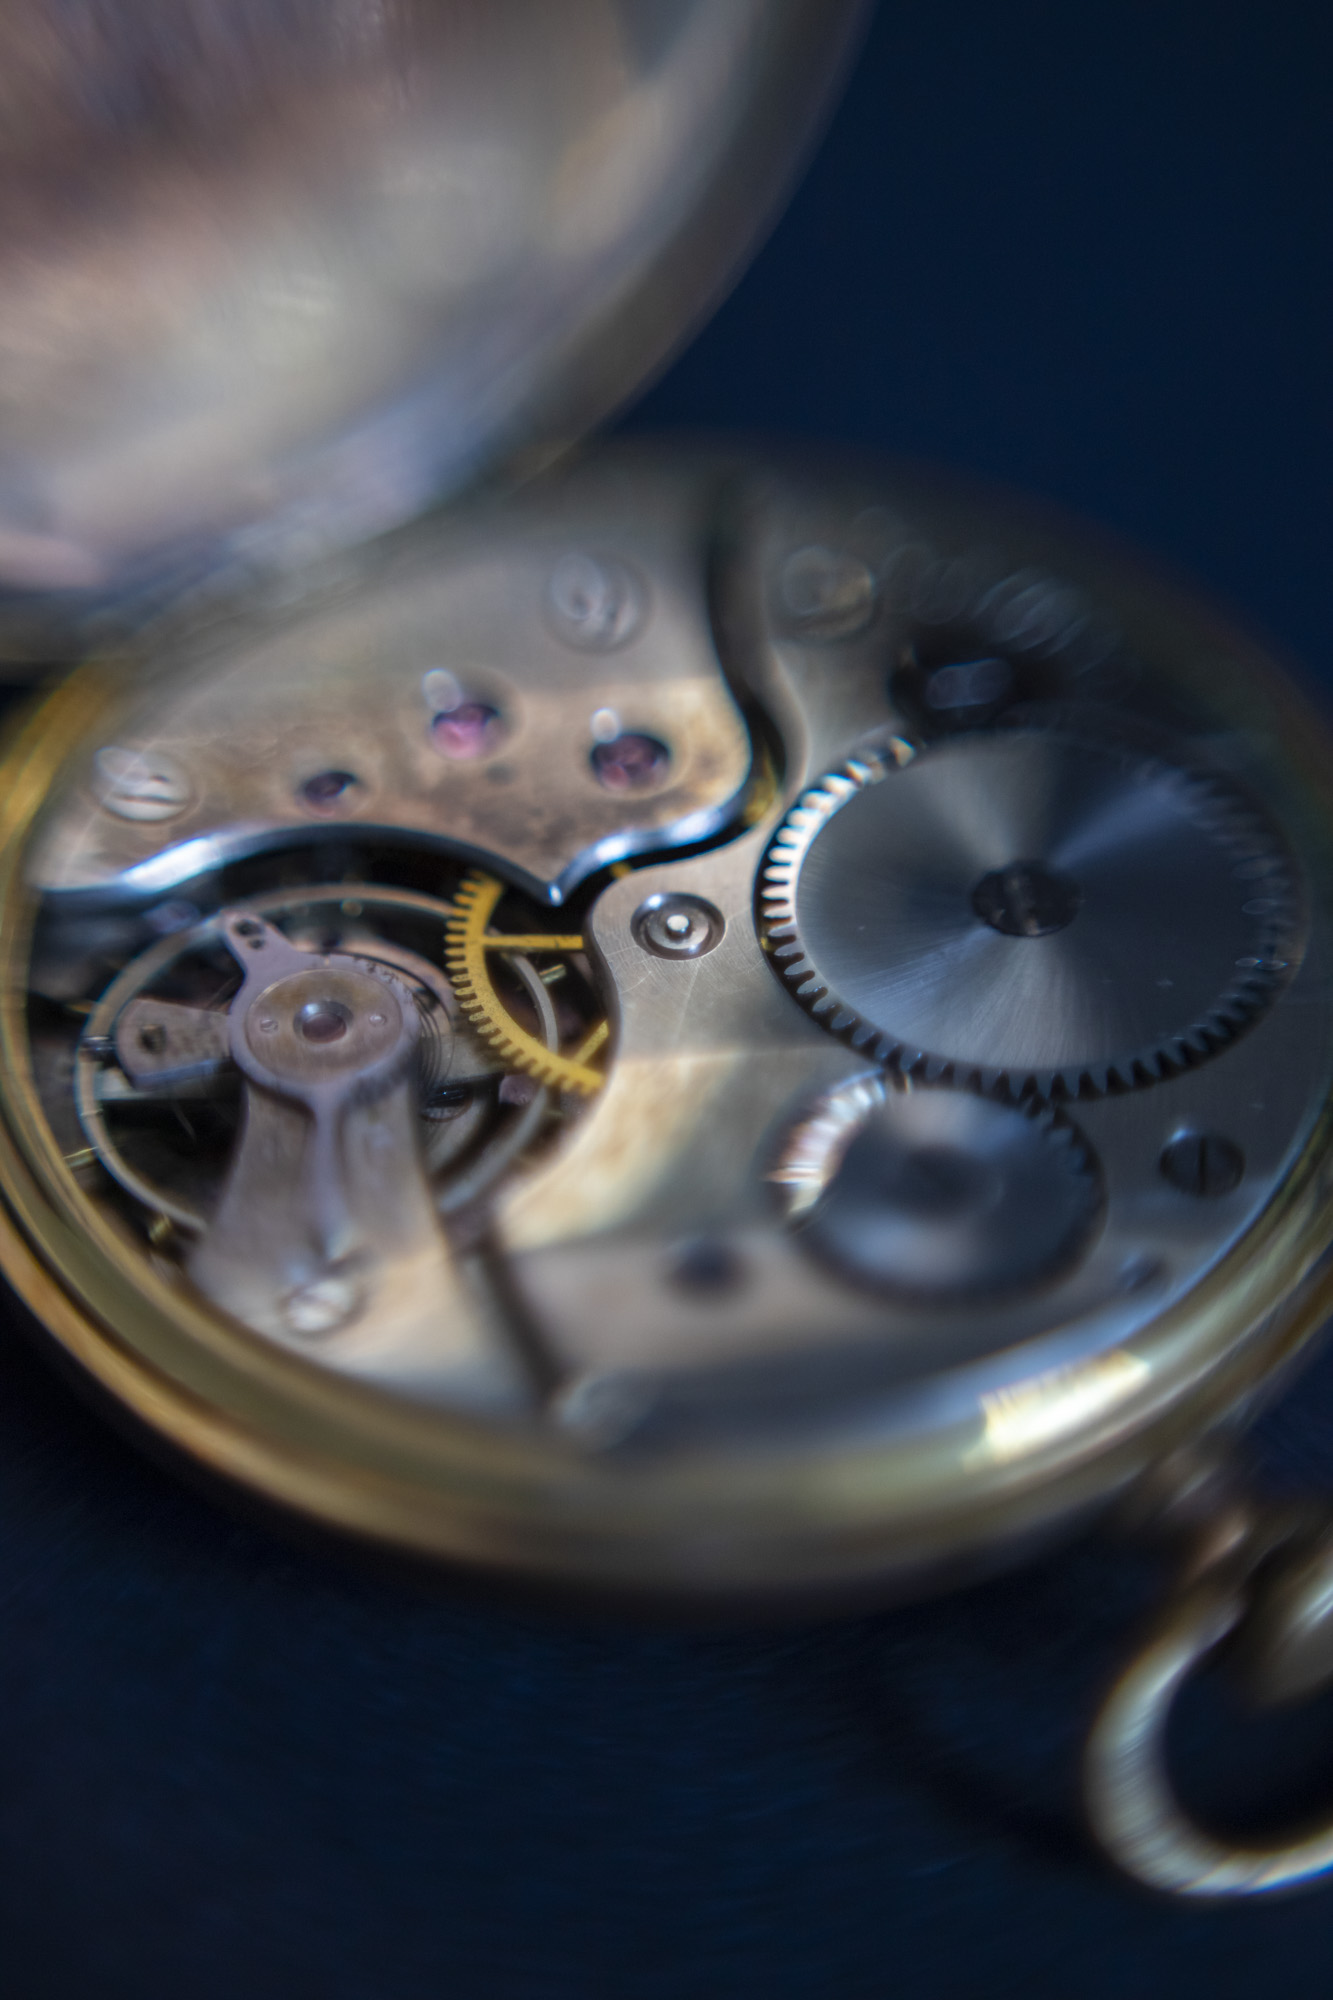
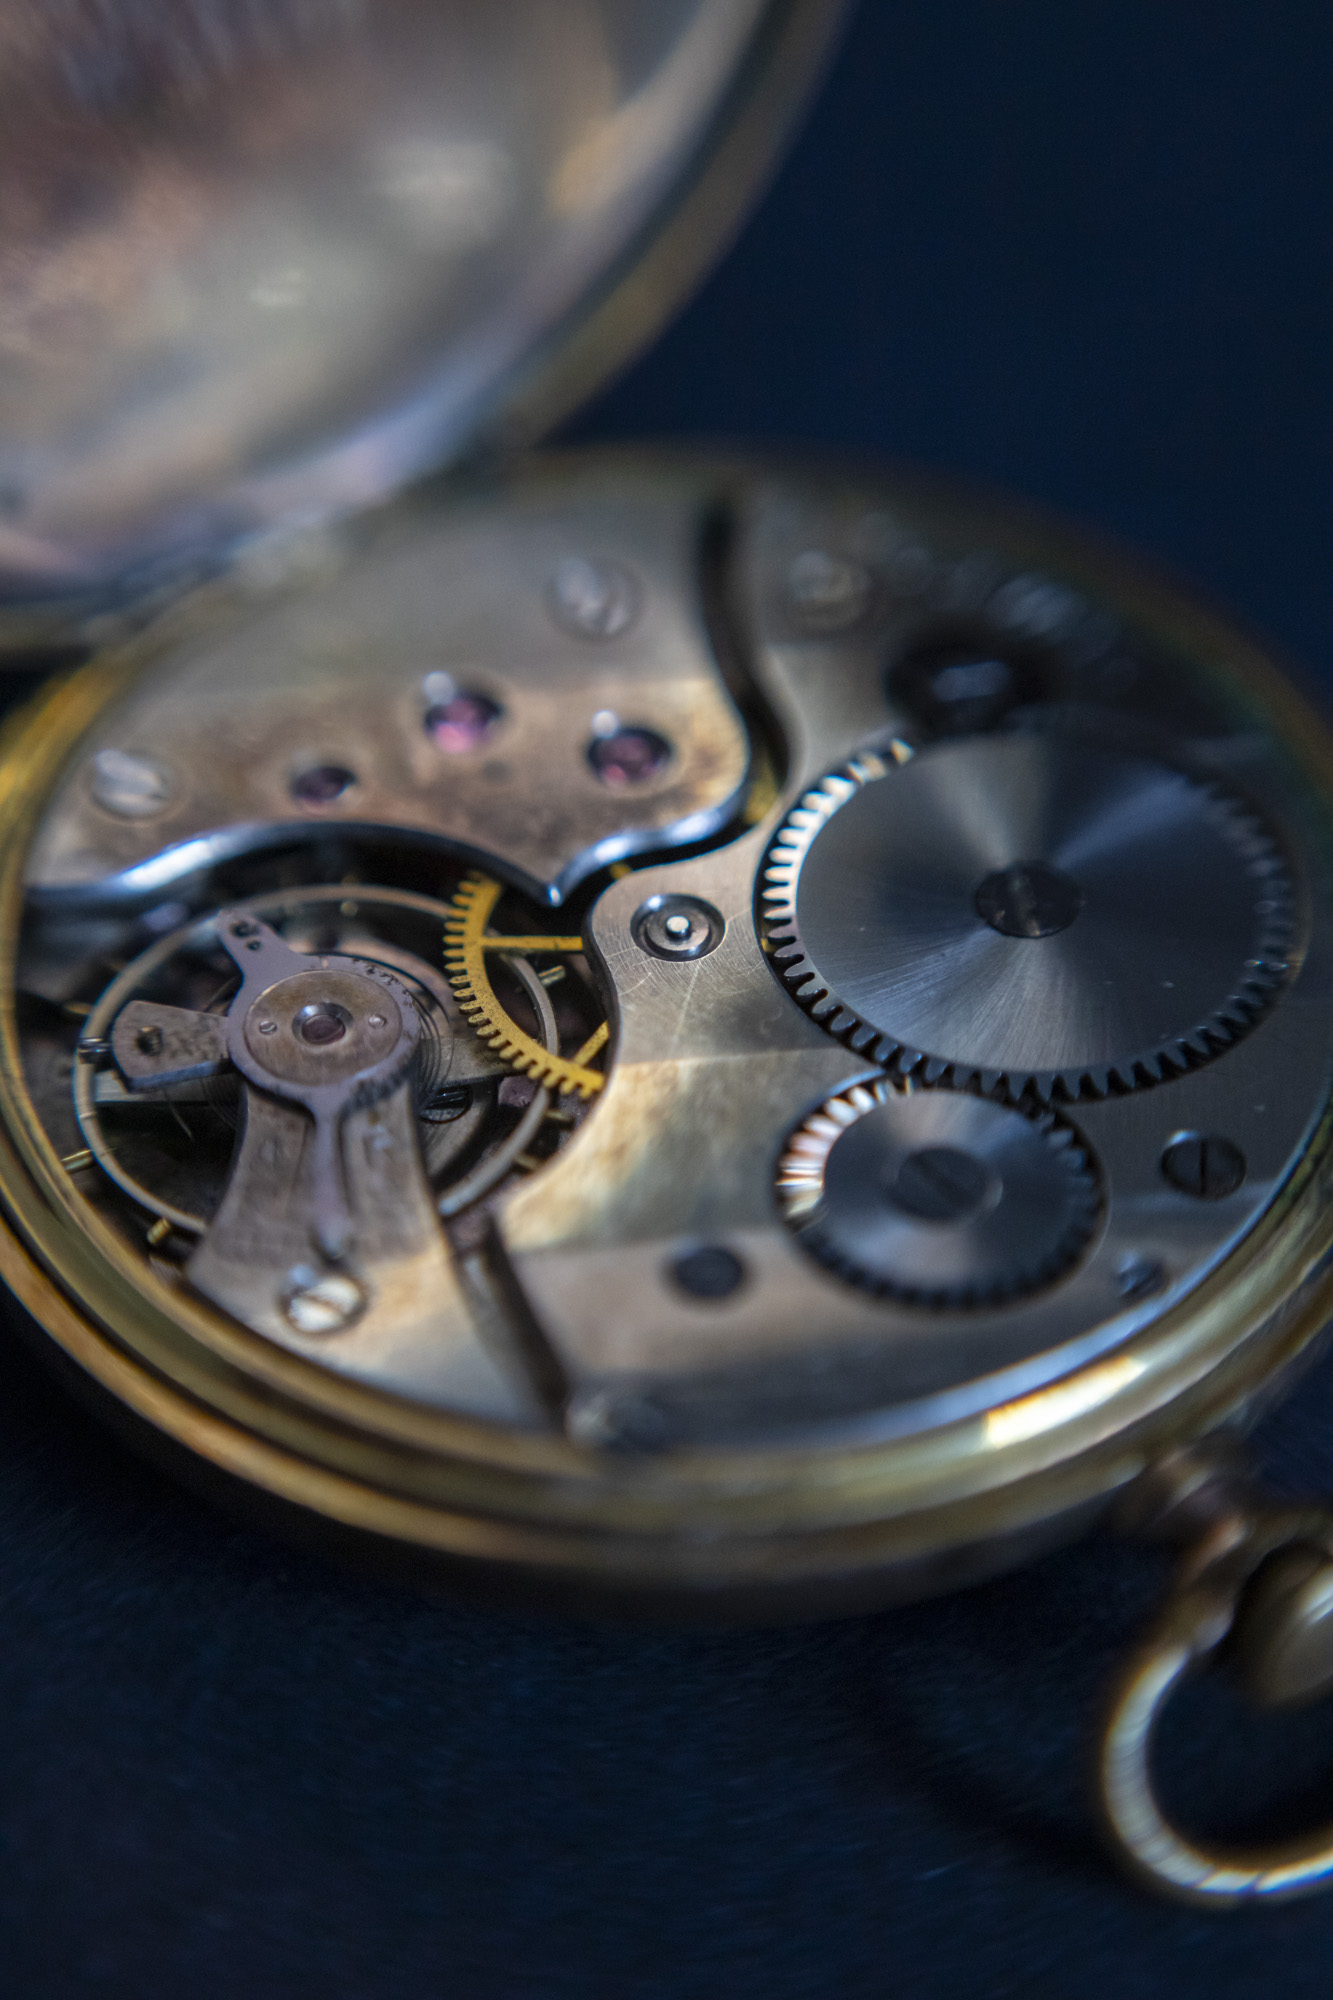
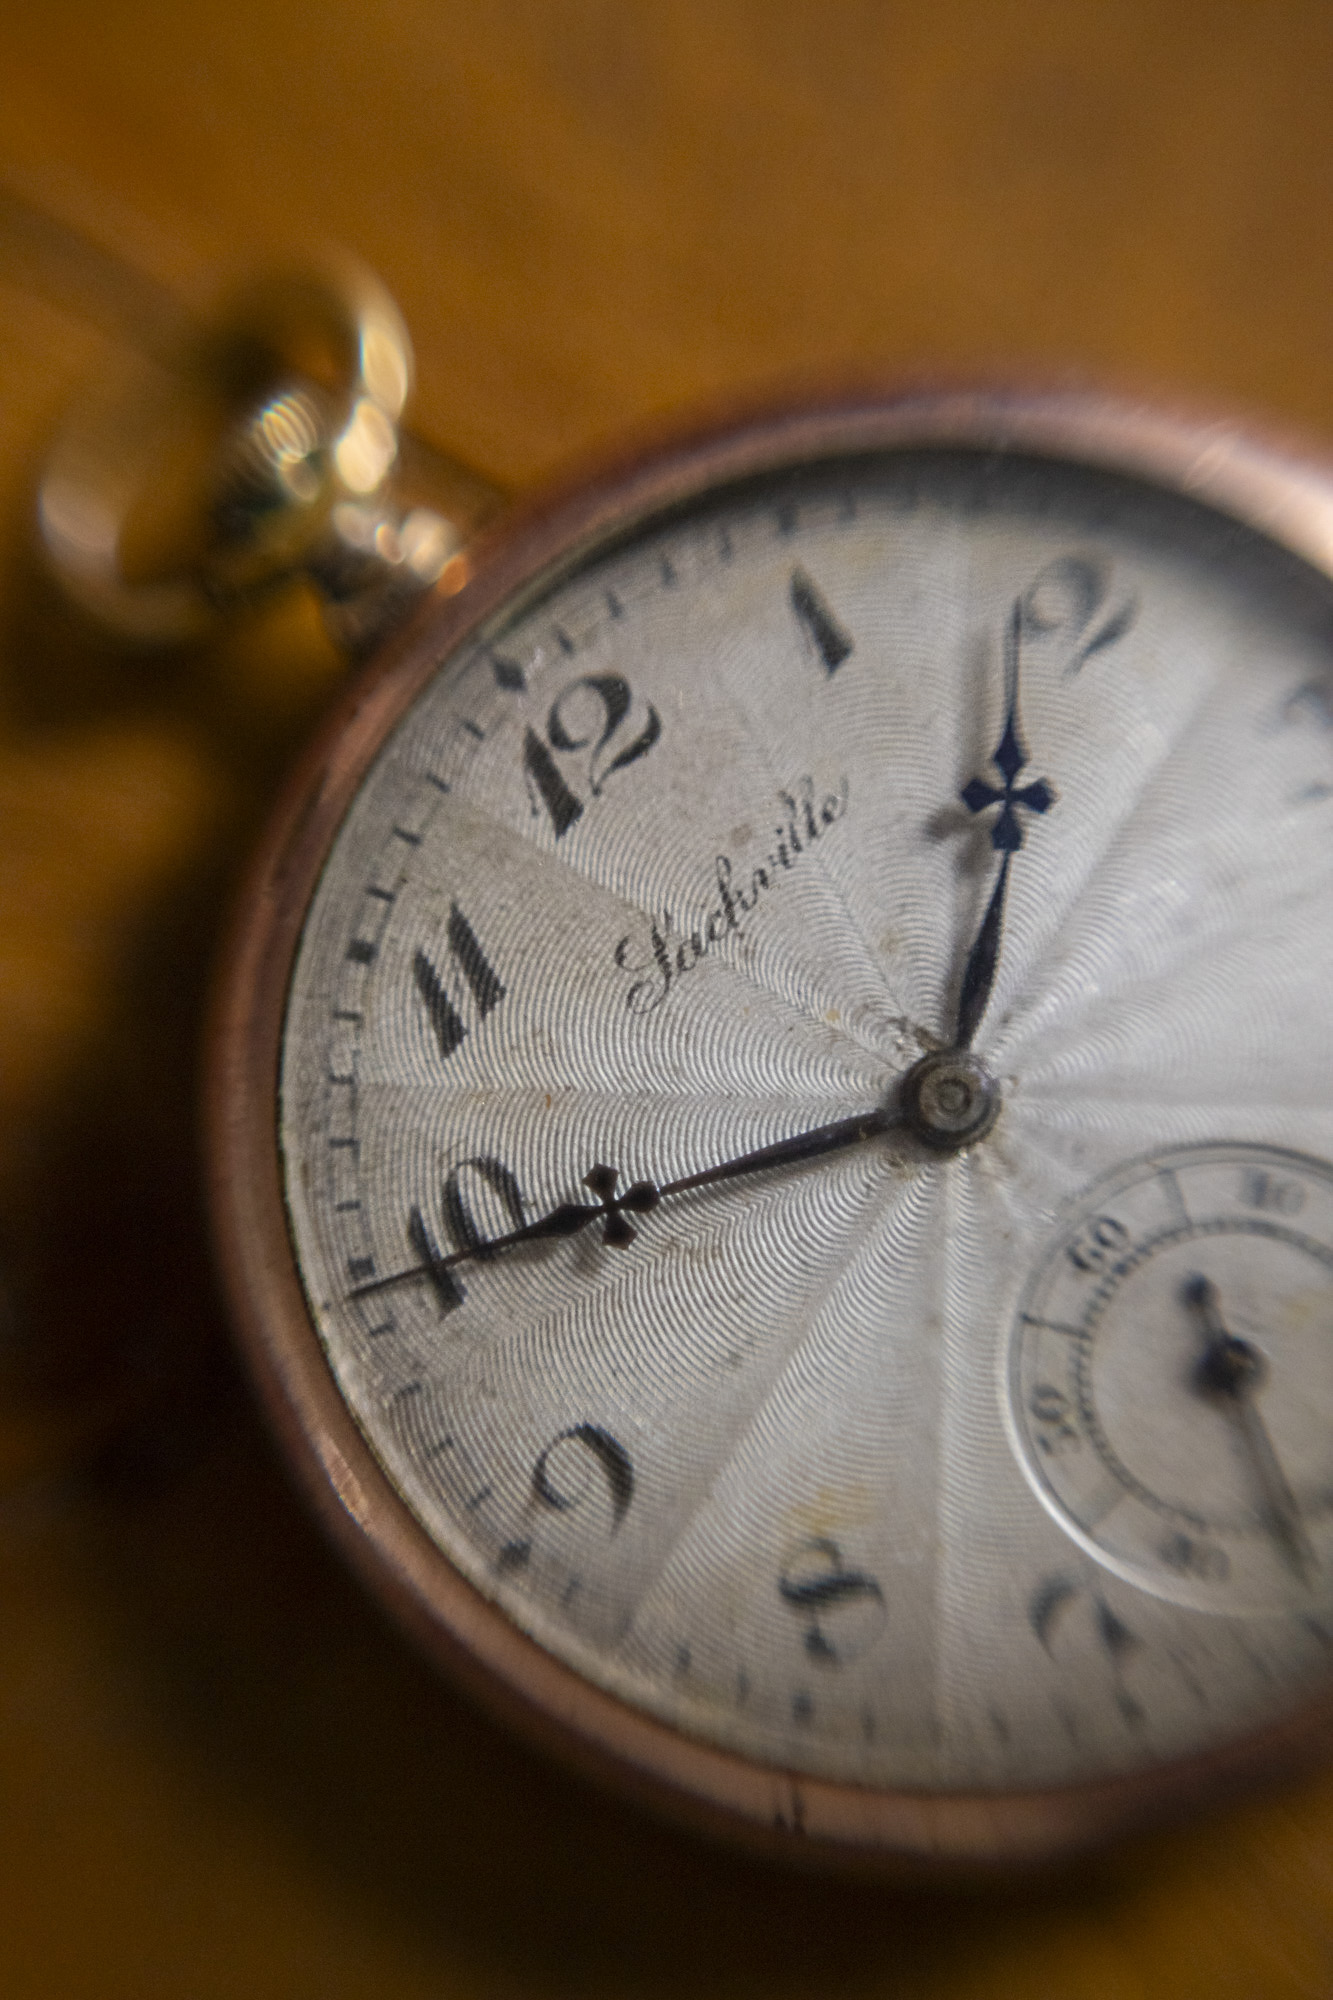
PhotoPlus: The Canon Magazine is the world's only monthly newsstand title that's 100% devoted to Canon, so you can be sure the magazine is completely relevant to your system. Every issue comes with downloadable video tutorials too.
If you're serious about close-ups, take a look at the best cameras for macro photography along with the best lenses for macro.

In addition to being a freelance photographer and filmmaker, Dan is a bona fide expert on all things Canon and Adobe. Not only is he an Adobe-certified Photoshop guru, he's spent over 10 years writing for specialist magazines including stints as the Deputy Editor for PhotoPlus: The Canon Magazine, Technical Editor for Practical Photography and Photoshop Editor on Digital Photo.
