10 essential steps to better macro images
Improve your macro and closeup images today with these not-to-be missed tips
Introduction
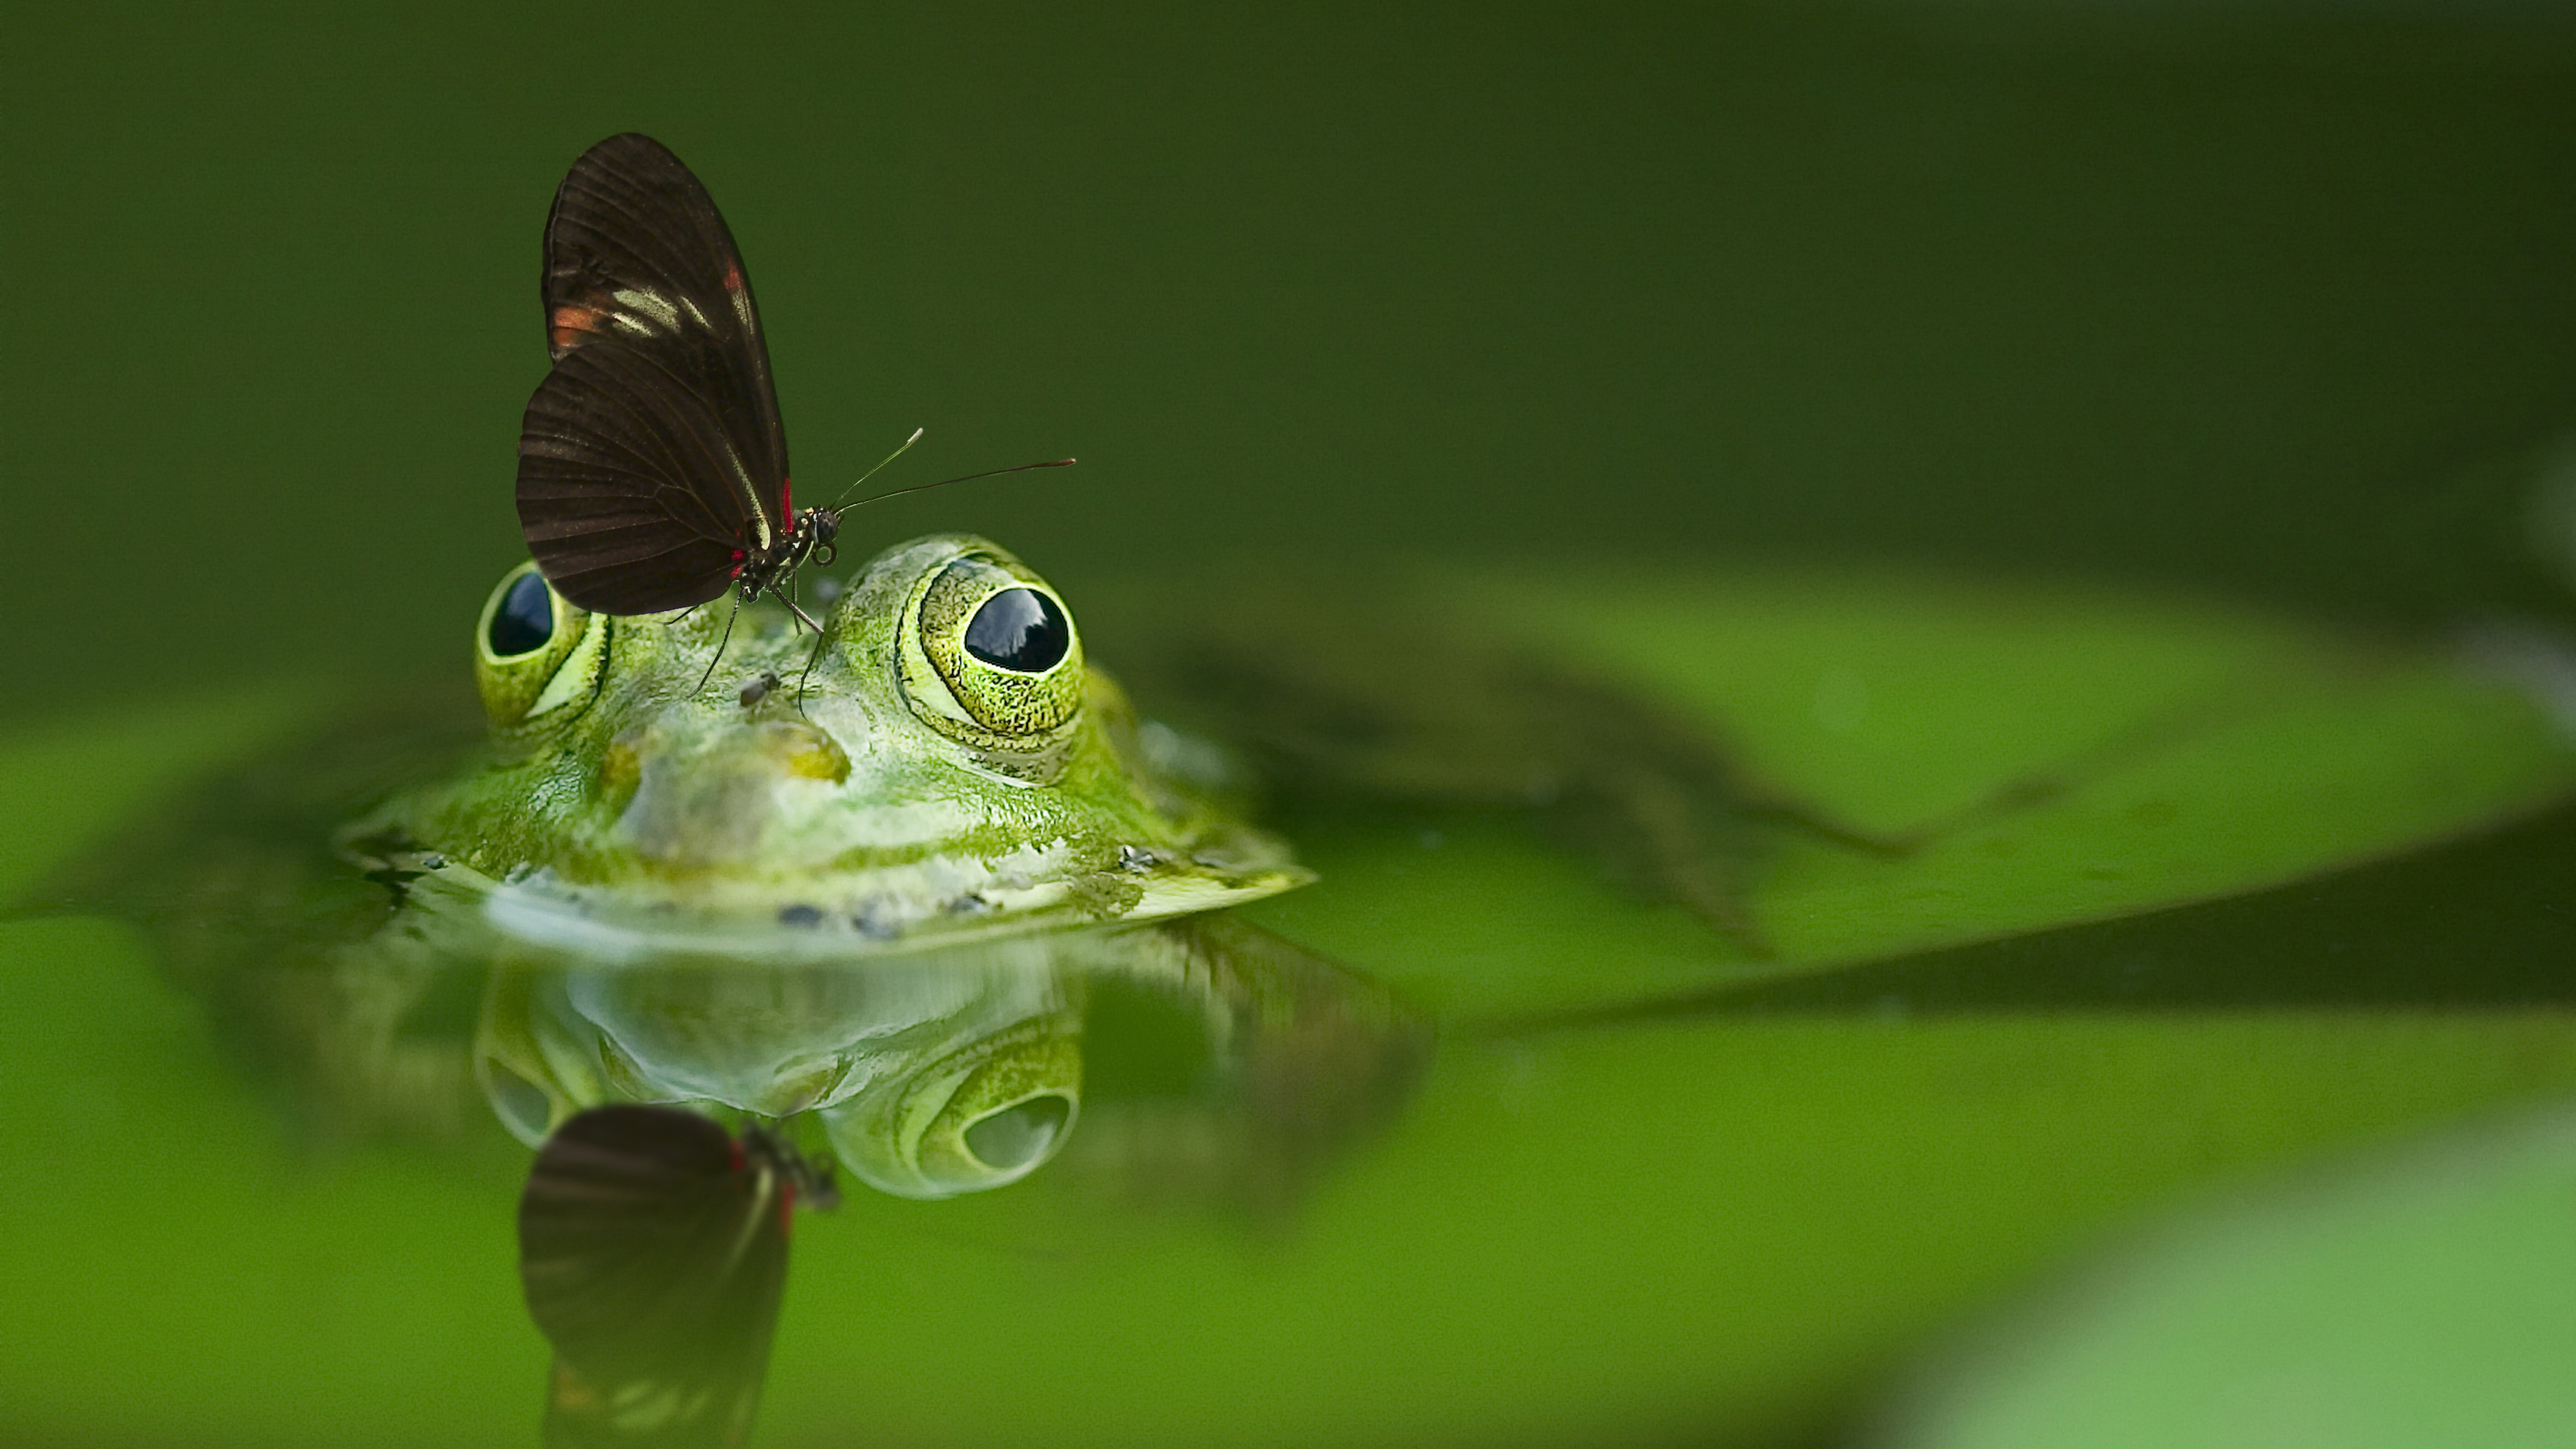
Macro photography is a fascinating area of the medium. It has the power to reveal details we would never have known were there had we not looked closer, through a macro lens. This applies even to mundane household objects - the type we walk past every day without a second glance, and would certainly not have considered worthy of image material.
With the extreme close-up compositions of macro photography however comes some niche challenges we need to understand and overcome. From mastering focus to dealing with camera shake and dealing with distracting backgrounds, it is essential that we know how the photo workflow can differ from the usual, when working at extreme magnifications.
• Best camera for macro photography
Here we have put together a rundown of some quick tips which have the power to transform your macro images right off the bat, enabling you to capture sharper, more consistently useable images.
10 steps to better images
1- Stay parallel
In order to keep as much of the subject sharp as possible always shoot at a 90° angle. Keep the camera at the same level as the subject, as this avoids having to pitch the lens up or down, which reduces depth-of-field. The other advantage of lowering the camera to same level as the subject is that you come out with a more inspiring bug's eye perspective.
2- Turn off autofocus
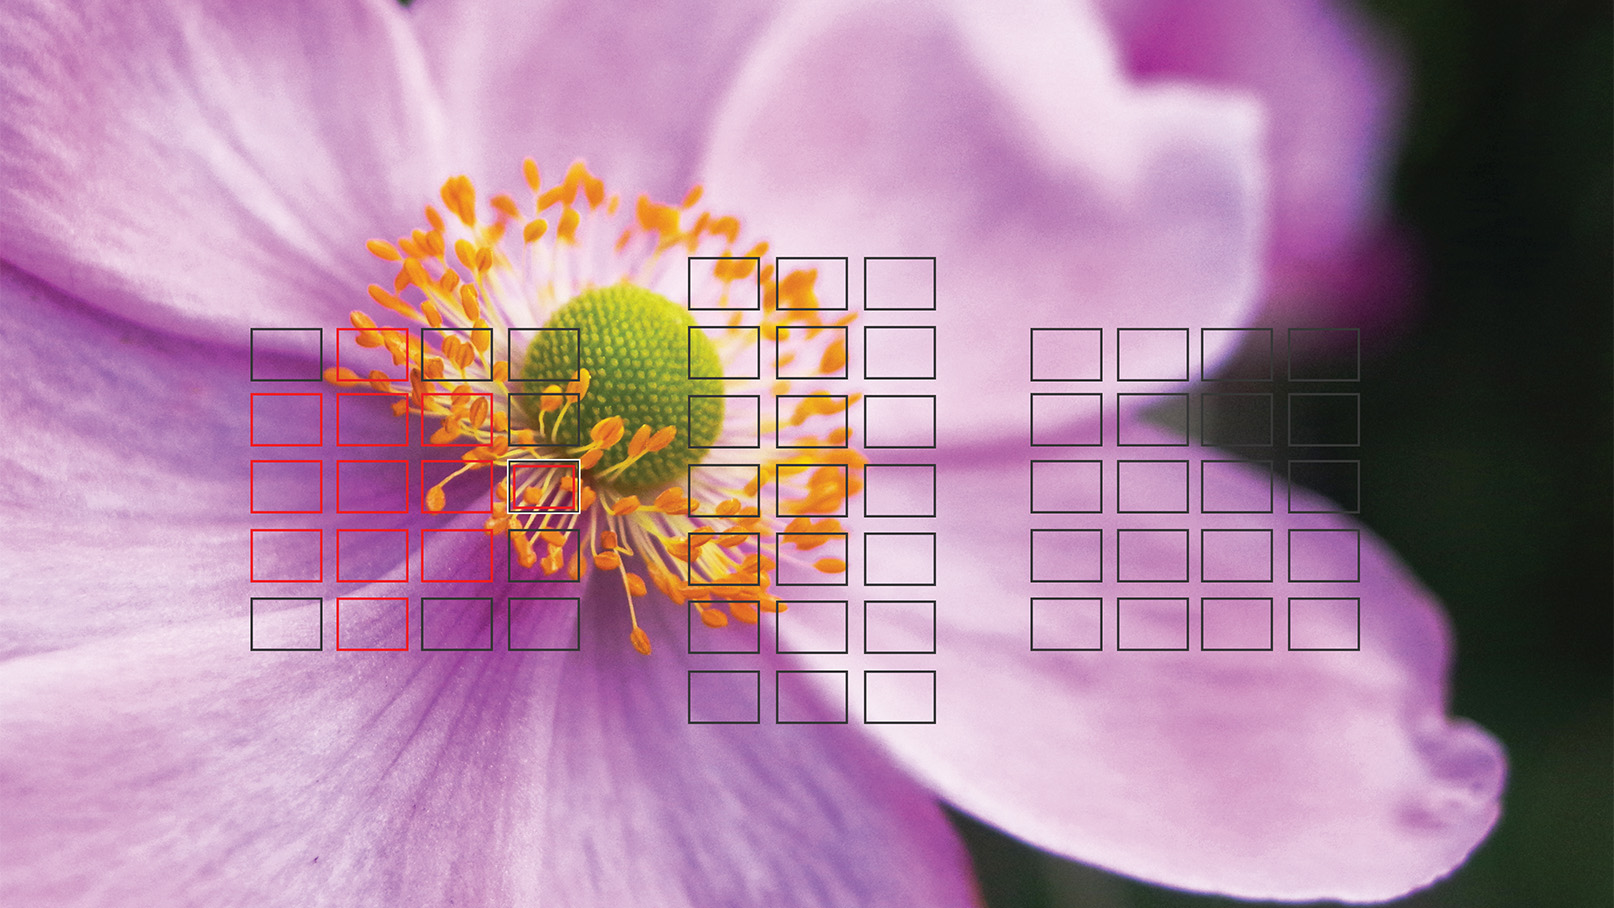
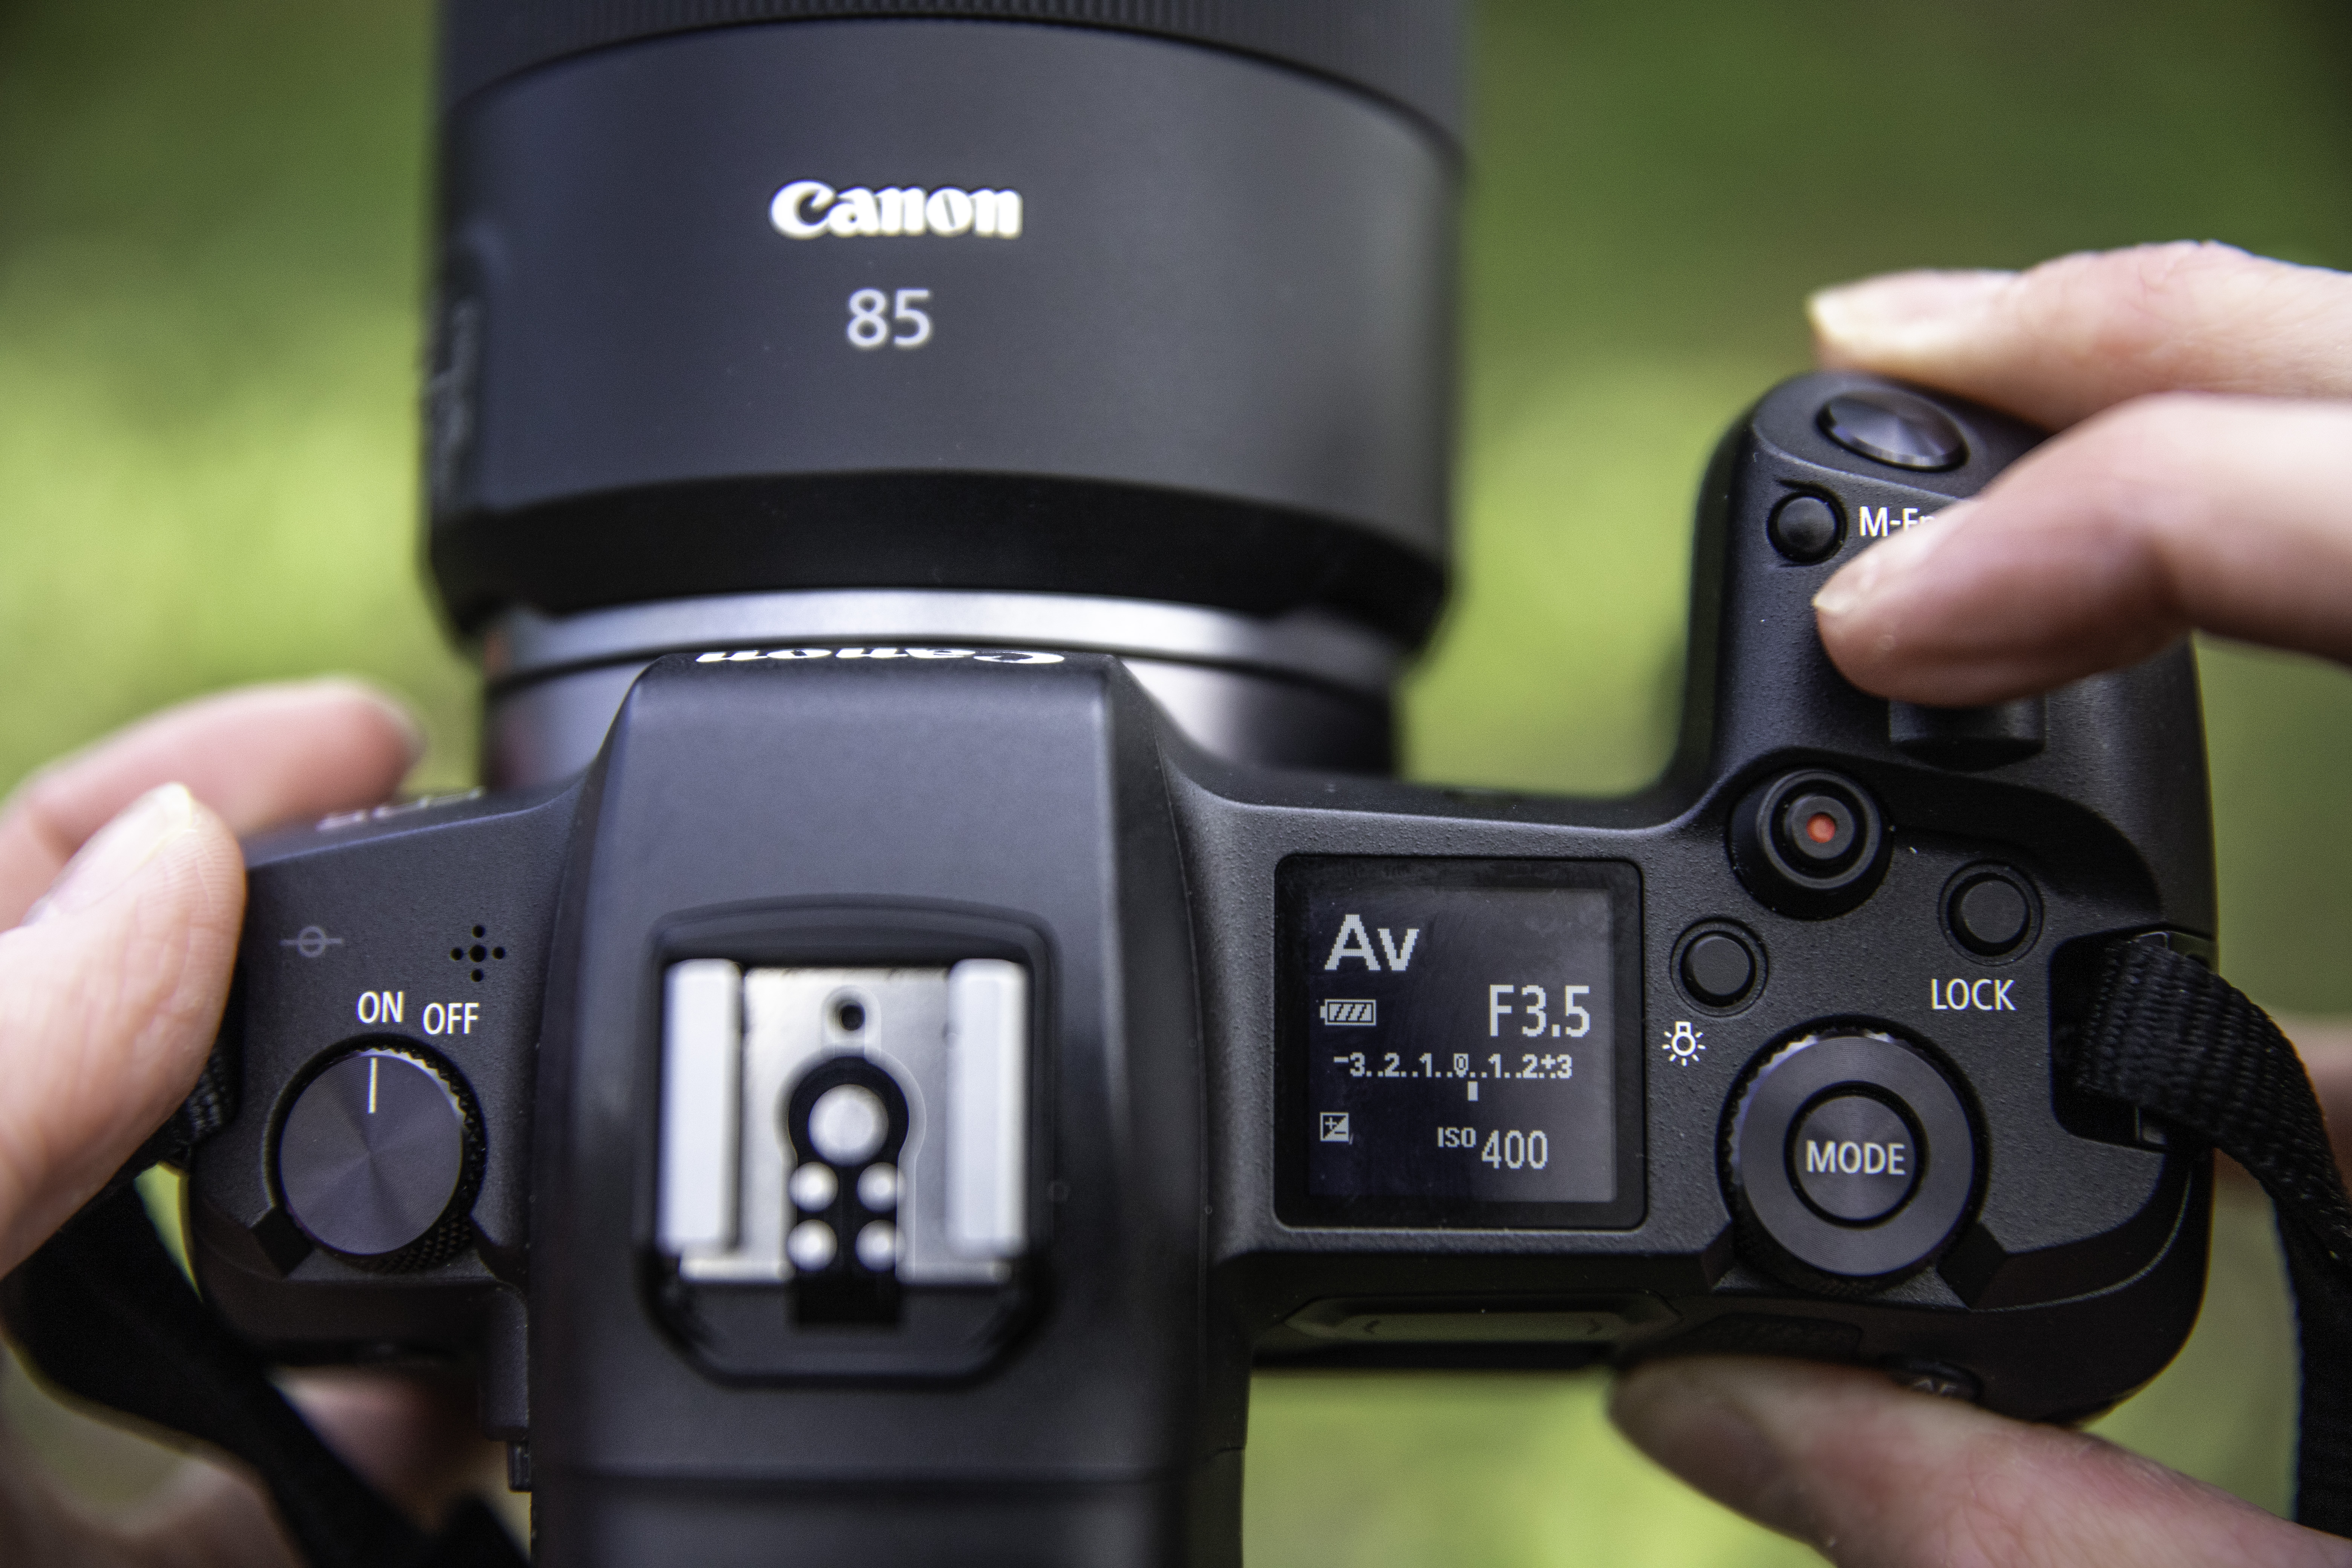
AF is great for most things, especially today where we have some incredible autofocus technology, however macro photography is not one of these! AF always struggles with closeup subjects, especially if they are moving. Instead, where possible, use manual focus, to quickly nudge the focussed plane to where it needs to be. It helps if you prefocus first (see tip 4) as this gives you a head start and avoids fumbling around when the subject arrives.
More: Shoot stunning fine art plant portraits in your garden
The best camera deals, reviews, product advice, and unmissable photography news, direct to your inbox!
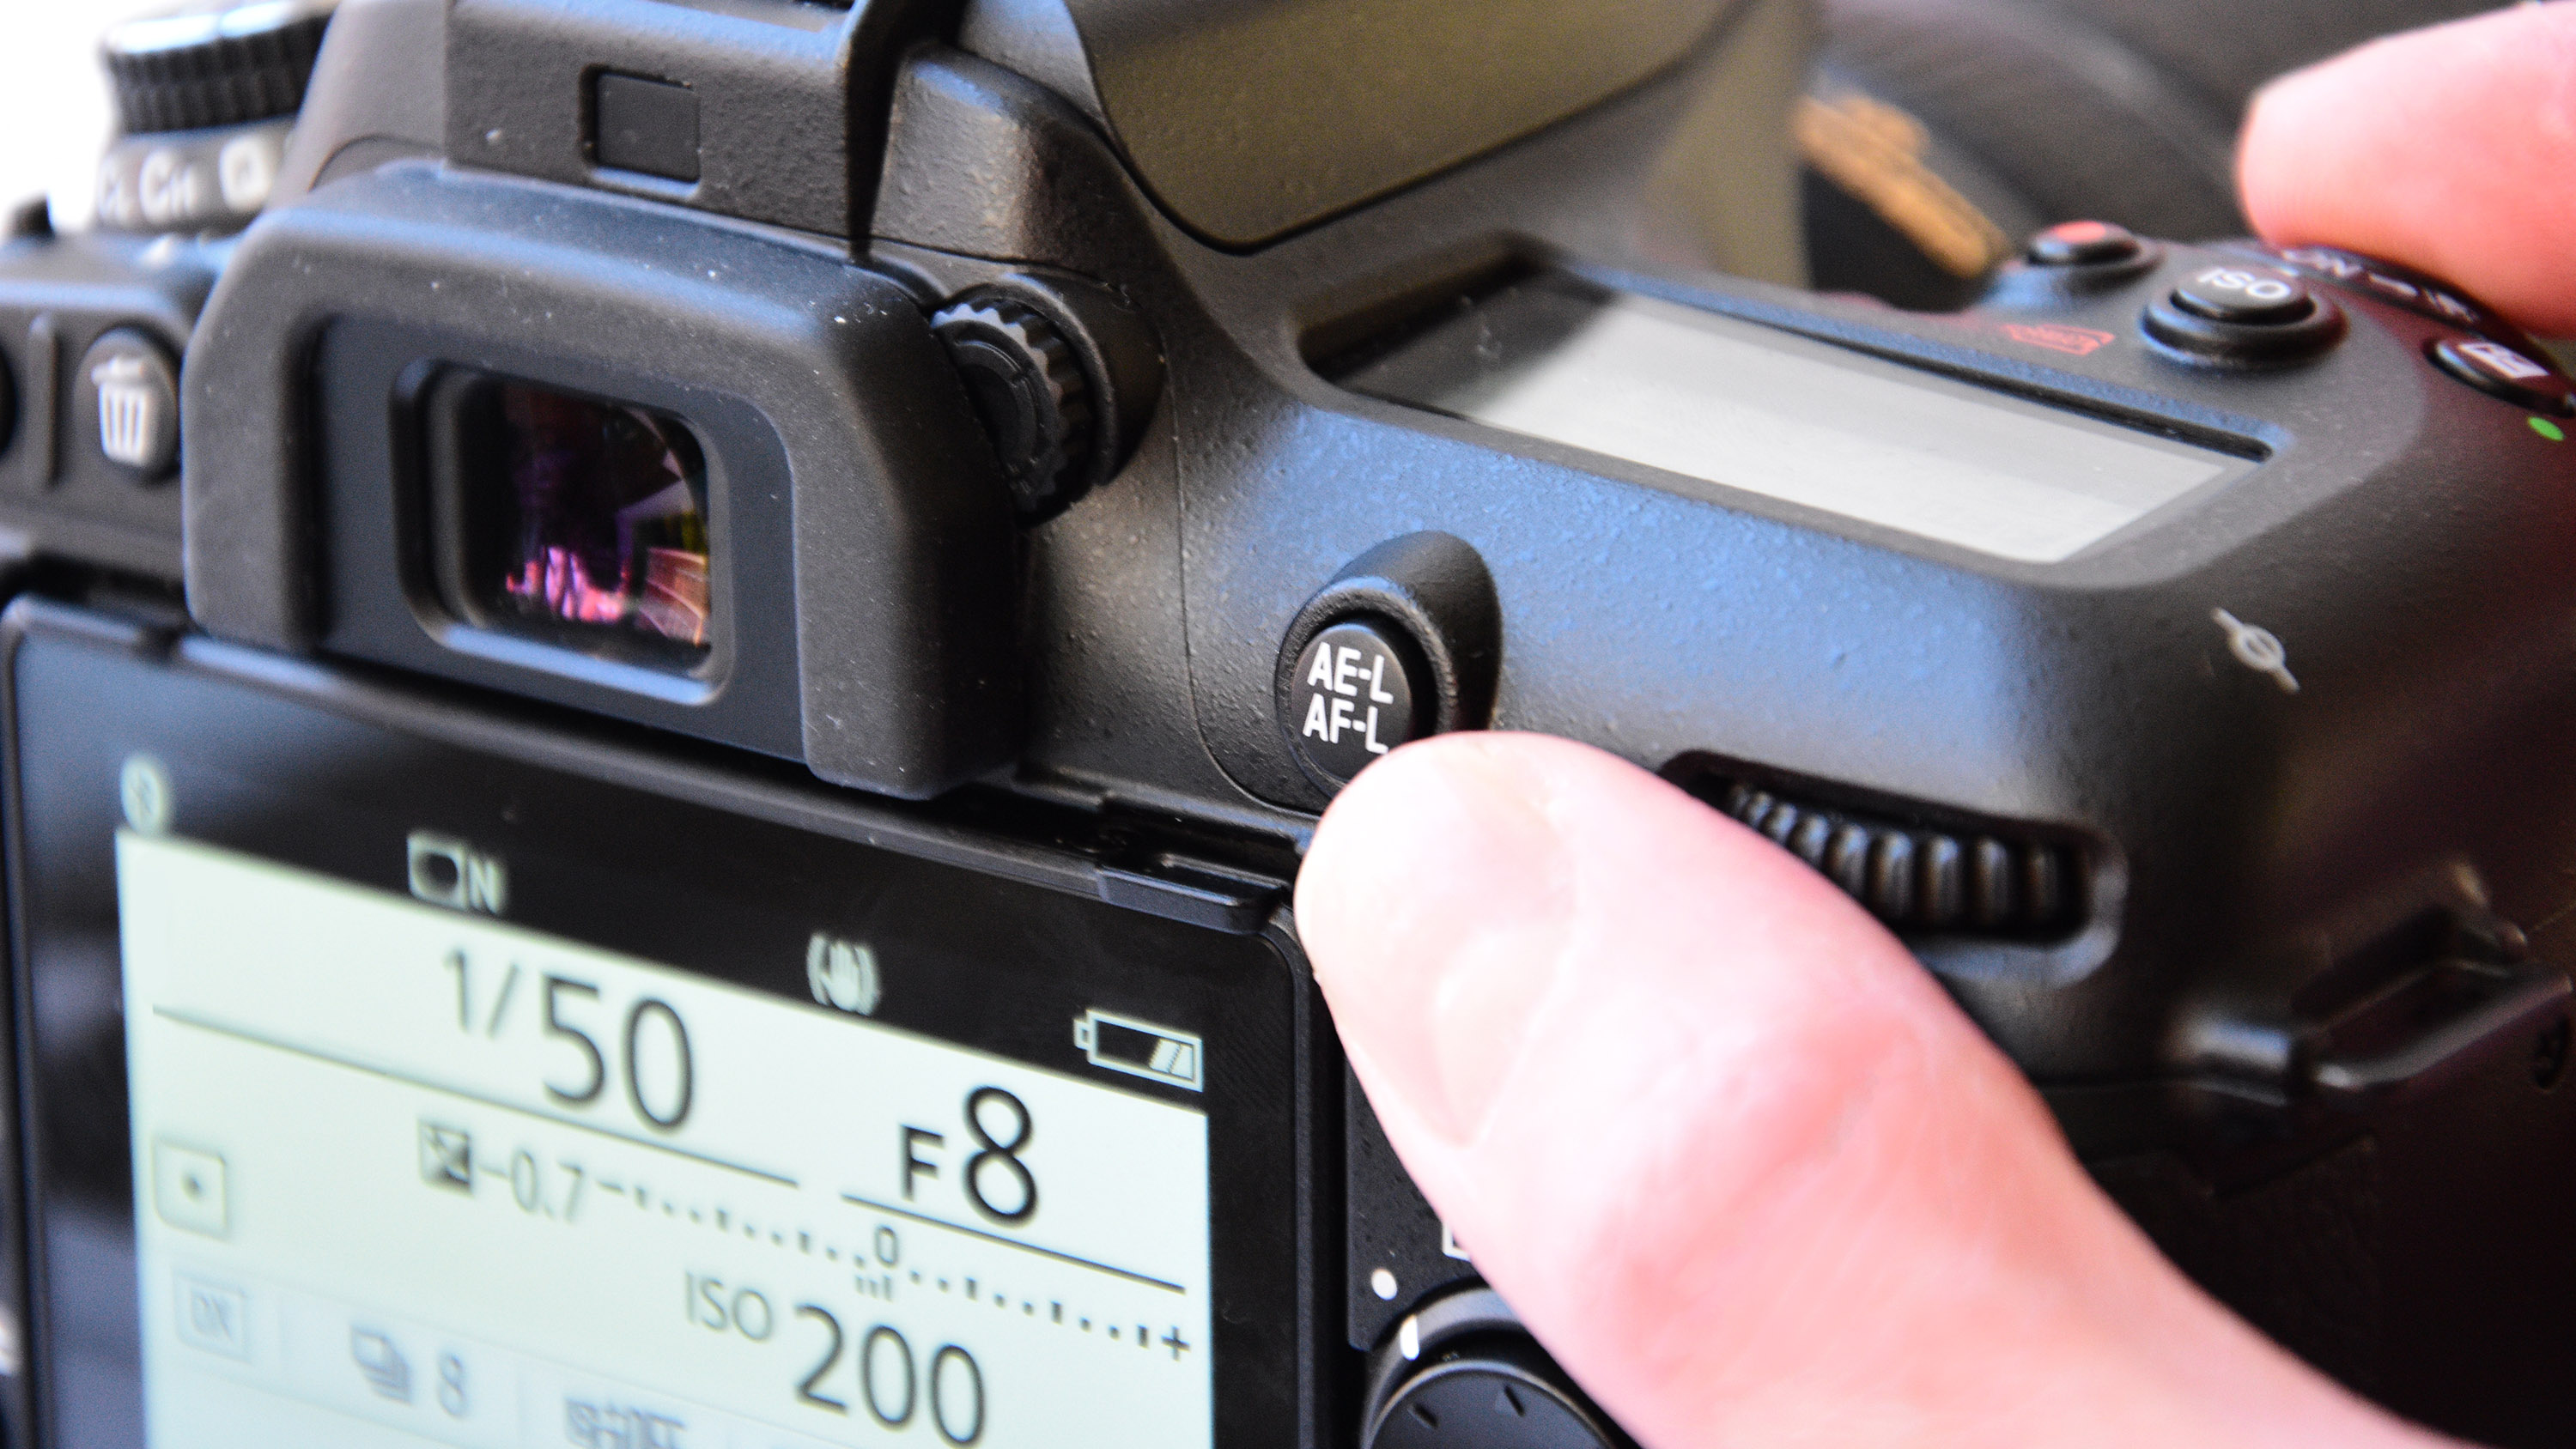
Believe us, in this case MF is much quicker and more accurate the AF in many circumstances, where you will often find the lens 'hunting' for focus, switching from near to far points. Alternatively, use AF to get the focus roughly correct, then switch it off to prevent it from shifting position. MF will also cut out autofocus noise.
3- Reverse your lens
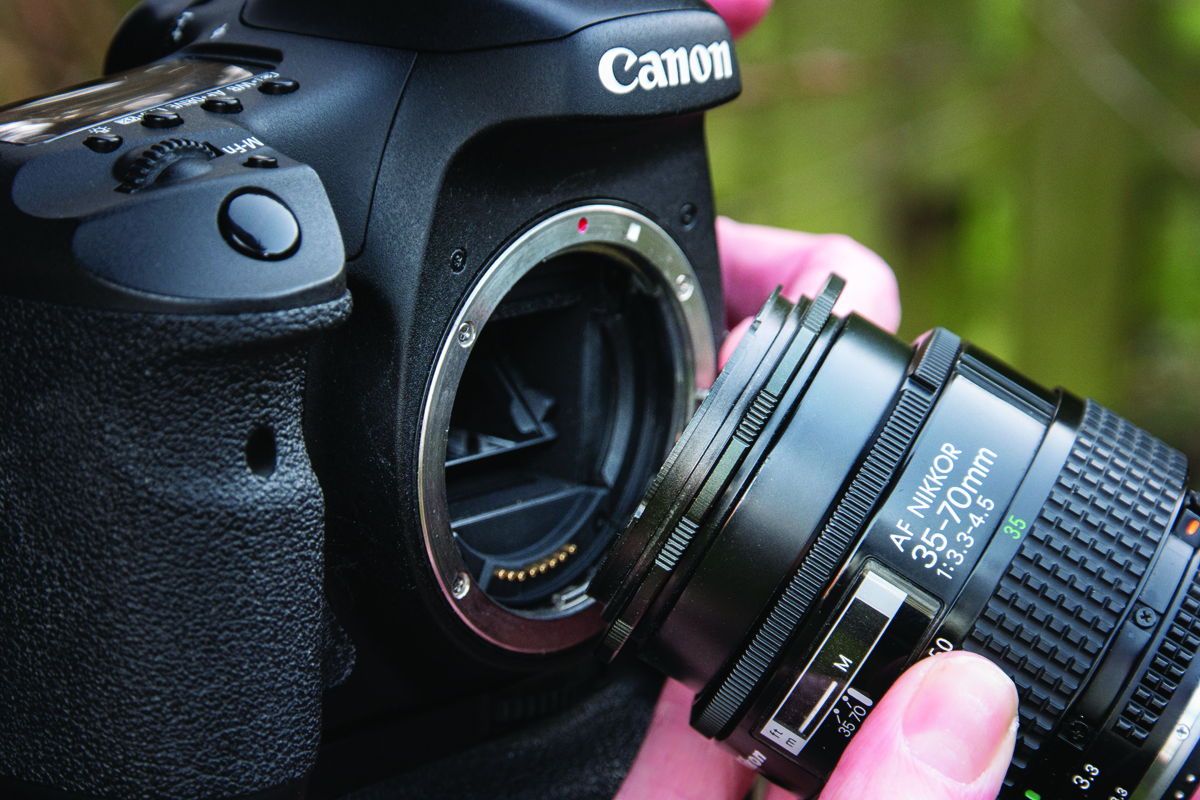
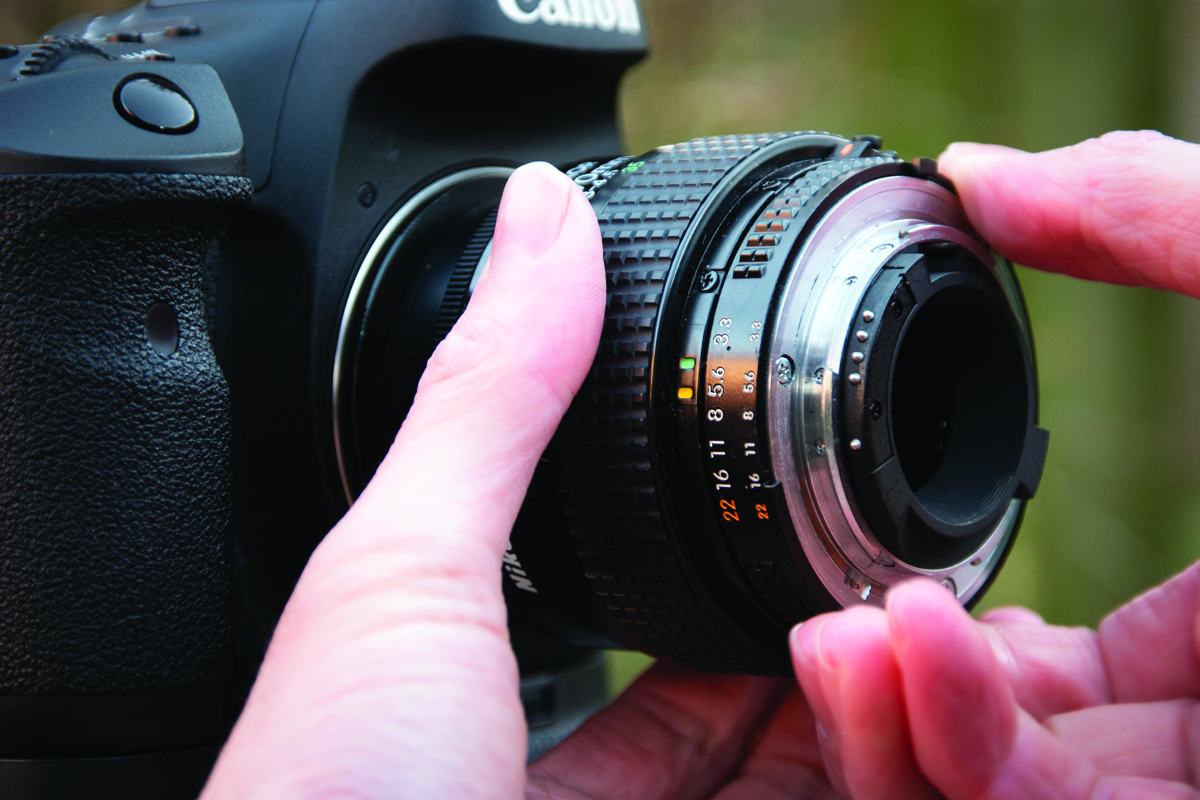
Don't have a macro lens? No problem! Buy an inexpensive reversing ring, which will allow you to reverse-mount any lens, using the filter thread on the front. The best optics to use for this are those in the focal range of 35mm to 50mm, as wider focal lengths provide greater magnification. Furthermore, it's better if the lens has a manual aperture ring, since you lose all electronic control. These can be harder to find these days, but check online to see if you can track down a cheaper, older lens you can adapt.
The great thing about reversed lenses is that they can sometimes provide larger-than-life size magnification, allowing you to fill the frame with tiny details. High power, low cost. What's not to love!
4- Pre-focus
Insects move quickly, so it can be infuriating when trying to capture a bee or butterfly that is dancing around multiple flowers, by following an individual specimen. While it might take a bit of patience the better strategy is to pick a flower (or a spot where you have seen multiple subjects visiting) and pre-setting the focus at the correct distance. This is the same technique used by wildlife and sports photographers and it works a treat. It also allows you to pre-set the aperture and use a tripod, for sharper images.
5- Rack focus position
Assuming you have time, this is a powerful technique for ensuring you capture the subject with the perfect focus position. Once you have the subject in-frame, hold the shutter button down and twist the manual focus ring as you fire off a sequence of exposures. This moves the focus across the subject and increases the probability of nabbing at least one shot where the eyes are in focus (the key area of the subject you should always aim to get in-focus).
To set this up, put your camera into burst mode and set an aperture of around f/8. This will widen the baseline DOF and increases your 'hit' rate. Then it's just a case of opening all of your frames on the computer and finding the image with the best composition and focus position.
6- Use off camera flash
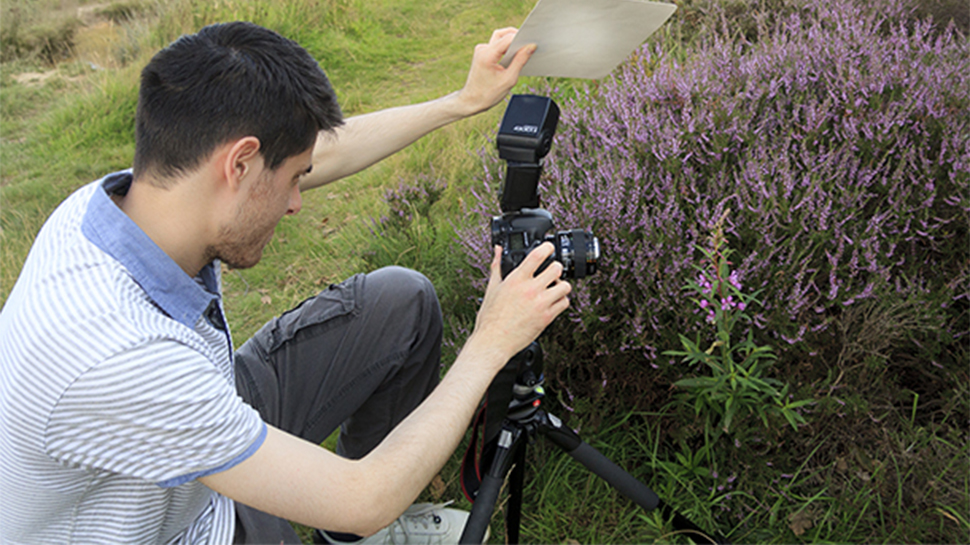
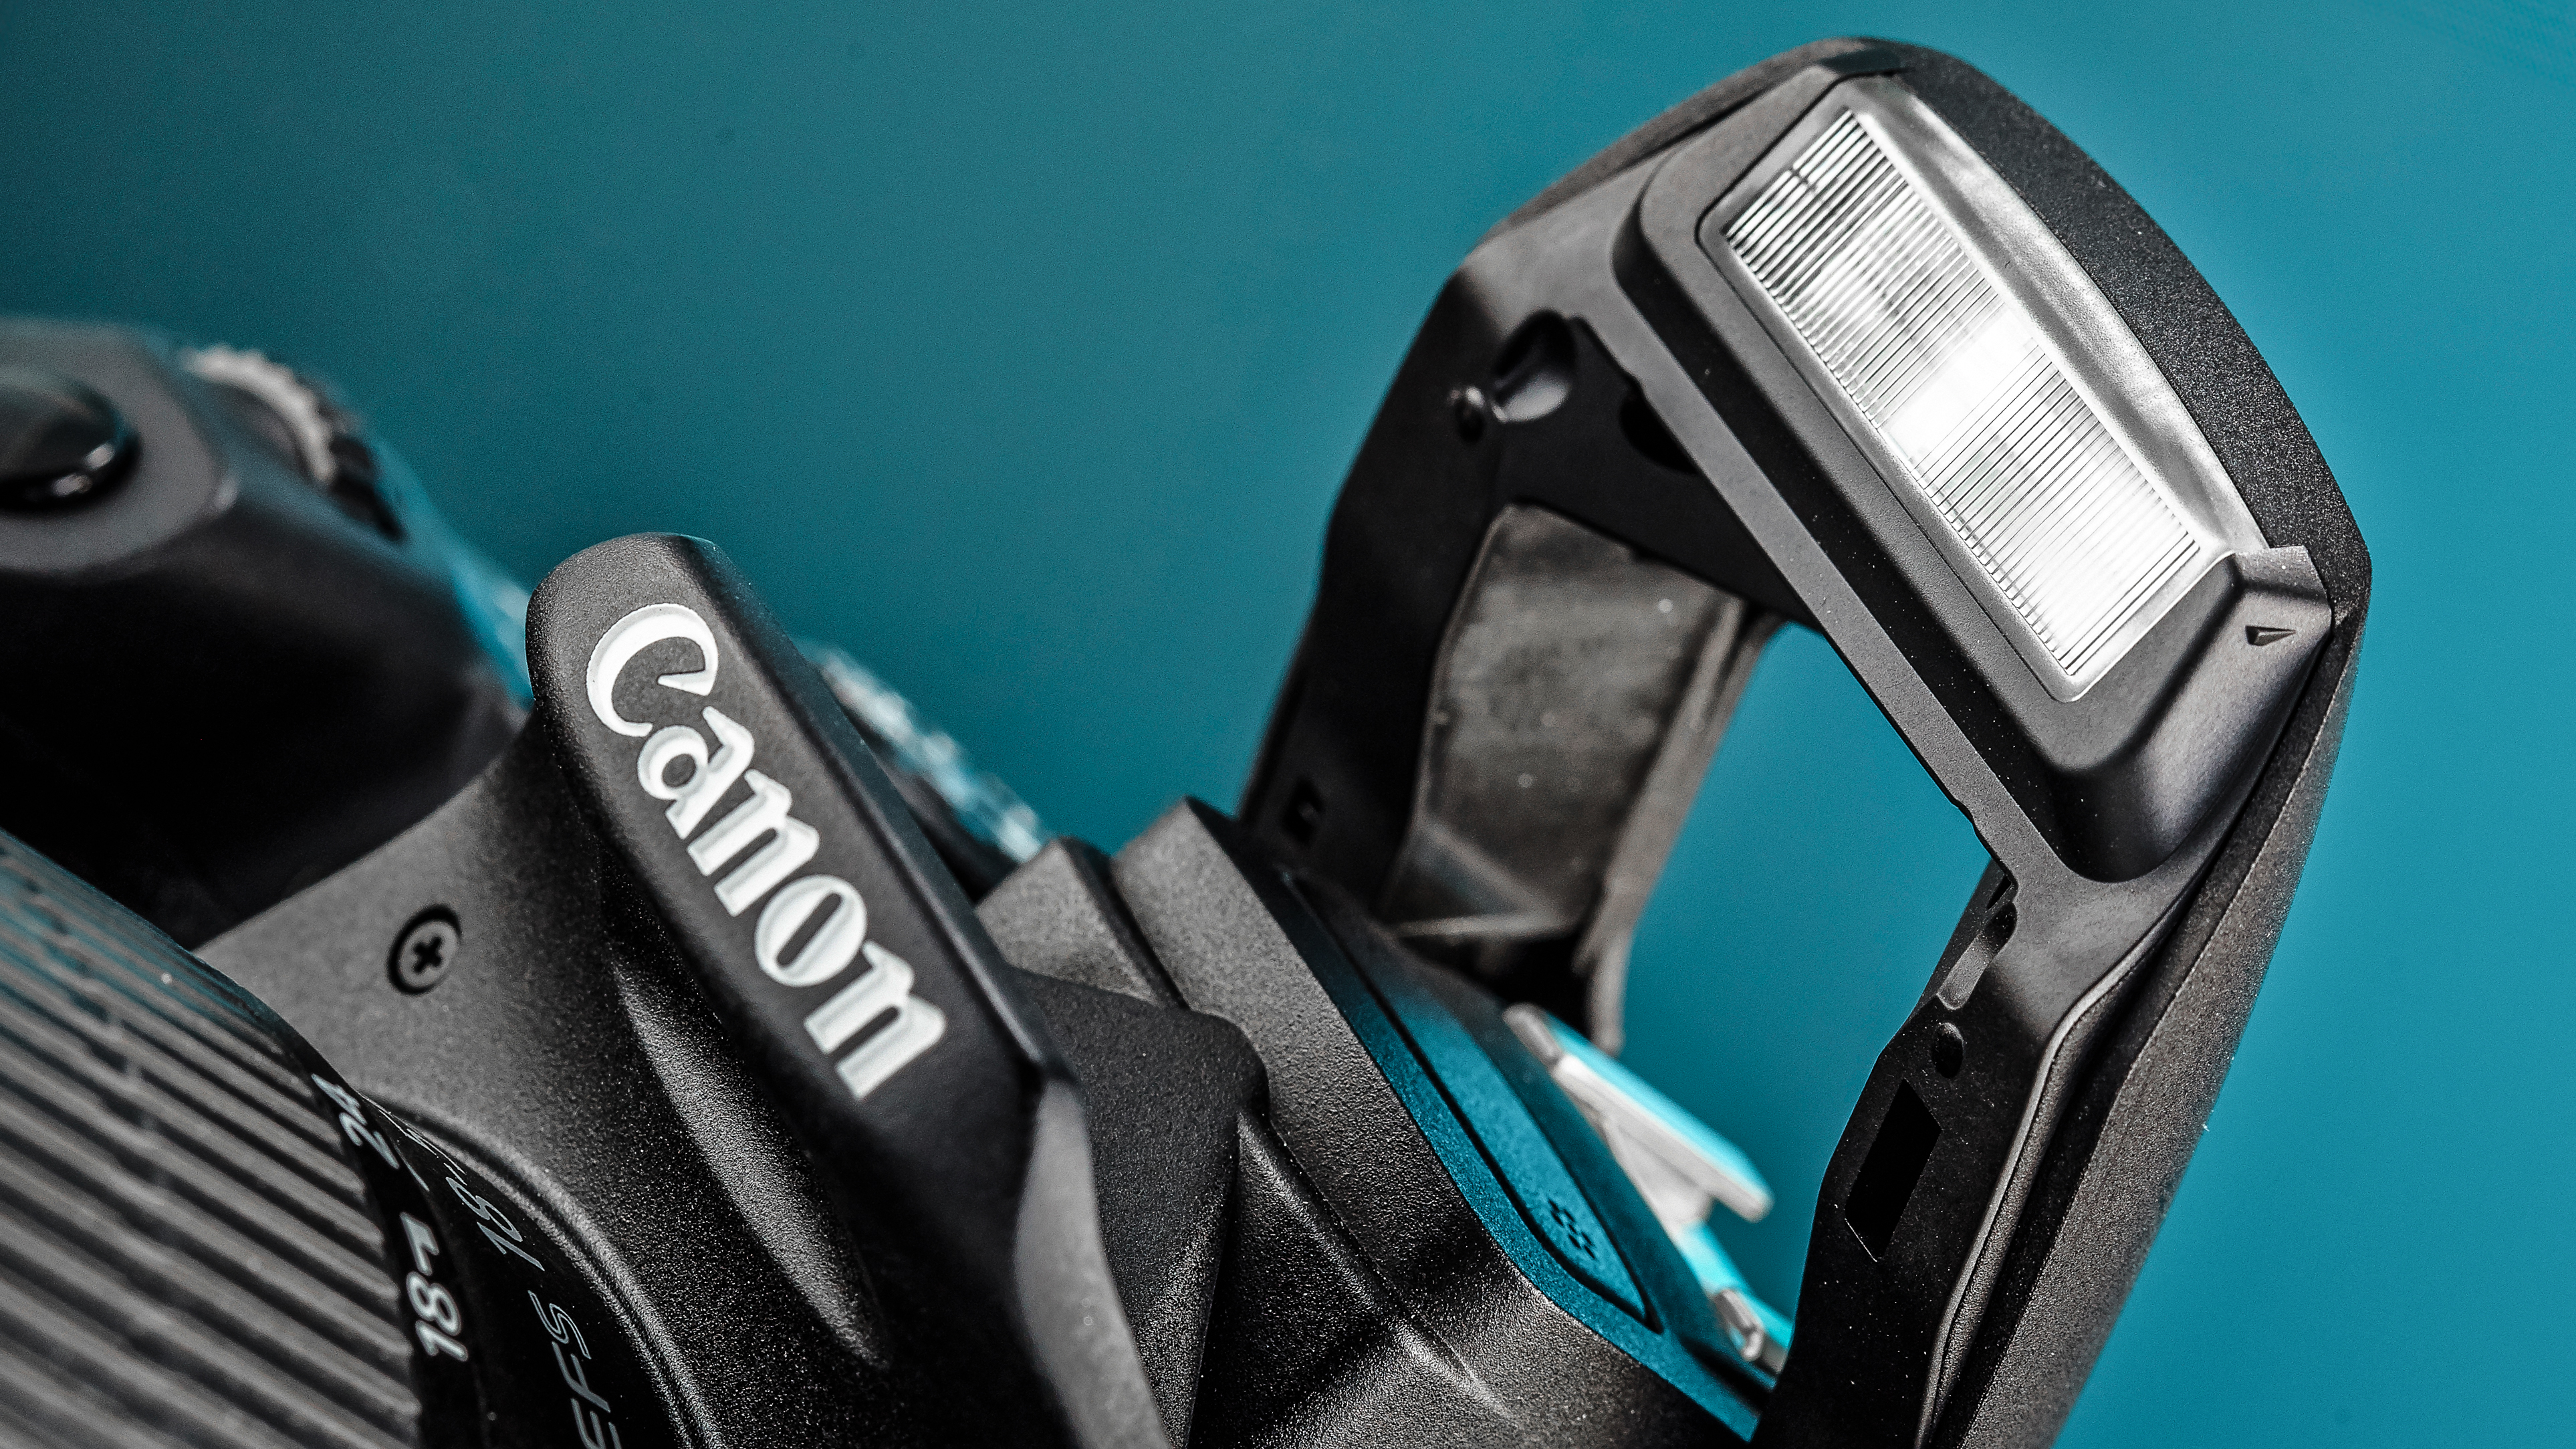
The problem with combining macro photography and flash is that the very close working distances make it easy to cast a shadow on the subject with the end of the lens itself, if you try to use a flash mounted in the camera's hot shoe.
If you need to add flash, to lift shadows or freeze some subject movement, then always get the flash off-camera. Use some radio triggers, which can be sourced inexpensively online, as these will allow you to place the flash at any angle and distance from the camera that you wish, giving you full control of lighting direction.
Try placing the flash slightly above the subject and aiming down at 45°, to simulate sunlight, or use some backlighting to add a rimlight around the subject.
7- Control the background
Backgrounds are very important when you want to get the viewer to focus on a specific detail. While there is often less of the background visible in a frame-filling macro shot it is still vitally important to make sure the colour and detail present behind the subject is well managed.
Try altering your shooting angle to ensure good separation between the subject and background objects, as this will allow you to keep the main subject sharp, from front to back, while keeping unwanted background distractions blurred.
Furthermore, consider adding a false colour backdrop, such as coloured paper, which you can select based on the colour of your subject, ensuring harmony. Next control the exposure of the background by adjusting the shutter speed, ISO or (less favourable here) f/stop. When adding flash, cutting out ambient light will darken the surroundings.
8- Use focus peaking and live view
Live view is a term used less and less these days, since almost every camera has this as default! If you are shooting with a DSLR, live view is a separate mode in which the mirror flips up and you compose your shots using the rear LCD screen, rather than the viewfinder. On a mirrorless model you simply toggle to the LCD instead of the EVF (Electronic Viewfinder). The main LCD offers a bigger review of your live image, making focus adjustment so much easier than looking through the viewfinder. This can make all the difference when depth-of-field is as shallow as it is in macro photography.
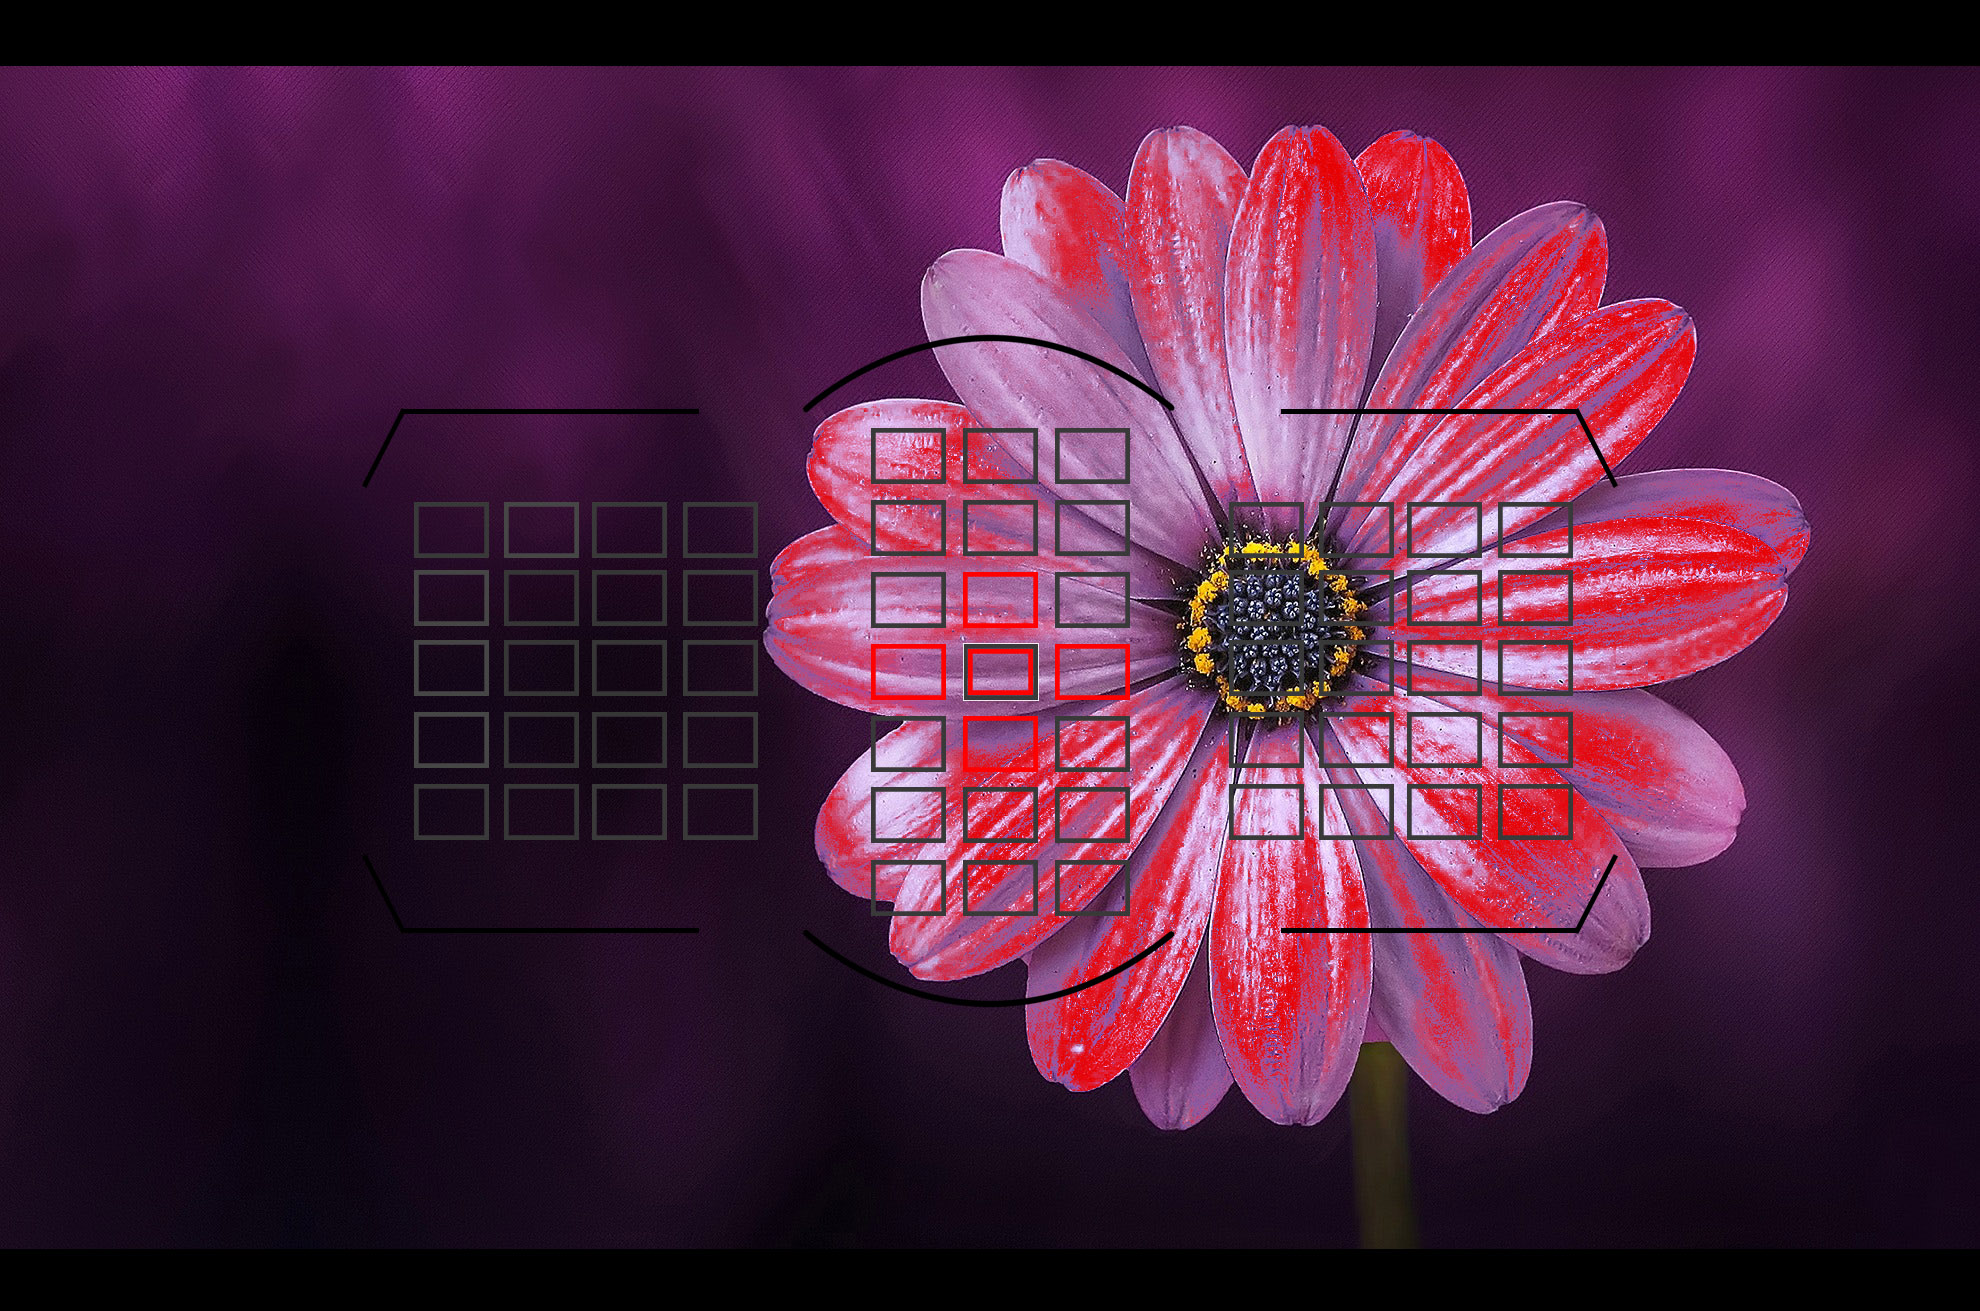
Next up, use focus peaking, if your camera has this feature. With this mode enabled the camera gives a visual indication of which parts of the image are in focus, which can be a huge help when judging critical focus.
9- Don't always fill the frame
It may seem counter-intuitive in a genre which is all about magnification power to advise the photographer not to get as close as possible, but just as with any other area of photography, framing wider can sometimes be better. Showing the subject's environment can offer a much more detailed picture of its lifestyle or setting, since the background and peripheral detail puts it in context.
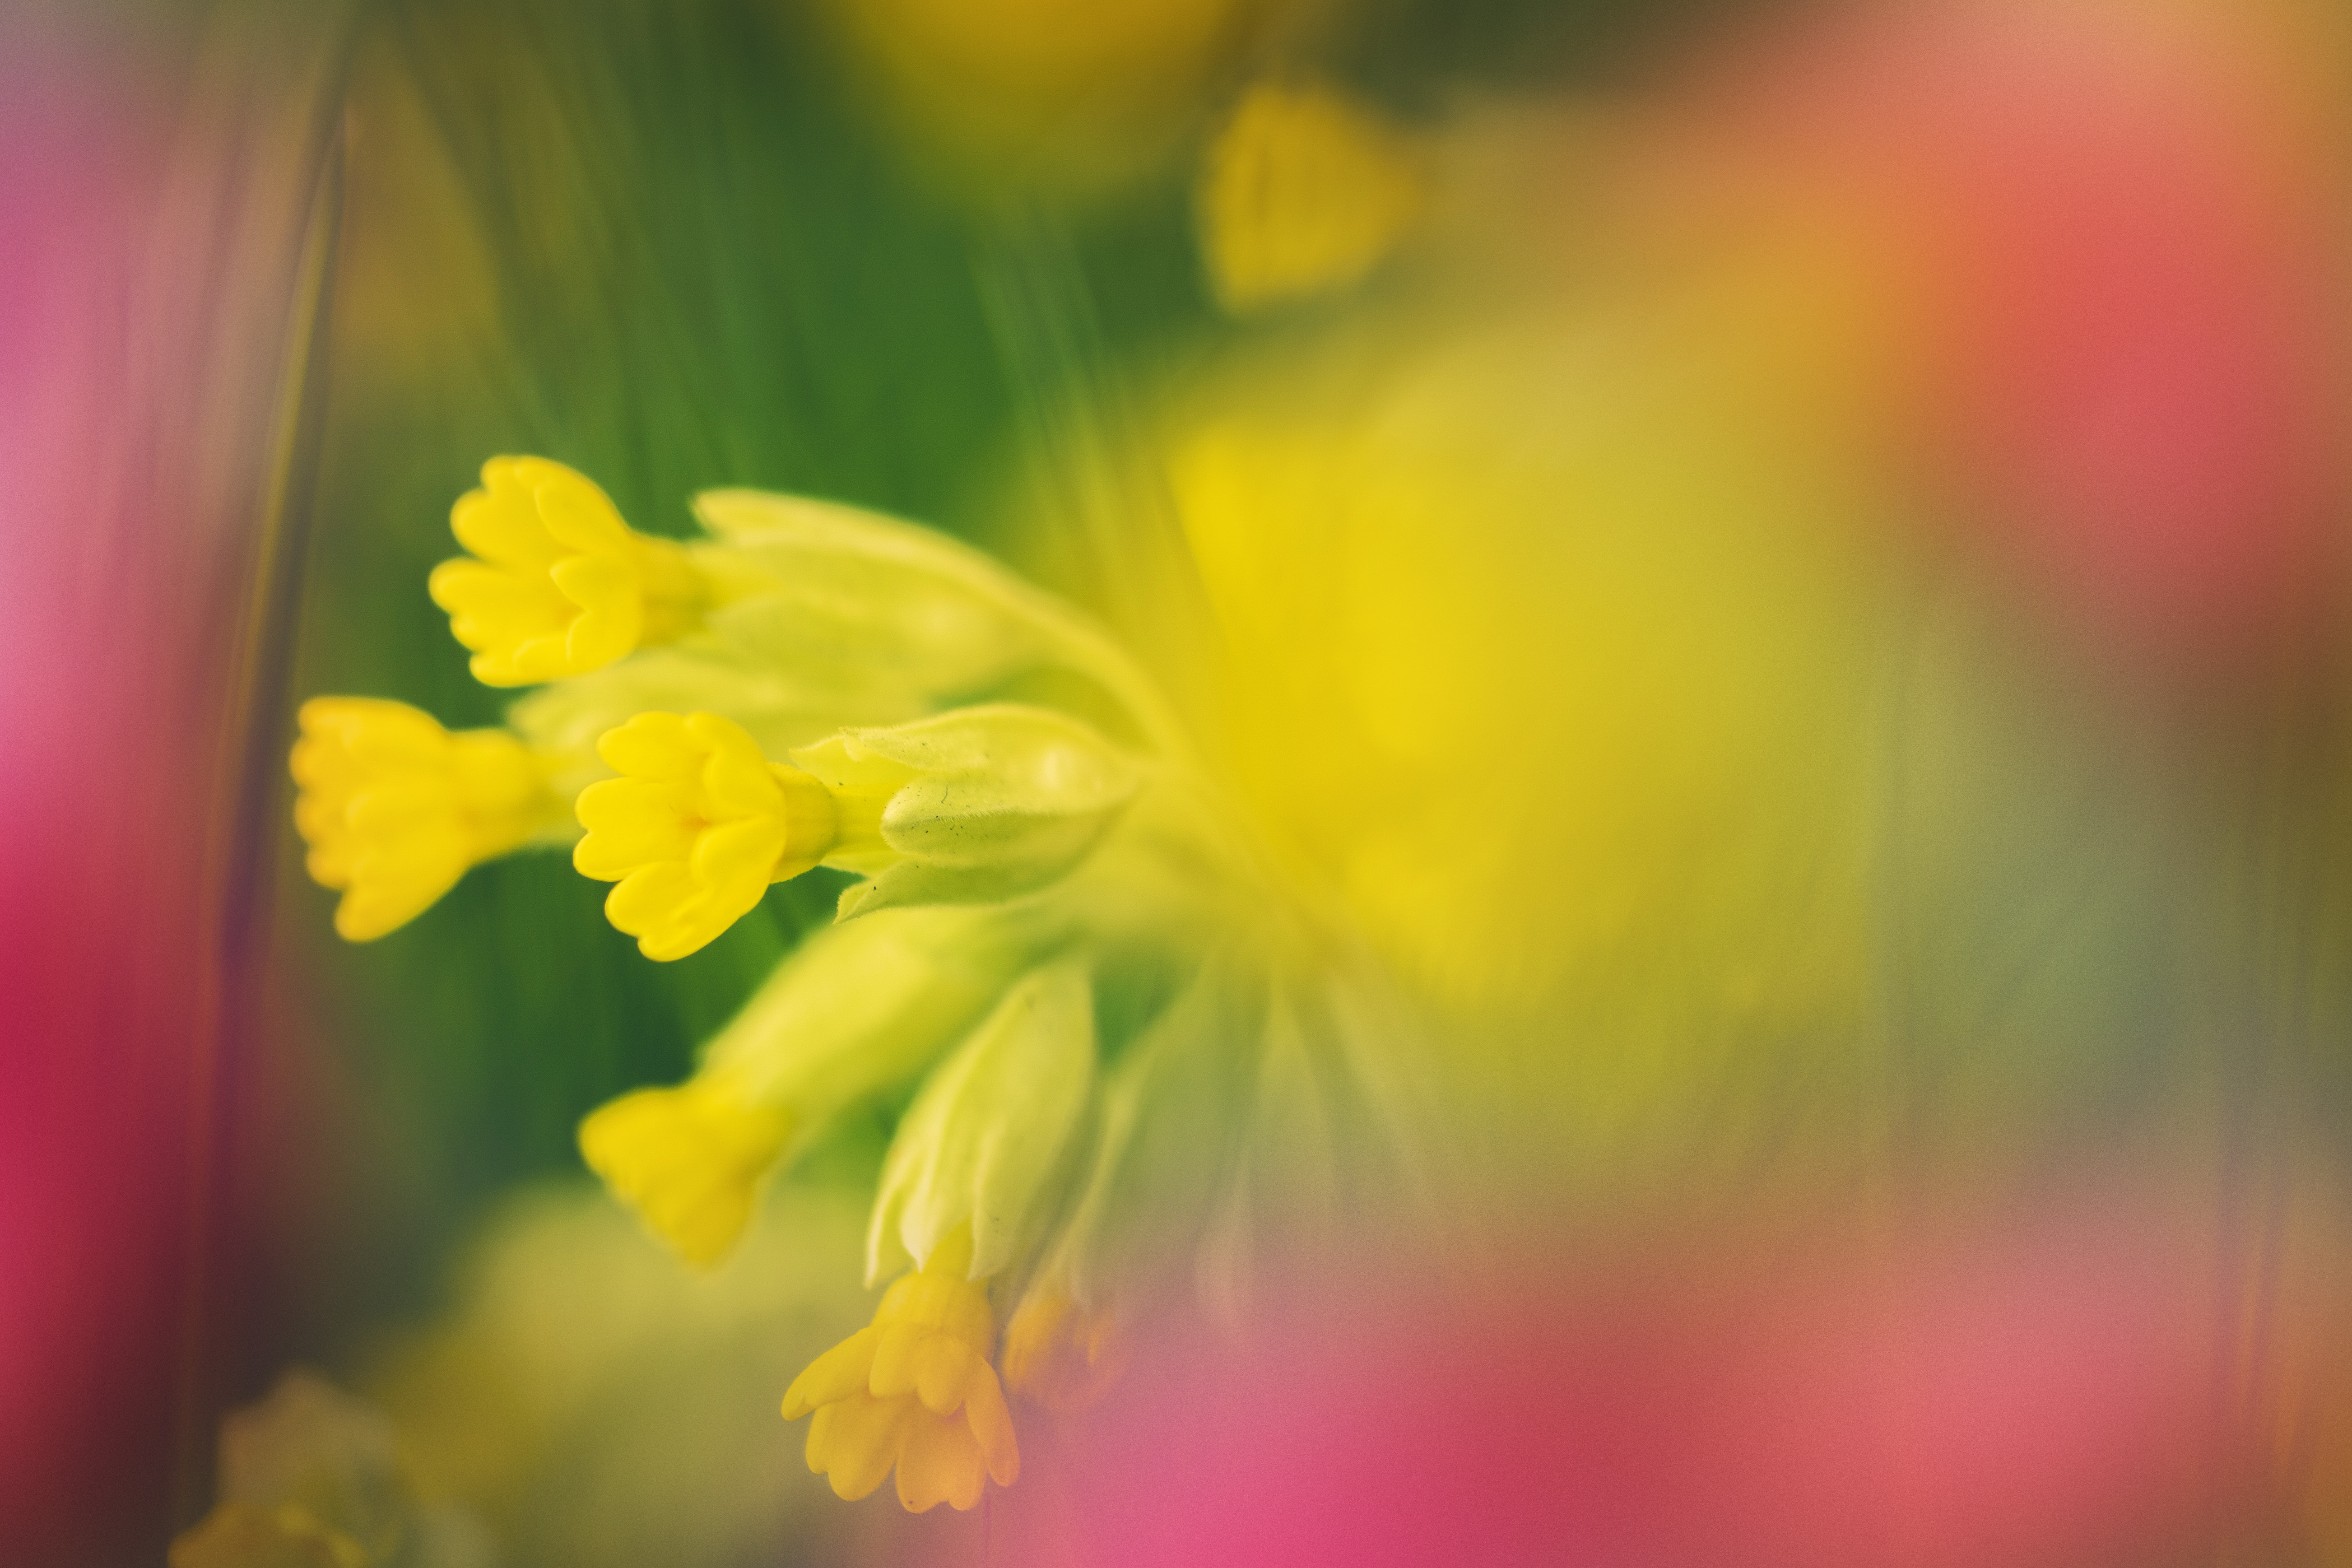
Sometimes filling the frame with the subject can guarantee the 'wow factor', but resist the urge to do this in every frame you shoot. Take a step back and try to find a new angle on the subject. Look for background details to include, which won't act as distractions, and maybe seek out foreground objects to shoot through. With the shallow DOF of macro this will reduce areas close to the camera to colourful blurs, which can provide some energetic punch to your composition.
10- Choose the right macro optic
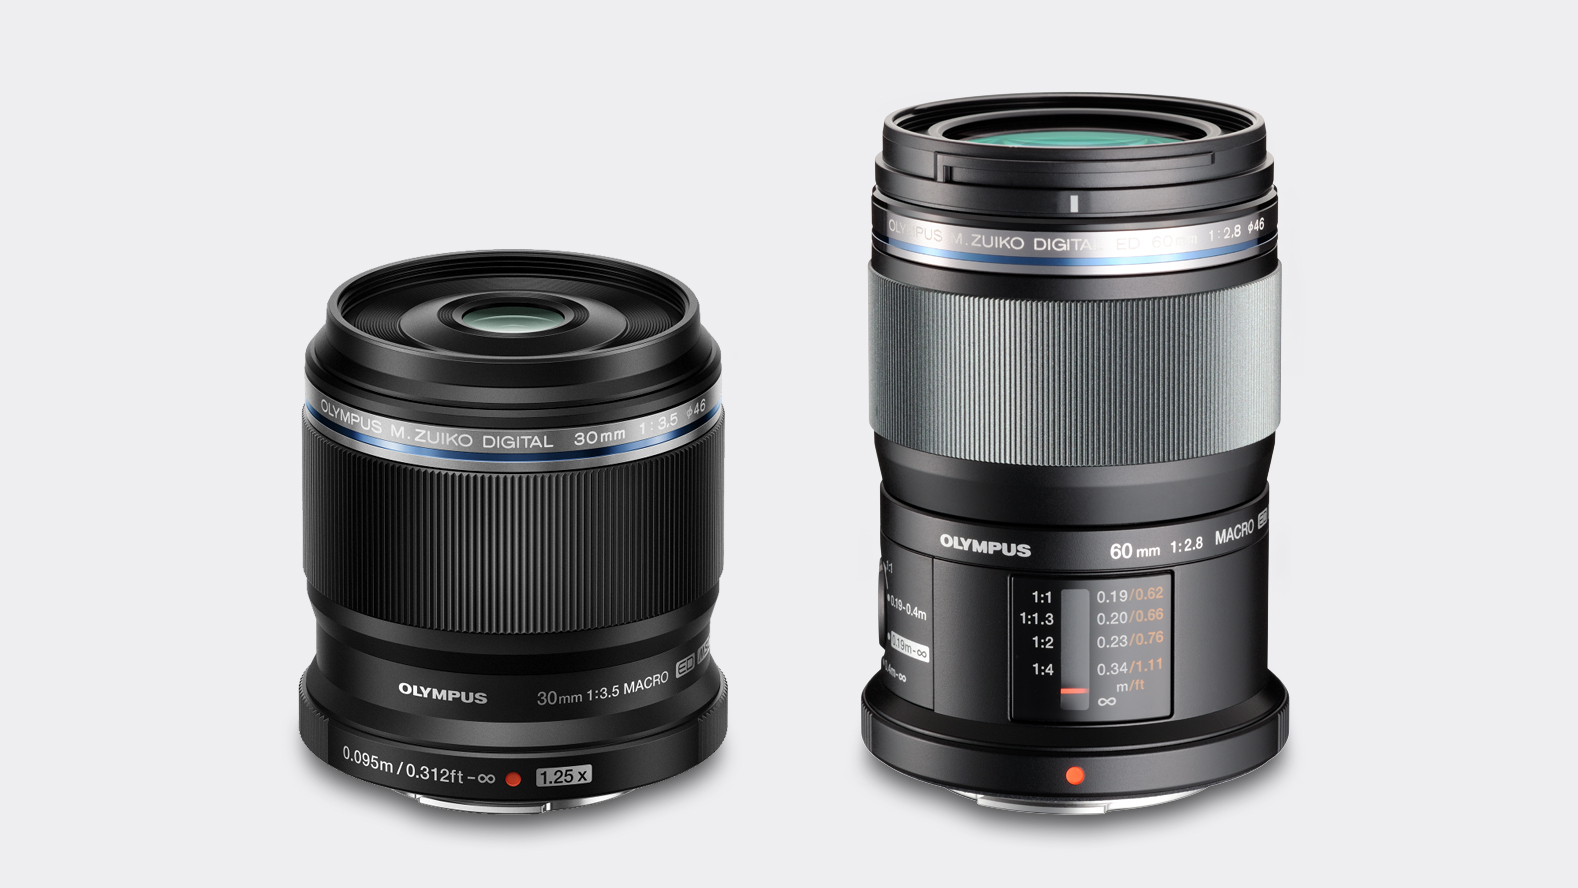
Not all macro lenses are equal. Firstly ensure your lens has the ability to produce life size reproductions, indicated by 1:1 on the lens specification. This will enable truly frame filling shots of small objects or details, and many lenses with a macro 'mode' do not achieve this.
Next up consider the focal length. While this might not dictate the magnification power, it does influence the working distance from the subject. Short lenses like a 50mm or 60mm are fine for plants and flower portraits, but the short working distance can be problematic when trying to photograph skittish insects. In this case, longer lenses like a 100mm or 150mm optic allow the photographer to shoot 1:1 images from a greater distance, avoiding the presence of the camera interfering with the insect's behaviour.
Lens suggestions for beginners
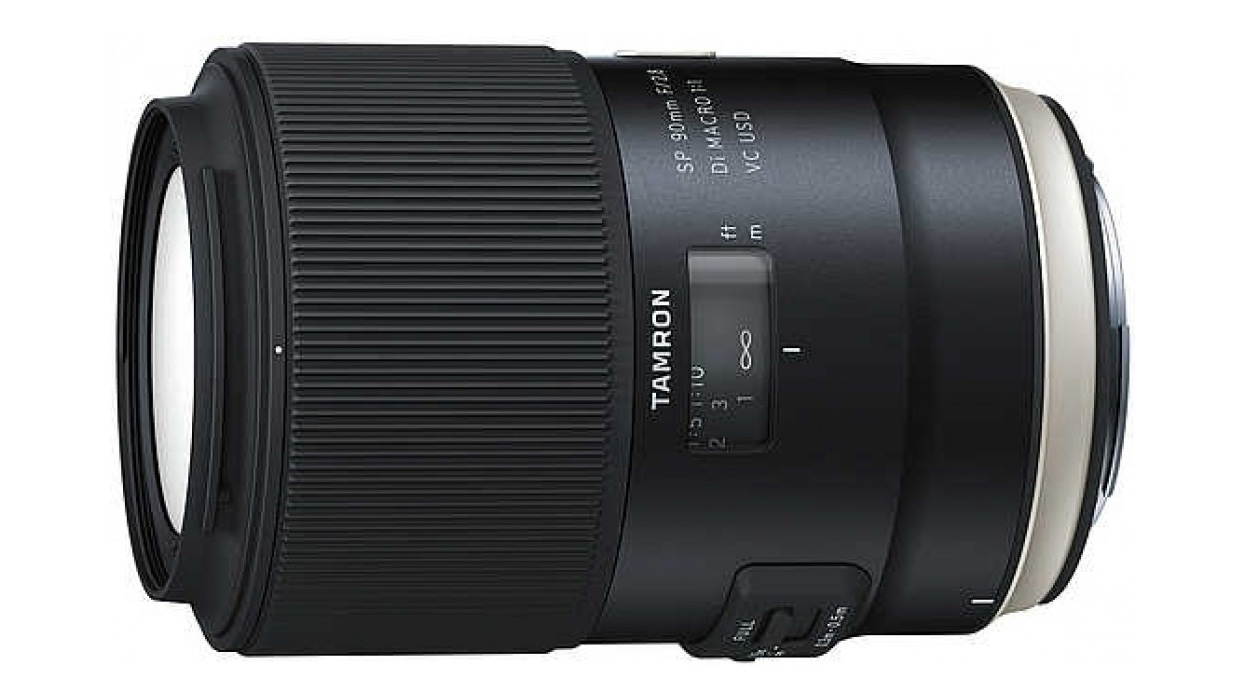
Tamron SP 90mm F2.8 Di SP VC USD
Specifications
Reasons to buy
Reasons to avoid
As a firm favourite amongst macro photographers on any budget, the Tamron SP 90mm F2.8 Di SP VC USD offers a balance of focal length, size, weight, features and price. The optics are sharp and contrasty, while build quality is more than a match for everyday outdoor usage. The barrel feels tough and should withstand a scrape of two. Handling is also good, being in line with many of Tamron's recent SP lenses. The large focus ring is easy to grip and overall the lens has a true pro feel, complete with metal mount. We did find the AF a little hit and miss sometimes, but that can potentially be corrected by using the Tamron TAP-in Console. A great affordable option.
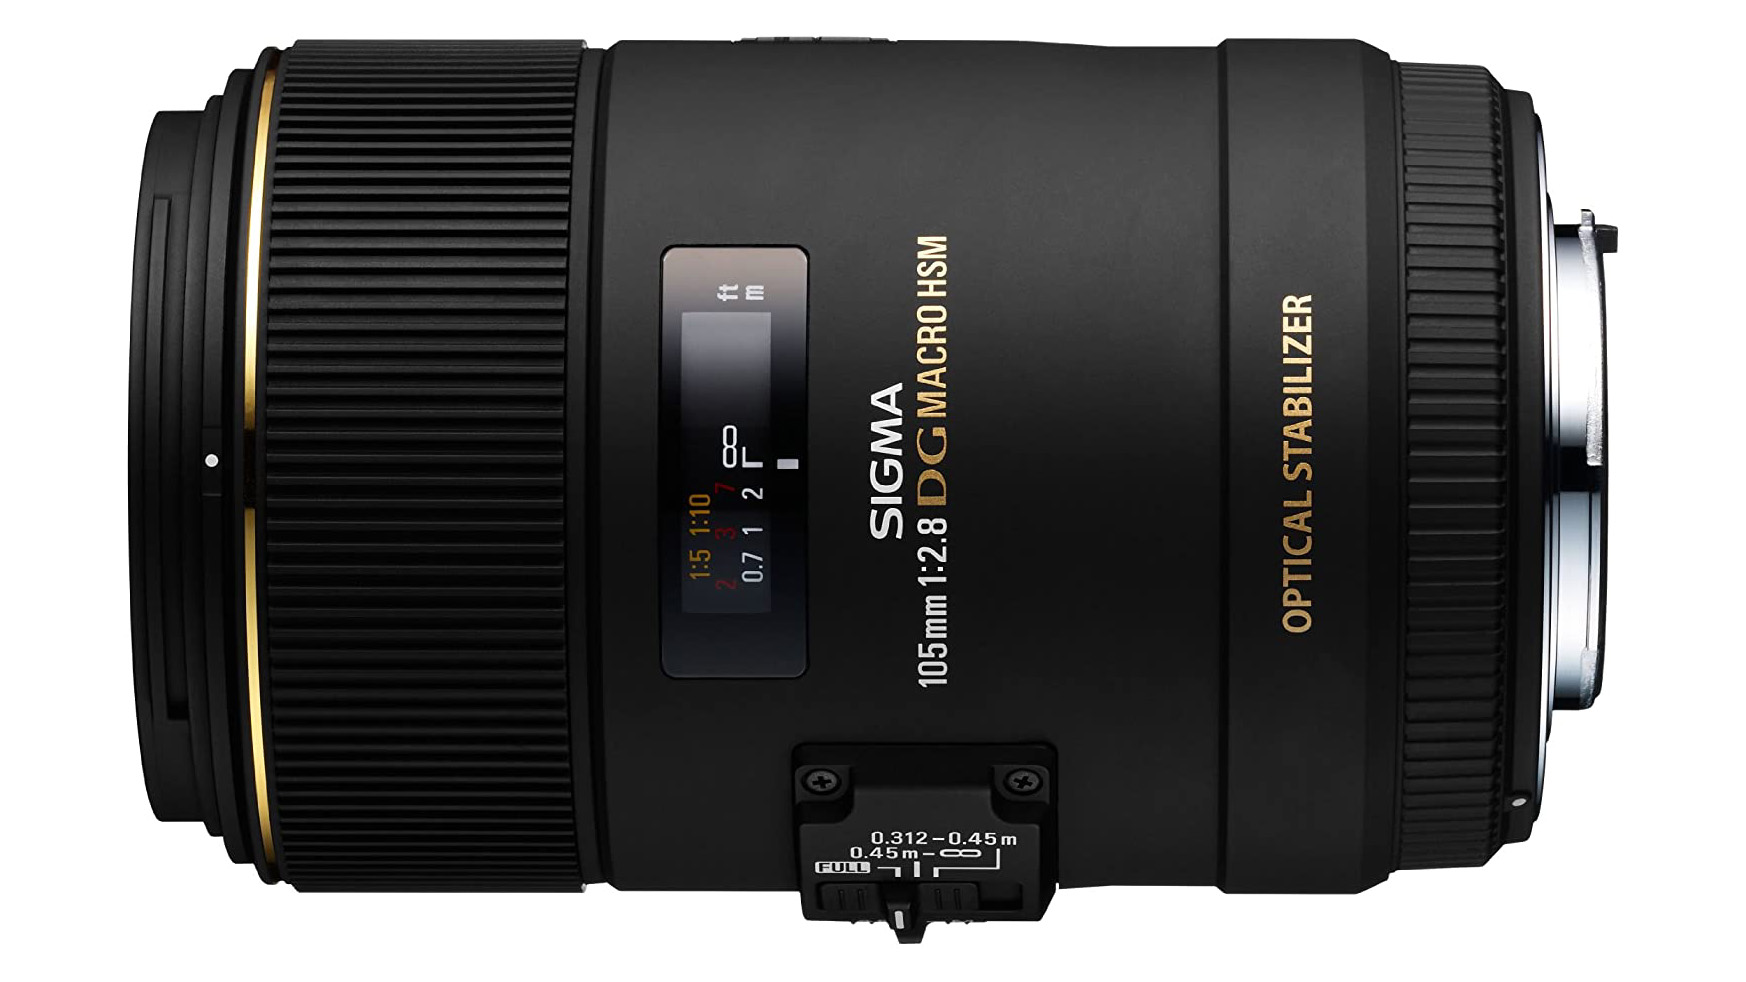
Sigma 105mm F2.8 Macro EX DG OS HSM
Specifications
Reasons to buy
Reasons to avoid
Another lens in the 'must have' category for beginners and those photographers on a budget, the Sigma 105mm F2.8 Macro EX DG OS HSM has features aplenty. Any macro lens with an image stabilisation function is a great option for handheld shooting and it is highly effective here. Meanwhile a 9 blade-rounded diaphragm provides silky smooth bokeh, which is perfect for fairytale-like flower portraits. Inner focusing is also a powerful addition, since the front of the lens does not extend during focussing. A min focussing distance of 30cm is also ideal for working in tight conditions.
Read more
Photograph fantastic flowers at home
Essential exposure technique: settings for seamless backgrounds
The best macro lenses in 2021: get closer to your subjects than ever before!
As the Editor for Digital Photographer magazine, Peter is a specialist in camera tutorials and creative projects to help you get the most out of your camera, lens, tripod, filters, gimbal, lighting and other imaging equipment.
After cutting his teeth working in retail for camera specialists like Jessops, he has spent 11 years as a photography journalist and freelance writer – and he is a Getty Images-registered photographer, to boot.
No matter what you want to shoot, Peter can help you sharpen your skills and elevate your ability, whether it’s taking portraits, capturing landscapes, shooting architecture, creating macro and still life, photographing action… he can help you learn and improve.
