How to create a panoramic photograph with a tilt-shift lens
Understand the process involved in the shooting stages of creating a panoramic image, using a shift lens

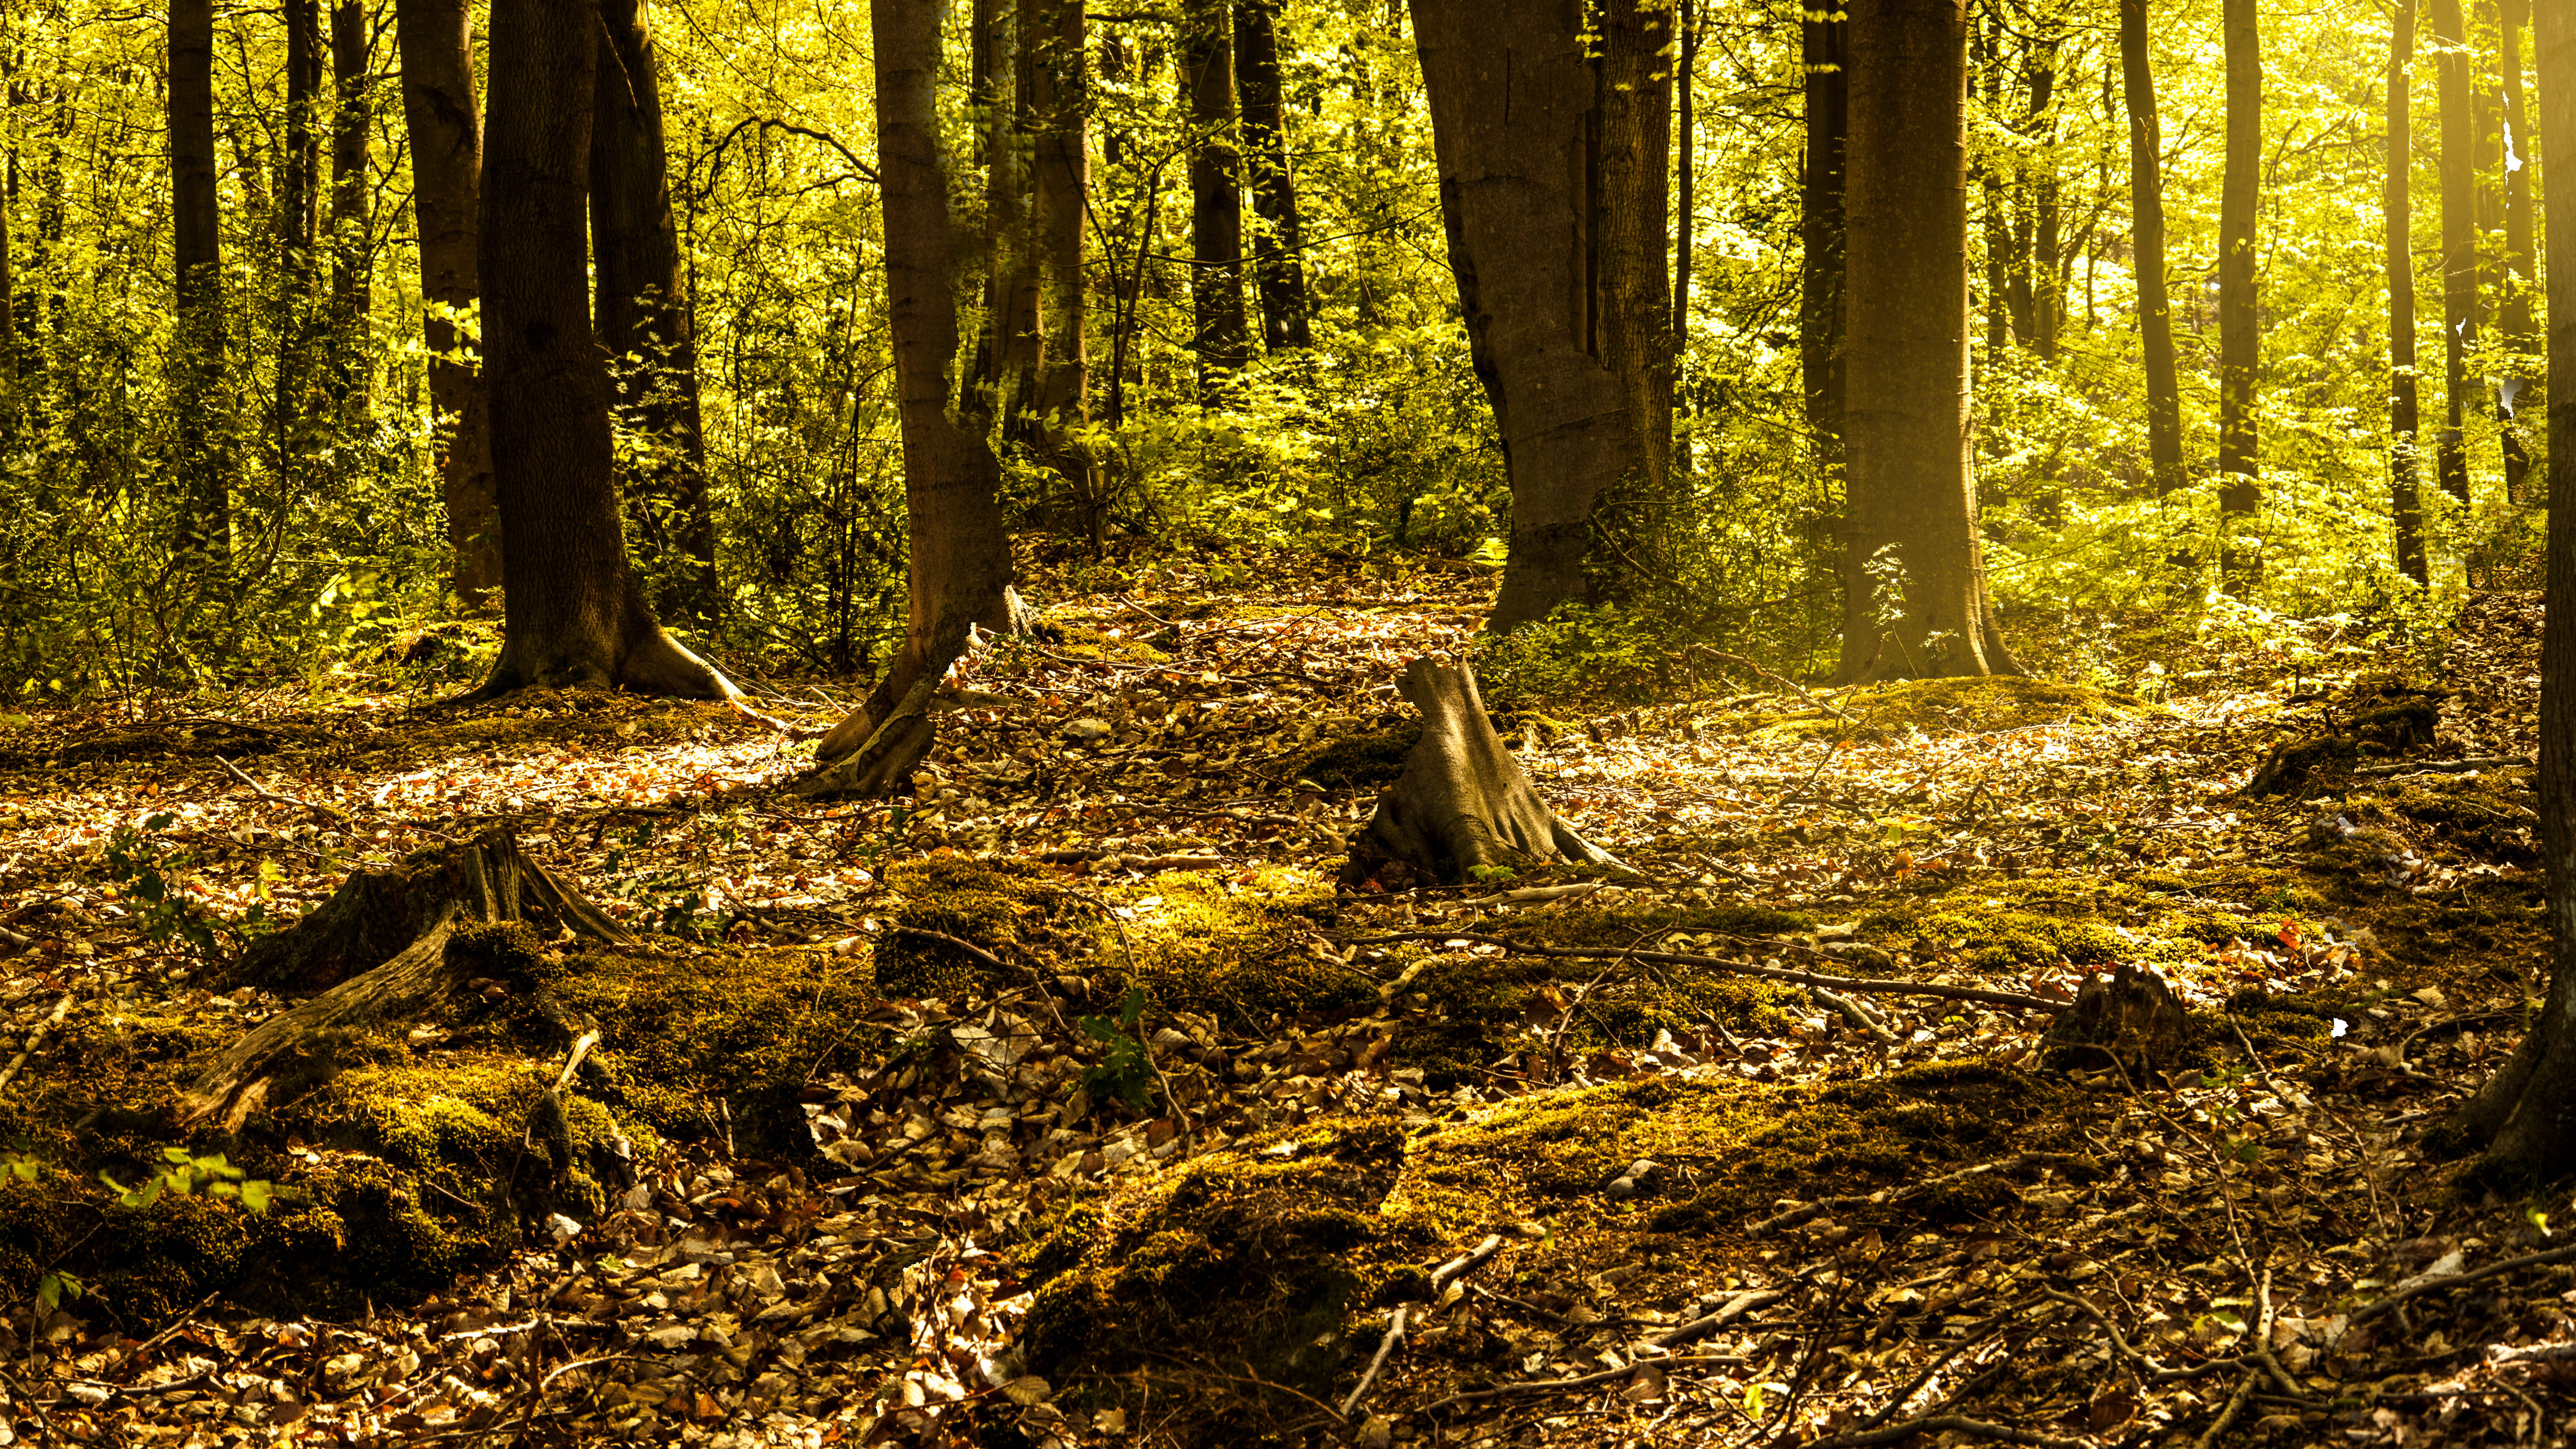

Panoramic photography allows us to create images which convey the drama and beauty of a location in a way no other images can. Whether it be a landscape, stunning interior or even a close-up composition, a wide frame shows exceptional amounts of context, giving the viewer a strong feeling of being in the scene. There are some significant challenges involved however, namely perspective shift, more commonly referred to as parallax error.
This is caused when the rotational movement of the camera alters the relative distances to elements in the scene and their apparent positions, which are seen to shift between image segments. This often causes issues when attempting to seamlessly merge a sequence of frames in software, when compiling the final panoramic image. While they are advanced advanced, applications like Photoshop can struggle to identify seams between each segment and therefore fail to correctly align and assemble the photomerge.
Pro photographers often employ a tilt/shift lens to shoot their panoramas. By using the shift function the composition can be altered to create the wide frame, without moving the camera position. This greatly reduces distortion and parallax error, for an easier blending process. The shooting workflow does take some familiarization, but with practice the procedure need not slow the progress of a shoot significantly.
1: Stabilize the camera
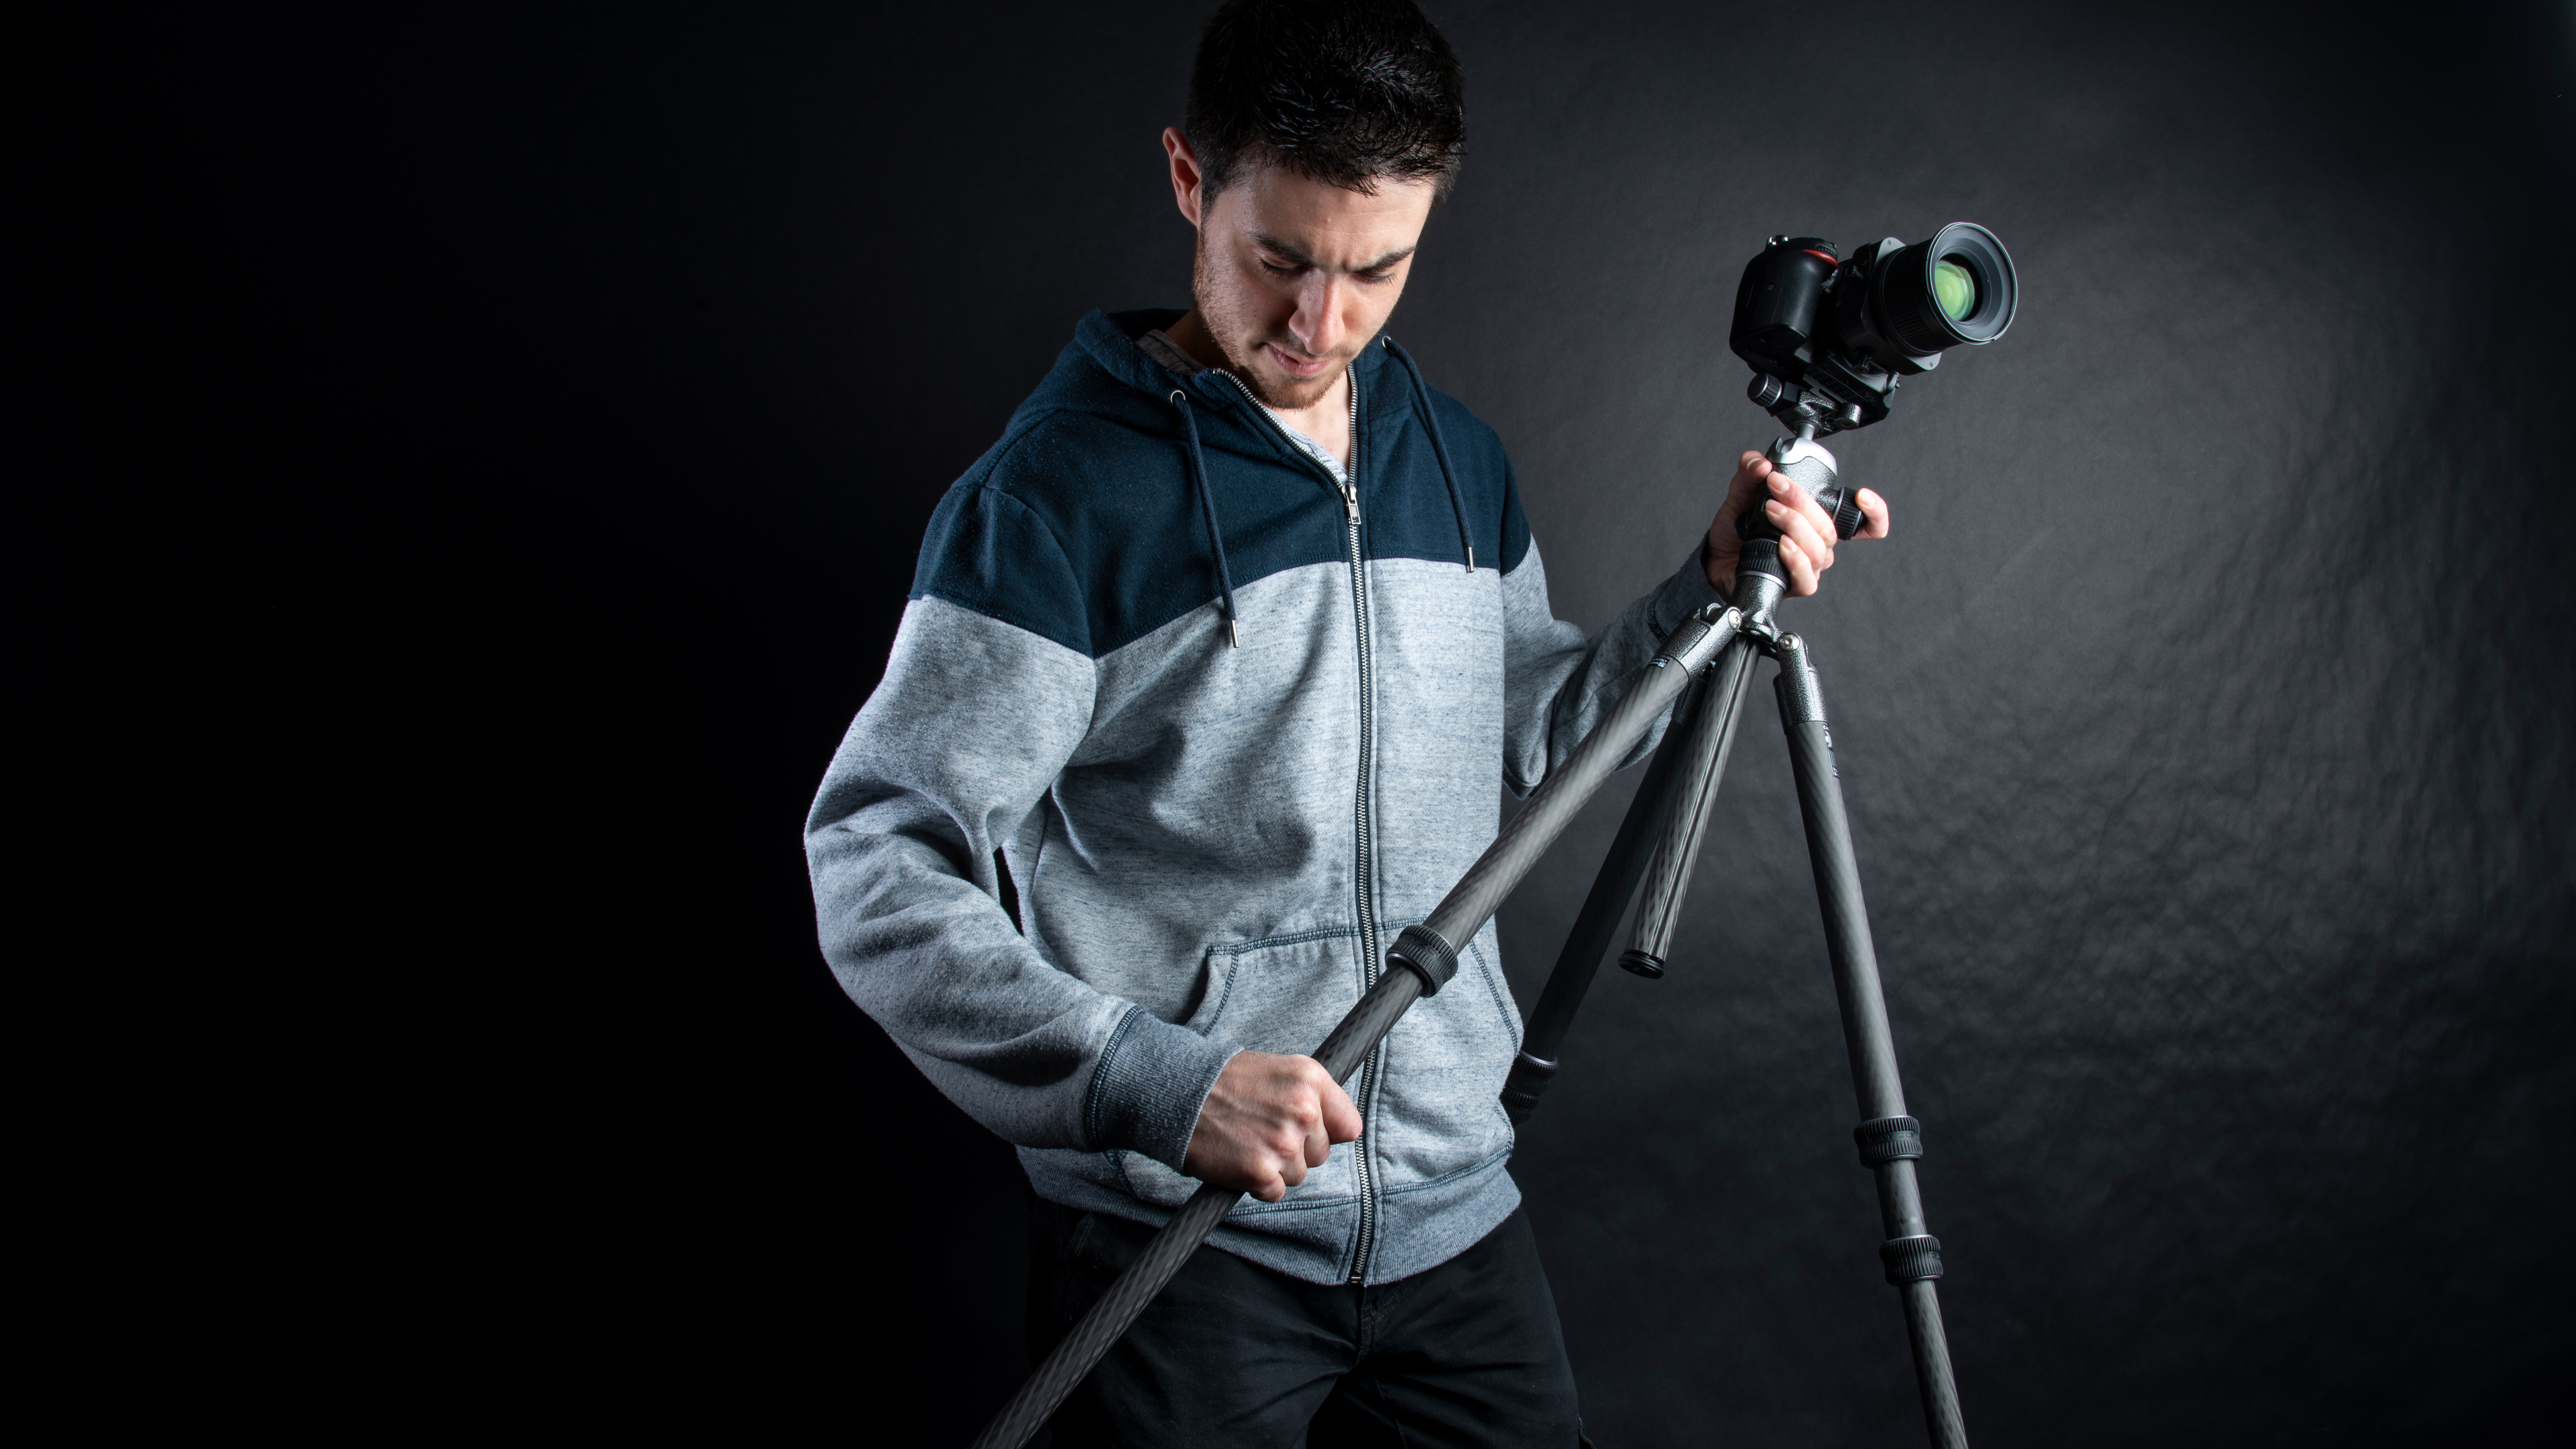
For the most reliable results it is better to place the camera on a tripod. Set the camera at the desired height taking note of how this impacts arrangement of near and far objects and placement of the horizon.
2: Level the setup

While a panoramic tripod head is preferred in other cases, our use of a shift lens makes using a more flexible ball head possible. Use a hotshoe spirit level or an LCD virtual horizon to level the shot. We use a PC-E Micro NIKKOR 45mm f/2.8D ED on our Nikon DSLR; a Canon equivalent would be the TS-E 50mm f/2.8L MACRO.
3: Assess composition
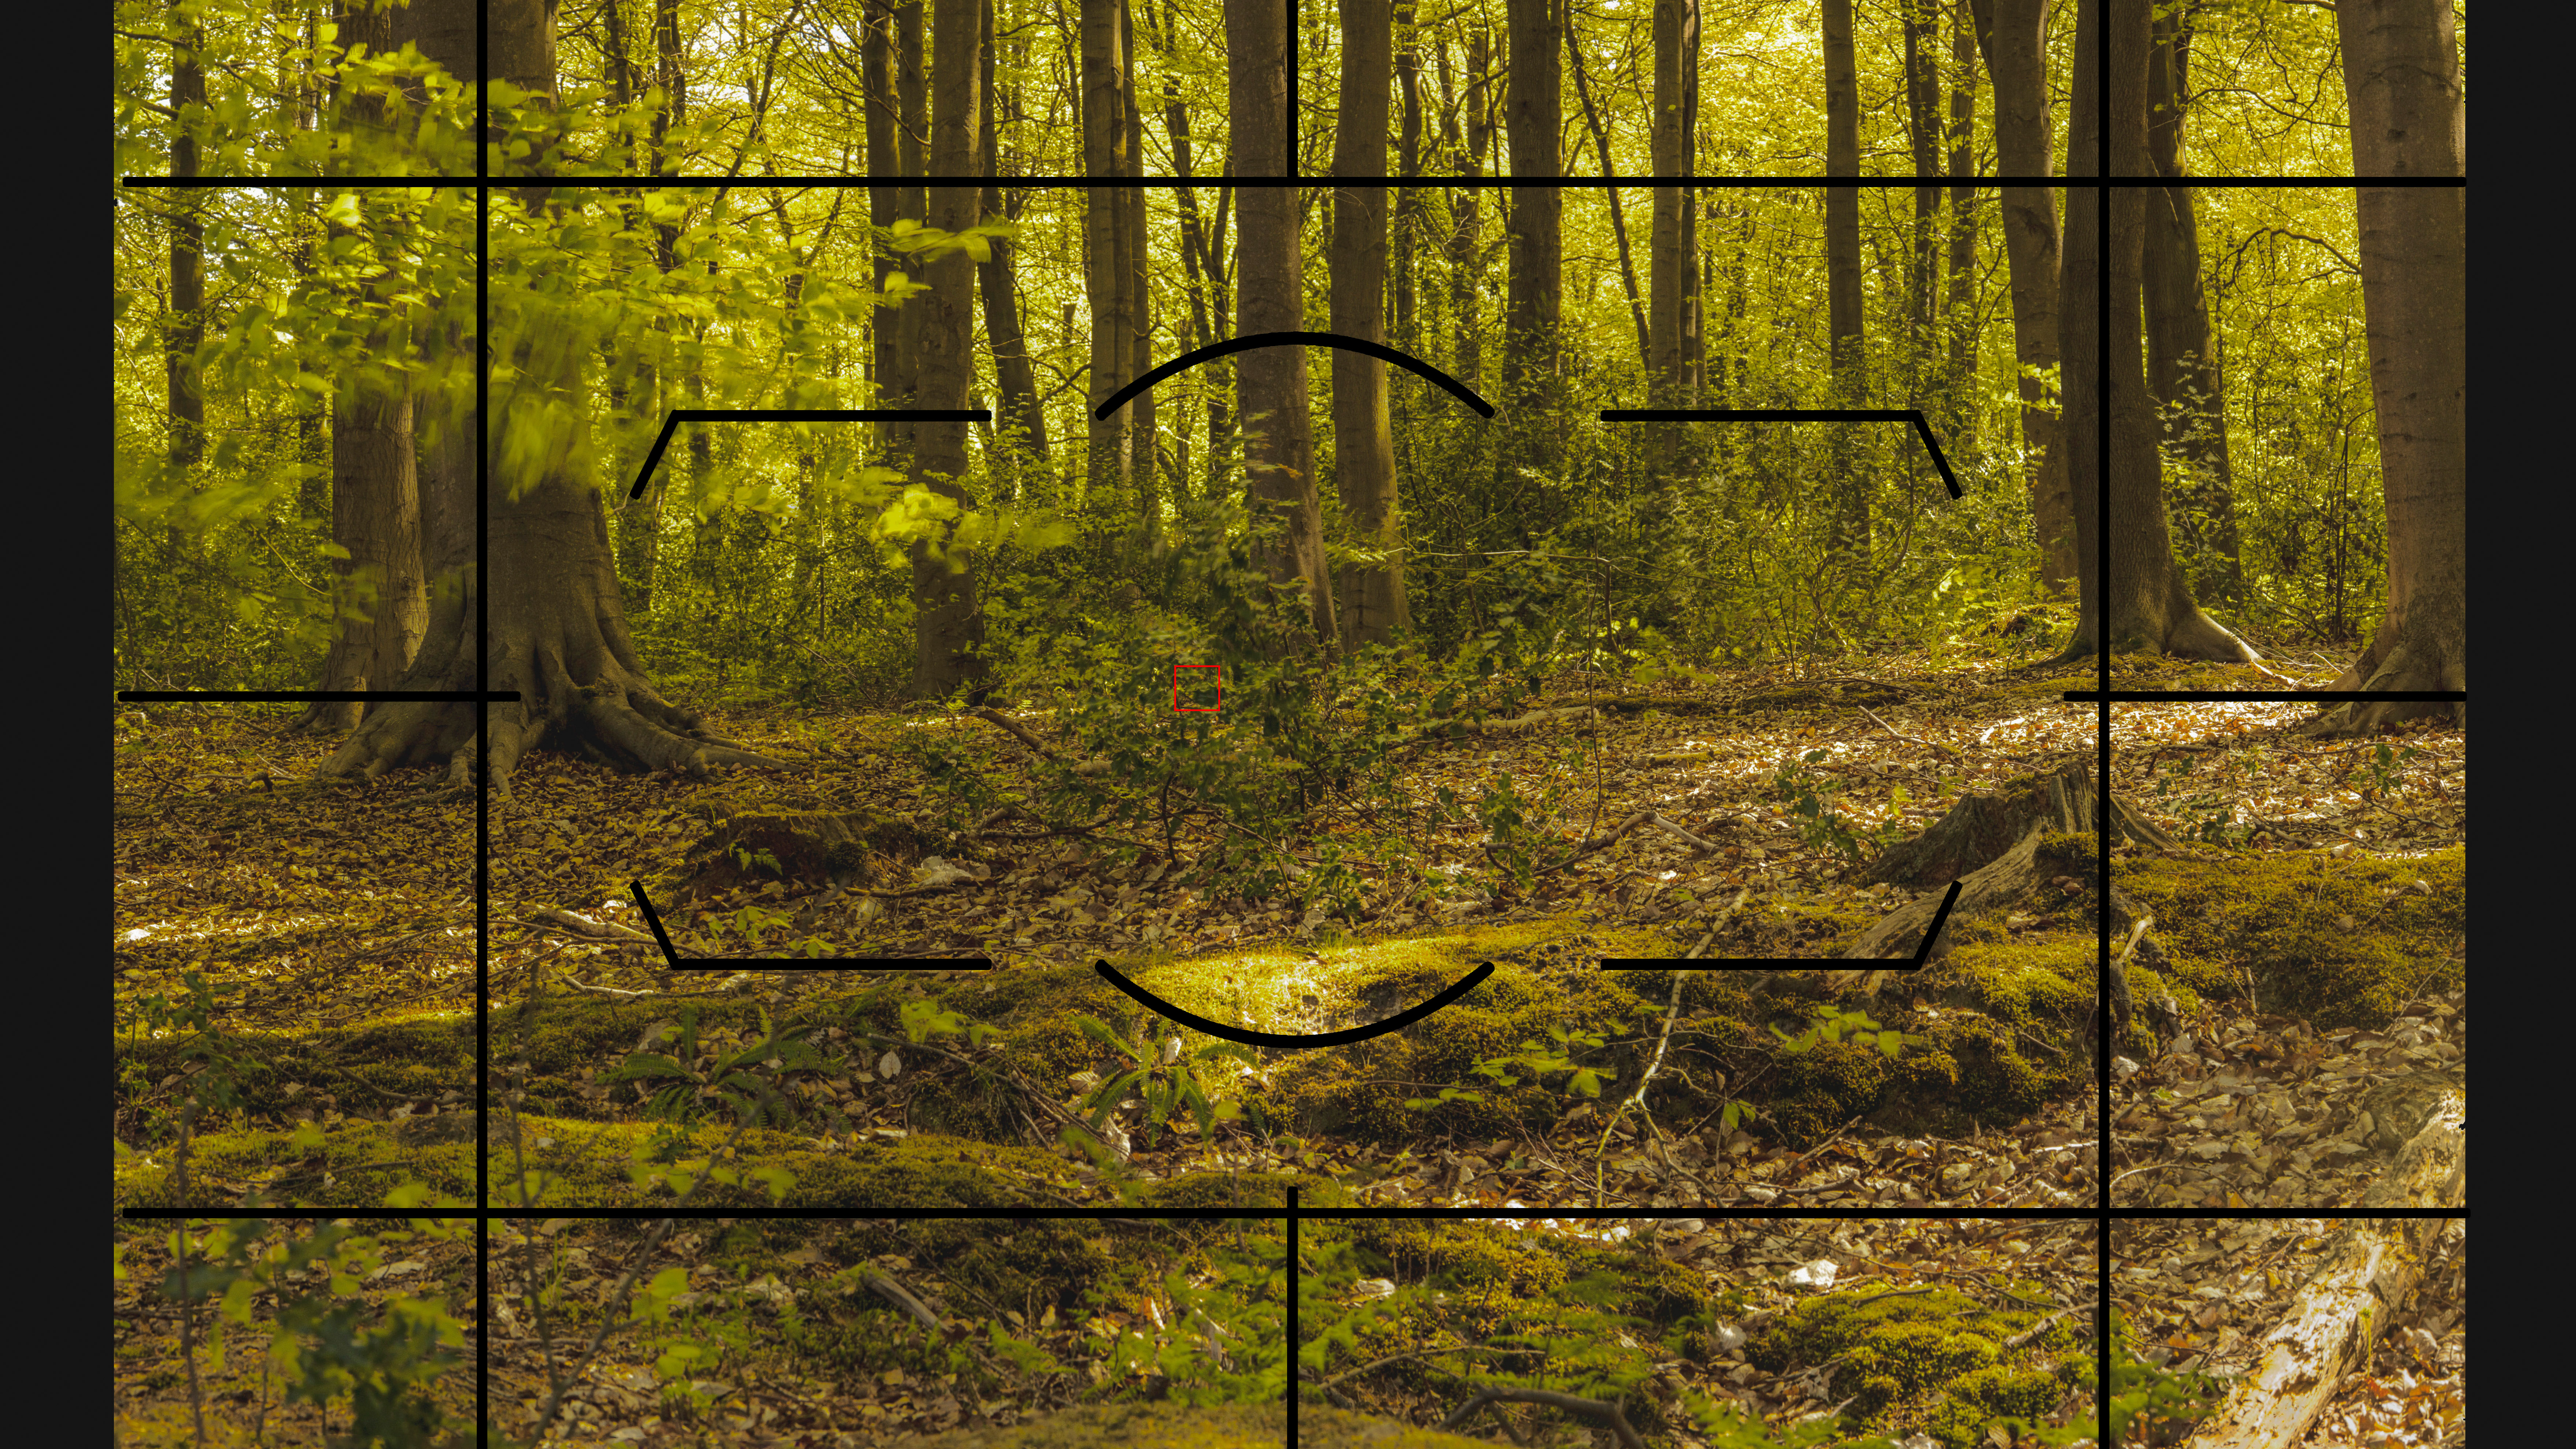
Calculate how much of the scene you would like to cover by panning across in a practice run. Use an ultra wide lens to visualize how the final panorama might appear once assembled. Define start and end points.
4: Rotate the lens
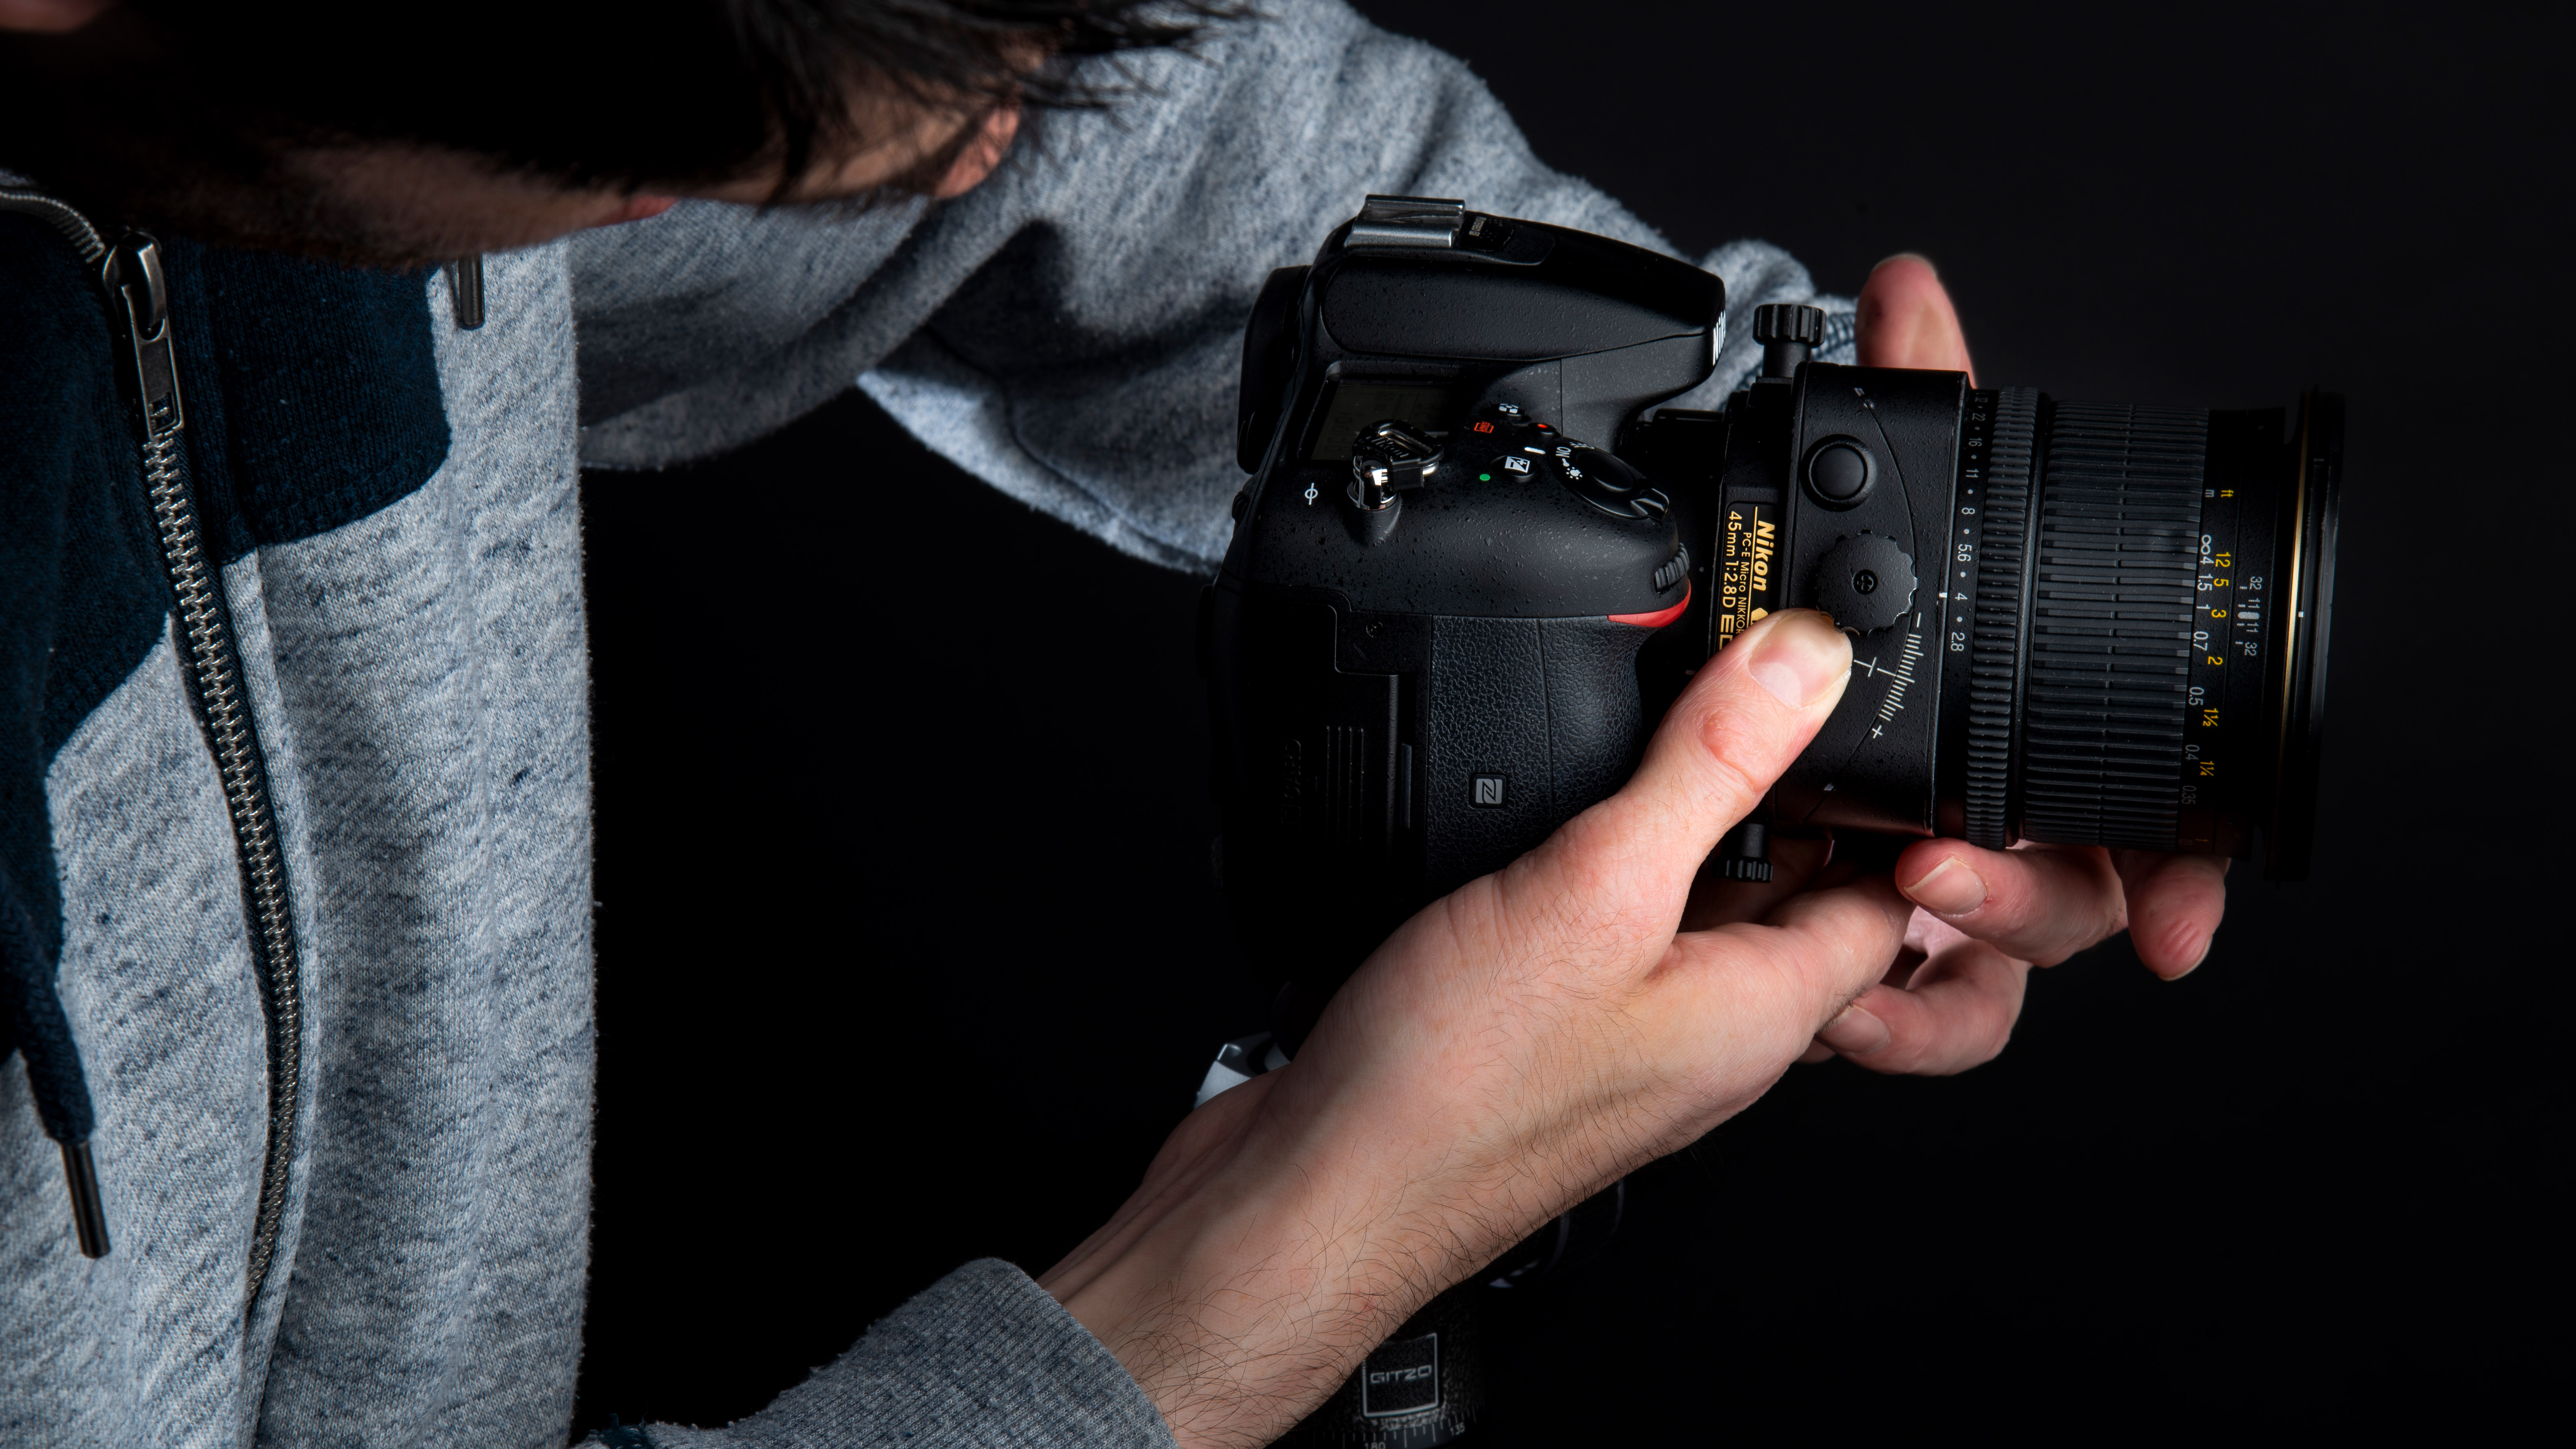
Twist the lens into vertical orientation by holding down the rotate release. This allows us to shift the lens from side-to-side, which is required to shoot a horizontal panorama, instead of up and down.
The best camera deals, reviews, product advice, and unmissable photography news, direct to your inbox!
5: Compose first segment
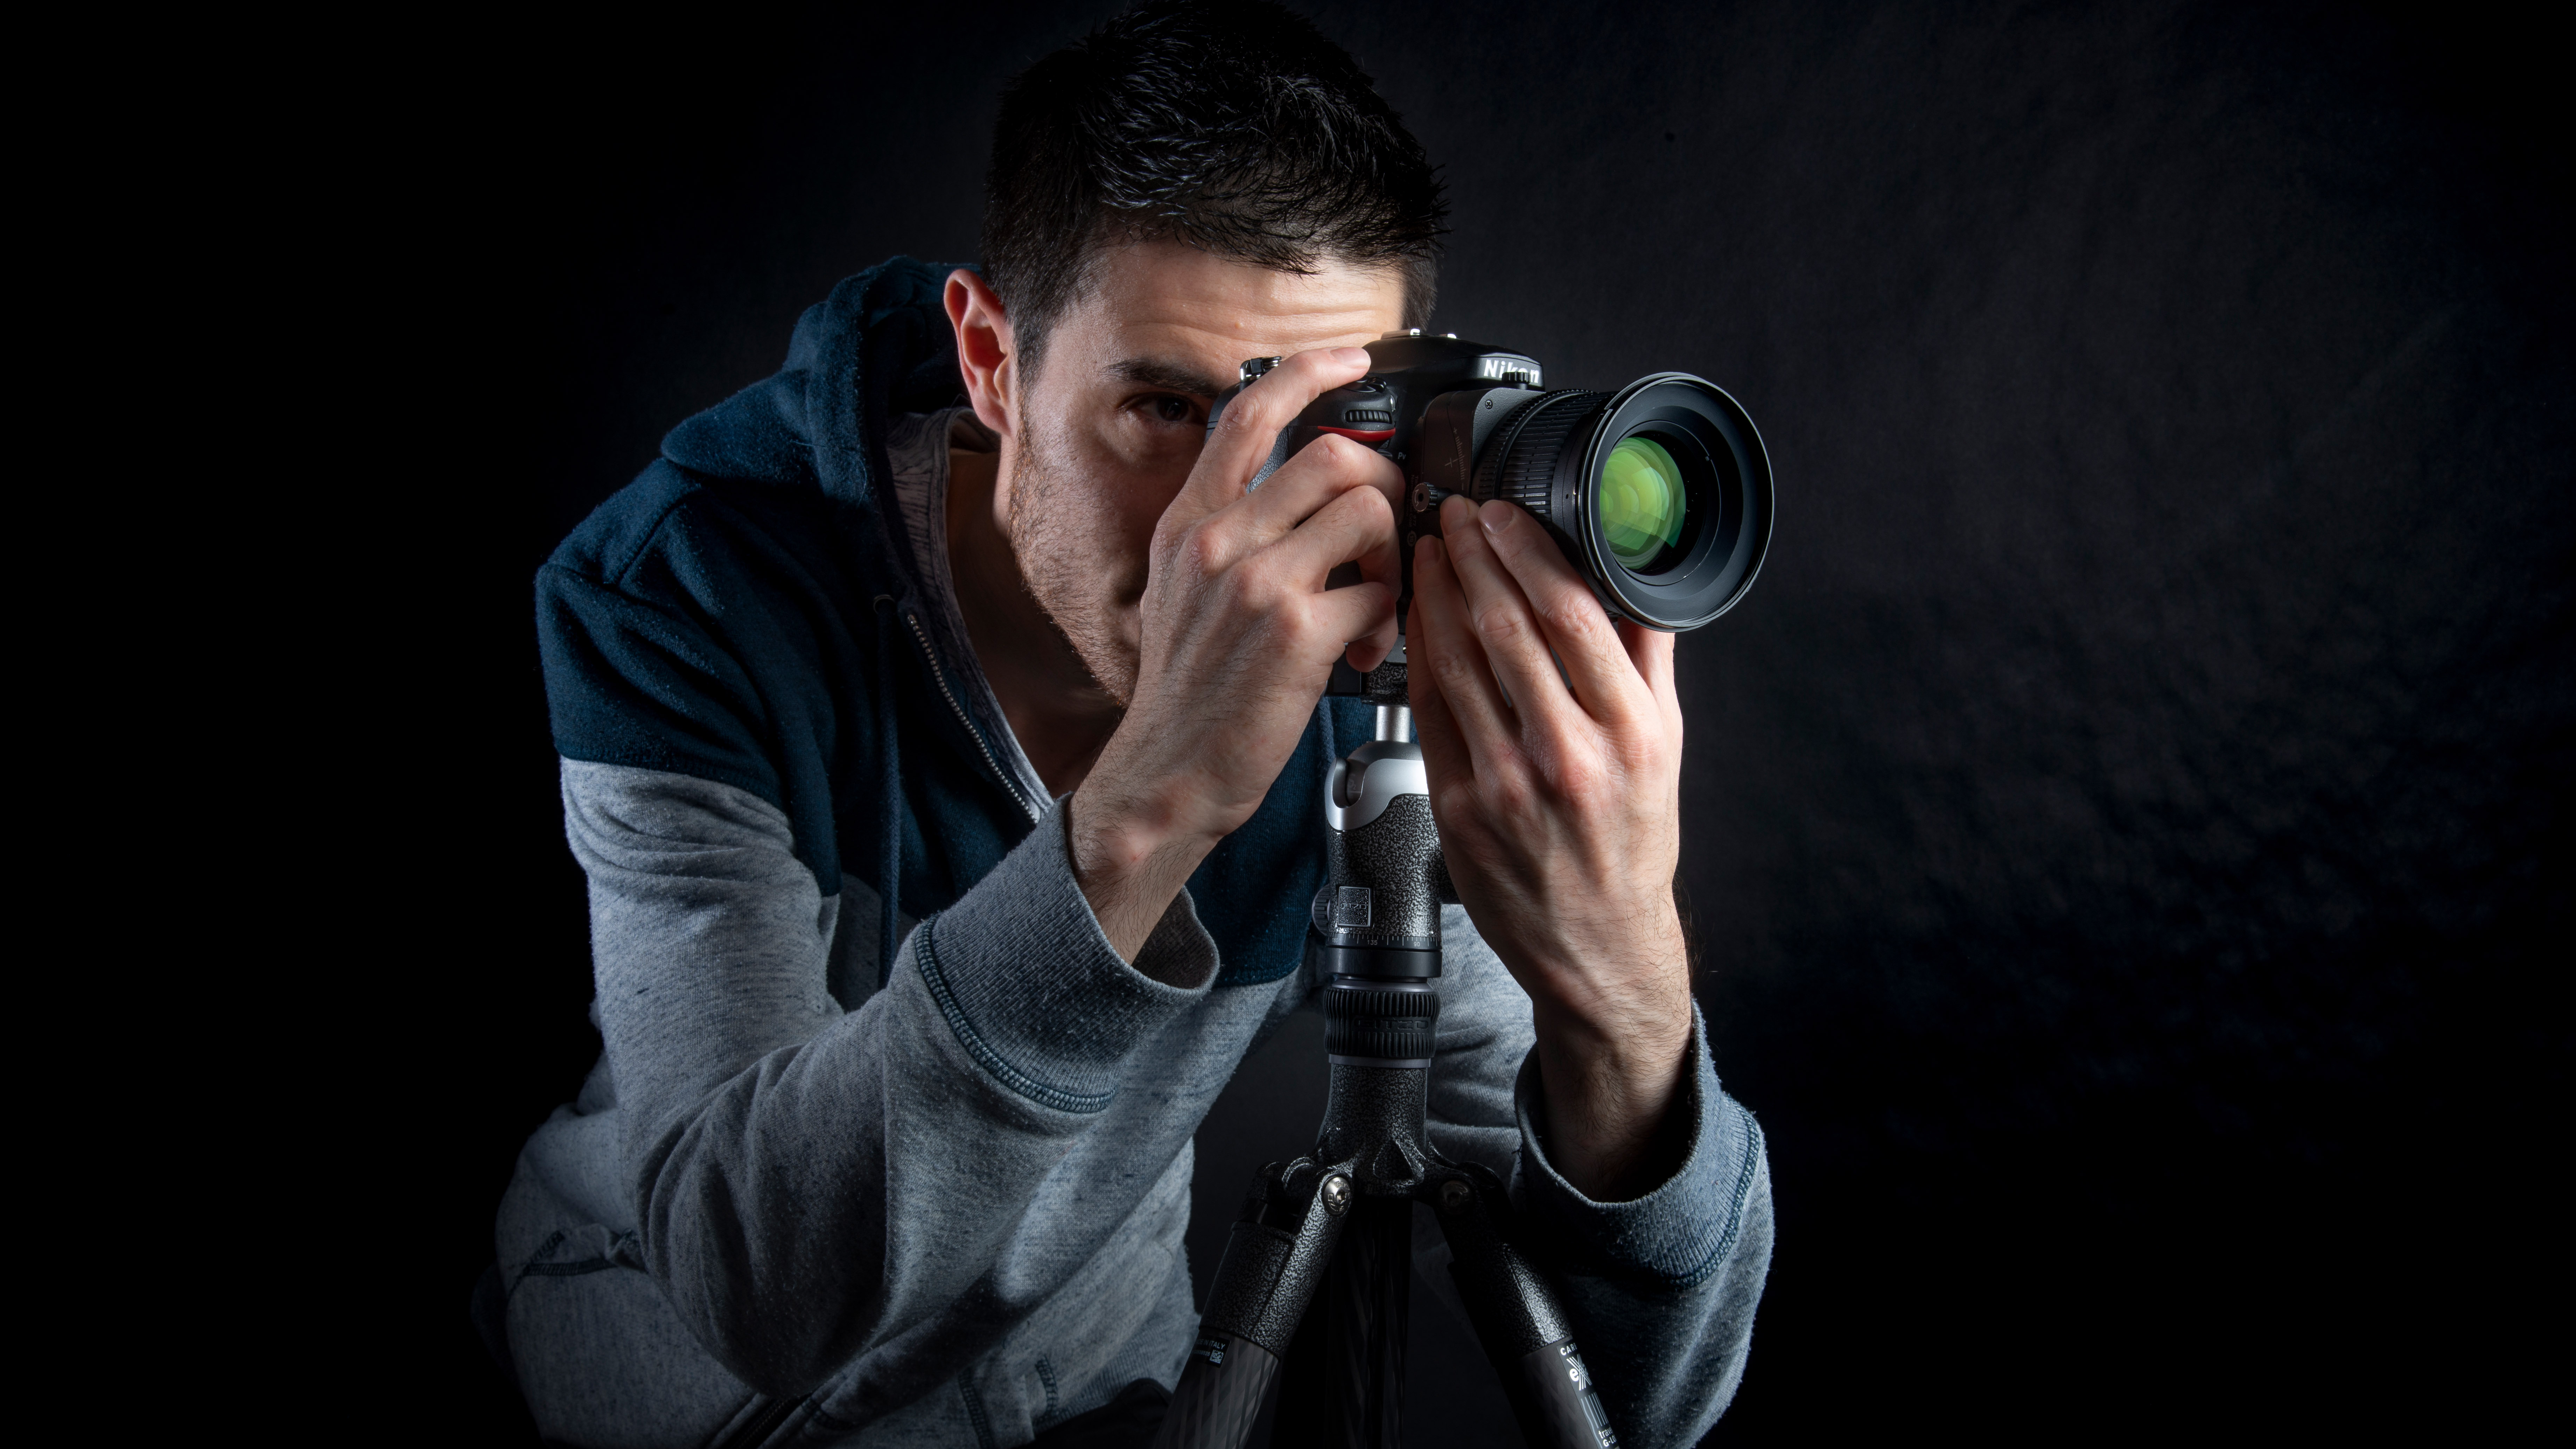
Shift the lens fully across to the positive end of the scale. This is where we shall begin the shift pan. Using the viewfinder or LCD check the composition is to your liking and shoot your first image.
6: Shift and reshoot
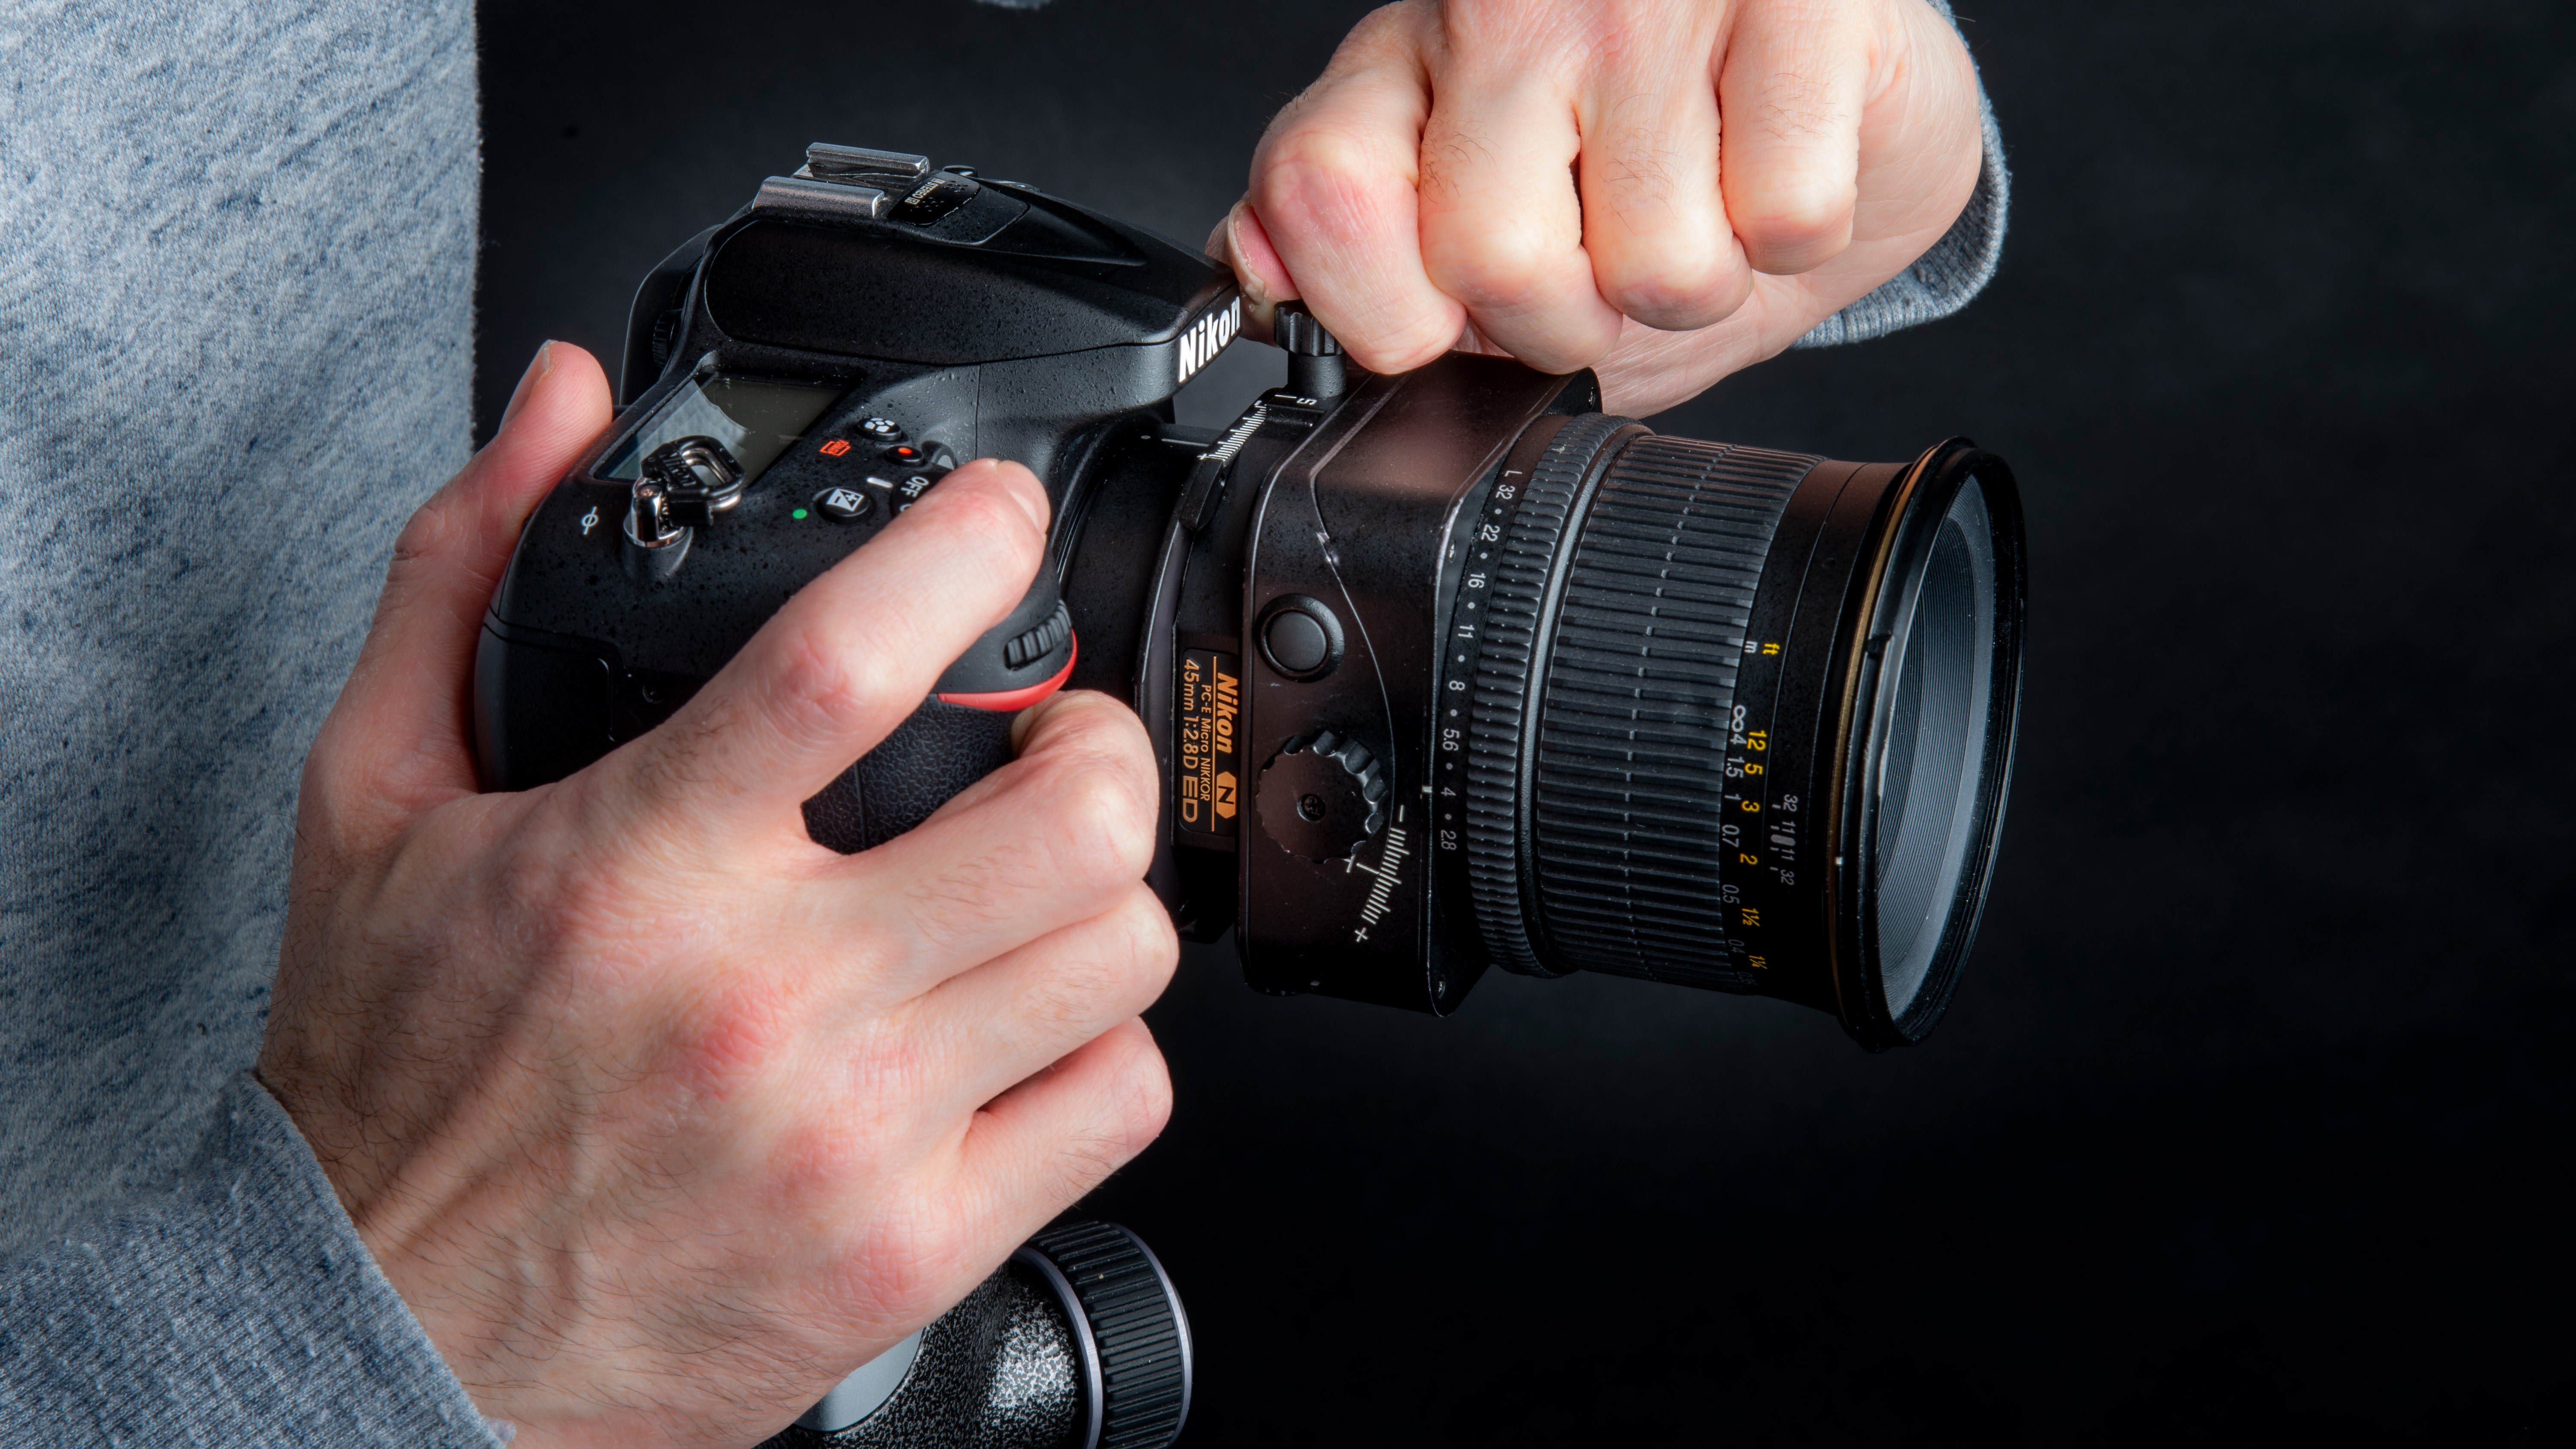
Twist the shift control until the image moves across in the viewfinder. Overlap your next segment by around 20% with the first and shoot the second image. Continue until you have covered the entire scene.
Learn more:
Landscape photography composition: cheats to create effective frames
147 photography techniques, tips and tricks for taking pictures of anything
Landscape photography composition: fill the frame with a wide angle lens
Digital Photographer is the ultimate monthly photography magazine for enthusiasts and pros in today’s digital marketplace.
Every issue readers are treated to interviews with leading expert photographers, cutting-edge imagery, practical shooting advice and the very latest high-end digital news and equipment reviews. The team includes seasoned journalists and passionate photographers such as the Editor Peter Fenech, who are well positioned to bring you authoritative reviews and tutorials on cameras, lenses, lighting, gimbals and more.
Whether you’re a part-time amateur or a full-time pro, Digital Photographer aims to challenge, motivate and inspire you to take your best shot and get the most out of your kit, whether you’re a hobbyist or a seasoned shooter.

