Dive into B&W color theory to get the best possible monochromatic photos
Here are some handy tricks on how to improve the tonal range with in-camera settings, filters and more
Whether you are using a DSLR or mirrorless camera, both offer a variety of Picture, Creative Styles, or Picture Control options. An option in many cameras is the Black and White setting, which allows you to see a monochrome translation of the scene rather than having to visualize it. This helps you to decide whether the scene is suitable and rearrange the frame accordingly.
Here, the biggest concern is losing the color image due to this style setting. Ending with a monochrome frame isn’t ideal and is a big limitation when the client’s expectations change. What often gets forgotten is that when shooting B&W in RAW format, the camera records the frame’s color information.
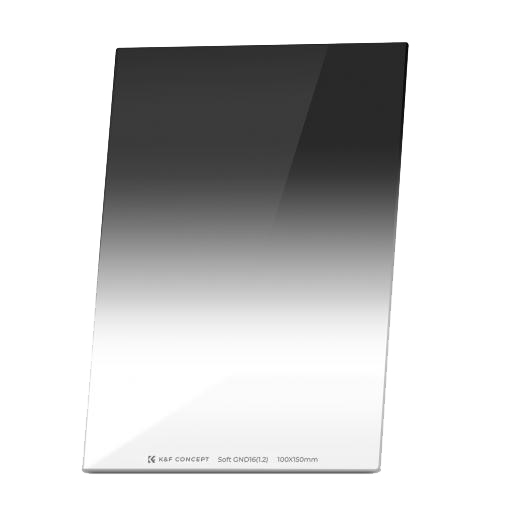
These filters add depth and drama to your black-and-white shots but aren’t available in-camera.
Polariser: adds contrast and creates a more punchy, high-contrast B&W image while cutting out unwanted reflections on non-metallic surfaces.
Graduated ND filter: This half-clear, half-dark filter reduces the contrast between sky and foreground elements to achieve a balanced exposure in one frame.
This not only gives you the freedom to decide whether it will end up as a monochrome image but also opens doors in post-processing, as fine-tuning through various color channels requires color information. Activating the B&W style in-camera will, therefore, help you visualize, analyze, and optimize the subject.
When using your camera manufacturer’s RAW conversation software, the image will appear in black and white, along with any other in-camera adjustments you have made. When opening the RAW file in other editing software, such as Photoshop, the software won’t recognize the Picture Style information. This means that the photograph appears in color and requires manual conversion to monochrome. However, when you set your focus on black-and-white photography, in-camera settings, and adjustments are best to use to achieve maximum precision in detail. To manually convert the shot later takes just one click.
Set up your camera
Create and tune mono images in-camera without losing colour information
1. Shoot in RAW
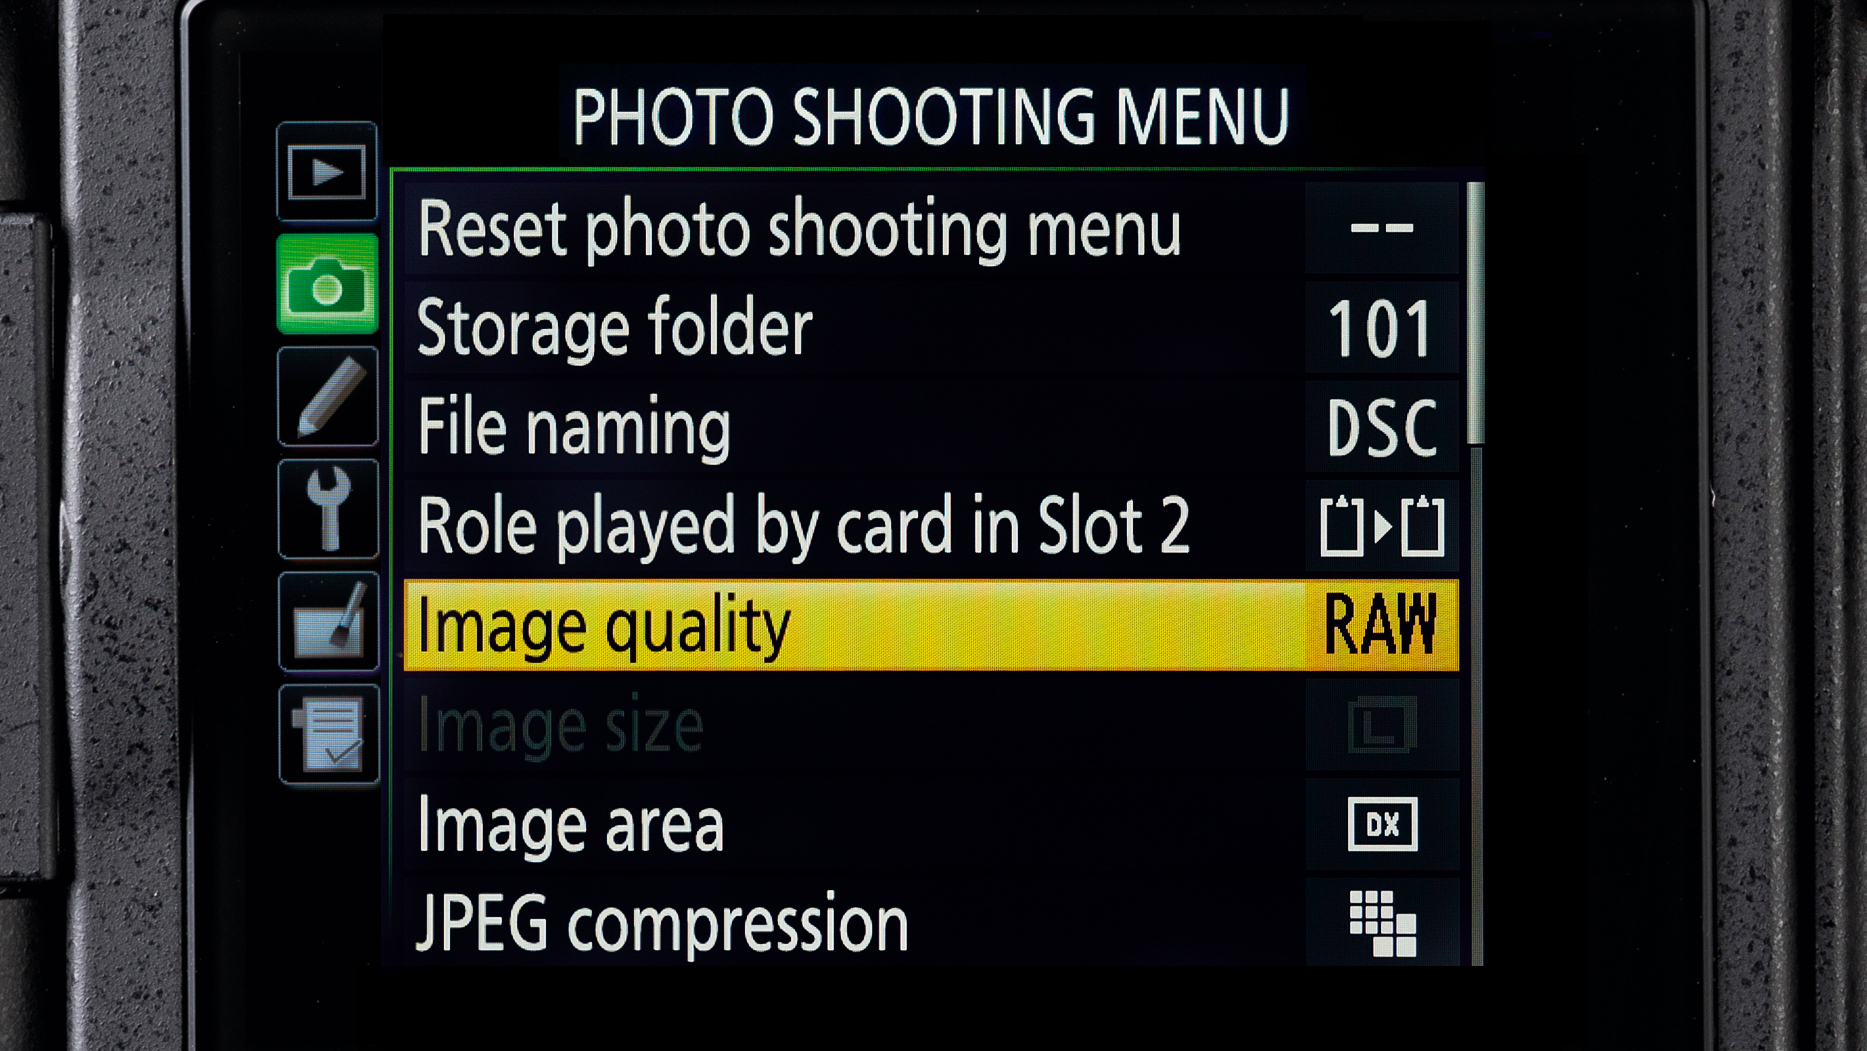
Select RAW as the file format so that the camera is still recording the scene’s color data. As a RAW file type, choose Uncompressed to ensure high quality and avoid data compression.
2. Switch to Live View
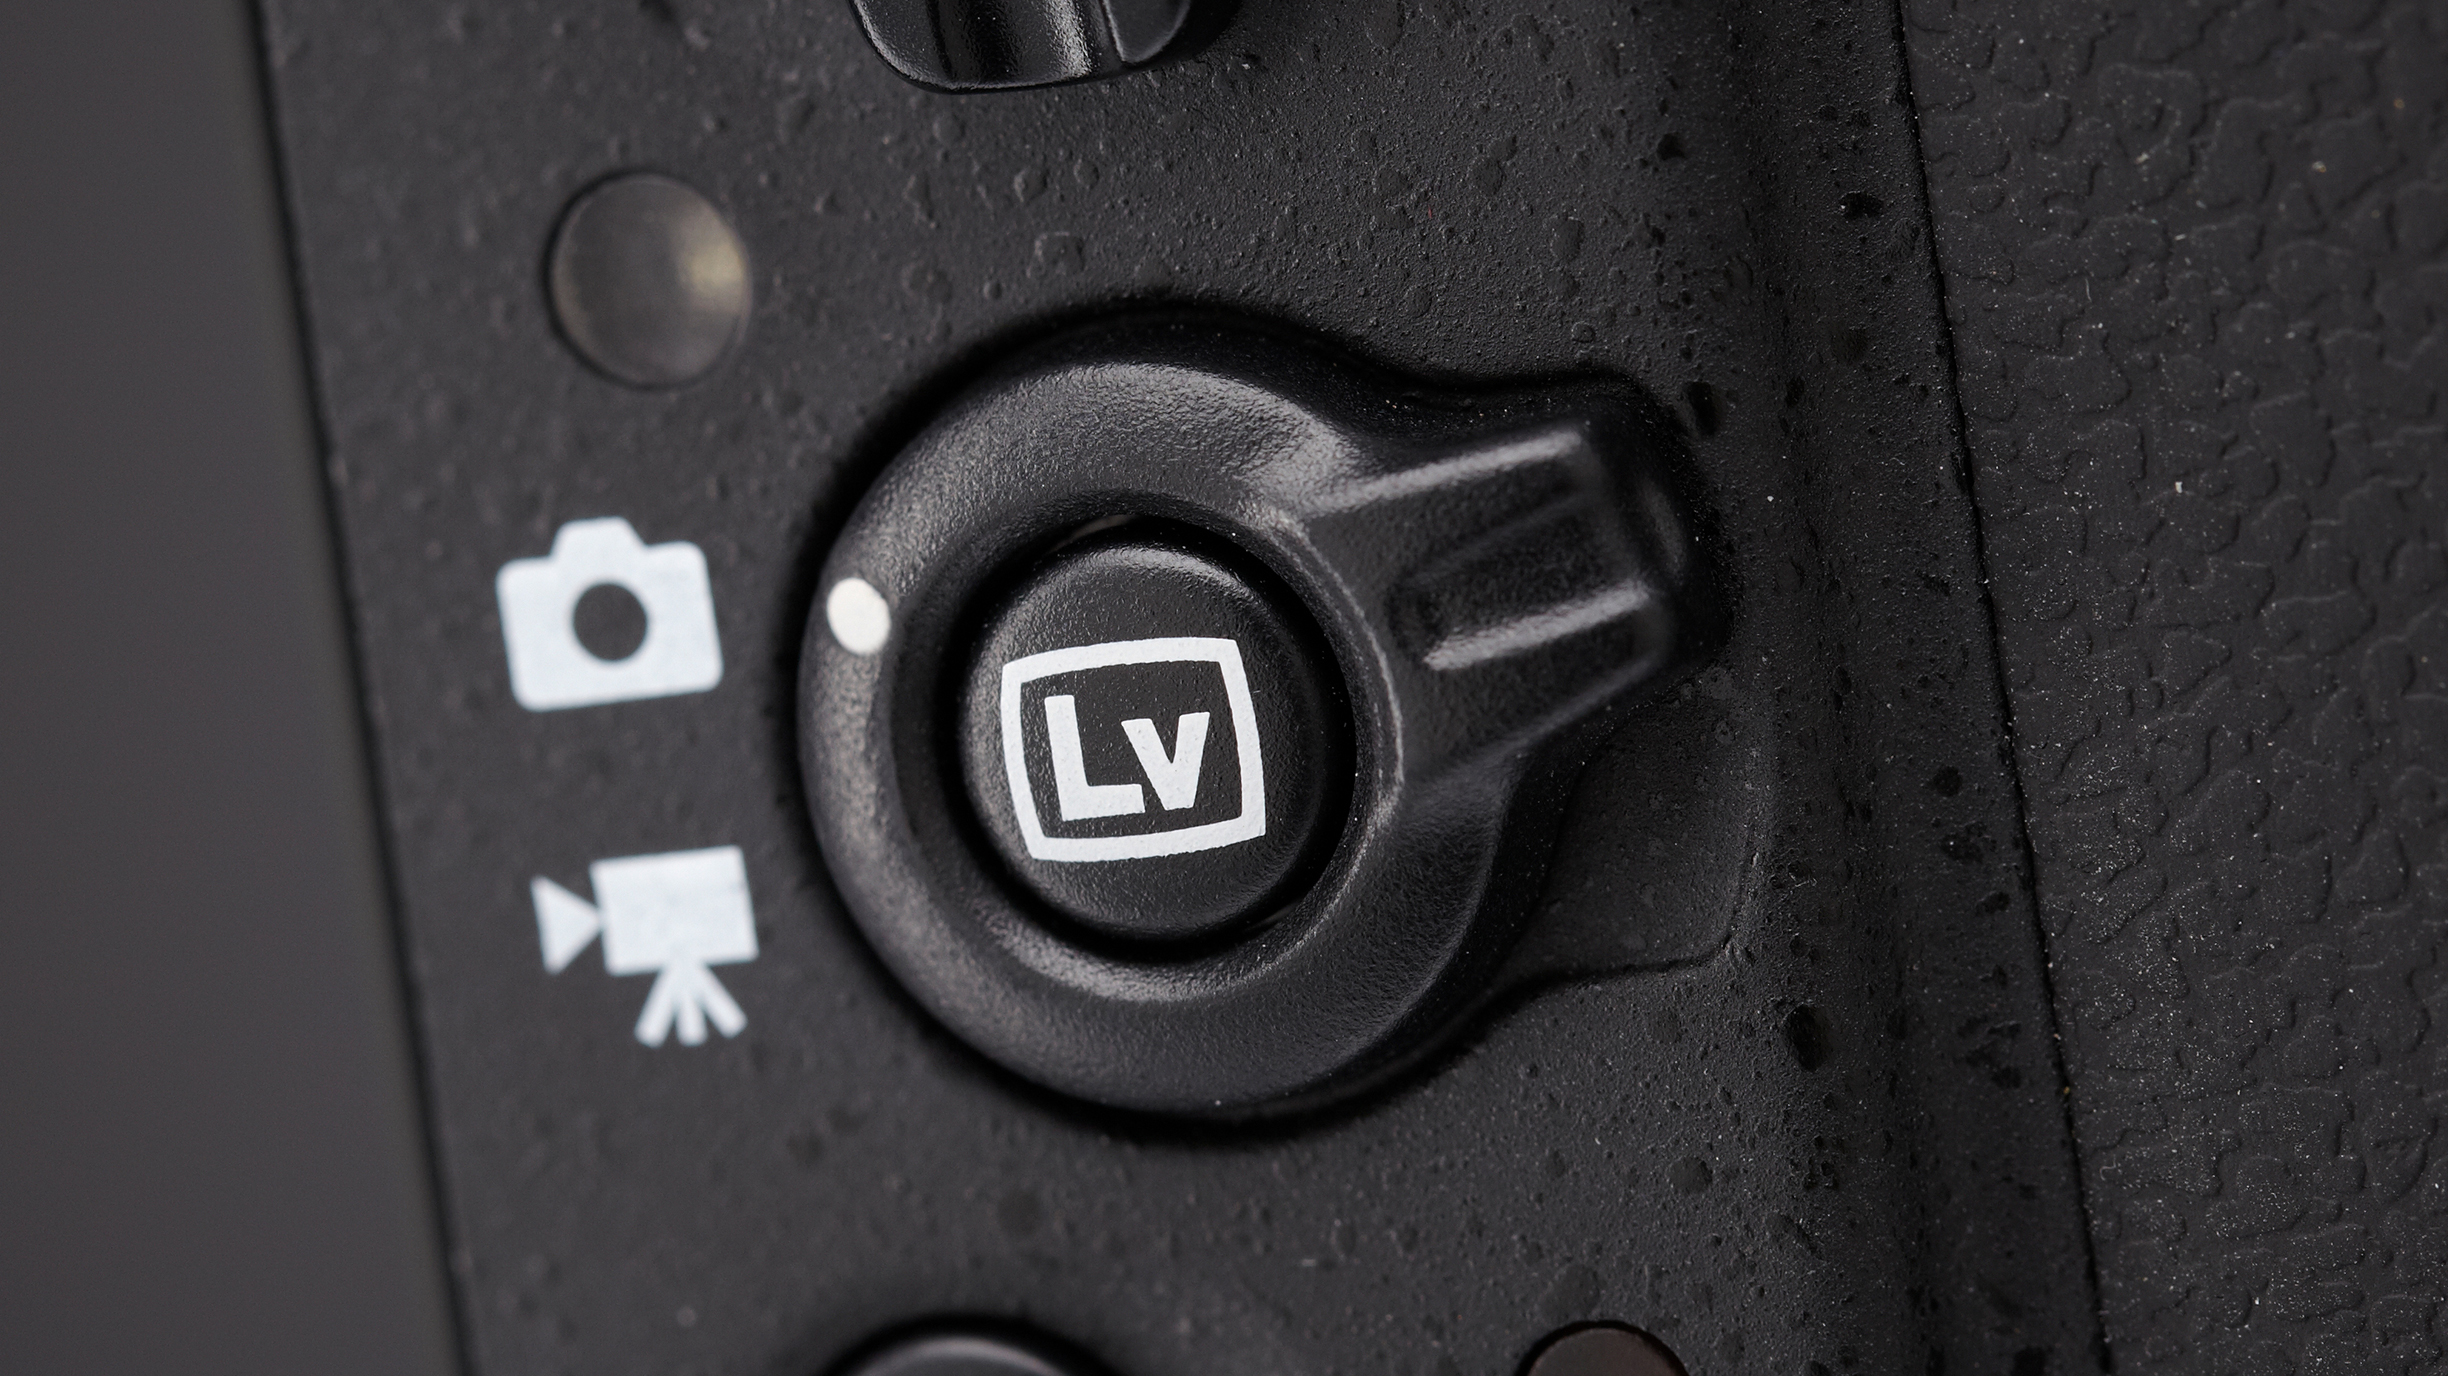
When working with tripods or an optical viewfinder, enabling the live view on your screen can help you compose your image. This way, you will be able to oversee the preview in monochrome.
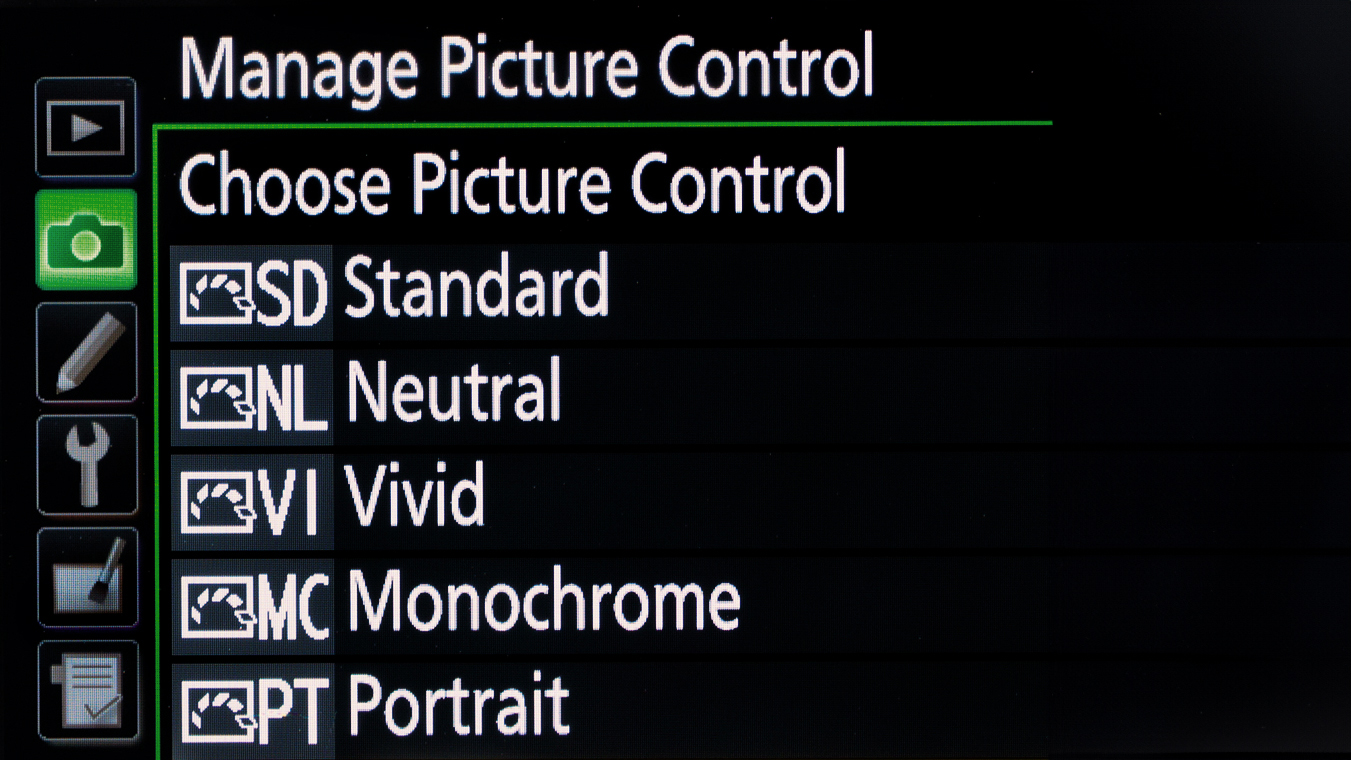
3. Select mono
In the camera shooting menu, the monochrome feature’s name differs from the camera brand. Watch out for Picture, Creative Style or Picture Control to enable a B&W preview.
The best camera deals, reviews, product advice, and unmissable photography news, direct to your inbox!
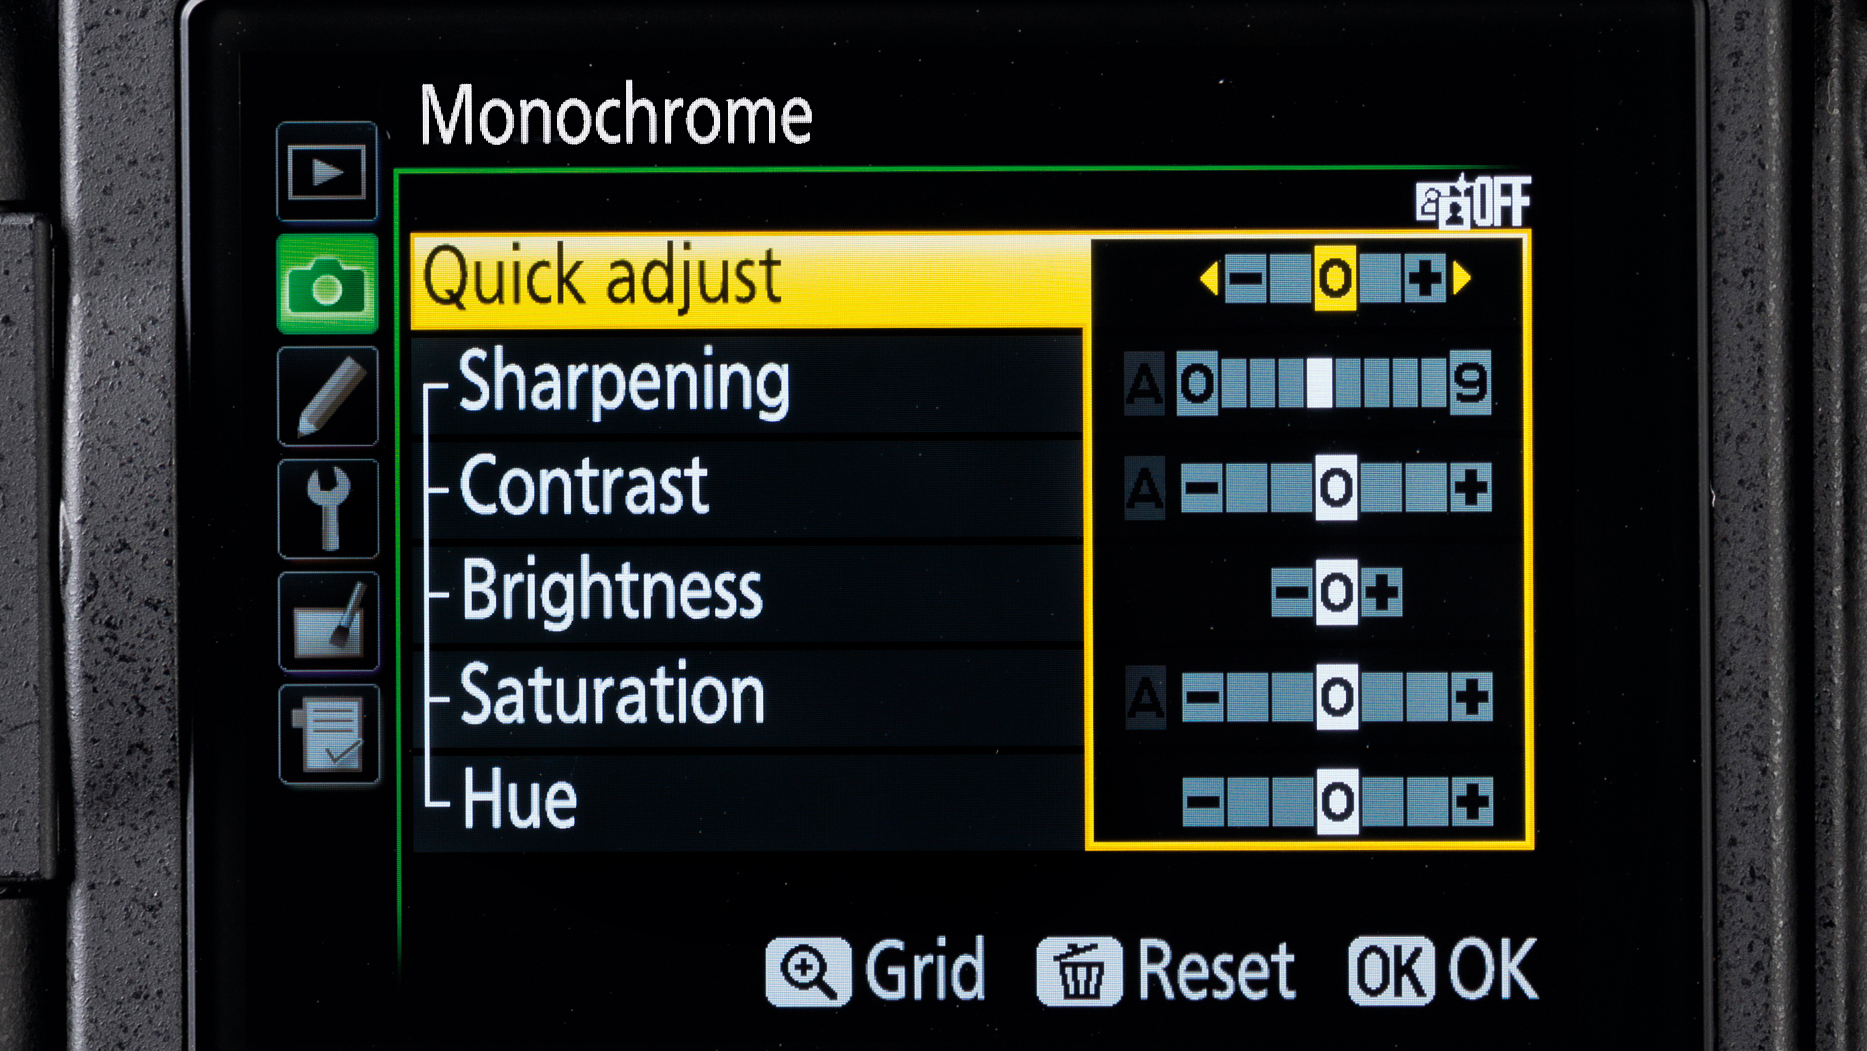
4. Adjust parameters
Every scene requires different adjustments in contrast and sharpness to highlight specific features like textures or material. It is advisable to start fine-tuning these options in-camera.
Use in-camera filters
Enhance contrast and drama to cut the time spent in post-processing
Black-and-white photography requires more fine-tuning than colour images. Even when photographers predominantly used film, manual editing happened in the dark room. These days, editing programs such as Photoshop or Affinity make this possible. However, enhancing elements like the sky or luminosity distribution can take time.
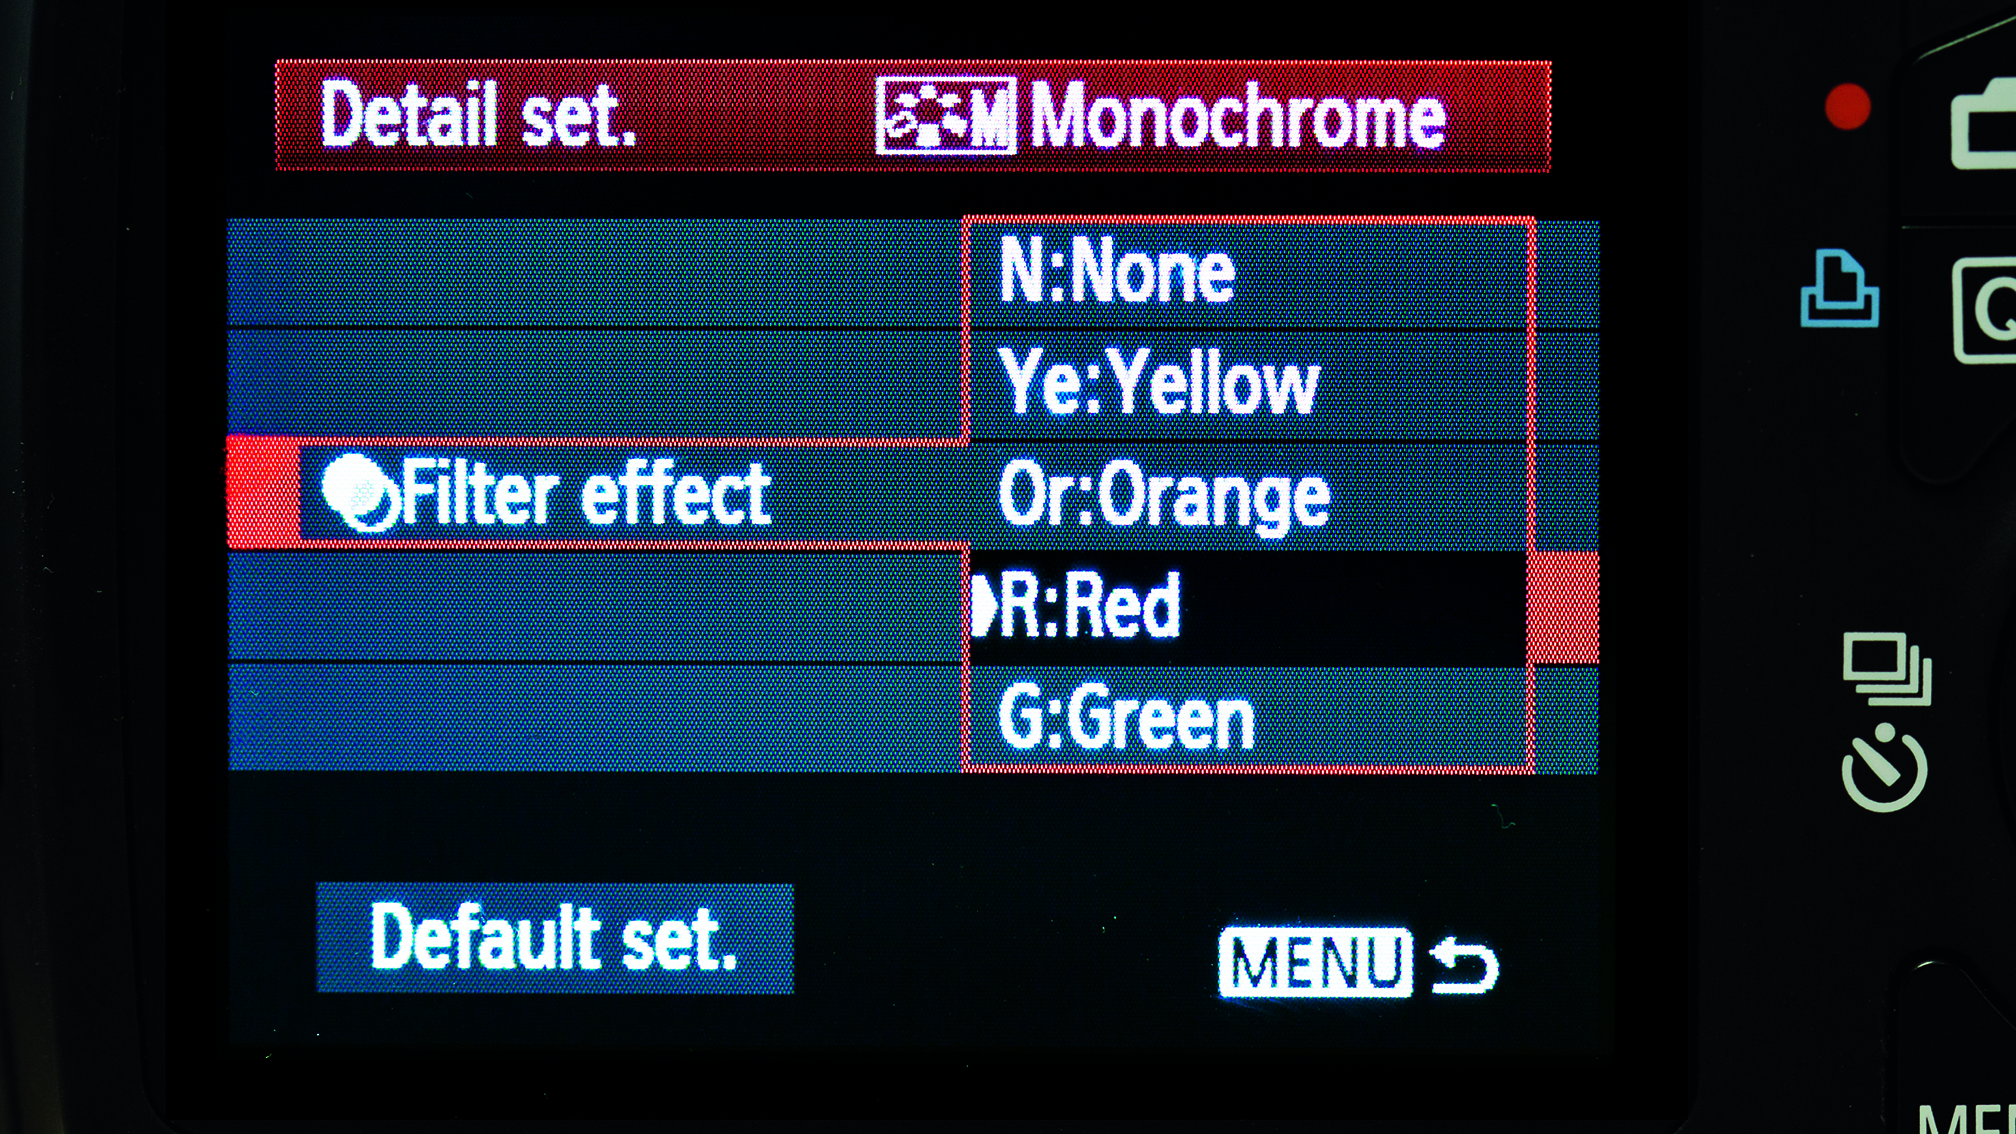
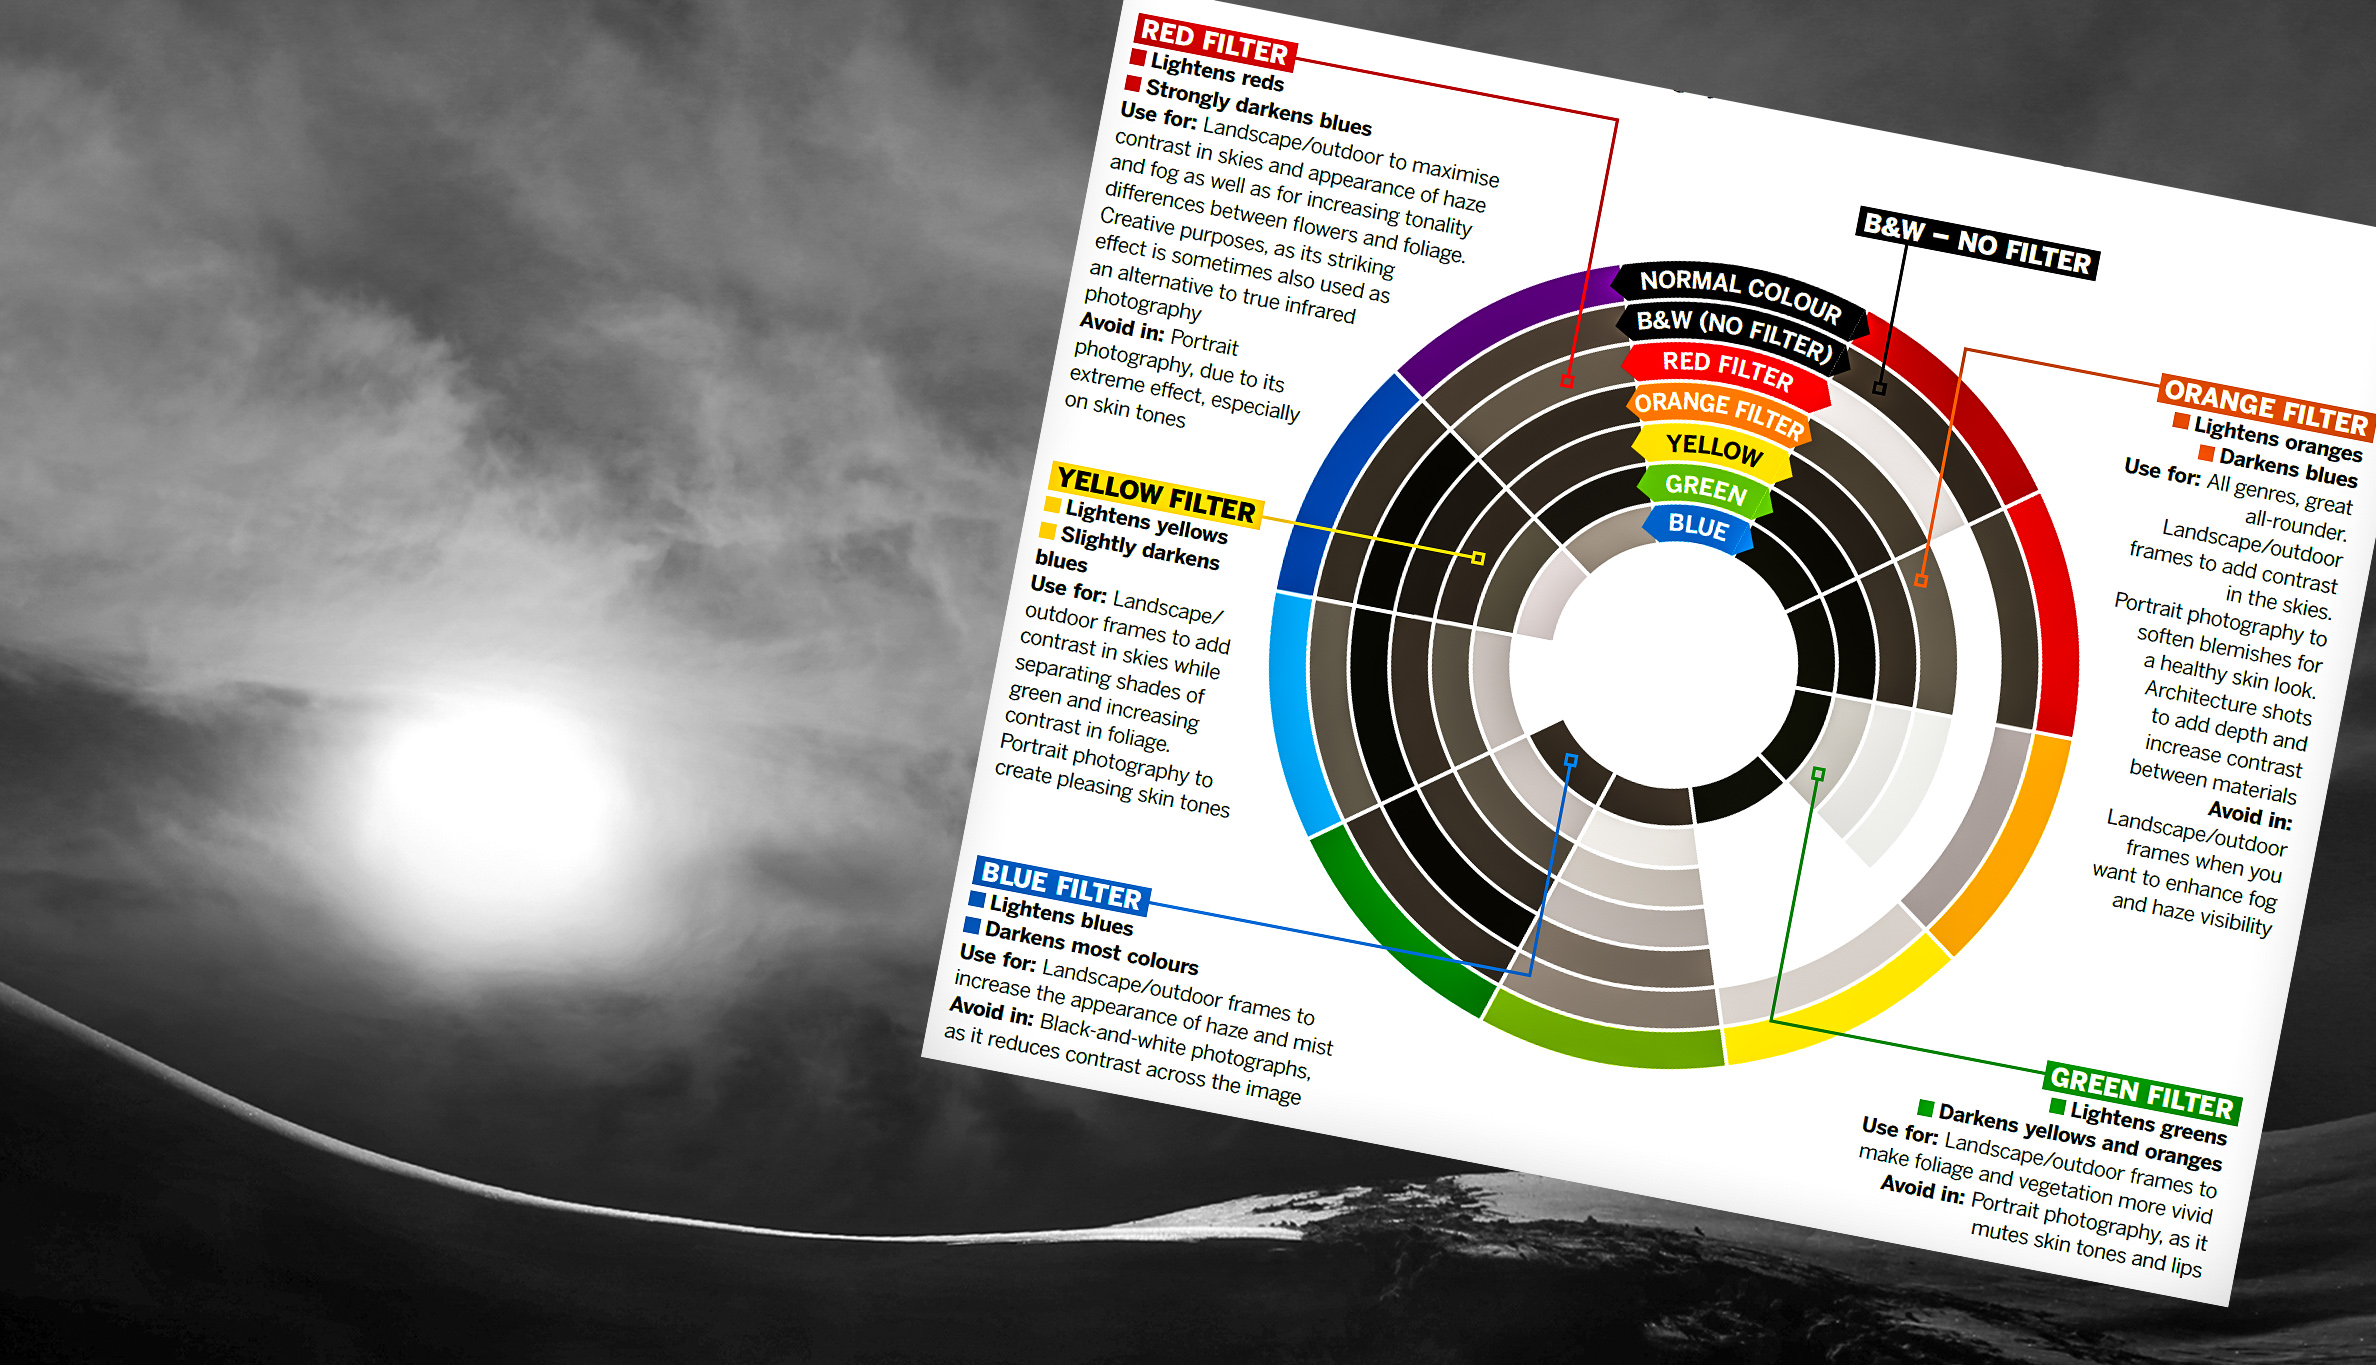
It is often overlooked that cameras feature genius settings that let you fine-tune settings directly in the camera. Color filters are integrated into most models, which are key to maximizing the effect of monochrome images. When shooting B&W analog, these come in physical form and are used in front of the lens of monochrome cameras.
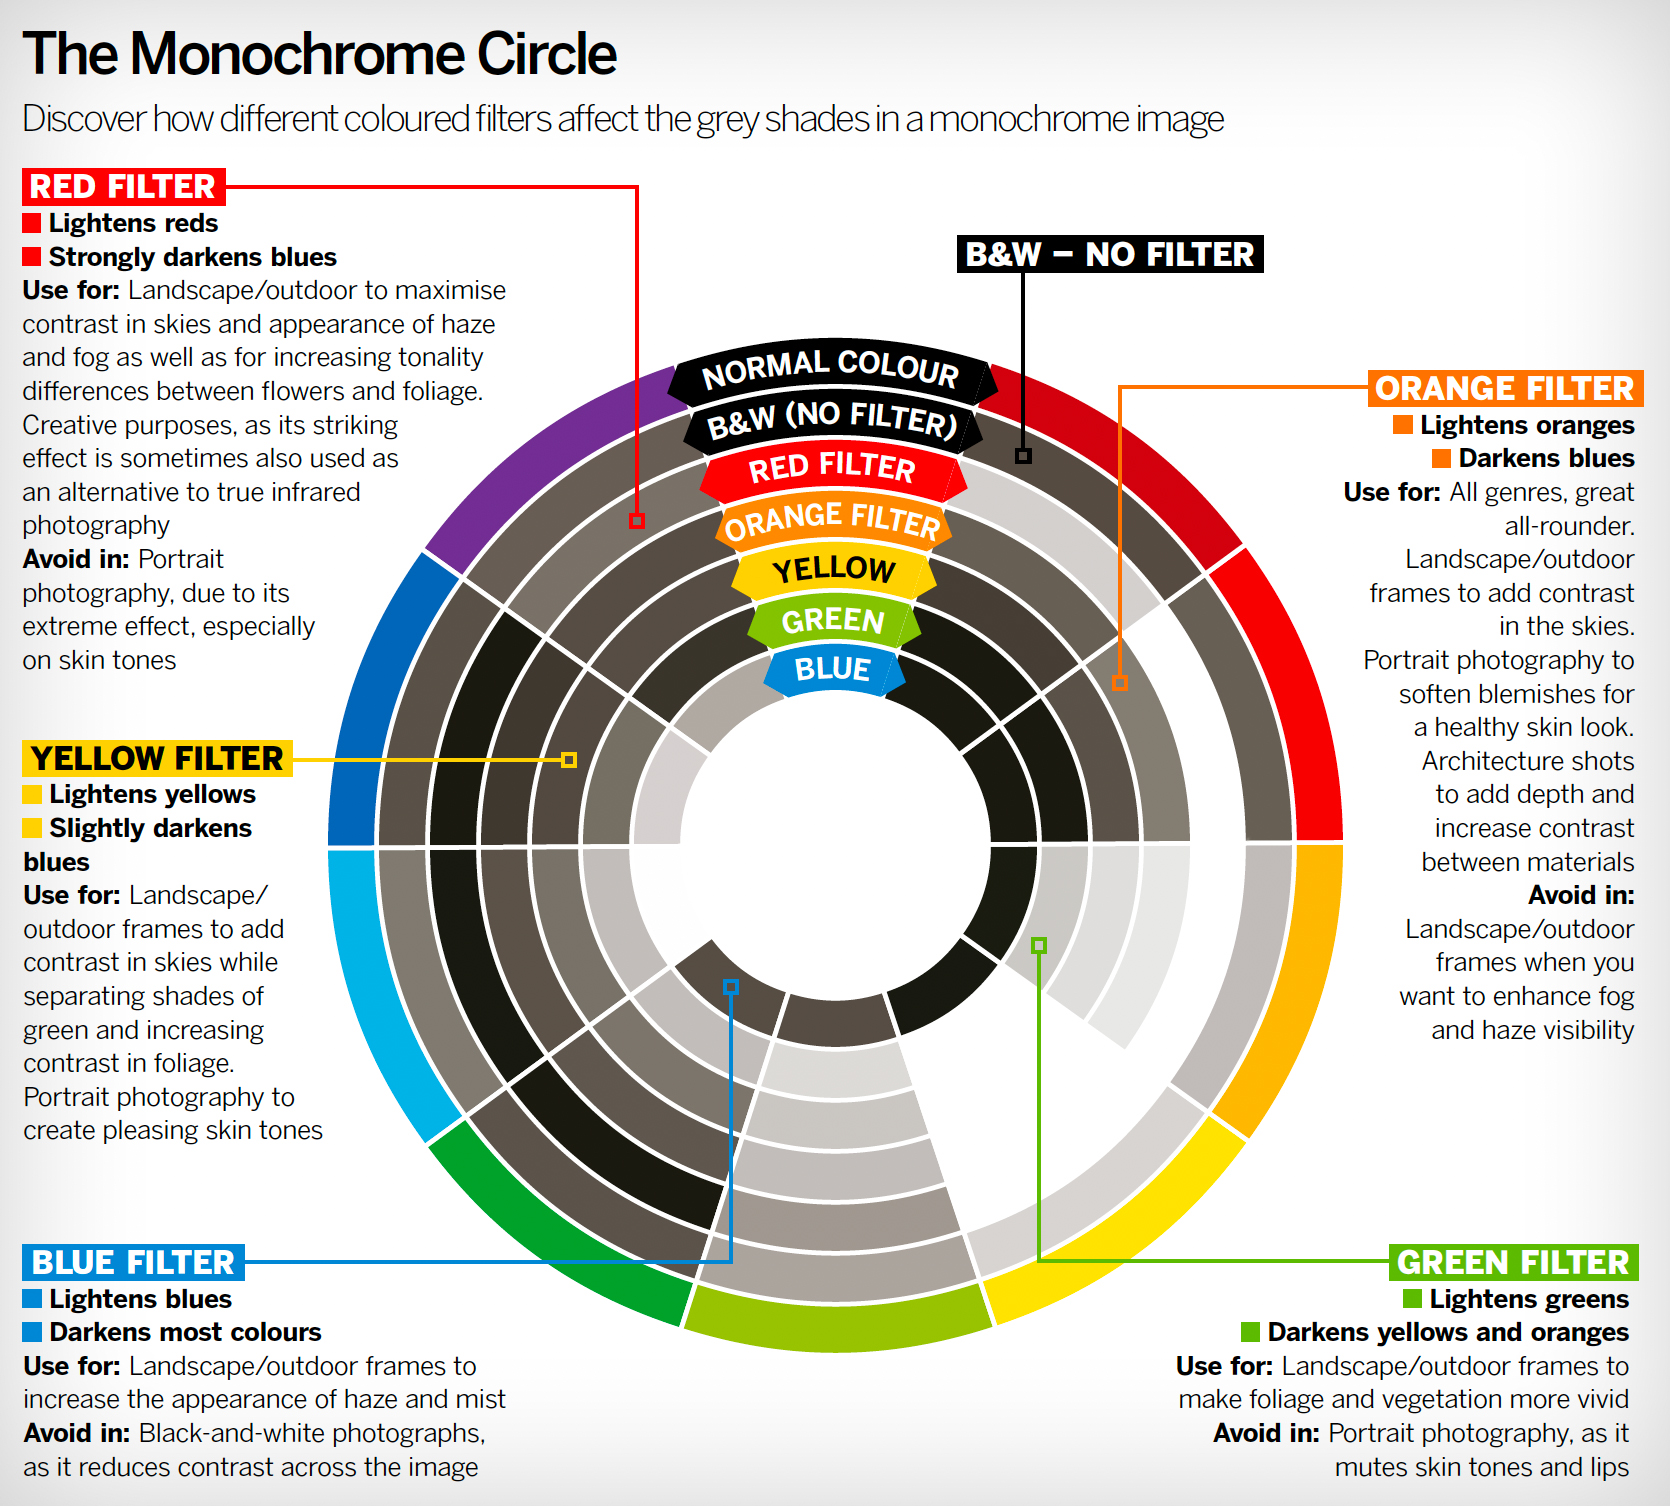
The Monochrome Circle
Use this cheat sheet to see how different colored filtration can affect the shade of gray you get when converting to black and white…
This article originally appeared in Digital Photographer, a monthly magazine, and the kitbag essential for pros, enthusiasts, and amateurs alike!
Inside, you'll find practical guides, shooting tips, and techniques from working photographers, plus all the latest industry news.

Kim is a photographer, editor and writer with work published internationally. She holds a Master's degree in Photography and Media and was formerly Technique Editor at Digital Photographer, focusing on the art and science of photography. Blending technical expertise with visual insight, Kim explores photography's time-honored yet ever-evolving role in culture. Through her features, tutorials, and gear reviews, she aims to encourage readers to explore the medium more deeply and embrace its full creative potential.
