How to photograph the International Space Station (ISS)
Capturing the orbiting laboratory makes for an exercise in precision timing
The best camera deals, reviews, product advice, and unmissable photography news, direct to your inbox!
You are now subscribed
Your newsletter sign-up was successful
Have you ever watched the International Space Station (ISS) soar over your city? If not, you’re in for a treat.
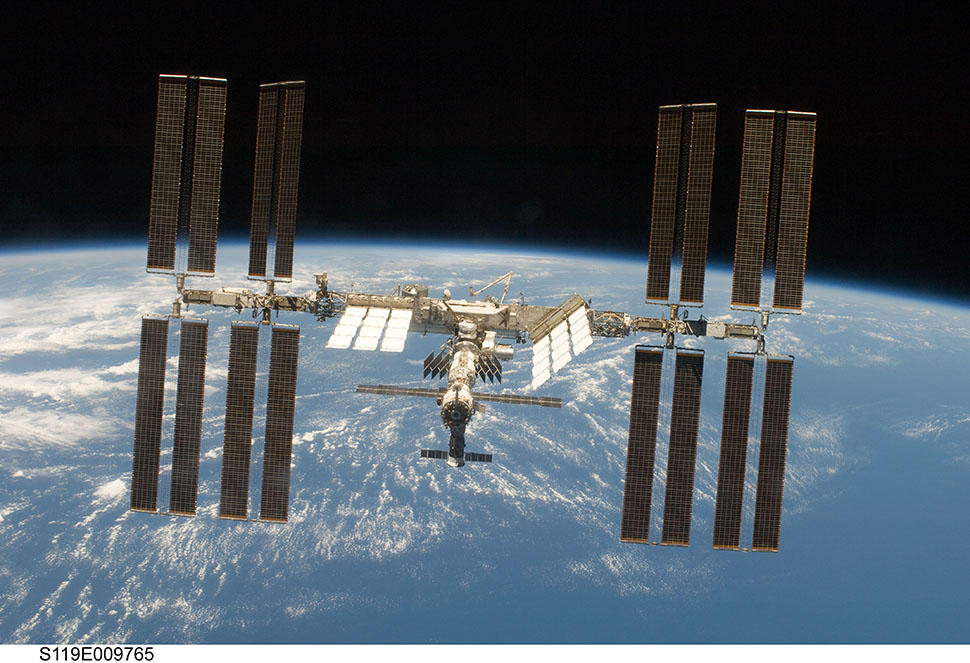
It orbits Earth every 90 minutes – so, 16 times every 24 hours – and its mighty solar panels are very bright when viewed just after sunset or just before sunrise. Its those solar panels reflecting sunlight that make the spacecraft visible from the Earth's surface; once you’ve seen it, you’ll always notice it streaking across the night sky as a very bright, constant white light.
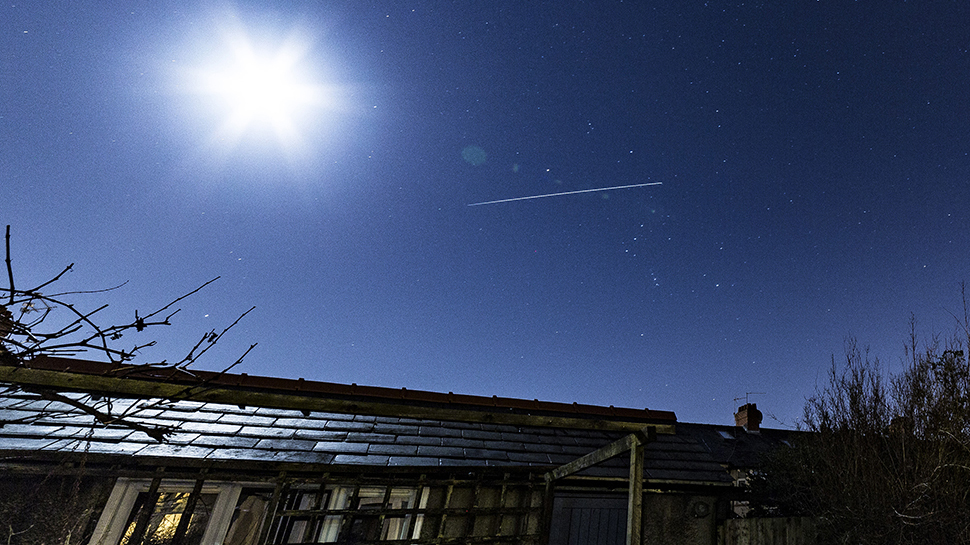
Home to around six astronauts at any one time, the 109x73m, 480,000kg laboratory takes about four minutes to cross the sky. Take a well-timed long exposure photograph and it’s possible to capture its orbital path 400km above.
Equipment
Getting a close-up shot of the ISS is tricky – even when using a telescope. Instead, aim to take a long exposure that captures its orbital trail across the night sky. That means you’ll need to open the shutter for between 30 seconds and a few minutes, so you’ll need a camera that allows manual control over exposure.
A wide-angle lens will also be useful, not only to capture as much sky as possible, but also to get something in the foreground. You’ll also need a tripod for keeping the camera completely still during the long exposure.
If you’re not sure of the cardinal points for where you are, a compass, or the compass app on a smartphone, will also be useful. The ISS always appears in the west and crosses the sky to sink in the east – most visibly near sunset or sunrise – so you’ll need to position your camera carefully.
How to plan an ISS photograph
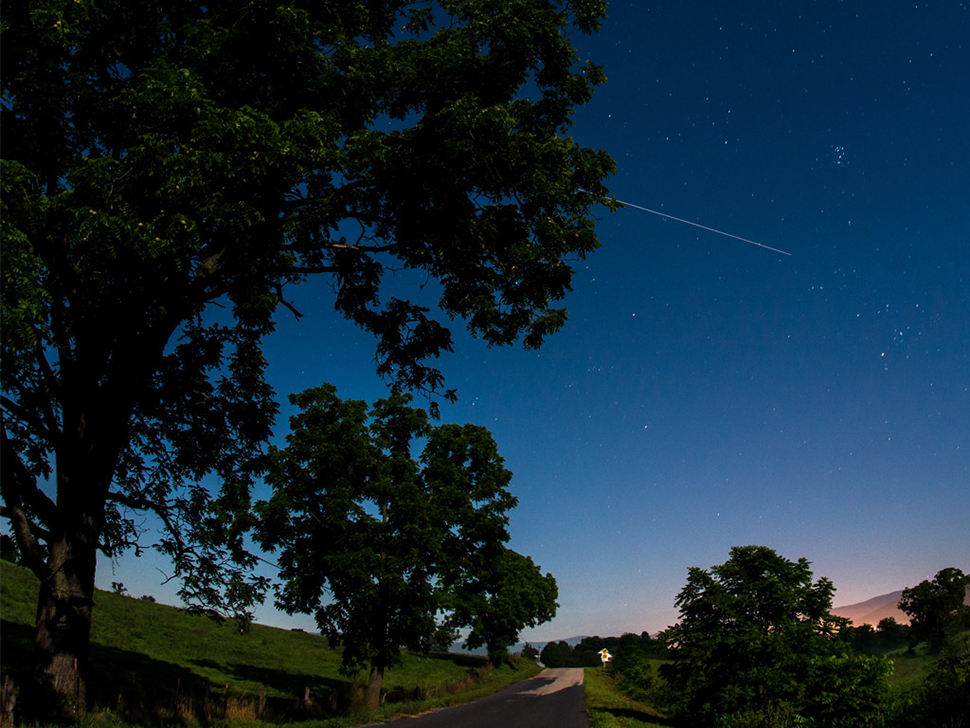
Since Earth is rotating from west to east, and the ISS is orbiting diagonally from south-west to north-east, its path appears to shift north. It takes about four minutes to cross the sky, although depending on exactly when you see it, the ISS can fade quickly.
The best camera deals, reviews, product advice, and unmissable photography news, direct to your inbox!
Because of this, taking a photograph of the ISS requires patience and careful planning down to the second. The next time it flies over your location may be a few weeks away, or it may be tonight.
Visit the Heaven’s Above website for a detailed list of ISS flybys near you (they can be seen for about 100 miles either side of the orbital path), and sign up for NASA’s Spot The Station service, which will email you a schedule of flybys happening the next day. NASA will, however, only let you know about flybys that will be visible to you directly overhead.
Read more: How to create a moonstack
It will usually be visible from where you are after sunset for ten days in a row, after which you’ll likely have to wait a couple months for its return to the morning sky. And so it continues. It's always transiting, but in daylight, so it's invisible.
On any one day, however, the ISS may be visible twice or even three times in a row, each 90 minutes apart, though only one sighting will be overhead. The others will be lower, nearer the horizons.
Useful ISS apps
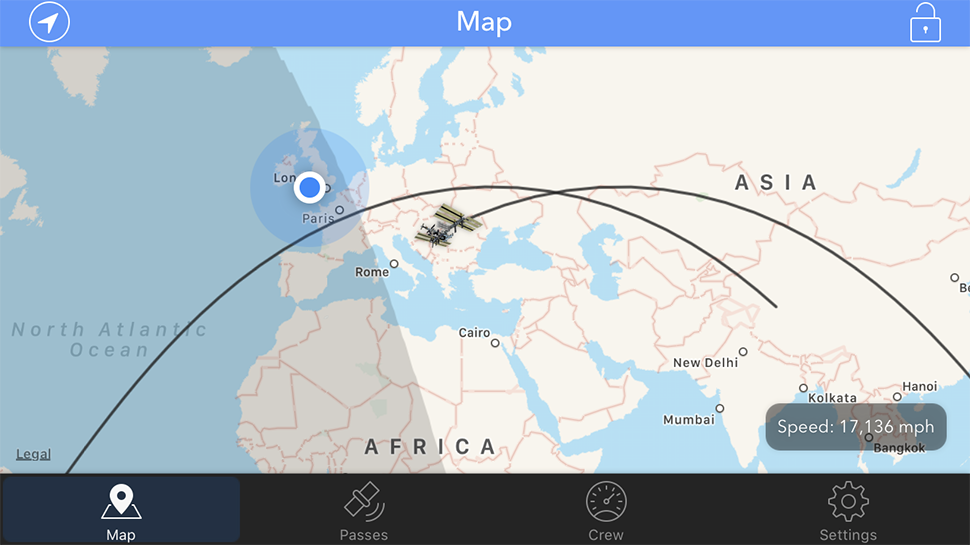
There are also a host of apps that follow the ISS in real-time, such as ISS Spotter for the iPhone and ISS Detector for Android. These apps use the same prediction engine to make calculations specific to your GPS position.
Planetarium apps such as Star Walk 2 and Sky Guide will also send you alerts of ISS flybys occurring in five minutes’ time at your location. That’s not much warning, but if you’ve already got your camera mounted on a tripod and ready to go, it’s enough to get into your back garden to fire off a few shots (realistically, a maximum of two).
Once you know which crossing you’re going to try for, check the weather forecast and plan to visit a wide-open landscape, such as a park or open field. If it’s got a view low to the western horizon, you will see the ISS as soon as it rises.
Taking the shot
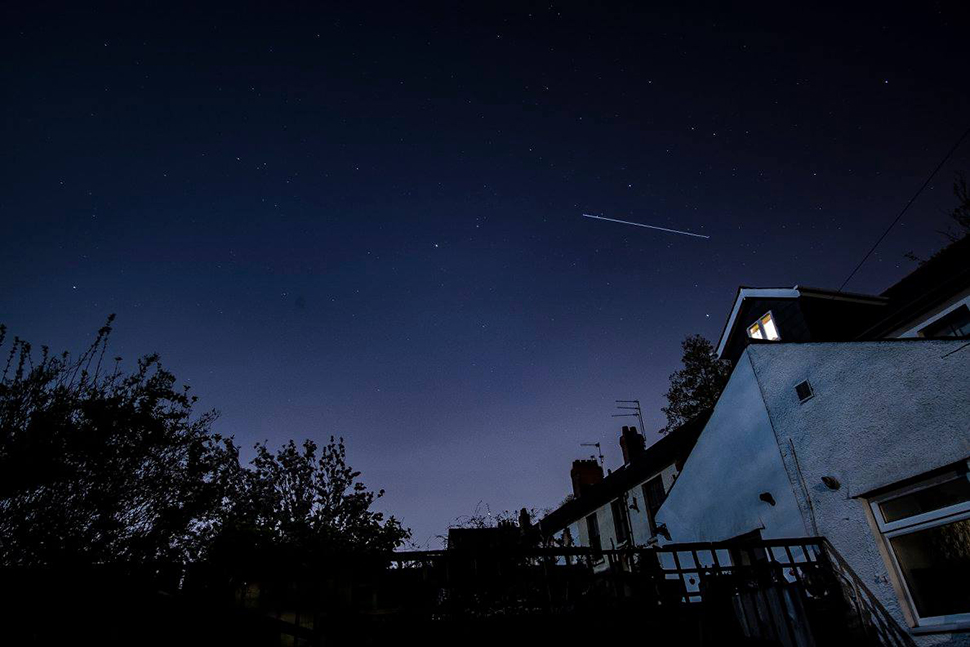
The ISS is only visible in the few hours before sunrise or after sunset. About 10 minutes before the scheduled flyby you’re planning on photographing, go outside with your camera on a tripod, preferably with a wide-angle lens that has its focus set to infinity, and put it in its manual exposure mode.
Take some 30-second test exposures on ISO 400, with the aperture at around f/4. As soon as you see the ISS rising above the western horizon, open the shutter.
When the shot is complete and you've captured an ISS trail, swivel the camera and do the same again. With any luck, the ISS will drop into the camera’s field of view. If you have a very wide-angle lens, try exposures of a minute or longer, but adjust the aperture to prevent overexposing the image. It takes some practice, with the biggest variables being the brightness of the sky (ie how soon after sunset the transit takes place) and the amount of moonlight.
Read more: How and when to photograph the moon
If you see the ISS just after sunset (or just before sunrise), it will likely remain blazingly bright right across the sky. If you see it again 90 minutes later on its second pass, the sun will have sunk further, and its rays will only catch the solar panels until the ISS is perhaps third of the way across the night sky. As it enters Earth’s shadow it fades very quickly.
Photographing satellites
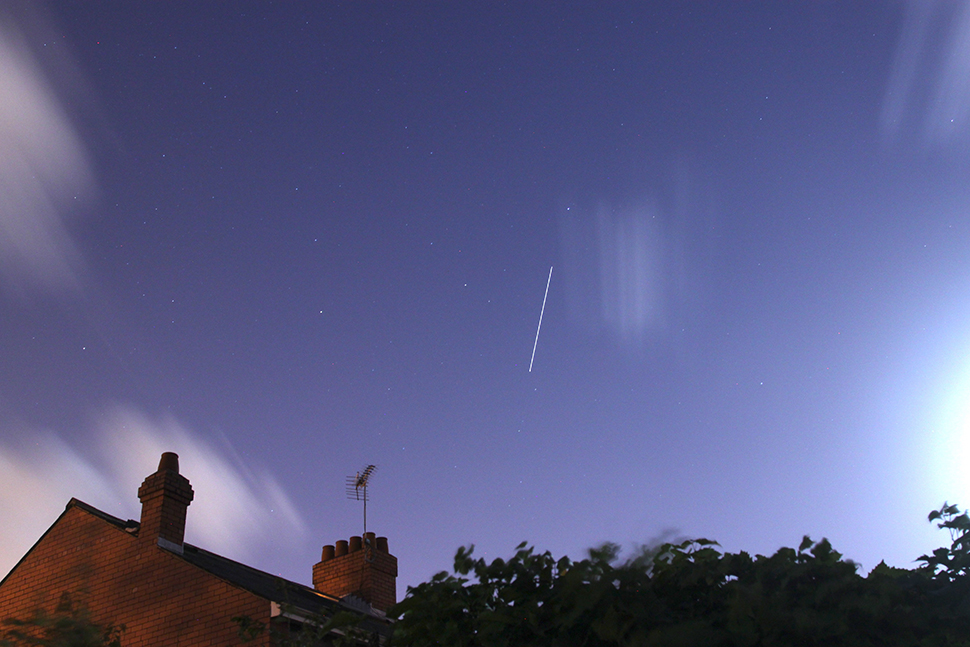
Although the ISS is the only spacecraft with humans onboard, there are other satellites orbiting Earth that can be photographed.
For now, the most popular and visually arresting are Iridium satellites. A vast network of hundreds of communications satellites launched in the late 1990s, they often glint dramatically – and very predictably. Rising and falling in brightness over about 15 seconds, they can be very, very bright, so an exquisitely-timed long exposure photograph can capture a unique diamond shape in the night sky.
Sadly, this generation of ageing satellites are currently being replaced and de-orbited, and by mid-2019 Iridium flares will be gone from the night sky. If you want to catch one, the rules are the same for photographing the ISS. The GoSatWatch (iOS) and Heaven's Above (Android) apps provide the crucial countdown.
Read more: The beginner's guide to photographing the night sky
Keen to learn more? Grab Jamie's book, A Stargazing Program for Beginners, here

Jamie has been writing about photography, astronomy, astro-tourism and astrophotography for over 20 years, producing content for Forbes.com, Space.com, Live Science, Techradar, T3, BBC Wildlife, Science Focus, New Scientist, Sky & Telescope, BBC Sky At Night, South China Morning Post, The Guardian, The Telegraph and Travel+Leisure.
As the editor of When Is The Next Eclipse and author of A Stargazing Program For Beginners, he has a wealth of experience, expertise and enthusiasm for astrophotography, from capturing the Northern Lights, the moon and meteor showers to solar and lunar eclipses.
He also brings a great deal of knowledge on action cameras, 360 cameras, AI cameras, camera backpacks, telescopes, gimbals, tripods and all manner of photography equipment.
