Show your true colours with Affinity Photo
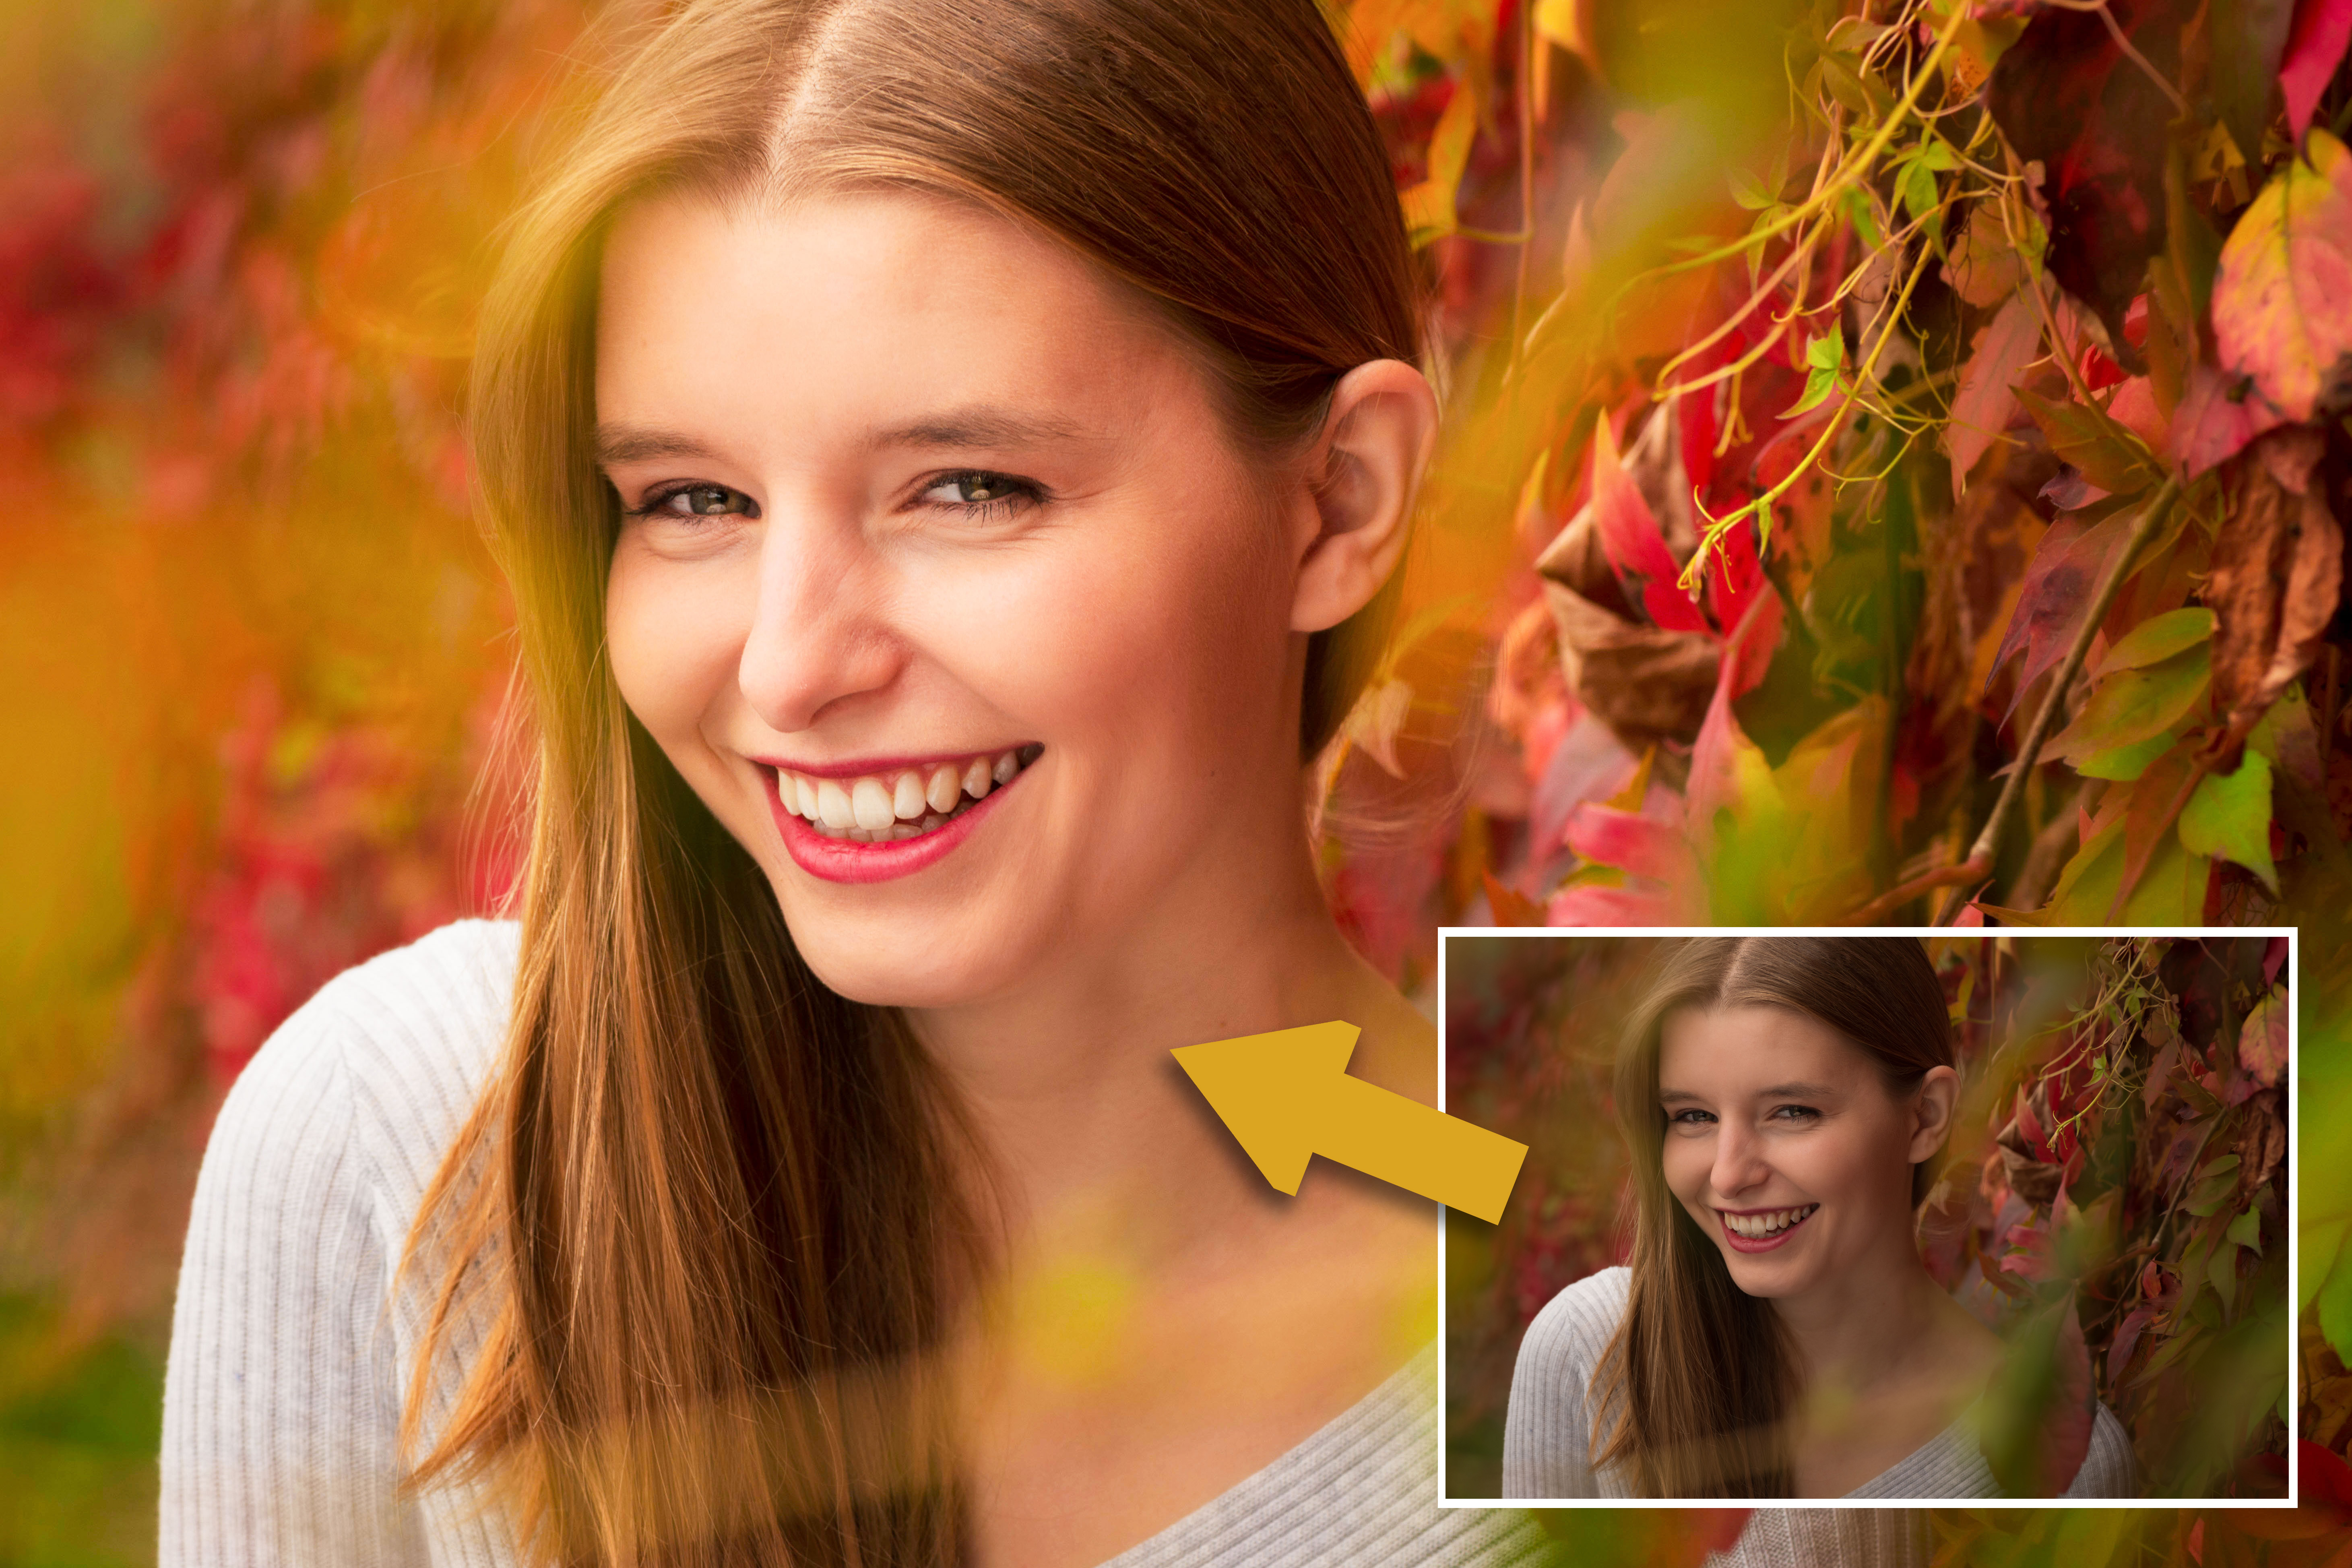
Whether you want to enhance the autumnal feel of a portrait like this or boost colours in any other type of image, there are tools and adjustments in Affinity Photo that are ideal for the task. Adjustment Layers are among the best. These can be built up one on top of another, allowing you to make a series of improvements to your photo: boosting tones, tweaking colours, enhancing contrast and so on.
The advantage to doing this with Adjustment Layers is that each edit you make works by affecting all the layers below while remaining independent and editable, so you can go back to the settings at any time to tweak things until all your adjustments work in harmony.
What’s more, you can take advantage of other great features of layers, like opacity controls, Blending Modes and masks. Masks in particular are hugely useful, as you can quickly invert the mask on an Adjustment Layer to hide the effect, then paint to reveal it just in the areas that you need. It’s this combination of flexibility and editability that makes Adjustment Layers so powerful for tweaking existing colours – or completely altering them.
Get colourful with Affinity Photo
Curves for contrast
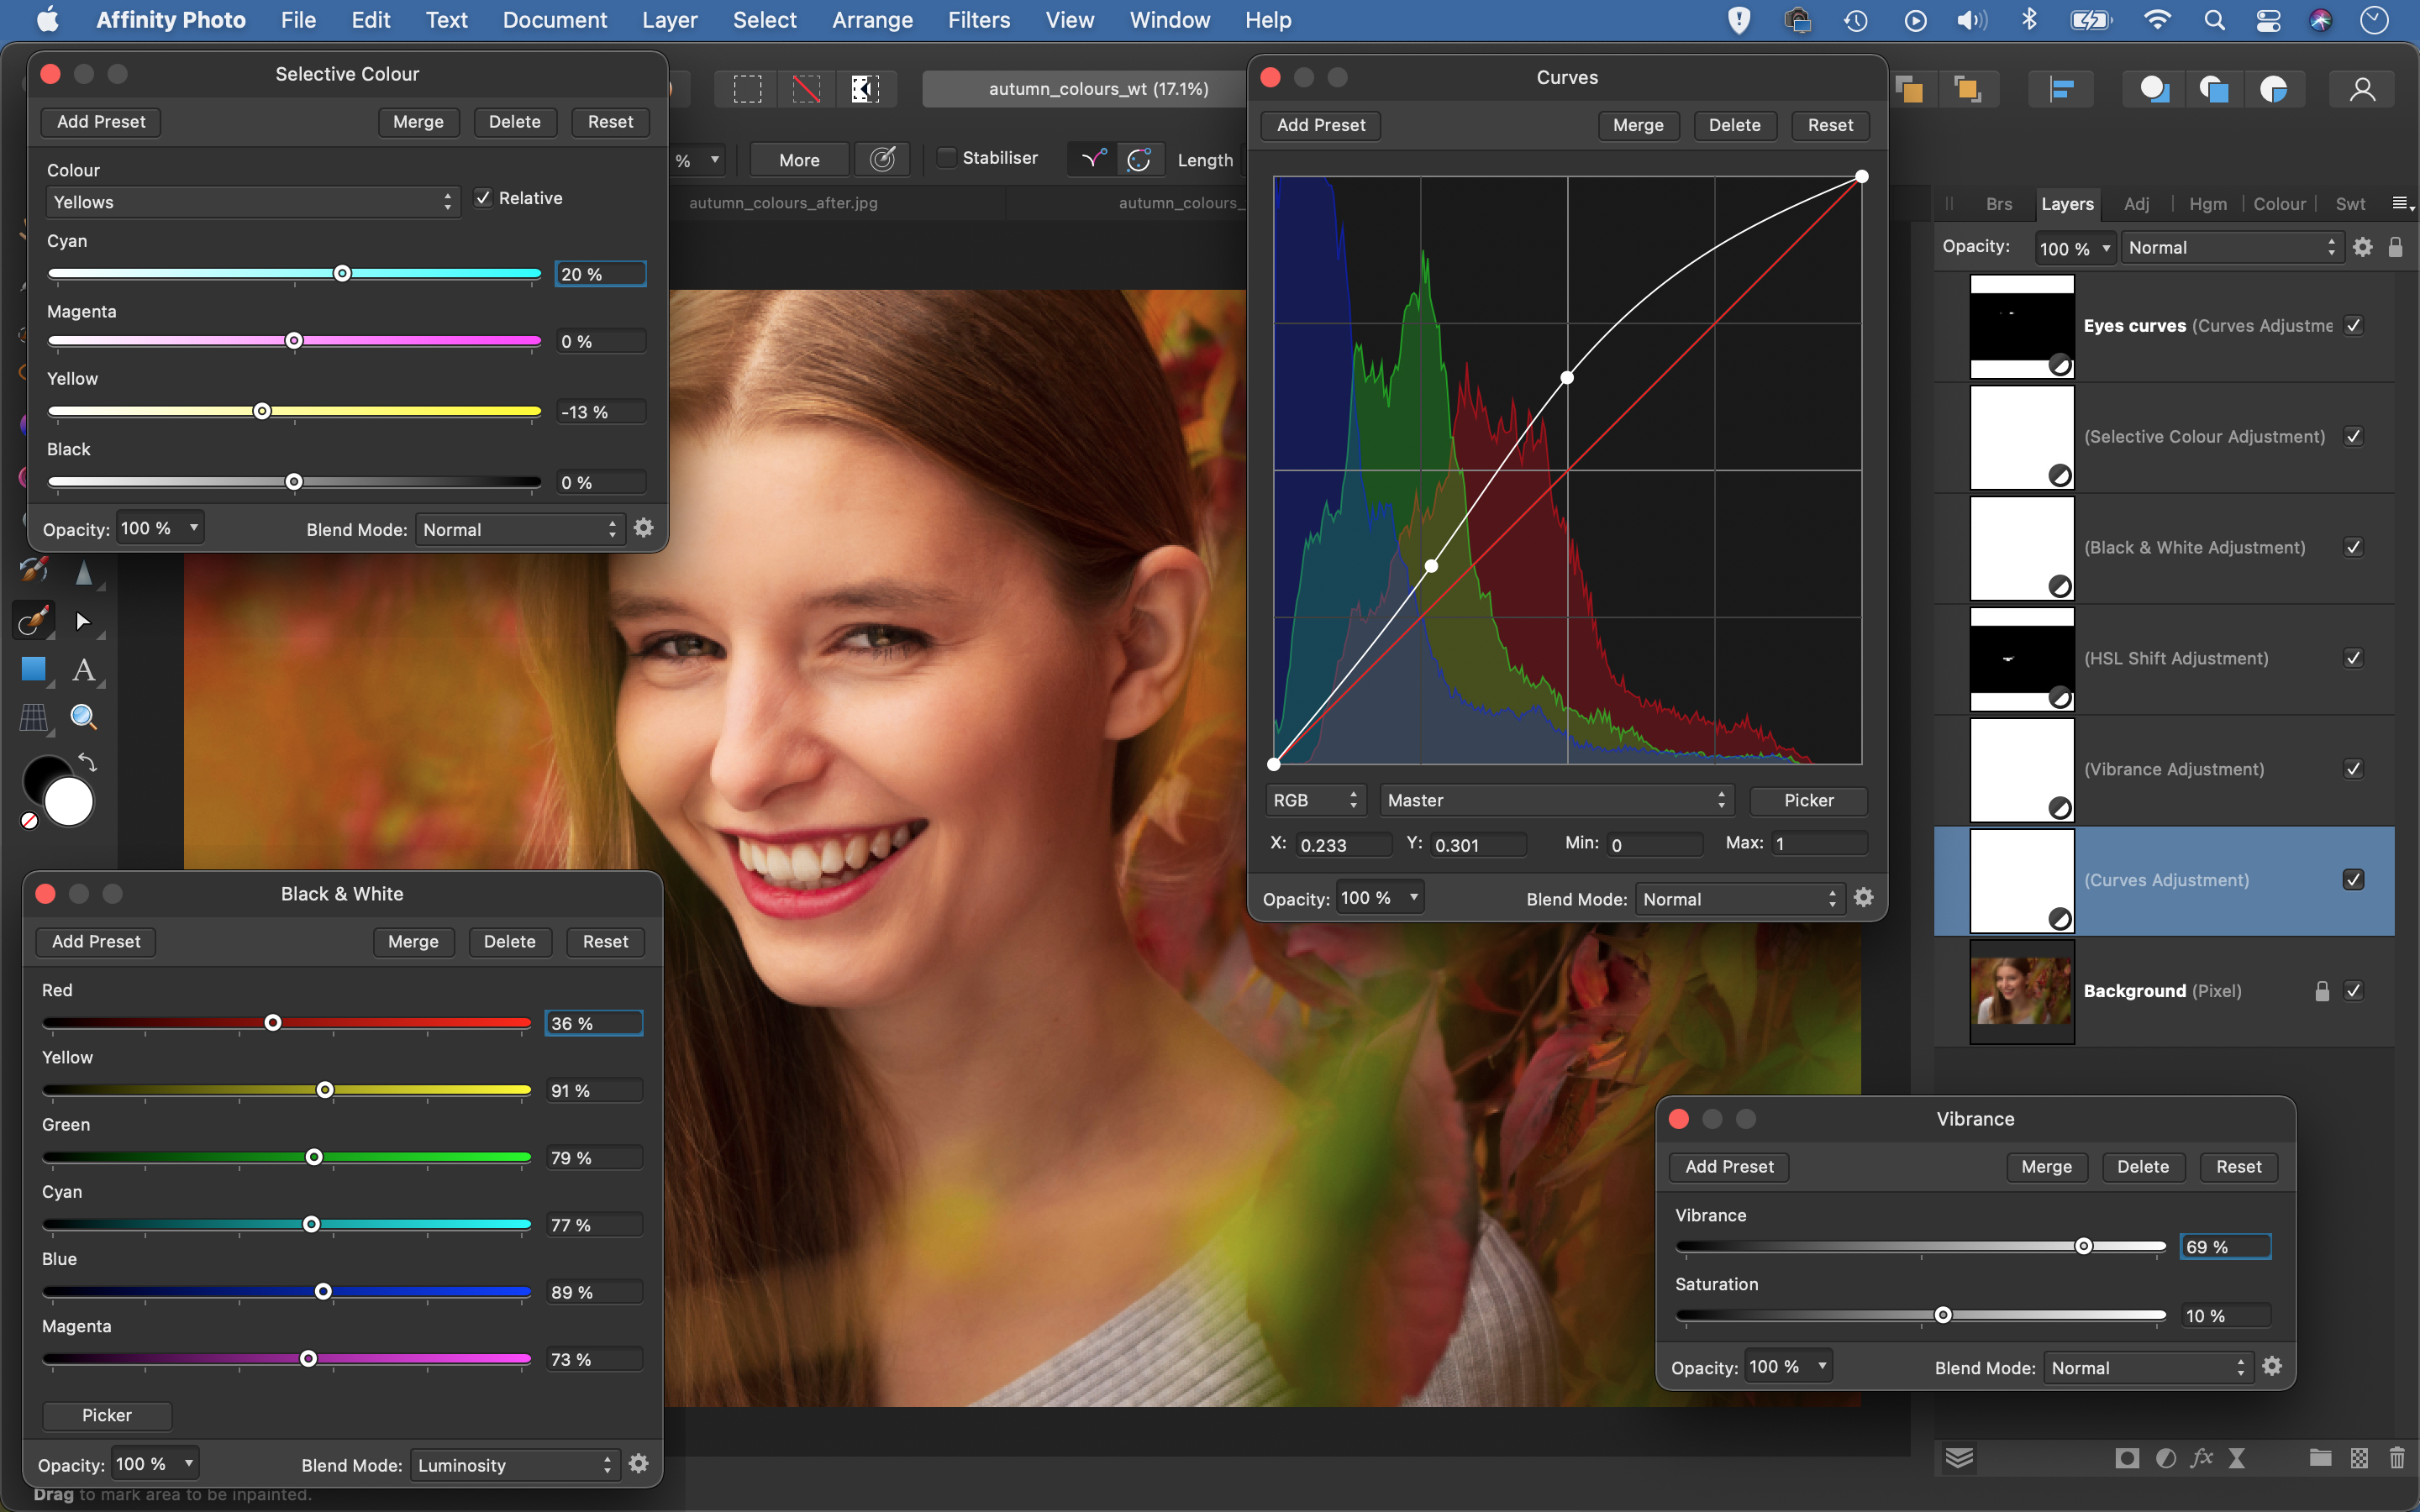
Our initial portrait looks slightly too dark and lacks contrast. Both of these issues can be fixed with a Curves Adjustment Layer. Click the Adjustment icon in the Layers Panel and choose Curves. The diagonal line can be dragged up to lighten the image and down to darken. You can add a point to control the shadows (on the left) to the highlights (on the right).
Boost with Vibrance
A Vibrance layer is ideal for boosting colours. This simple adjustment offers two sliders: Vibrance and Saturation. They both let us make the colours more or less intense – but while Saturation alters all the colours, Vibrance boosts only the weaker colours. Vibrance is ideal for portraits: it makes colours stronger without pushing the dominant reds and yellows in the skin tones too far.
Brighten teeth with HSL
If a colour is too strong or weak, add an HSL layer, then click one of the colour spots (or choose a colour from the wheel) and adjust the saturation. Here we’ve used it to whiten the teeth. Target the Yellows, then lower Saturation Shift and increase Luminosity Shift to tone down their intensity. Press Ctrl/Cmd + I to invert the Layer Mask, and paint with white to reveal the effect over the teeth.
Control colour brightness
A Black & White Adjustment Layer is great for mono conversions, but it can also be useful for controlling colours. After adding the layer, click the dropdown at the top of the Layers Panel and change the Blending Mode from Normal to Luminosity. Now you can adjust the brightness of different colour ranges. With portraits like this, increase the reds and yellows to lift the skin tones.
Correct colour casts
After brightening the image with our Curves layer, it takes on a yellow / red colour cast. Add a Selective Colour Adjustment Layer, then target the Yellows from the dropdown. Use the four sliders to alter the yellows. To tone them down, we’ve decreased the Yellow slider and increased the Cyan slider. You can target and alter other colours in a similar way.
Enhance eyes
To boost the eyes, first add a Curves layer, lift the top of the line and pull down on the bottom left (in a similar way to the first tip) to boost the contrast. Press Ctrl/Cmd + I to invert the mask to black, which hides the effect. With the layer still highlighted, grab the Brush Tool and paint with white to reveal the tonal change over the eyes. Lower the strength of the effect by dropping the layer opacity slightly.
Fake autumnal colours with ease
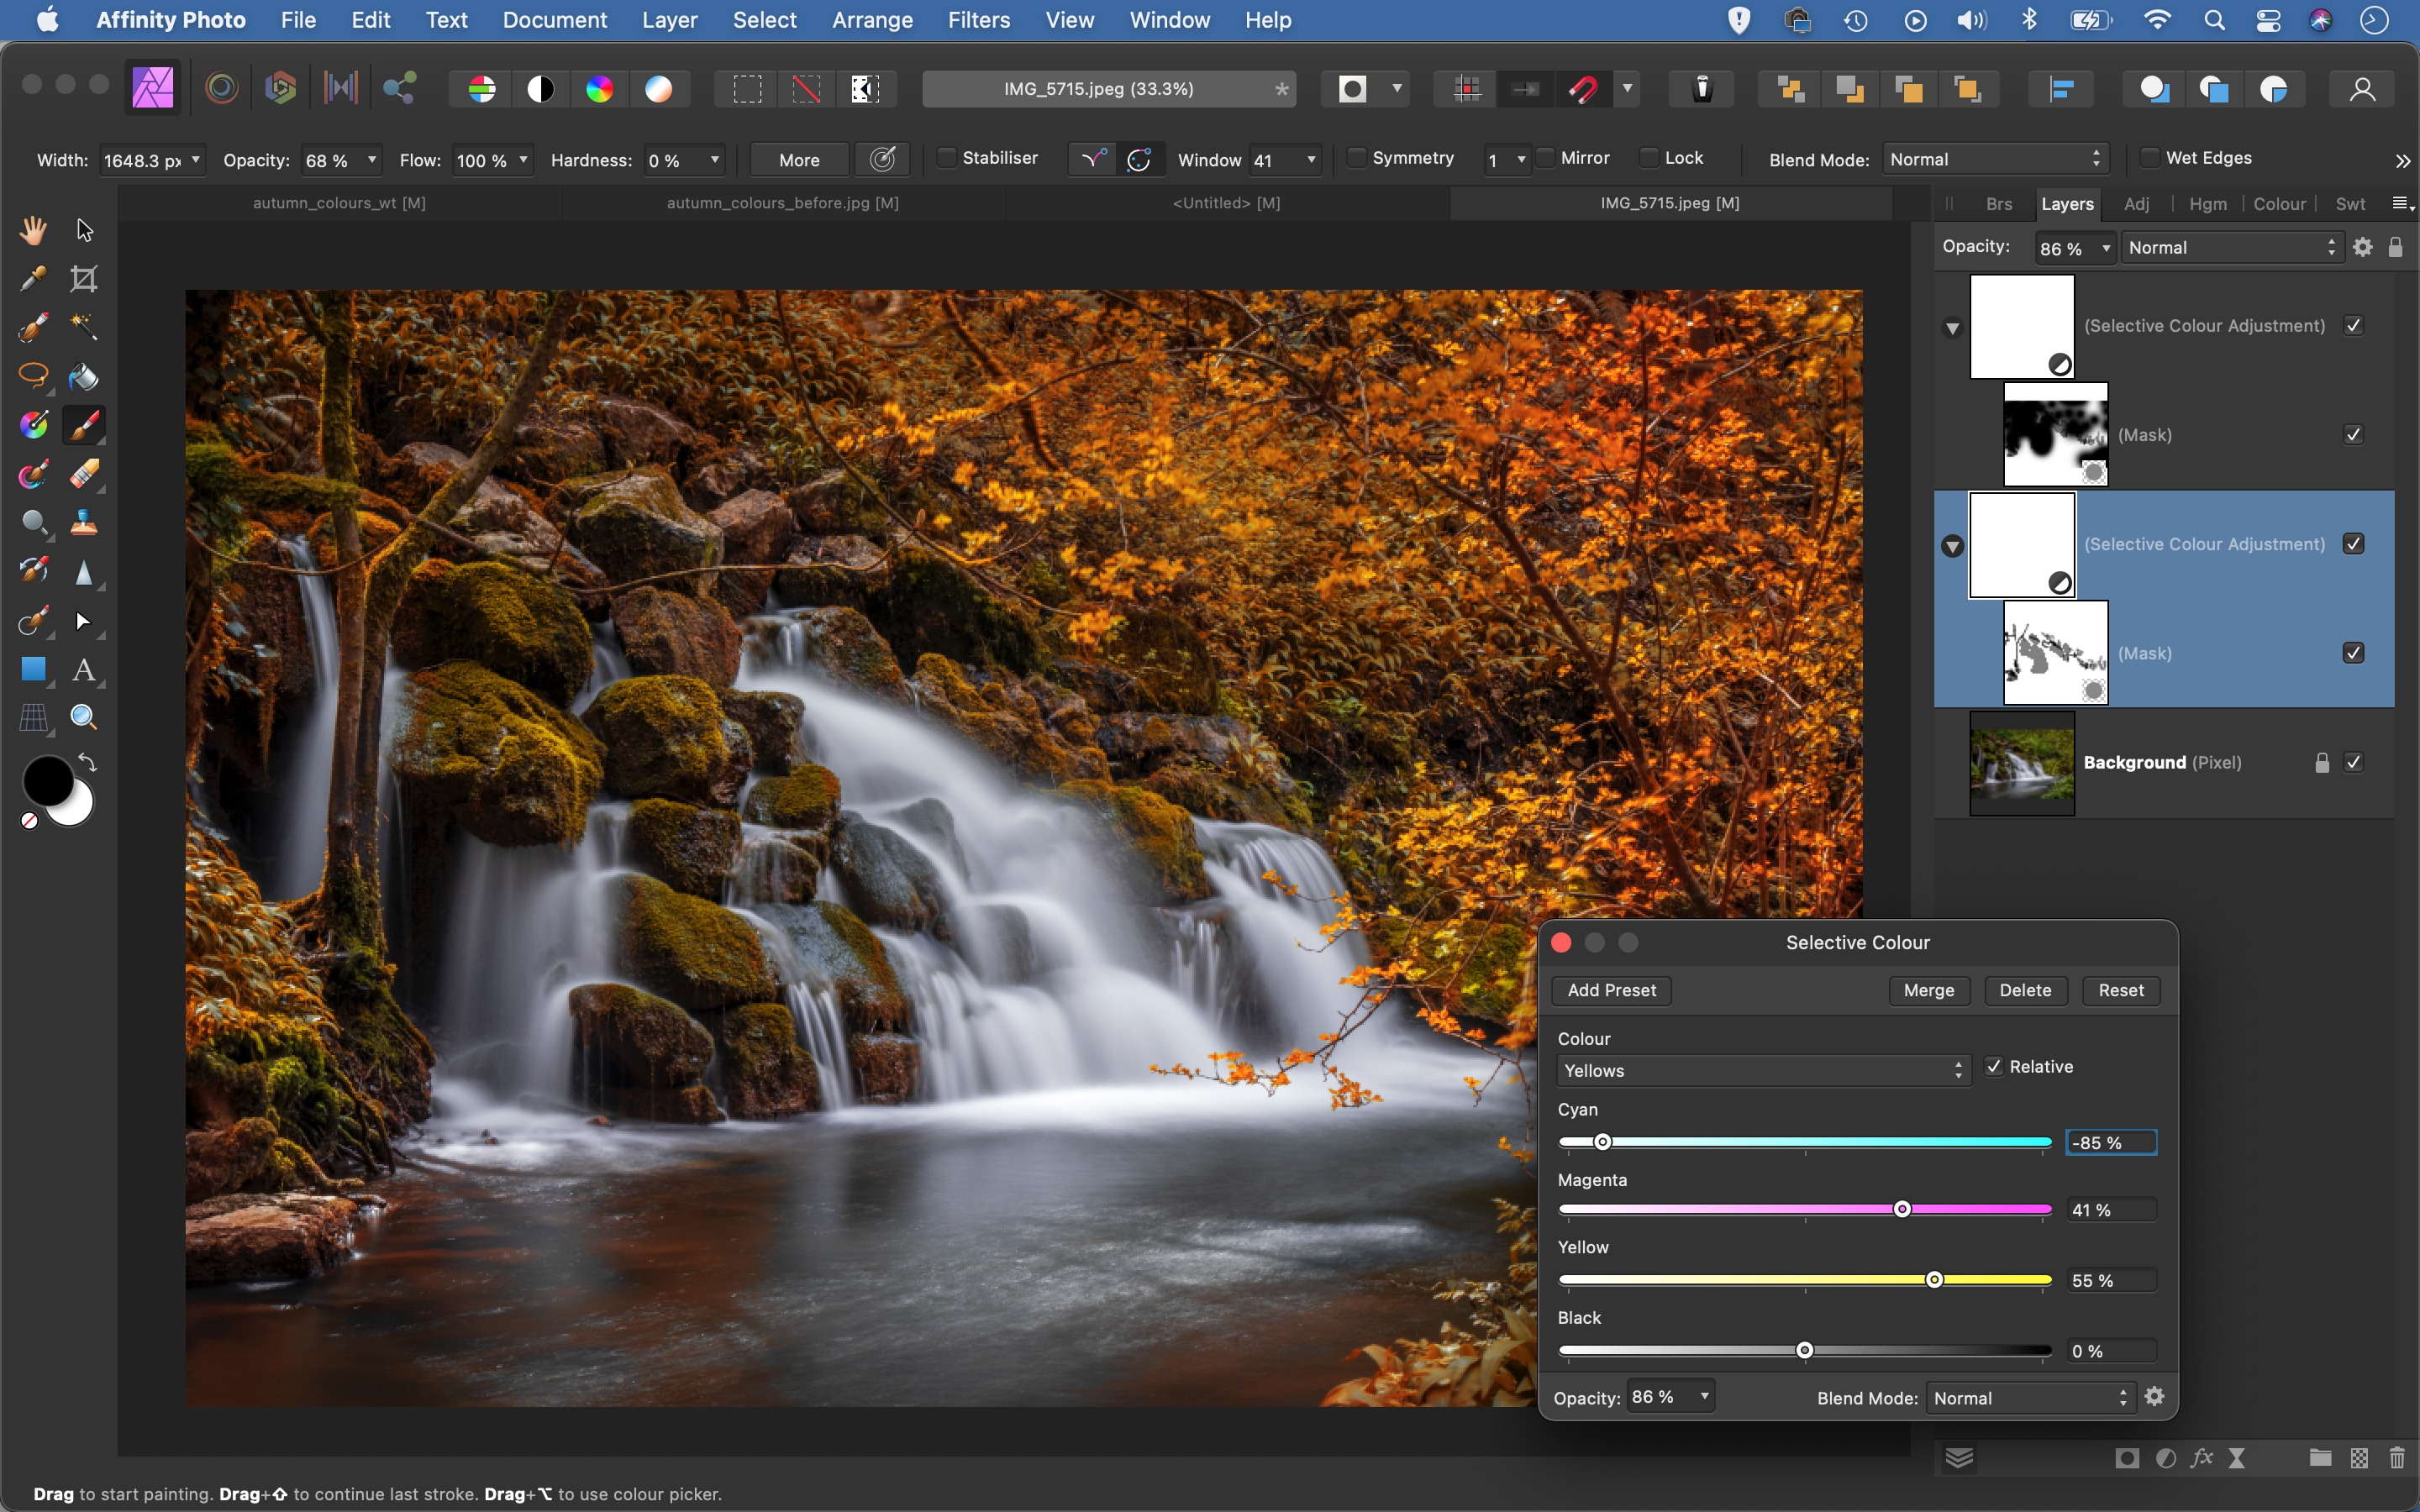
A simple colour trick will enable you to turn green leaves and foliage into autumnal shades. Add a Selective Colour Adjustment Layer, then click the Colour dropdown and choose Yellows. Set Cyan to -85%, Magenta to +40% and Yellow to +60%. This will turn the foliage into shades of orange and yellow. If you want to make the effect stronger, duplicate the layer with Ctrl/Cmd + J. It’s worth adding a Layer Mask to make the effect work selectively over parts of the image.
Make the most of autumn with your camera
Autumn is a season of contrast. While the natural world starts to slow down, wild animals are doing quite the opposite, immersed in bursts of activity as they stock up for winter.
We photographers often need to make like the squirrels at this time of year, too. You might have to wait weeks for a calm, drizzle-free day with a low, raking light that makes your heart thump – and when it comes, you really have to get to work. The peak autumn leaf colours don’t last long, either, so there’s no time to procrastinate with a camera!
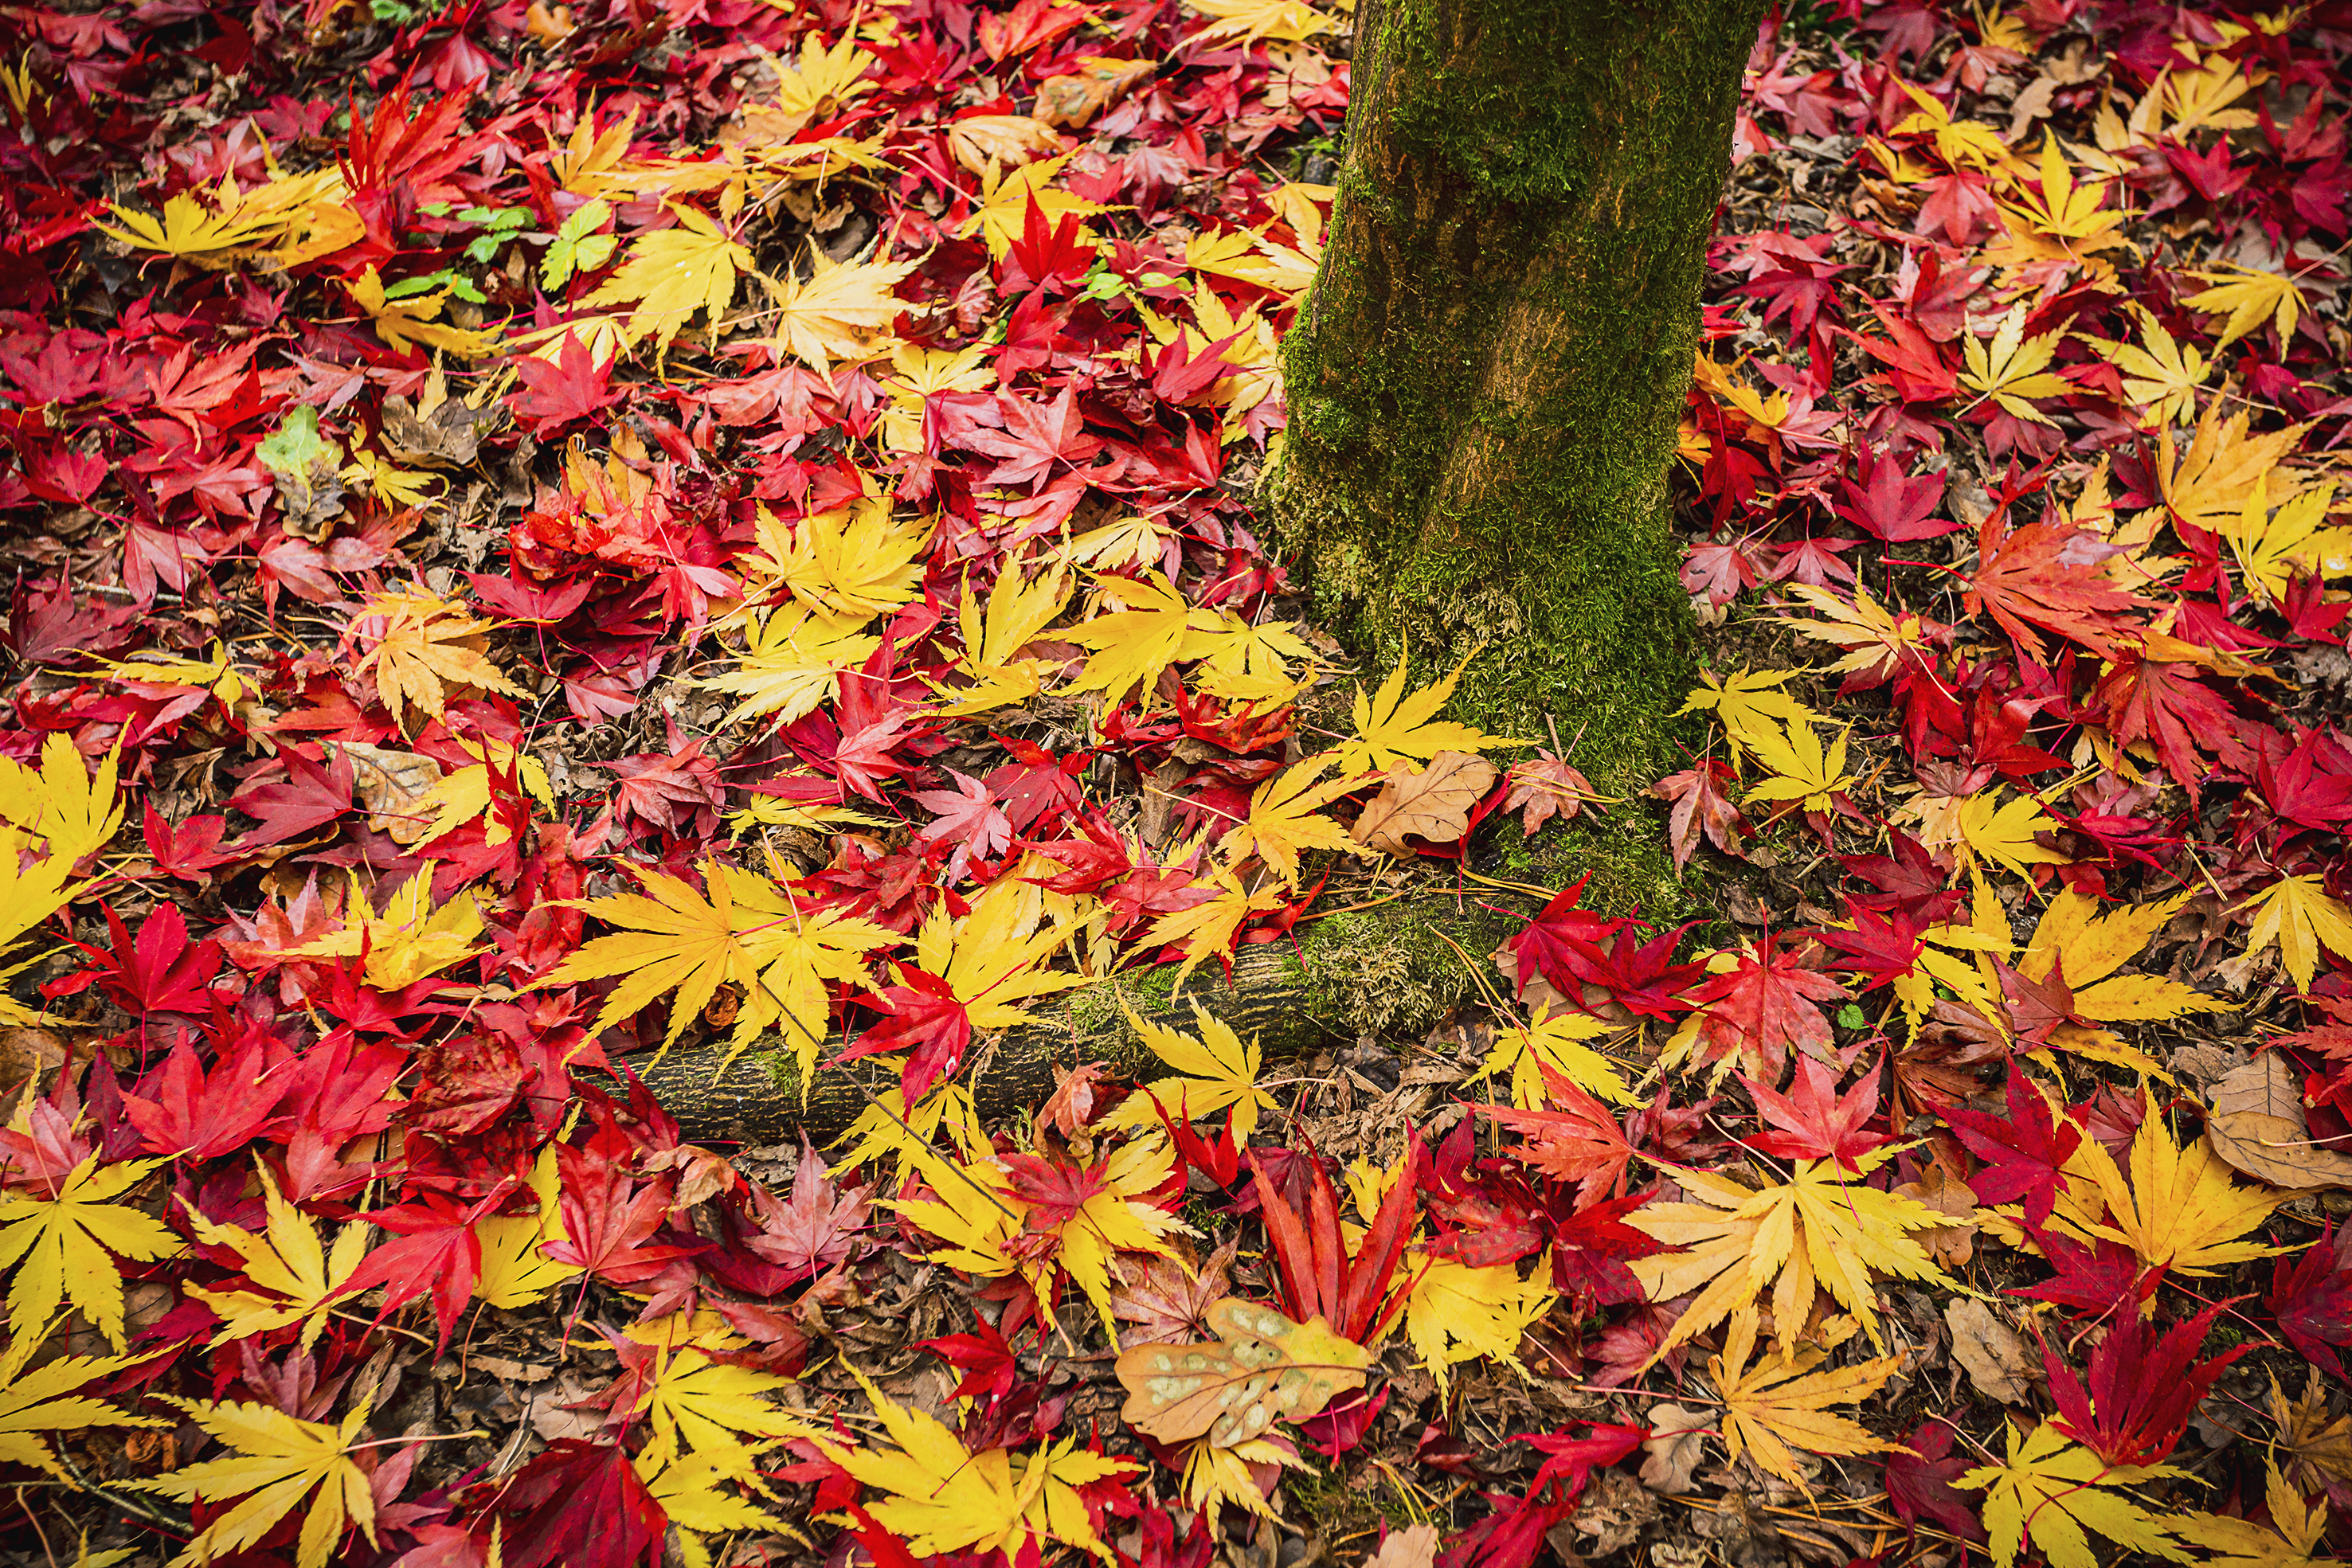
It is easy enough to get outside and snap the luminous colours and natural spectacle of autumn. But there are a few tricks to making the most of this beautiful season…
Focal lengths
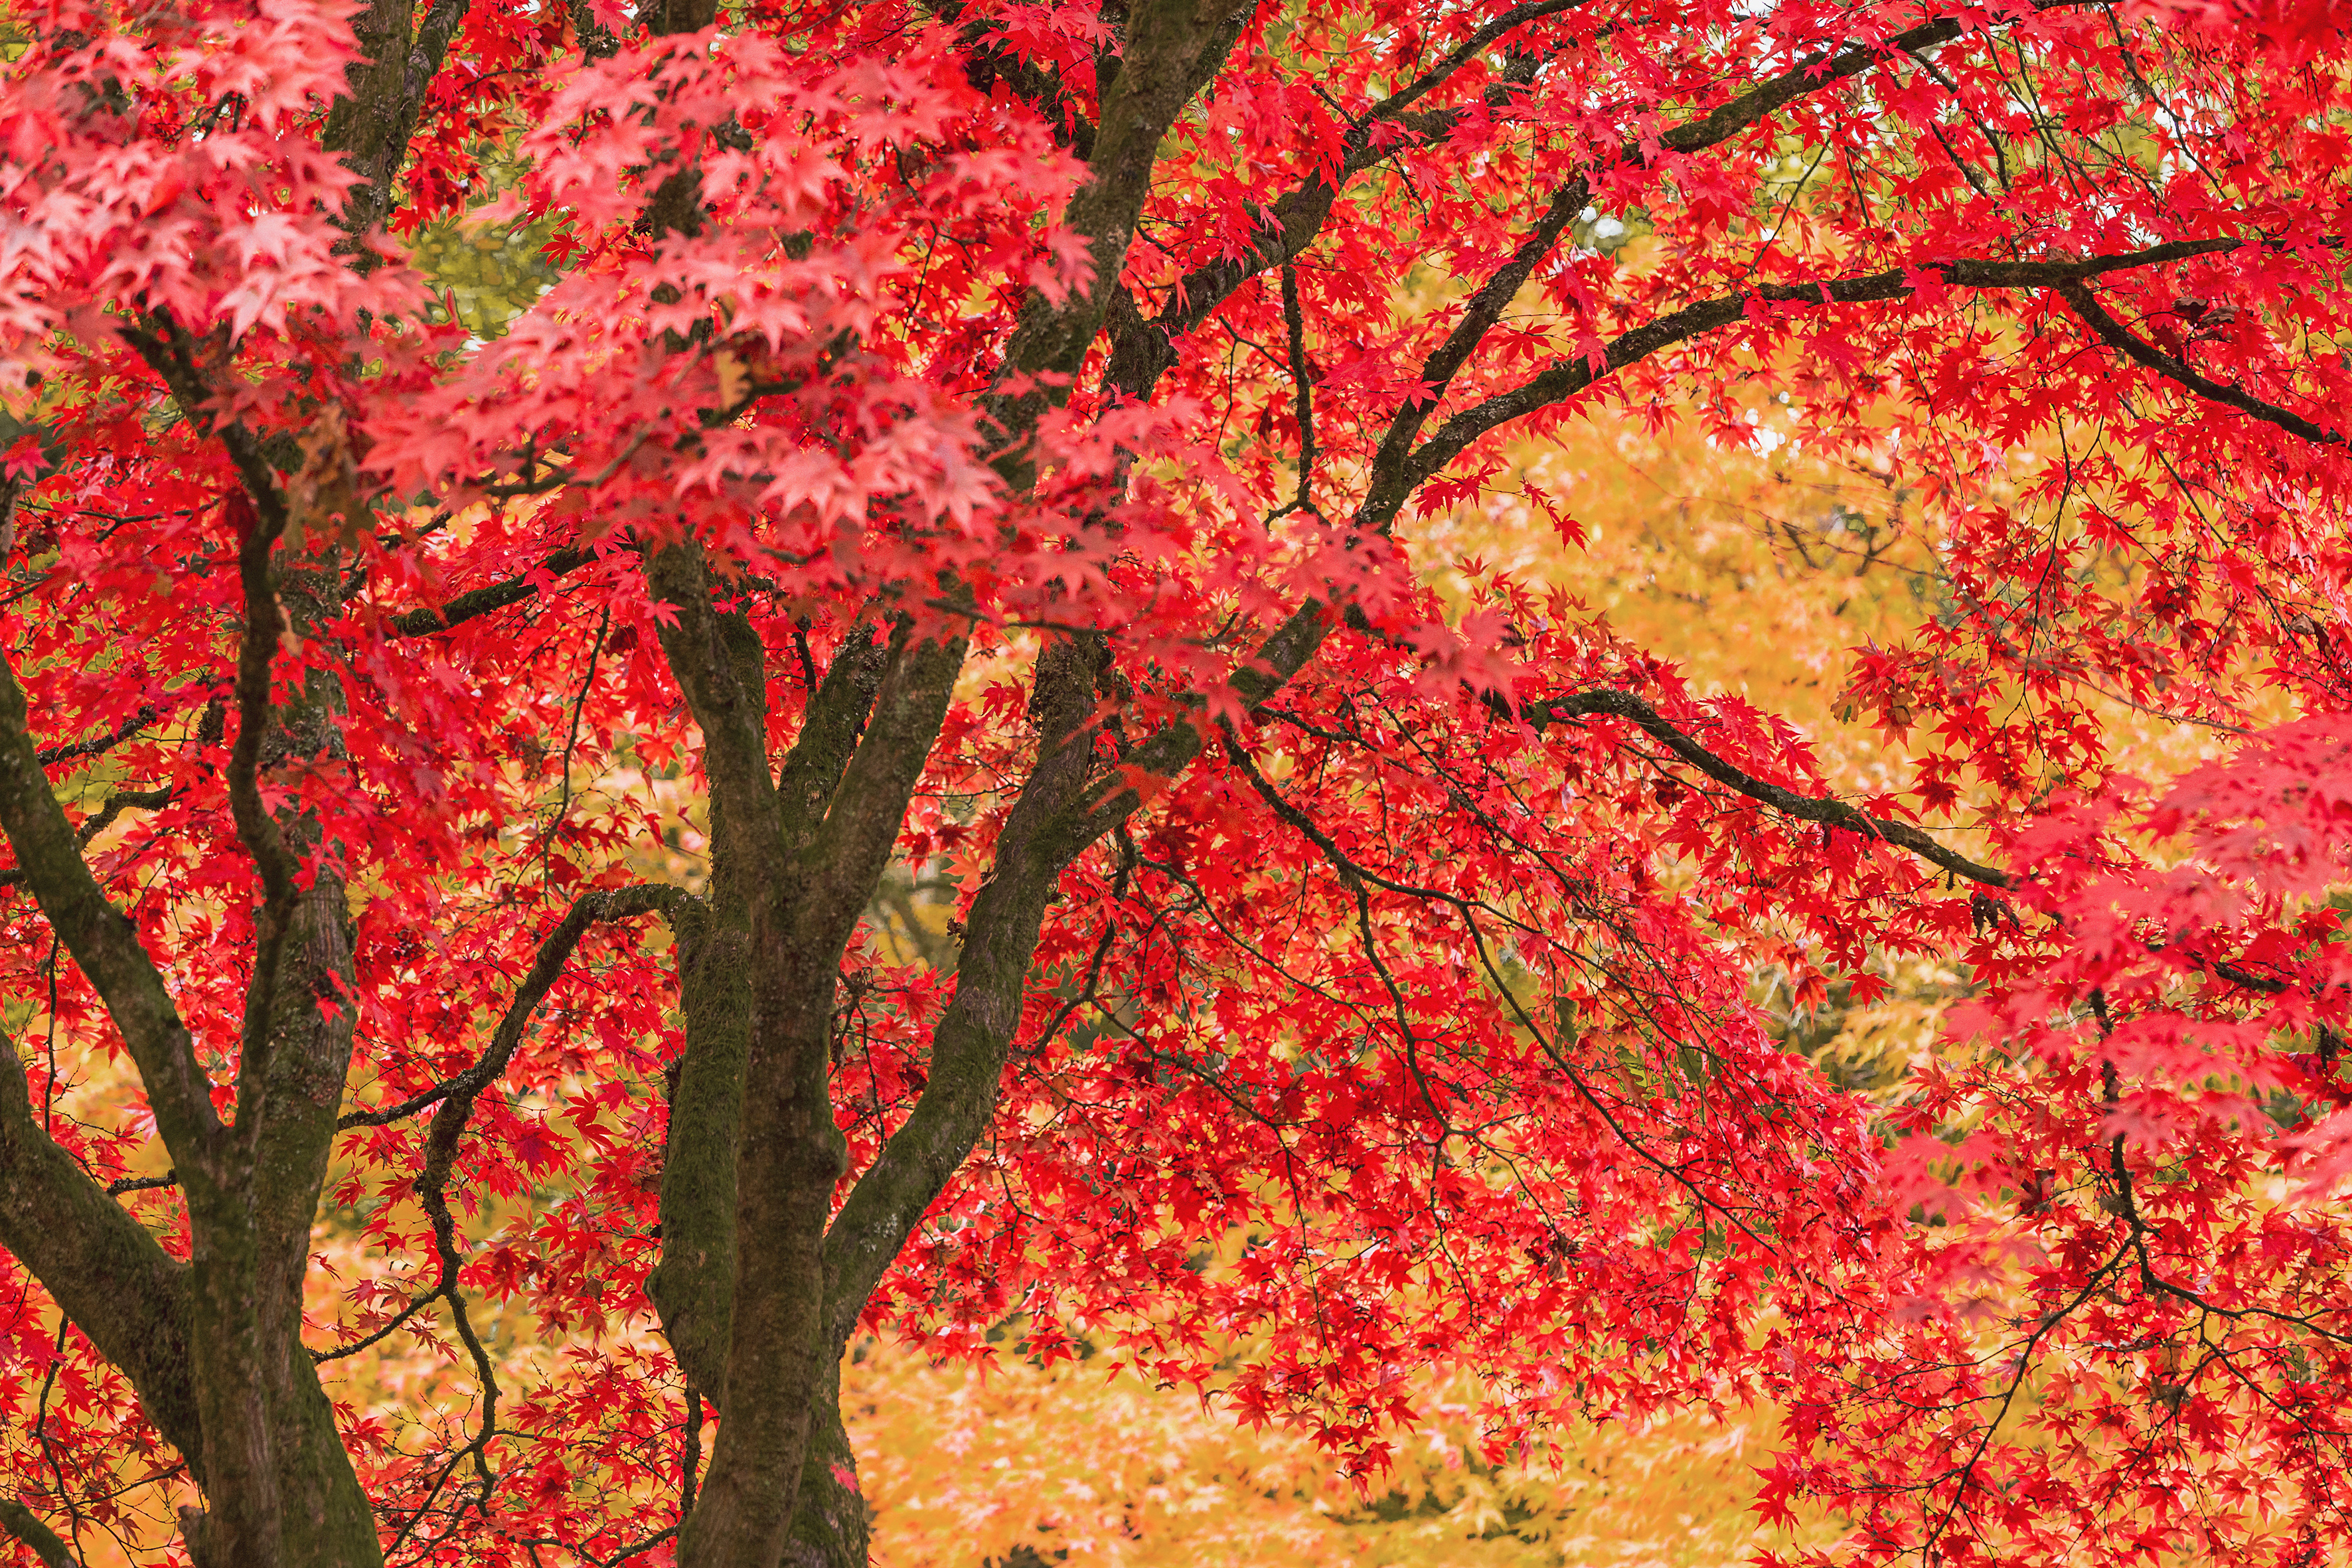
Experimenting with different focal lengths is a good start; there’s something to point every type of lens towards at this time of year. Wide-angle lenses are a go-to for autumn landscapes. Ultra-wide lenses, in the region of 14-20mm on a full-frame camera, are great for those tight spots under trees, enabling you to get close to the trunk and angle the camera upwards to capture the spread of branches. They’re also useful for getting close to smaller subjects such as fungi, and showing them in context within a wider scene.
Don’t forget your telephoto, though. While super-teles such as 400mm, 500mm
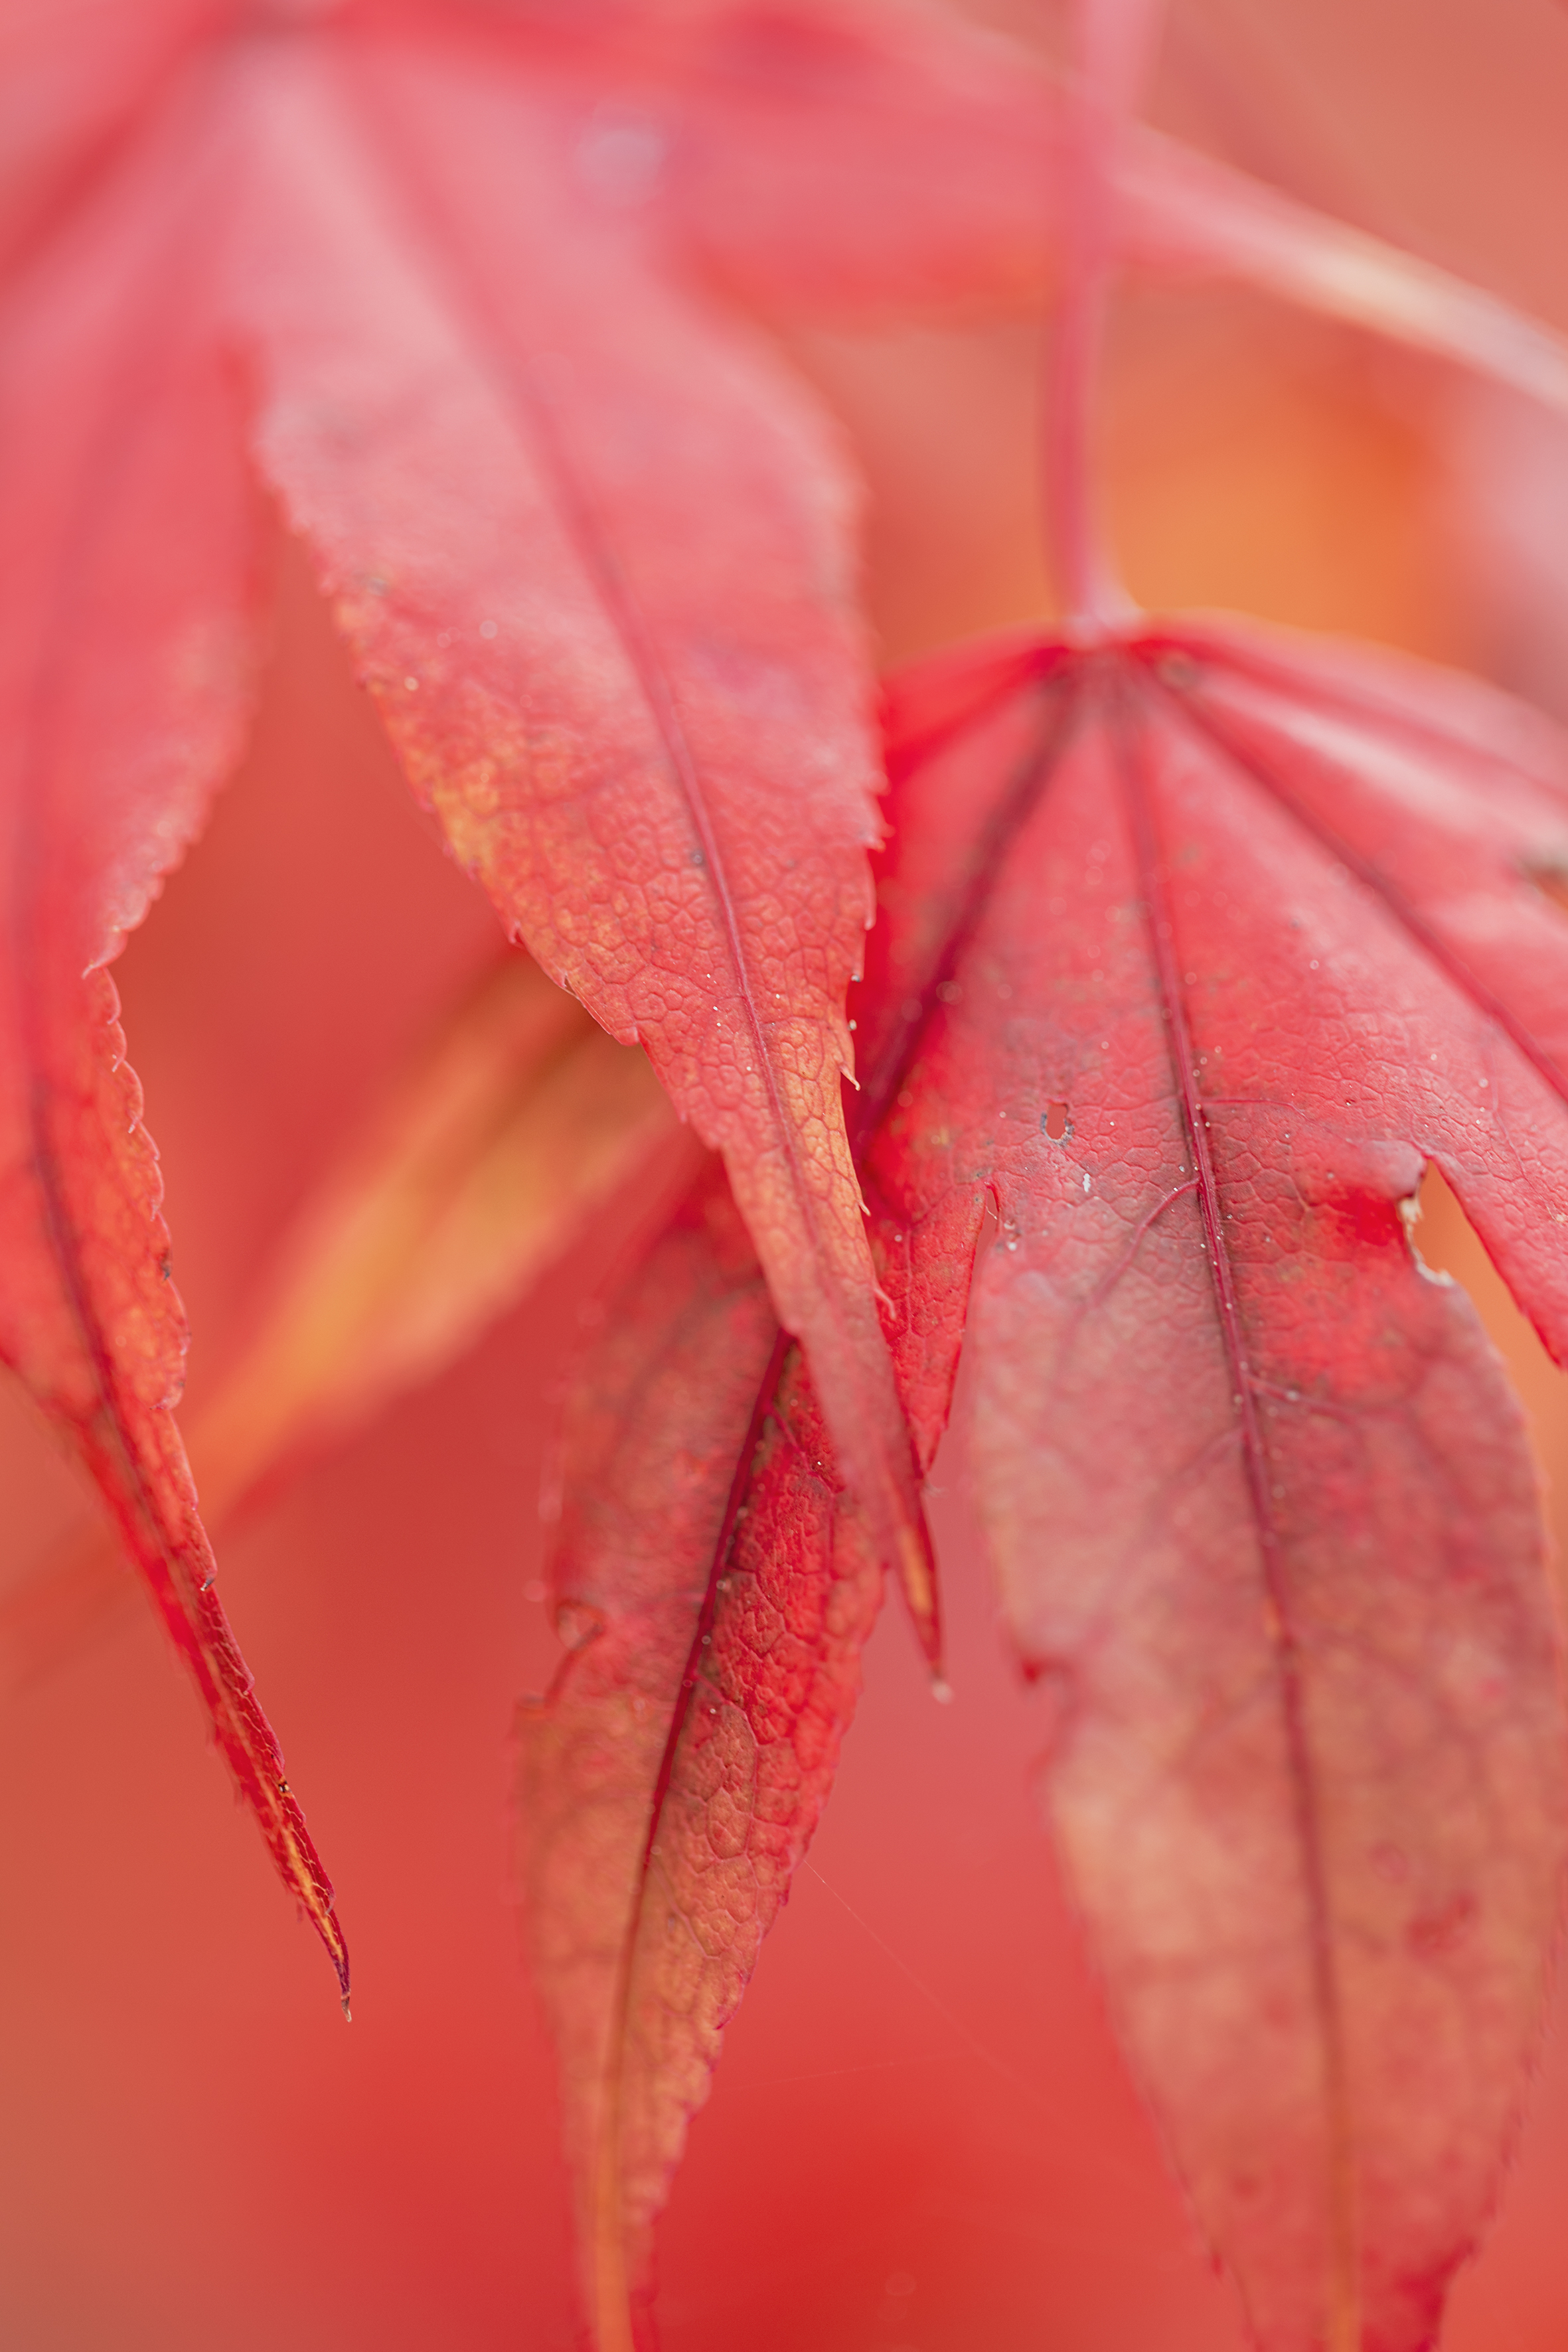
and 600mm are essential for autumn wildlife, a moderately long focal length from 70-300mm gives you the opportunity to frame trees or individual leaves against a small portion of the backdrop. Combined with a relatively wide aperture, such as f/4 or f/5.6, a telephoto lens enables you to blur the background and make the subject pop.
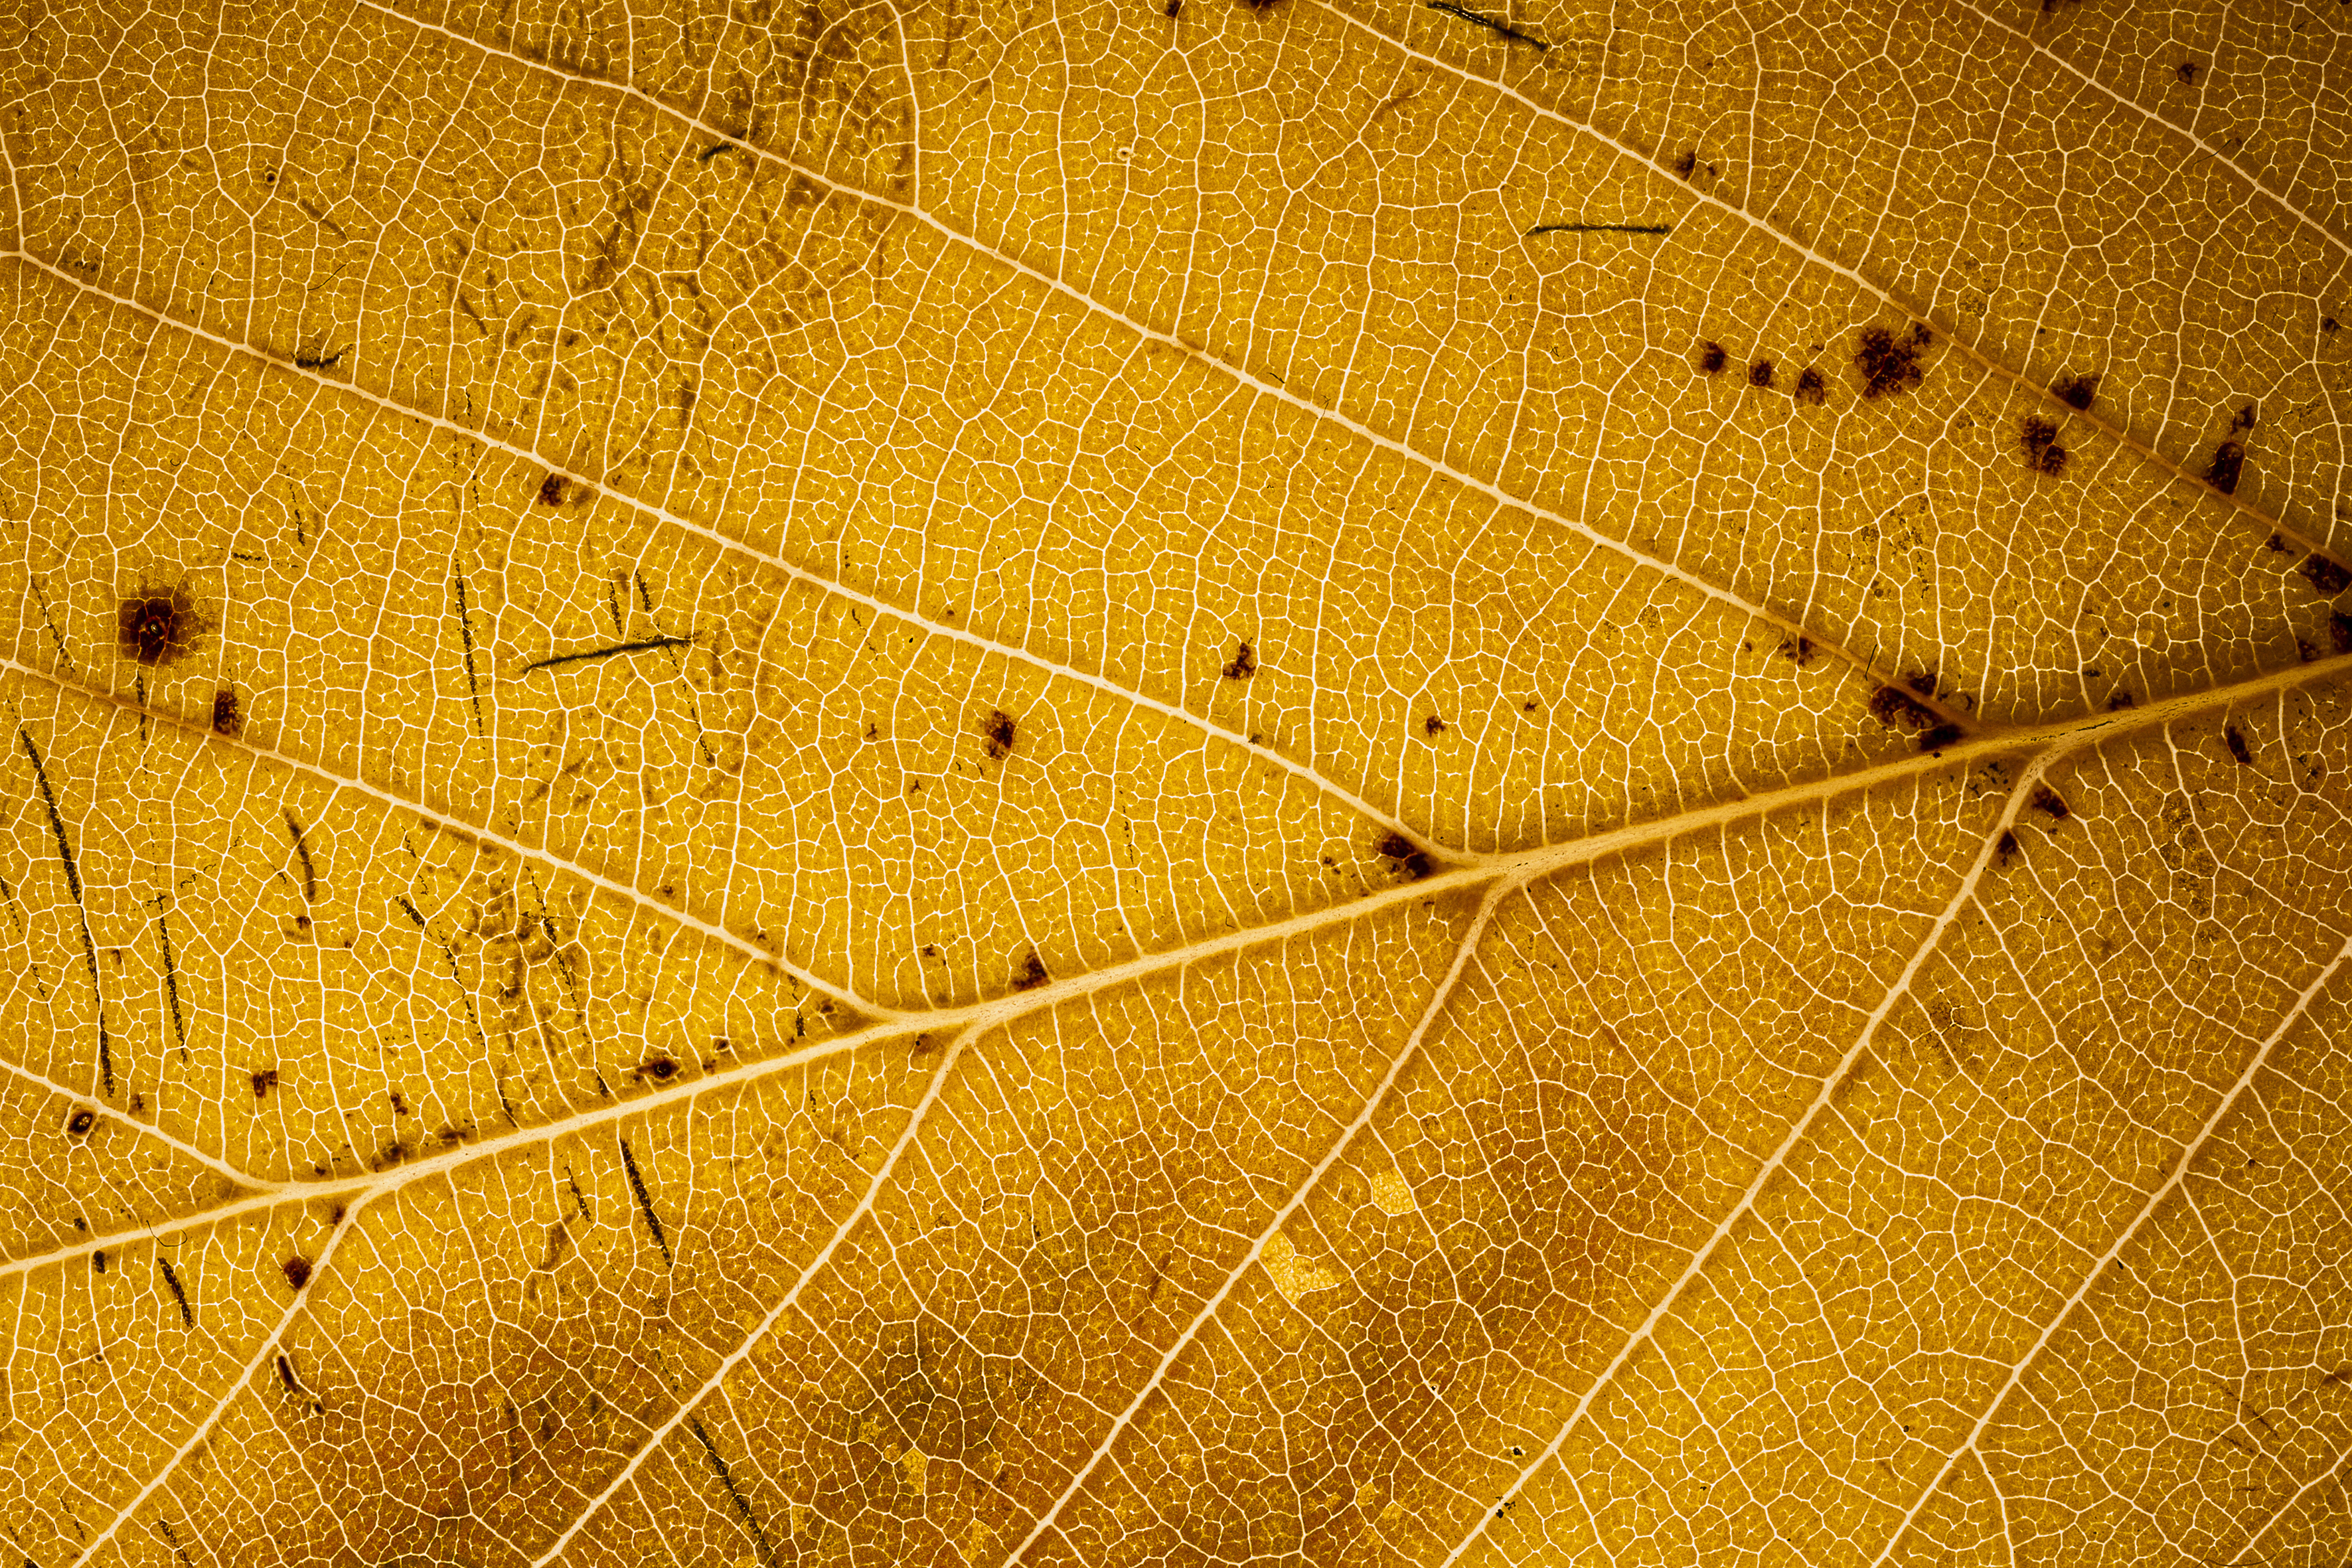
Macro lenses in the region of 100mm can also give you a similar compressed view, but they have the advantage of allowing you to focus much closer than a normal lens. As well as making it easier to shoot a leaf in close-up detail, they’re great for portraits, landscapes and everything in-between.
White balance
Autumn is synonymous with natural colour, but the images you see displayed on your camera might have an odd colour cast. This can happen if the white balance is set to Auto. The camera will attempt to neutralise all the warm shades by adding blue and green. It can sometimes be easier to spot these odd casts on the trunks of trees than it is on the leaves.
You can avoid this problem by selecting one of the white balance presets. Some cameras also have an additional Auto setting that preserves some of the warmth of the ambient light rather than attempting to dilute it. If you shoot raw, though, you can leave this decision until you process the file in software. You can also choose to increase the warmth by adding more yellow to the white balance mix. Raw software provides further opportunities for altering the colours, including changing the overall vibrance and saturation, or fine-tuning the hue, saturation and luminosity of individual colours using the HSL controls.
While punchy reds, oranges and yellows are often the order of the day, sometimes a more subtle, naturalistic rendering might be what you’re after. Again, you can achieve this easily in raw software using the various colour controls and sliders. You can also do this in-camera when you shoot JPEGs by choosing one of the more subdued picture settings, such as Neutral or Faithful, or selecting a less vivid film simulation.
Always adapt
As well as providing a feast of colour, autumn packs in almost every type of weather, so being adaptable is key. If it’s breezy when you head out, don’t curse your bad luck; sit your camera on a tripod and try setting a slow shutter speed to record the movement of autumn trees as a colourful blur. If it’s raining, put a rain cover on your camera and use a polarising filter to remove reflections and saturate colours. With a tripod-mounted camera, you can turn backlit raindrops into bright streaks by using a longer exposure.
The low, slanting golden light of an autumn afternoon might be eye-wateringly unpleasant if you happen to be driving towards the sun, but it’s incredibly satisfying when it comes to shooting scenics. The long shadows it creates are fantastic for bringing out the shape and form of the land – shoot from a raised viewpoint to maximise the effect. This type of lighting is great for city scenes too: try underexposing the shot so that the shadows become dark, deep and dense.
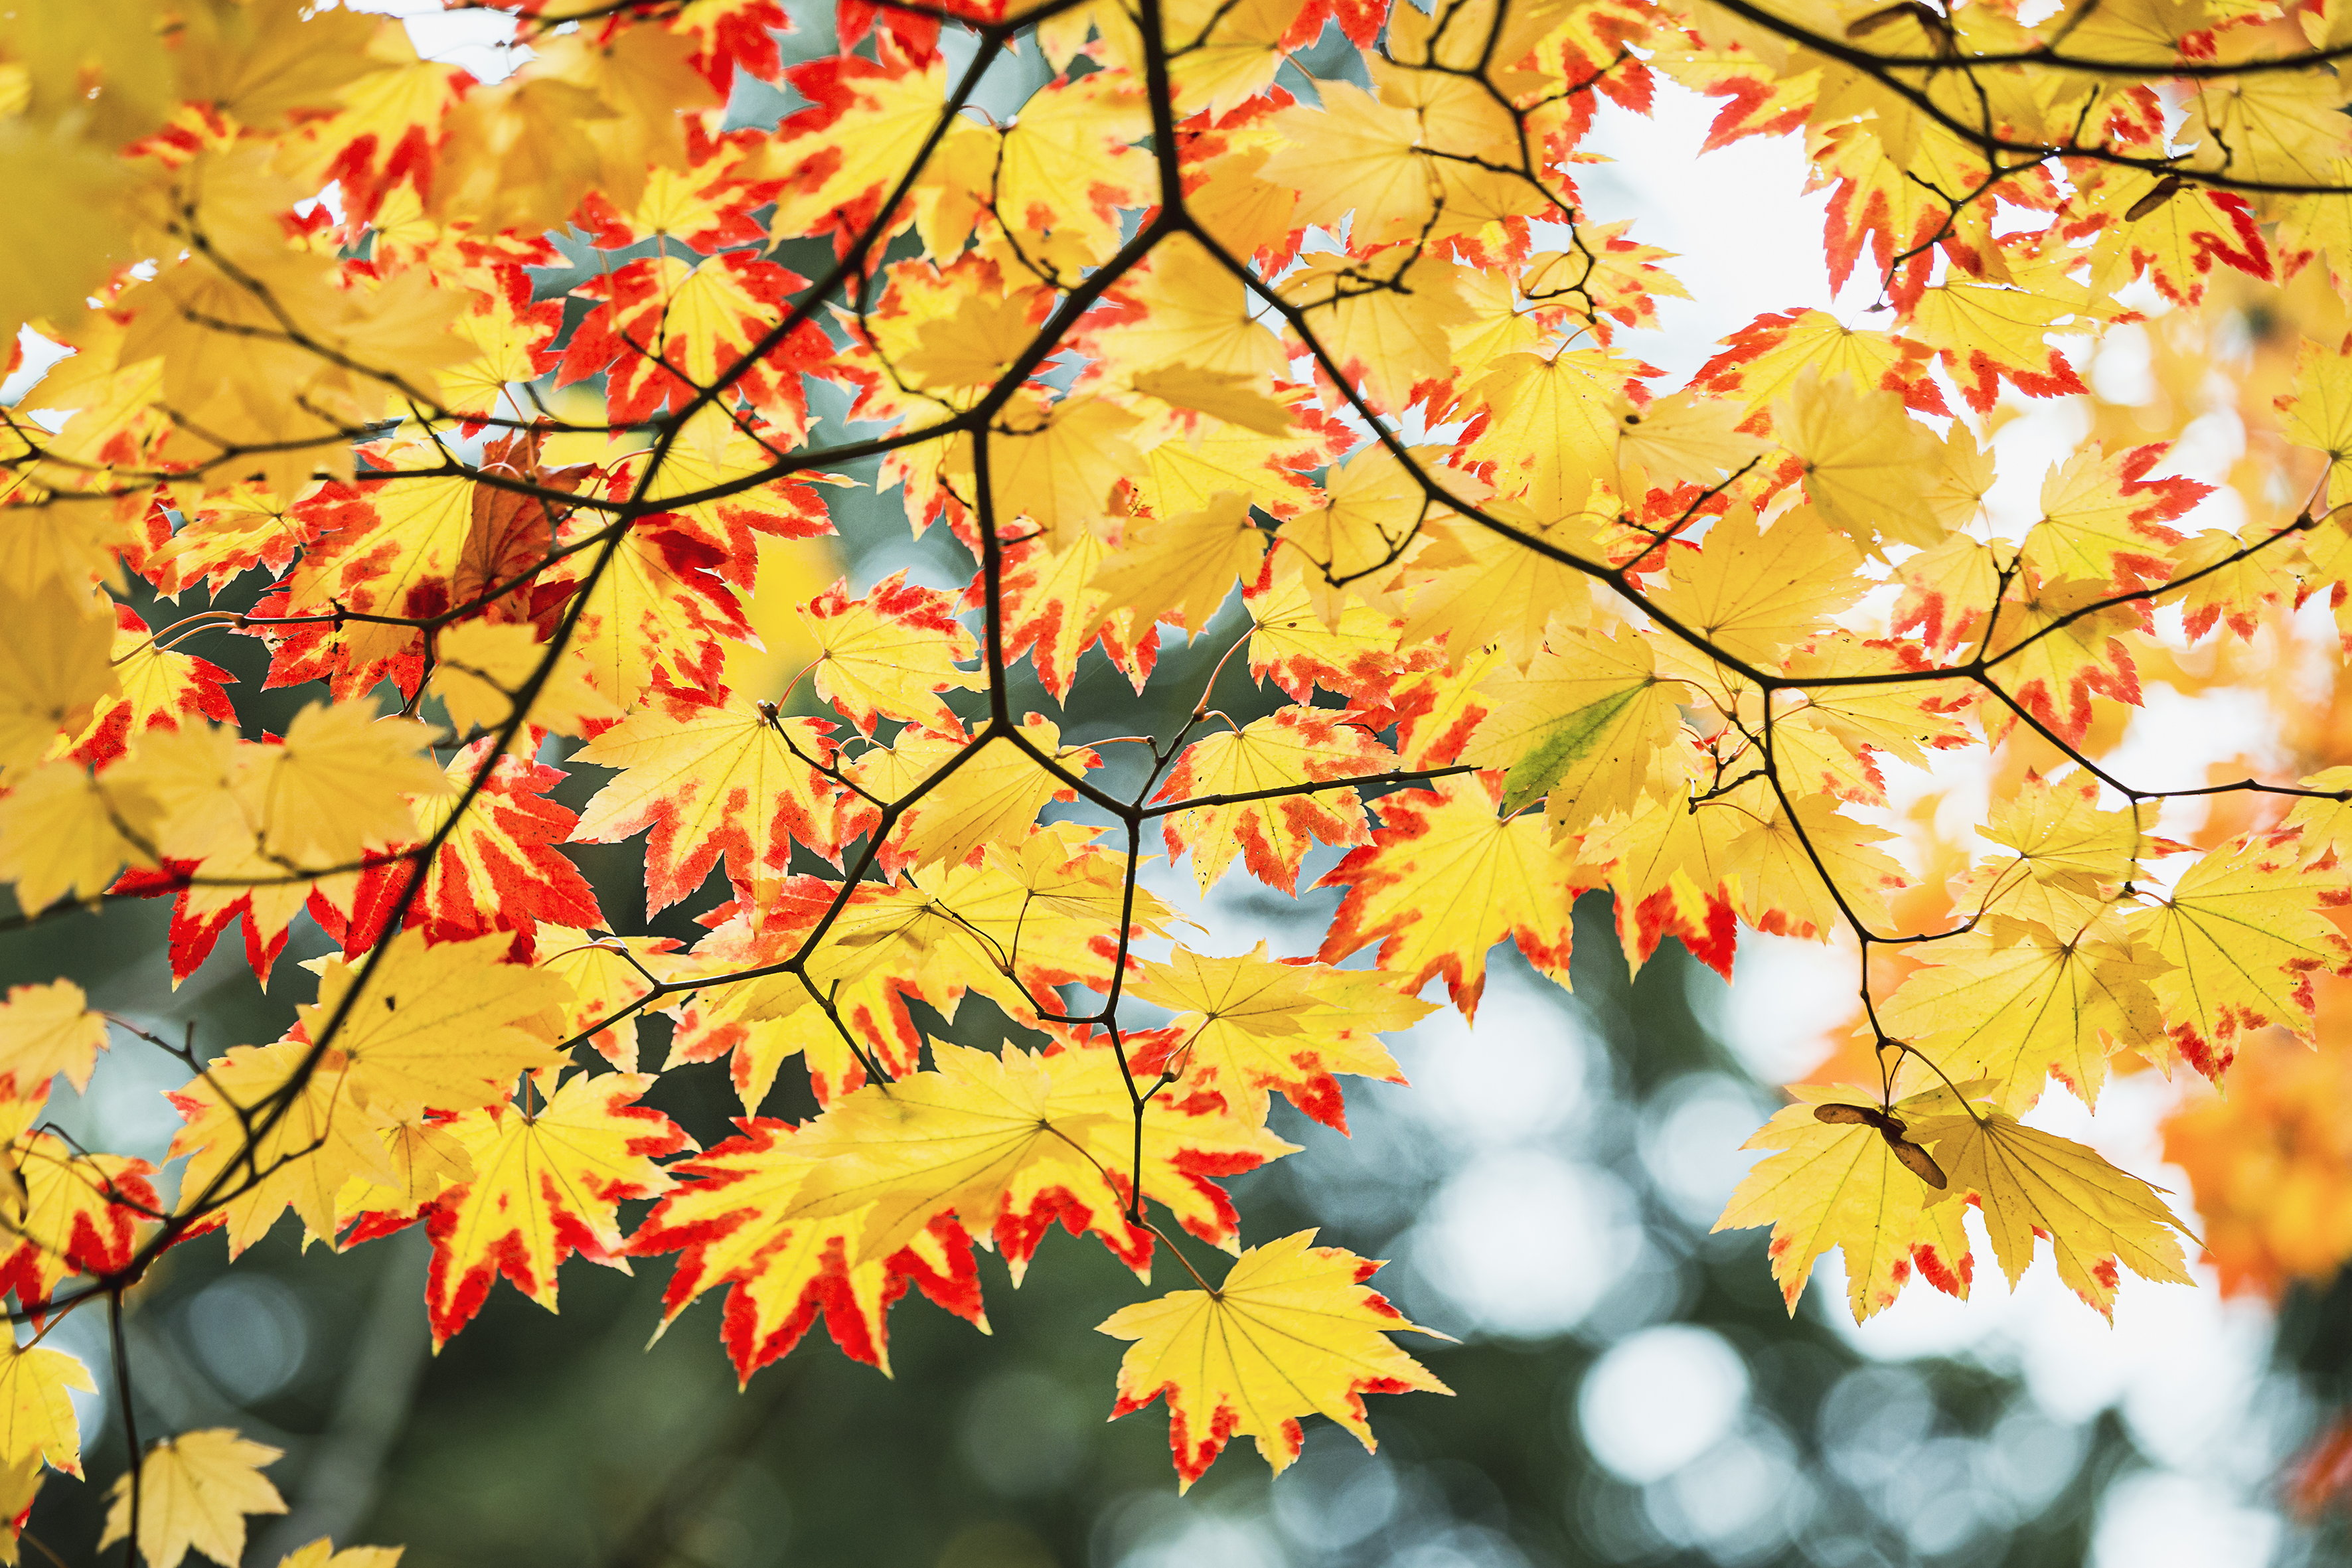
Taking pictures into the light is another way to capture the autumn mood. Use this technique to make leaves glow, and to create a rim light around other backlit objects. Use a lens hood to protect the front element from stray light, and be prepared to position your hand close to the glass but just out of shot, to further shield the front element from the sun.
5 seasonal photography tips
1) Seize the moment
All it takes is an overnight gale, and the trees can be emptied of their leaves. So grab any opportunity you can to take pictures. Don’t forget to take your camera to work, so that you can make the most of favourable light on the commute or during your lunch break.
2) Be prepared for the worst
Autumn often means unsettled and wet weather (in the UK, at least), so it’s worth packing a rain cover for your camera. A black bin bag or waterproof sheet can also be useful if you’re going to kneel in the dirt for a low-level fungi photo, or lie on your back for a canopy shot. Don’t forget your tripod for those long exposures on dark days.
3) Shoot at sunrise or sunset
The golden light at this time of day will complement the autumn hues. If you’re shooting into the sun, try setting a narrow aperture to create a starburst effect.
4) Go manual
You’ll typically be able to get richer and more natural colours if you switch to using one of the presets for white balance and the Picture Setting rather than relying on the auto option. Even if you shoot raw, you’ll get a more accurate preview and histogram.
5) Use a polarising filter
A polariser removes reflections on damp vegetation, wet rocks and rivers and gives an additional boost to colour saturation. It also extends the exposure time, which can be a bonus if you’re looking to create colourful motion-blur effects.
Reader challenge: autumn
This month, we want to see your best shot of autumn for a chance to win a copy of Affinity Photo. There are lots of ways in which you could approach the challenge – from classic landscape to seasonal portrait; impressionistic motion-blur to razor-sharp close-up; flash-lit, abstract, multiple-exposure, defocused… or all of the above! You don’t even have to shoot in colour, although it does need to be obvious that the image has been shot at this time of year.
To enter your best autumn shot (one per reader, please), either email your entry to digitalcamera@futurenet.com, putting ‘Autumn’ in the subject line; or go to our Facebook page at www.facebook.com/digitalcameraworld, look for the ‘Autumn’ post, and upload your entry into the feed.
By entering your image into this competition, you confirm that you own the copyright to the image, and agree that Digital Camera can publish your image in relation to the ‘Autumn’ competition. You retain full copyright of your image, and will be credited if published.
The closing date is 09 December 2021. The winner will receive a copy of Affinity Photo for Windows or macOS. Good luck, and get shooting!
The best camera deals, reviews, product advice, and unmissable photography news, direct to your inbox!
Digital Camera World is one of the leading authorities on camera and photography news, reviews, techniques, tutorials, comparisons, deals and industry analysis. The site doesn't just specialize in cameras, but all aspects of photography, videography and imaging – including camera phones, gimbals, lenses, lighting, editing software, filters, tripods, laptops, printers, photo books, desks, binoculars and more.
Whether you're using, looking to buy or trying to get the most out of a compact camera, action camera, camera drone, cinema camera, beginner camera or professional camera, Digital Camera World has a roster of experts with combined experience of over 100 years when it comes to cameras, photography and imaging.
